12 Simple Rules for Tangy Crunchy Fermented Foods You Can Make at Home
You know that satisfying crunch of perfect sauerkraut? That tangy punch of kimchi that makes your mouth water? Your kitchen can become a bubbling laboratory where vegetables transform into probiotic powerhouses through ancient magic called fermentation. Humans have been fermenting foods for over 9,000 years, and honestly, our ancestors knew what they were doing!
Here’s the thing about fermentation: it sounds intimidating, but it’s basically controlled spoilage that creates incredible flavors. You’re letting beneficial bacteria party in your vegetables while keeping the bad guys out. The process turns ordinary cabbage into zingy kraut and transforms cucumbers into tangy pickles that snap between your teeth.
These twelve rules will turn you into a fermentation wizard without requiring a chemistry degree. From managing salt ratios to preventing funky white films, each tip builds your confidence. Soon you’ll be proudly serving homemade fermented vegetables that rival anything from fancy restaurants, plus your gut bacteria will thank you profusely.
Kahm Yeast Prevention
Picture this: you’re admiring your beautiful jar of fermenting vegetables, feeling like a kitchen wizard, when suddenly you spot a white, filmy layer floating on top that looks suspiciously like someone sneezed into your precious creation. Meet kahm yeast – the uninvited party crasher of the fermentation world! This harmless but annoying yeast loves oxygen and warm temperatures, which makes it the perfect squatter for your ferment’s surface. While kahm yeast won’t kill you (it’s actually edible, though about as appetizing as licking a gym sock), it can make your ferments taste funky and look absolutely revolting.
The good news? Preventing this white menace is easier than explaining why pineapple belongs on pizza. Keep your vegetables submerged below the brine like they’re doing underwater yoga – oxygen can’t reach what it can’t touch! Use proper weights, mason jar lids with airlocks, or even a clean cabbage leaf as a natural barrier. Temperature control matters too; kahm yeast throws wild parties in warm environments, so keep your ferments in cool, consistent temperatures around 65-72°F. If you do spot the dreaded white film, don’t panic! Simply skim it off with a clean spoon, add more salt to your brine, and give your vegetables a gentle push back underwater where they belong.
Time Management

You know what’s funny about fermentation? It’s the ultimate slow food movement, but it demands you become a master scheduler. I learned this the hard way when I started my first batch of sauerkraut on a Tuesday, completely forgetting I’d be out of town for a week starting Friday. Nothing says “welcome home” quite like the smell of cabbage that’s been sitting unattended for too long! The secret lies in understanding that fermented foods operate on their own timeline – kimchi might be ready in three days during summer but take two weeks in winter. Your kitchen becomes a living calendar where you track bubble activity, taste-test schedules, and the precise moment when tangy transforms into perfection.
Smart fermenters keep a simple notebook or phone app to track their batches because trust me, after you have six different jars going at once, you’ll forget which one needs attention. Mark your start dates, check-in days, and estimated completion times. Pro tip: start new batches on weekends when you have more flexibility to monitor those first critical days of fermentation. Temperature swings affect timing dramatically – my kitchen radiator once turned a five-day pickle project into a three-day sprint that caught me completely off guard. Build buffer time into your plans, especially for gifts or special occasions, because fermented foods refuse to be rushed no matter how much you sweet-talk them!
pH Monitoring
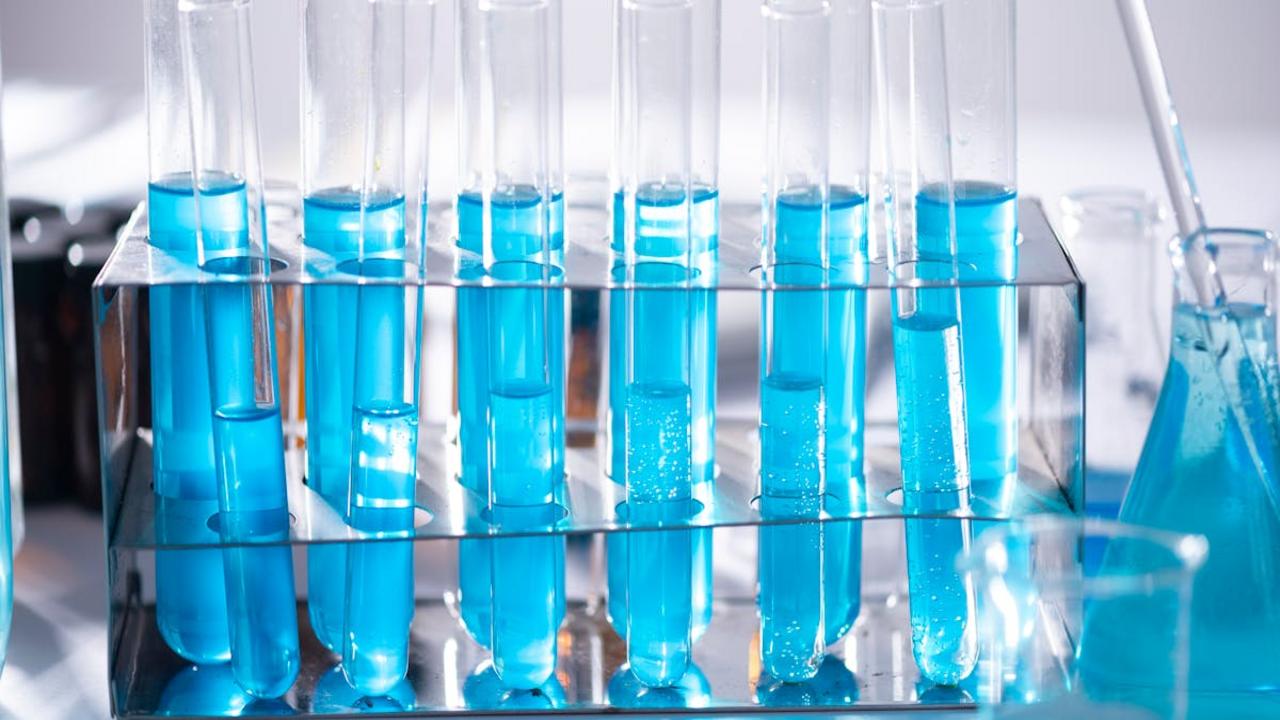
Listen, I know checking pH sounds about as exciting as watching paint dry, but trust me on this one – your fermentation success depends on keeping those numbers in check! You want your fermented vegetables hanging out in that sweet spot between 3.5 and 4.6 pH, where the good bacteria throw their party while the bad guys get kicked to the curb. I learned this the hard way when my first batch of sauerkraut turned into what I can only describe as “swamp cabbage” because I skipped the pH testing like a rebel without a cause. Now I’m that person who owns three different pH meters and actually gets giddy when my kimchi hits that perfect 4.2 reading!
You can grab pH strips from any brewing supply store, or if you’re feeling fancy, invest in a digital pH meter that makes you look like a mad scientist in your kitchen. Test your brine after 24 hours, then check every few days until you hit that magic number – it’s like watching a slow-motion science experiment unfold right in your mason jars! The coolest part? Different vegetables naturally create different pH environments, so your pickled beets might hit the target faster than your carrots. Keep a little notebook of your readings because fermentation is all about patterns, and soon you’ll be predicting pH drops like some kind of pickle prophet!
Cross Contamination Prevention
You know that moment when you’re juggling three different fermentation projects and suddenly realize you’ve been using the same spoon for your kimchi and your sourdough starter? Yeah, that’s a rookie mistake that can turn your beautiful bubbling creations into science experiments gone wrong. Cross contamination in fermentation is like inviting uninvited guests to a very exclusive party – your carefully cultivated good bacteria suddenly have to compete with random microbes, and trust me, nobody wins that battle. Keep separate utensils for each ferment, wash your hands between projects like you’re prepping for surgery, and treat each jar like its own little kingdom with its own set of rules.
Here’s a fun fact that’ll make you appreciate proper sanitation: wild yeasts can travel up to several miles on air currents, which means your neighbor’s sourdough starter could theoretically crash your sauerkraut party if you’re not careful! I learned this the hard way when my perfectly tangy pickles started tasting mysteriously like the kombucha I’d been brewing on the same counter. Now I designate specific areas of my kitchen for different ferments – think of it as creating separate neighborhoods for your microbial communities. Clean surfaces with white vinegar between projects, use different cutting boards, and never double-dip your tasting spoons. Your ferments will thank you with consistent, predictable flavors instead of mysterious funky surprises.
Weight Distribution

Listen, I learned this lesson the hard way when my first batch of sauerkraut decided to stage a rebellion and float to the surface like tiny cabbage life rafts. You need something heavy enough to keep your vegetables submerged beneath their salty brine, or you’ll end up with fuzzy science experiments instead of tangy treasures. Think of weights as the bouncer at your fermentation party – they keep the troublemakers (oxygen-loving mold) out while your good bacteria work their magic below the surface. A clean glass jar filled with water works perfectly, or you can invest in proper fermentation weights that look like tiny ceramic hockey pucks.
The key here is finding that Goldilocks zone – not too heavy that you crush your vegetables into mush, but hefty enough to keep them completely underwater. I once used a bag of dried beans as a weight, only to discover three days later that it had developed a slow leak and turned my kimchi into some sort of bizarre bean-cabbage hybrid soup. Now I stick to non-porous materials like glass or food-grade stones. Pro tip: whatever you choose, make sure it fits snugly in your jar without blocking airflow completely, because your fermenting friends need a little breathing room to release those satisfying fizzy bubbles that signal success.
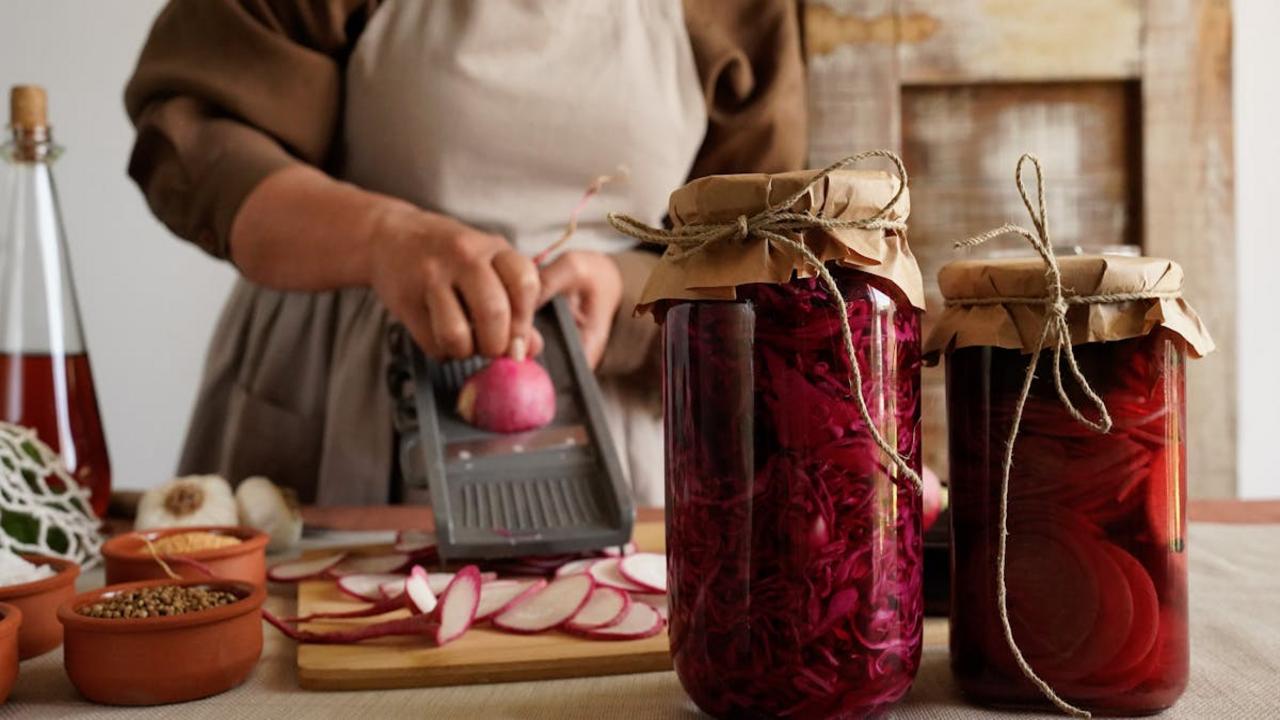
Brine Coverage
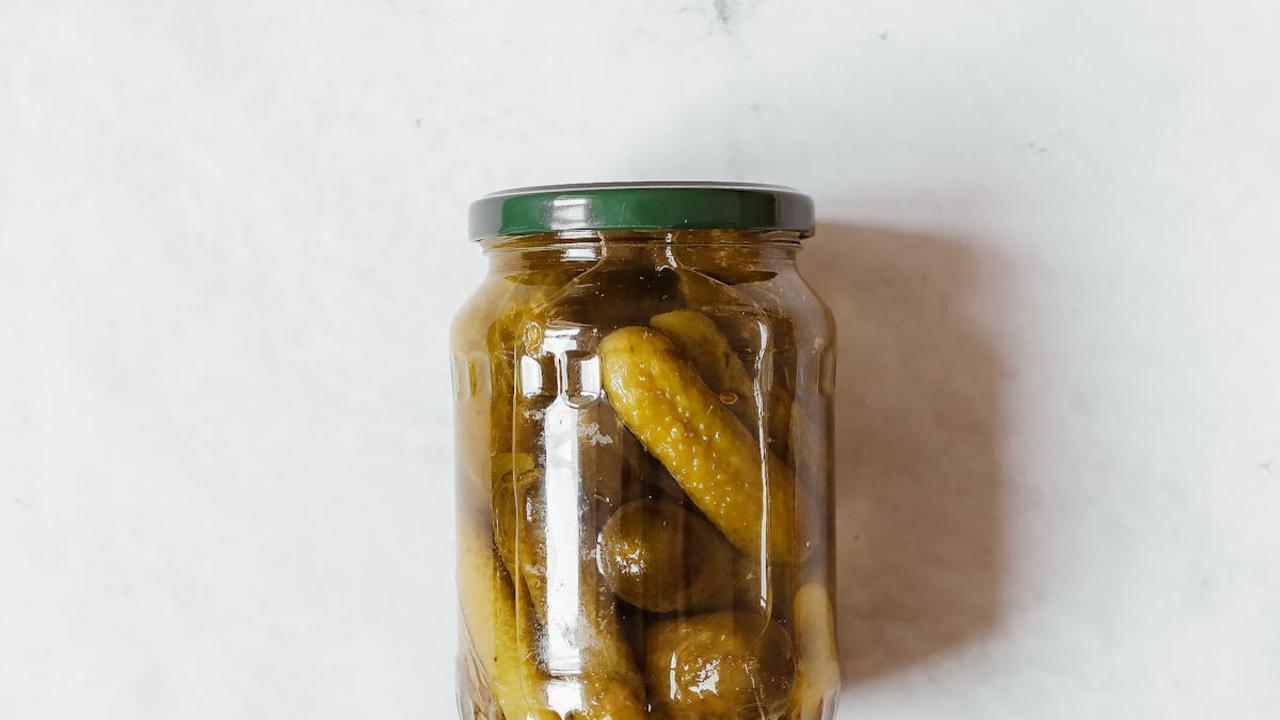
Picture this: you’ve carefully chopped your vegetables, mixed your perfect salt ratio, and packed everything into jars with the excitement of a kid on Christmas morning. Then you forget the most important rule of fermentation club – keep everything submerged! Your vegetables need to stay completely underwater in their salty bath, or they’ll turn into fuzzy science experiments that belong in a horror movie, not your dinner plate. Think of brine like a protective blanket that keeps oxygen away from your precious veggies. Without proper coverage, you’ll get mold instead of that satisfying crunch you’re after.
The magic number? Keep your vegetables at least one inch below the brine surface at all times. I learned this lesson the hard way when my first batch of sauerkraut sprouted what looked like a miniature cotton candy factory on top. Now I use clean stones, glass weights, or even a small ziplock bag filled with brine as my underwater enforcers. Pro tip: if your brine level drops during fermentation (and it will, because science), just whip up more salt water using the same ratio and top it off. Your vegetables will thank you by staying crisp, tangy, and absolutely delicious instead of turning into expensive compost.
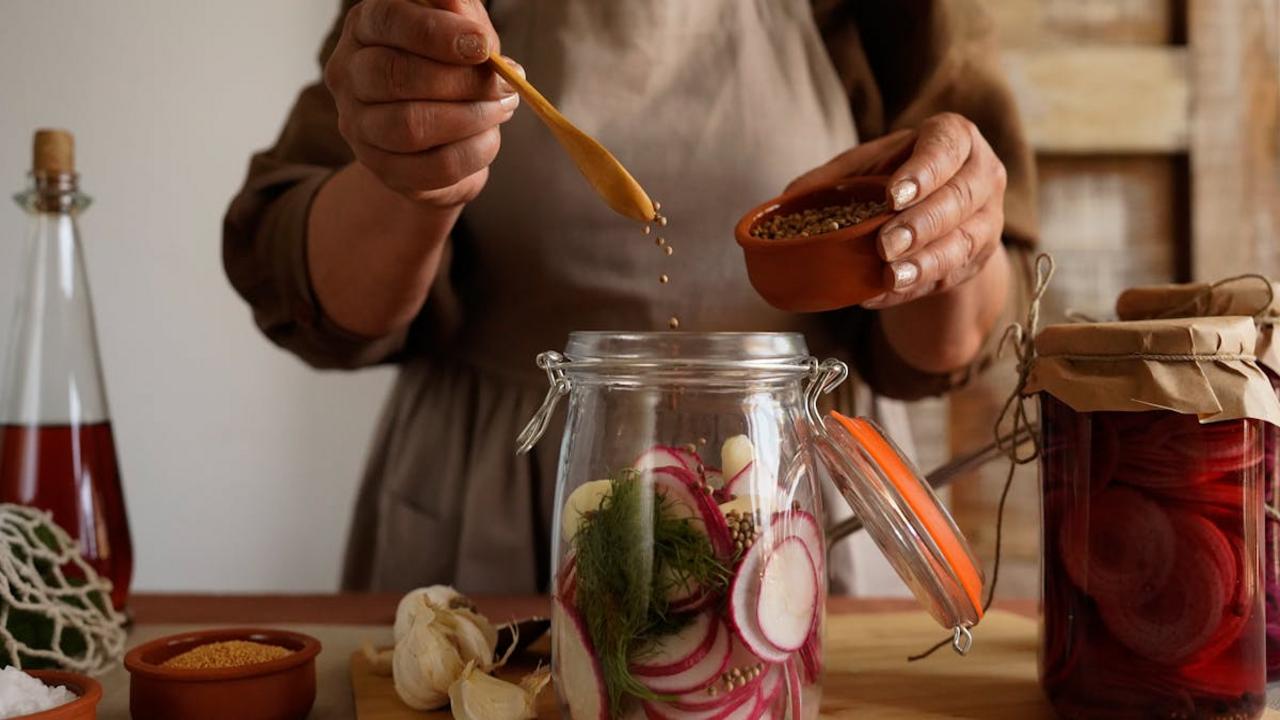
Vegetable Freshness
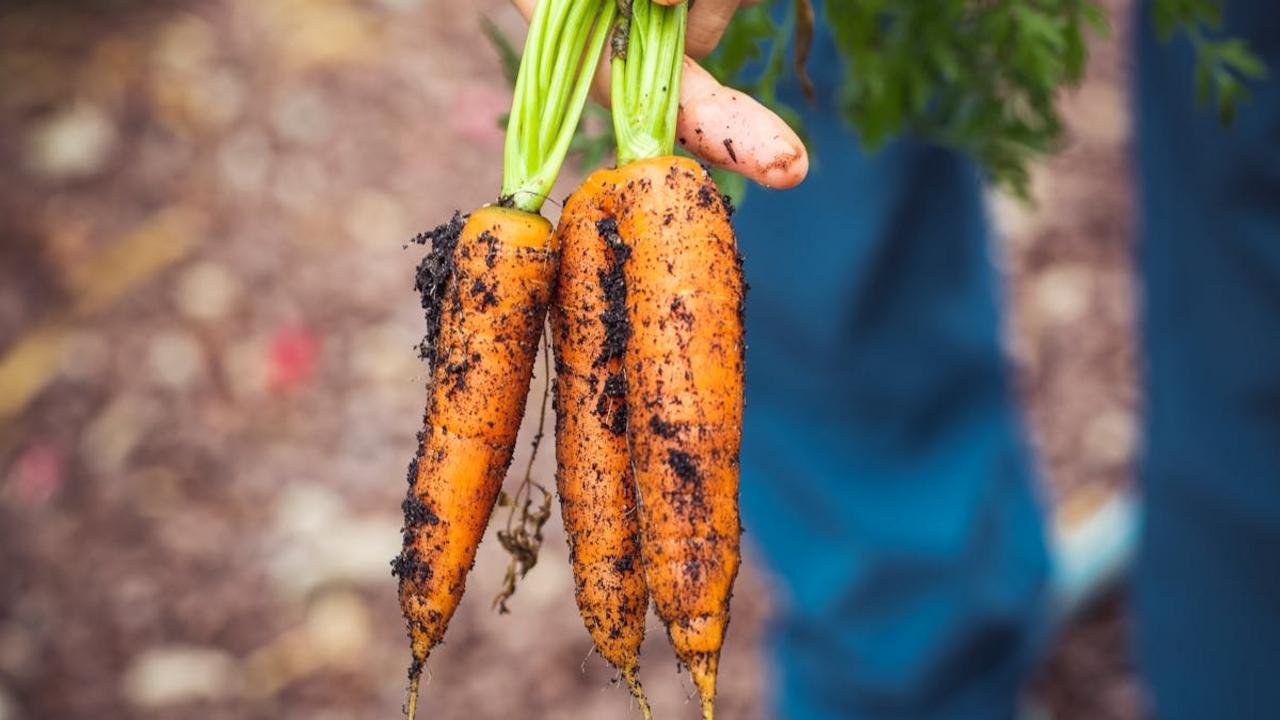
Listen, I learned this the hard way after turning a beautiful bunch of carrots into what can only be described as limp orange sadness. Fresh vegetables are the absolute foundation of spectacular fermented foods, and trust me, your cabbage knows when you’re trying to pass off those wilted outer leaves as “character.” The crispier your starting vegetables, the more satisfying that final crunch will be when you bite into your homemade sauerkraut three weeks later. I’ve discovered that vegetables picked within the last day or two contain higher levels of natural sugars and beneficial bacteria on their surfaces – basically, they’re already halfway to fermentation paradise before you even get started.
Here’s my foolproof freshness test: if you wouldn’t eat it raw in a salad, don’t put it in your fermentation jar. Those sad, bendable cucumbers at the bottom of your crisper drawer? They’ll give you mushy pickles that’ll make you question all your life choices. Instead, hunt for vegetables that snap when you break them, feel heavy for their size, and still have that bright, almost electric color that screams “I was just living my best plant life yesterday!” Pro tip from my grandmother: the best fermentation vegetables often come with a bit of dirt still clinging to them – it’s like nature’s quality seal that says these babies haven’t been sitting in storage for months.
Proper Water Quality

Your tap water might seem innocent enough for drinking your morning coffee, but your fermentation friends are pickier than a toddler at dinnertime. Chlorine and chloramines—those chemical buddies your city adds to keep water “safe”—act like party crashers for beneficial bacteria. They’ll murder your microbial ecosystem faster than you can say “sauerkraut.” I learned this the hard way when my first batch of kimchi turned into expensive, soggy disappointment because I used straight tap water. Now I either filter my water through a carbon filter or let it sit uncovered for 24 hours to let those chemicals evaporate into oblivion.
The pH level of your water matters too—think of it as the neighborhood vibe for your fermenting microbes. Most beneficial bacteria throw their best parties in slightly acidic to neutral conditions, so water that’s too alkaline can throw off the whole fermentation dance. Hard water with high mineral content isn’t necessarily bad, but it can slow things down and create off-flavors that taste like you’re licking rocks. Spring water often works beautifully, though I’ve had great success with filtered tap water that’s been dechlorinated. Your fermentation babies deserve clean, chemical-free H2O to do their magnificent transformative work—trust me, they’ll reward you with better flavors and that perfect tangy crunch you’re after.
Clean Equipment Sterilization
Your fermentation gear needs to be cleaner than a germaphobe’s smartphone screen, and I’m not kidding around here! You can’t just give your jars a quick rinse and call it a day – those microscopic party crashers will turn your beautiful cabbage into a science experiment gone wrong. I learned this the hard way when my first attempt at kimchi turned into what I can only describe as “eau de gym sock.” The good news? Sterilizing your equipment is easier than explaining why you have seventeen different types of salt in your pantry. Simply submerge your jars, lids, and utensils in boiling water for at least five minutes, or run them through your dishwasher’s hottest cycle without detergent.
Here’s a fun fact that’ll make you the hit of every dinner party: Louis Pasteur didn’t just give us pasteurization – he basically saved fermentation from itself by proving that unwanted bacteria were the villains in spoiled food stories. Your clean equipment creates the perfect stage for the good bacteria to perform their magic show, transforming ordinary vegetables into tangy, probiotic-packed superstars. I keep a spray bottle filled with white vinegar nearby for quick sanitizing between batches, because nothing ruins your fermentation momentum like having to start the sterilization dance all over again. Trust me, spending those extra ten minutes on proper sterilization will save you from the heartbreak of dumping a week’s worth of fermentation dreams down the drain.
Anaerobic Environment

Picture this: your vegetables are basically throwing an underwater party, and oxygen is definitely not invited. Creating an anaerobic environment means banishing every last bubble of air from your fermentation vessel, because those beneficial bacteria we want are actually oxygen-haters. They’re like vampires, but instead of avoiding sunlight, they flee from fresh air! The moment oxygen crashes this microscopic shindig, bad bacteria and mold start showing up uninvited, turning your beautiful fermentation project into a science experiment gone wrong. You want your cabbage submerged under its own juices like it’s taking a relaxing brine bath at a very exclusive spa.
The magic happens when you pack your vegetables tight and weigh them down with a clean stone, glass weight, or even a ziplock bag filled with water. Think of yourself as a fermentation bouncer – your job is keeping the troublemakers (oxygen and surface mold) out while the good guys (lactobacillus bacteria) work their transformative magic below the surface. Some fermentation enthusiasts get fancy with airlocks and specialized lids, but honestly, a simple cloth cover secured with a rubber band works perfectly fine for most home projects. The key is maintaining that liquid seal – your vegetables should stay submerged like they’re hiding from their ex at a high school reunion.
Salt Ratios
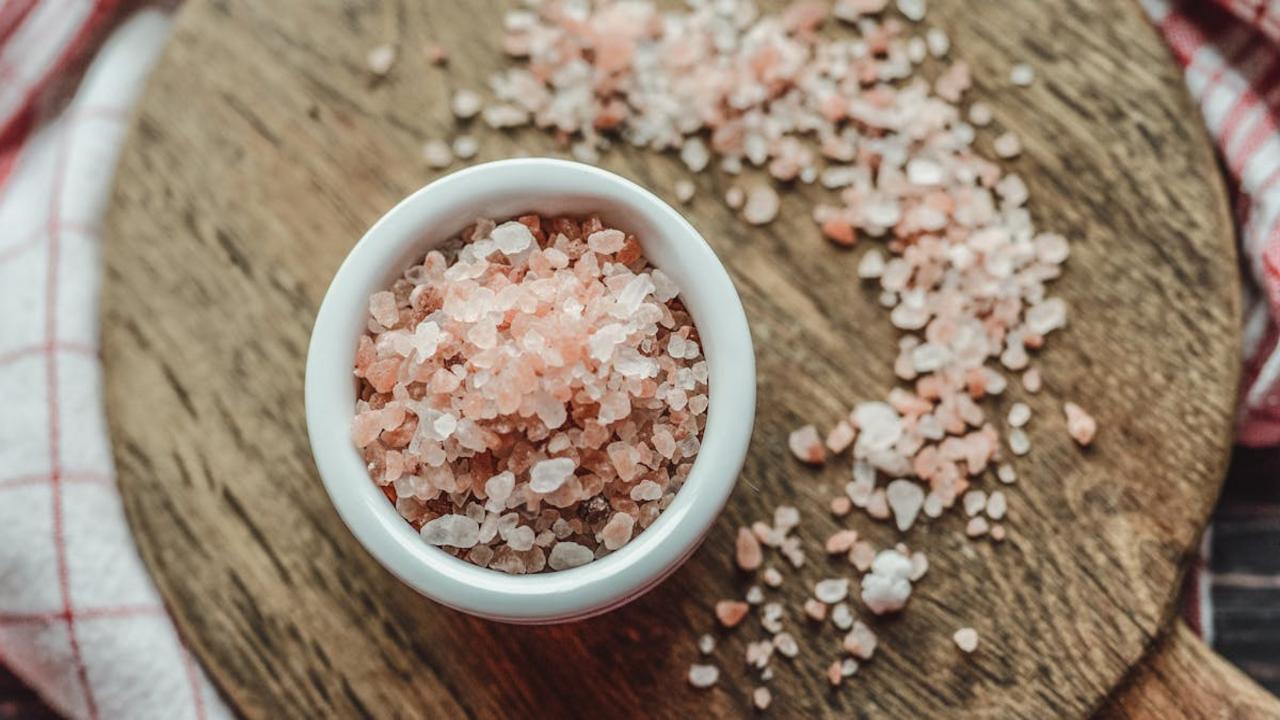
Getting your salt ratios right feels like learning a secret handshake with ancient microbes – mess it up, and they’ll give you the cold shoulder (or worse, the moldy shoulder). For most vegetable ferments, you want about 2-3% salt by weight of your vegetables, which sounds fancy but really just means grabbing a kitchen scale and doing some basic math your middle school teacher promised you’d need someday. Too little salt and bad bacteria crash the party like uninvited college freshmen; too much and even the good guys pack up and leave. I once made sauerkraut with 5% salt thinking “more must be better” – it turned out saltier than my attitude after a bad breakup and took forever to ferment.
The beautiful thing about salt percentages is they work like a universal translator for fermentation – whether you’re making kimchi, pickles, or that weird experimental turnip thing you saw on Instagram at 2 AM. Sea salt or kosher salt work best because they don’t contain anti-caking agents that make bacteria sadder than a wilted lettuce leaf. My grandmother always said to taste your brine – it should be as salty as tears of joy, not tears of “why did I put this much salt in here.” Start conservative with 2% if you’re nervous; you can always add more salt, but you can’t take it back once those vegetables start their magical transformation dance.
Temperature Control
Think of temperature as your fermentation fairy godmother – she’s got the magic wand, but wave it wrong and your beautiful cabbage turns into a mushy pumpkin at midnight! Most fermented foods thrive in that Goldilocks zone between 65-75°F, where the good bacteria throw their best party while the bad guys sulk in the corner. I learned this the hard way when I proudly placed my first batch of kimchi on top of the fridge, only to discover that heat rises and my poor vegetables had basically been slow-cooking themselves into submission. Now I keep a cheap thermometer nearby and treat my ferments like houseplants – finding that perfect spot where they’ll be happy little microbes.
Your kitchen probably has temperature microclimates you never noticed before you started fermenting. That sunny windowsill? Too hot during summer afternoons. The basement? Perfect for slow, steady fermentation that develops complex flavors over weeks. I’ve seen people get creative with heating pads on low settings during winter months, or even wrapping jars in towels and tucking them into slightly warm ovens with just the light on. The key is consistency – wild temperature swings make your bacteria confused and grumpy, like teenagers whose parents keep changing the house rules. Keep things steady, and you’ll be rewarded with that perfect tangy crunch that makes homemade ferments so addictive.