15 Smart Hacks to Cut Food Waste at Home and Save Money
Food waste hits your wallet hard—the average family throws away about $1,500 worth of food annually! I’ve been there too, tossing wilted greens and forgotten leftovers. After years of cooking professionally and at home, I’ve gathered simple tricks that dramatically cut waste while saving serious cash.
These 15 hacks fit into your existing routine without extra work. You’ll learn to store produce properly, transform scraps into delicious meals, and shop smarter. The best part? You’ll need fewer grocery runs and watch your food budget shrink almost immediately.
Beyond the money savings, reducing food waste helps our planet too. When food rots in landfills, it creates methane—a potent greenhouse gas. By using these strategies, you’re making an environmental difference while cooking smarter, not harder. Ready to stop throwing good food and money away?
Temperature Zones in Refrigerator
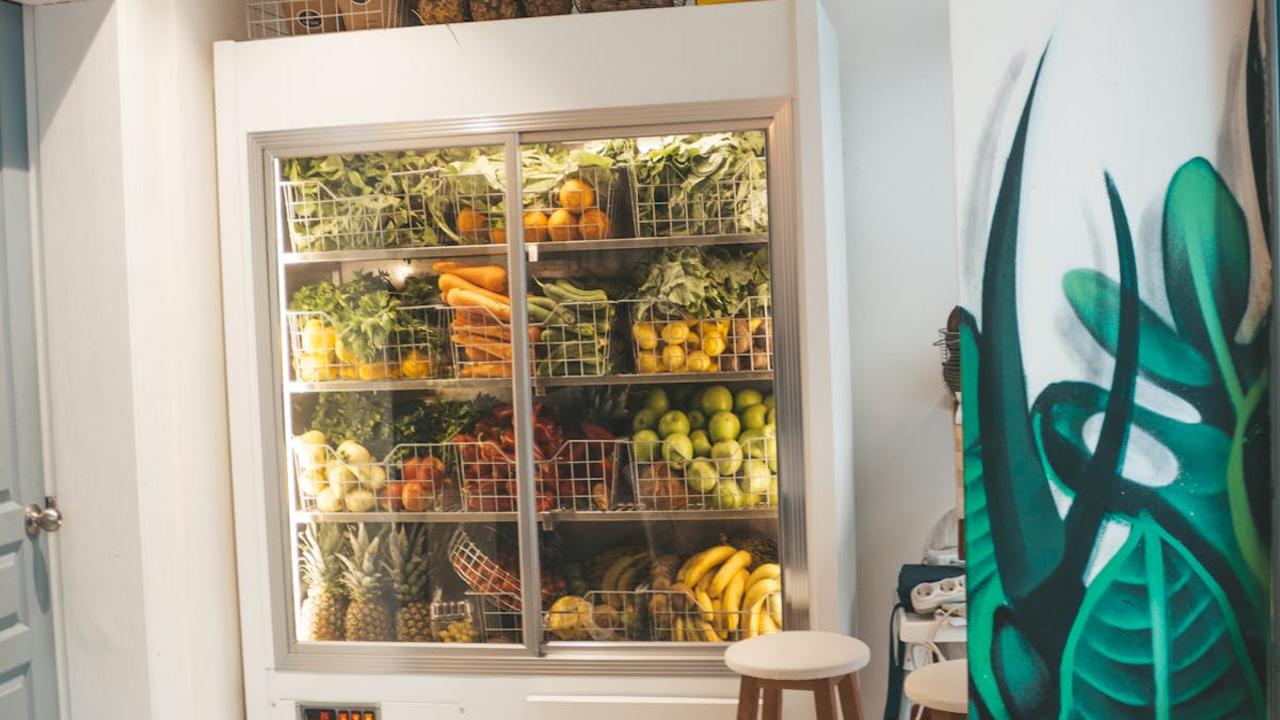
Your refrigerator isn’t just one big cold box—it’s actually a collection of different temperature zones that can make or break your food storage game. I discovered this years ago when I kept wondering why my herbs wilted so quickly while my friend’s stayed fresh for weeks. The top shelves run warmest, perfect for leftovers, drinks, and ready-to-eat items. The middle shelves maintain consistent cool temperatures, making them ideal for dairy products, eggs, and cooked meals. Your bottom shelf? That’s the coldest spot, where raw meats and fish belong to prevent any cross-contamination disasters.
Once you start thinking about these zones strategically, you’ll watch your grocery budget stretch further than you thought possible. I keep my leafy greens and delicate herbs in the crisper drawers with humidity control—they stay vibrant for over a week now instead of turning into expensive compost after three days. Door compartments work perfectly for condiments, dressings, and items you use frequently, since they experience the most temperature fluctuation. This simple reorganization has cut my food waste by at least 30%, and those beautiful vegetables I bring home from the farmer’s market actually make it into my weekly meal prep instead of becoming guilt-inducing science experiments in the back of my fridge.
Storage Container Optimization
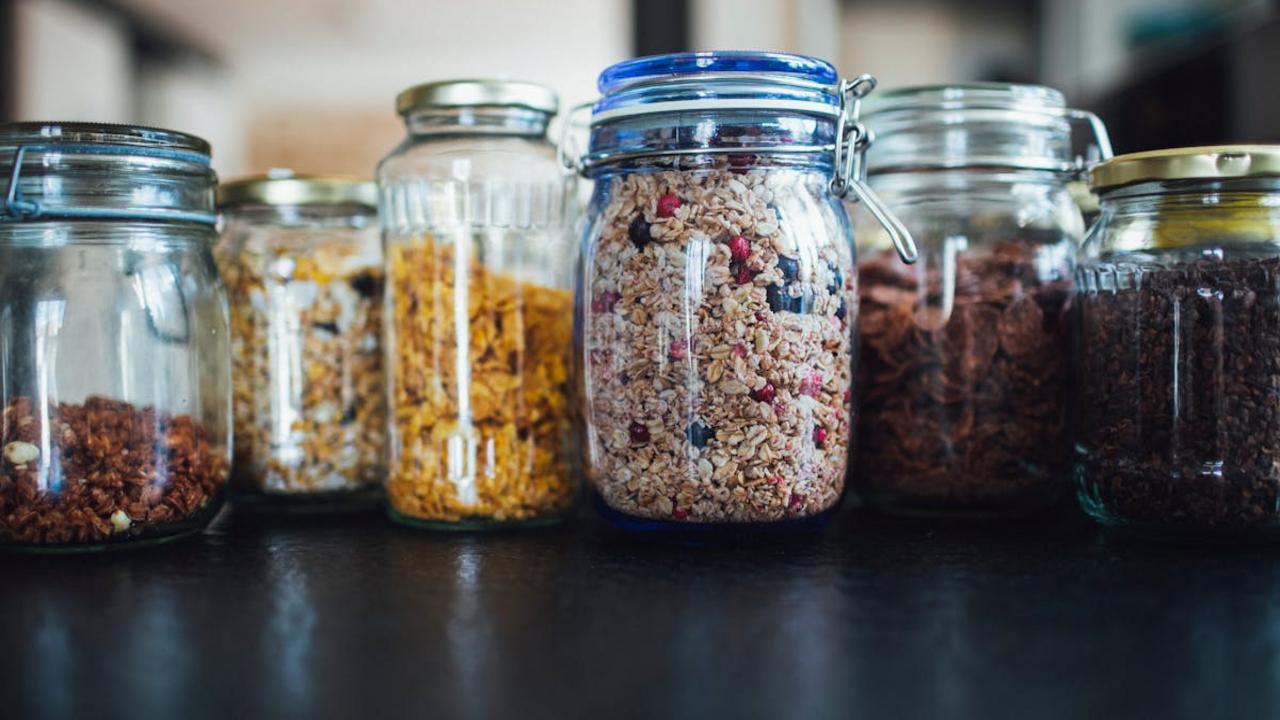
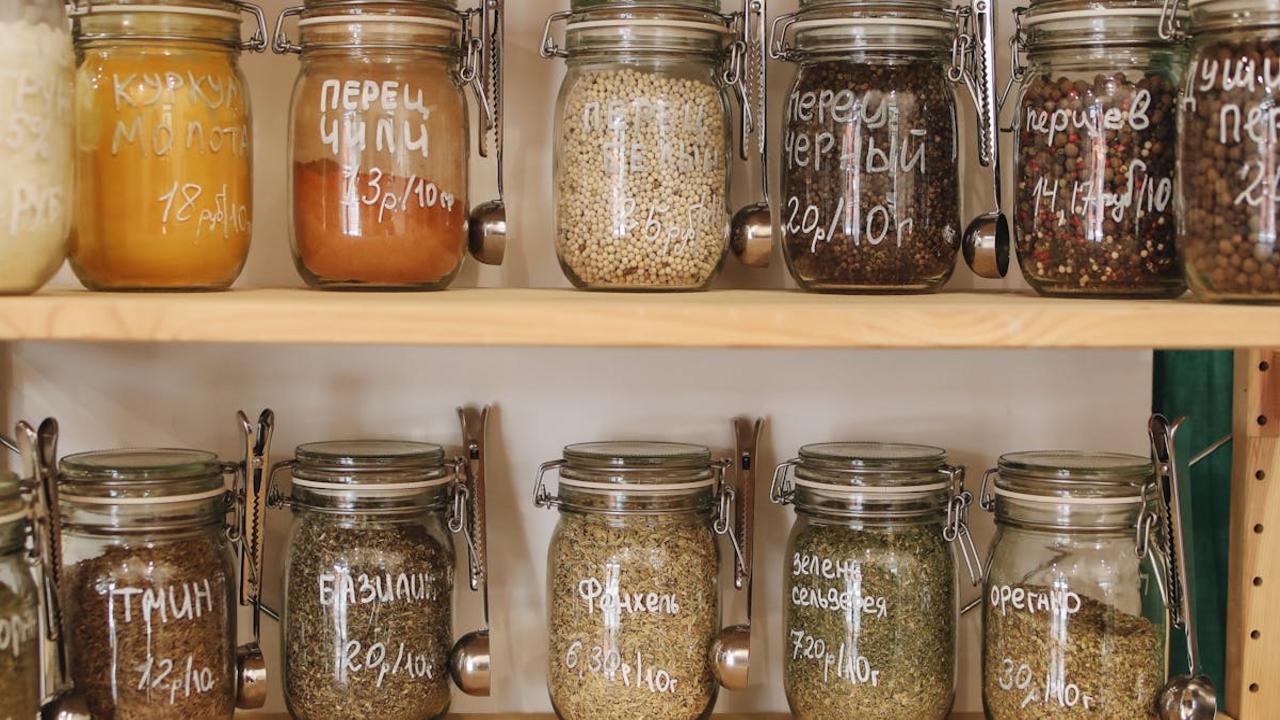
Your kitchen containers can make or break your food preservation game, and I’ve learned this the hard way after watching too many beautiful vegetables turn into expensive compost. The secret lies in matching the right container to each ingredient’s specific needs. Glass containers with airtight seals work wonders for storing cooked grains, leftover curries, and fresh herbs wrapped in damp paper towels. I keep different sizes handy – small ones for spice pastes and larger ones for batch-cooked lentils that’ll become three different meals throughout the week. Clear containers let you see what you have at a glance, preventing those forgotten treasures from languishing in the back of your fridge.
Smart labeling transforms your storage system from chaos to harmony. I use masking tape and a permanent marker to note contents and dates – it’s simple but incredibly effective. For dry goods like rice, quinoa, and nuts, I transfer everything from original packaging into airtight containers that keep moisture and pests out while maintaining freshness for months. My favorite trick involves using stackable containers that maximize vertical space, creating room for more fresh ingredients. Remember, proper storage isn’t just about keeping food fresh longer – it’s about creating a system that helps you cook more intuitively and waste less money on forgotten ingredients.
Composting Food Scraps
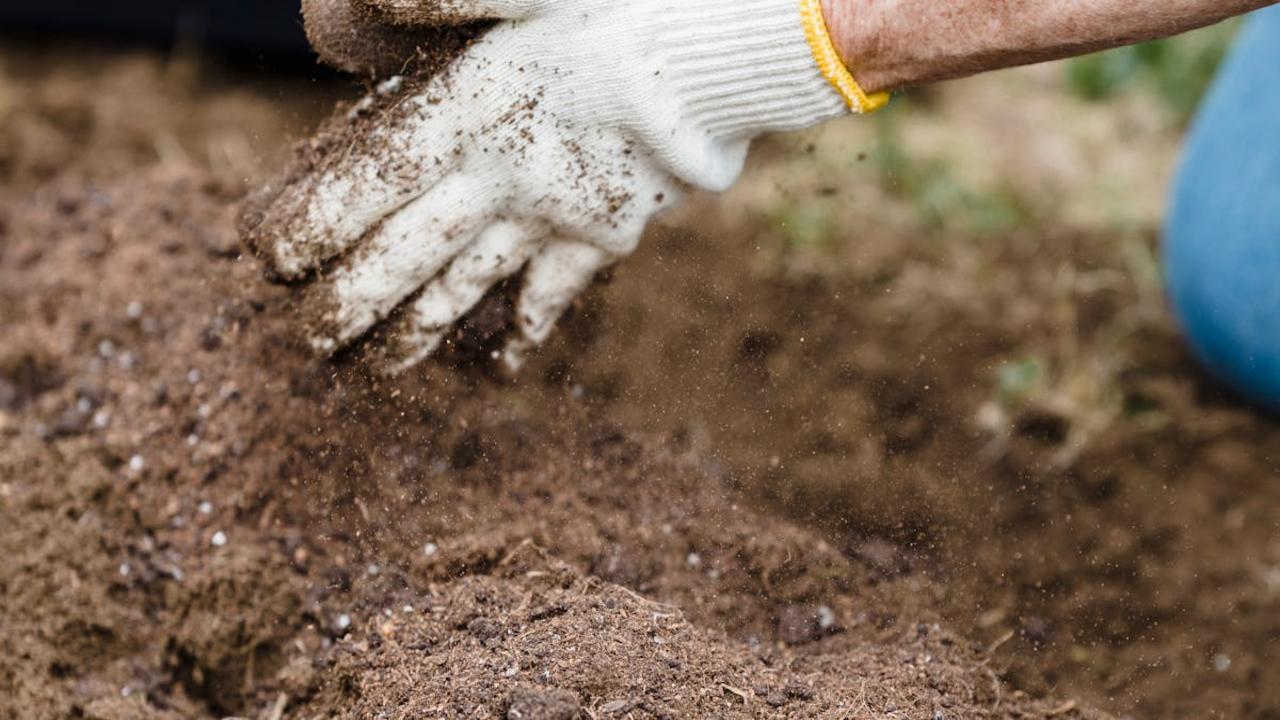
You know what breaks my heart? Watching perfectly good food scraps hit the trash can when they could be transformed into black gold for your garden. Starting a compost bin changed everything about how I view kitchen waste – those banana peels, coffee grounds, and vegetable trimmings become nutrient-rich soil that feeds my herb garden and tomato plants. I keep a small container on my counter for scraps, and once it’s full, everything goes into my backyard composter. The process feels almost magical, watching yesterday’s carrot tops become tomorrow’s plant food.
If you don’t have outdoor space, indoor composting systems work beautifully too – I’ve helped friends set up countertop composters in their tiny apartments. The key is balancing “green” materials like fruit peels and vegetable scraps with “brown” materials like dried leaves or shredded paper. Within months, you’ll have rich, dark compost that makes your plants thrive while dramatically reducing your household waste. Plus, there’s something deeply satisfying about completing this natural cycle – your kitchen scraps nourish the soil that grows more food for your table.
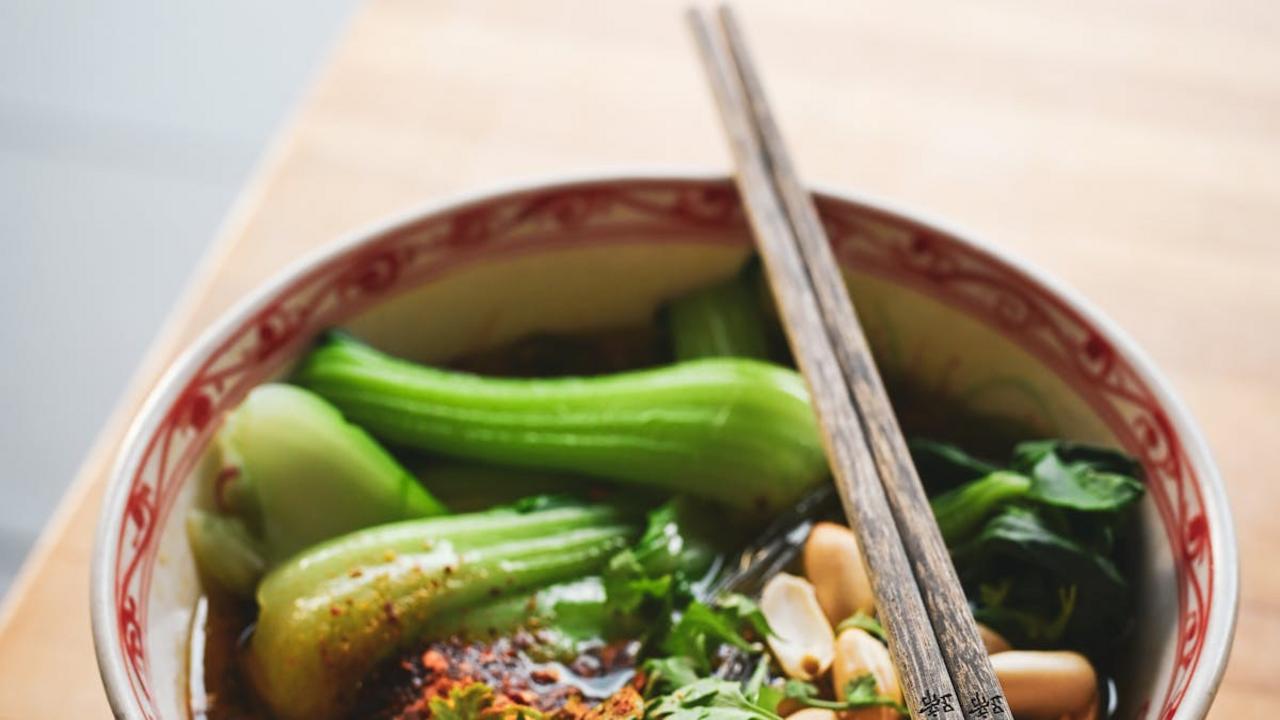
Creative Leftover Transformations
Your leftover roasted vegetables don’t need to sit sadly in the fridge until they turn questionable. I transform mine into vibrant grain bowls, blend them into creamy soups, or fold them into frittatas that become next-day breakfast gold. That half-cup of cooked rice? It becomes the base for stuffed bell peppers or gets tossed into a quick fried rice with whatever protein you have on hand. Even stale bread transforms into golden breadcrumbs, savory bread pudding, or crispy croutons that elevate simple salads into something special.
The magic happens when you stop seeing leftovers as limitation and start viewing them as your creative canvas. I take leftover roasted chicken and turn it into Thai-inspired larb with fresh herbs, or mix it into a comforting coconut curry that tastes nothing like yesterday’s dinner. Pasta water becomes the base for tomorrow’s soup stock, and those wilting herbs get blitzed into vibrant pestos or chimichurris that keep for weeks. This approach doesn’t just save money—it trains your palate to think beyond recipes and trust your instincts in the kitchen.
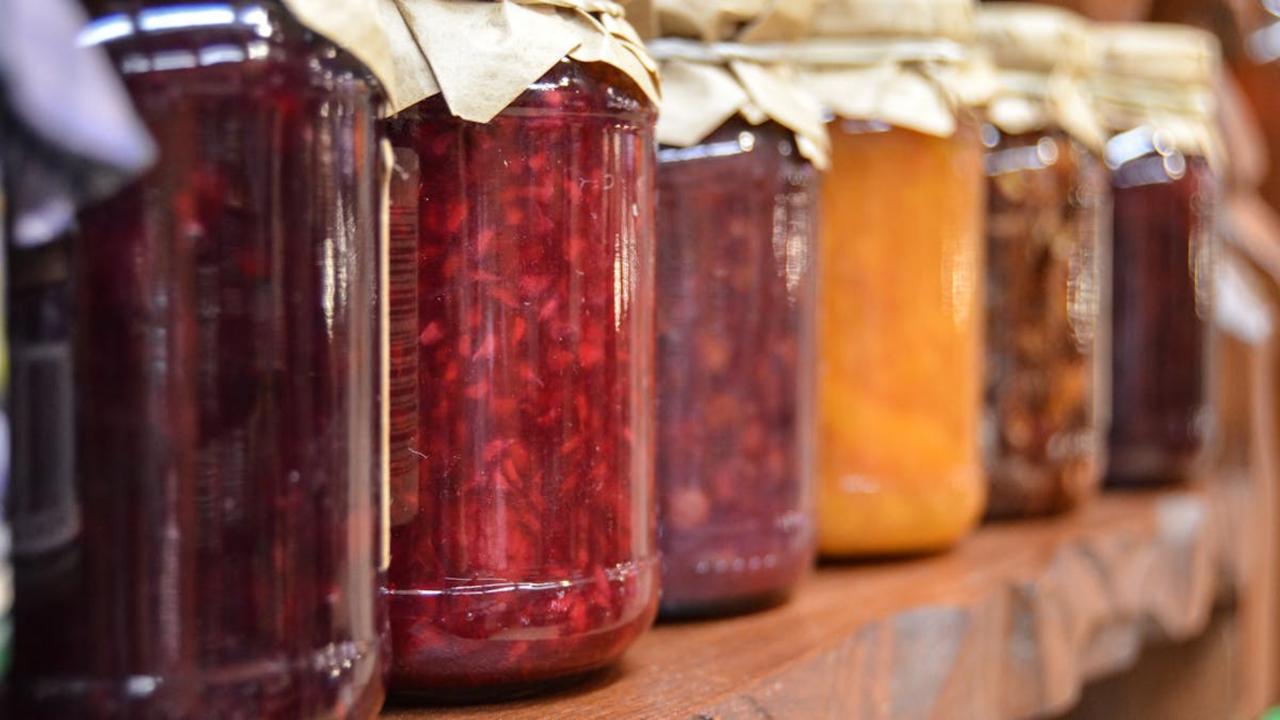
Ripe Fruit for Homemade Jams and Preserves
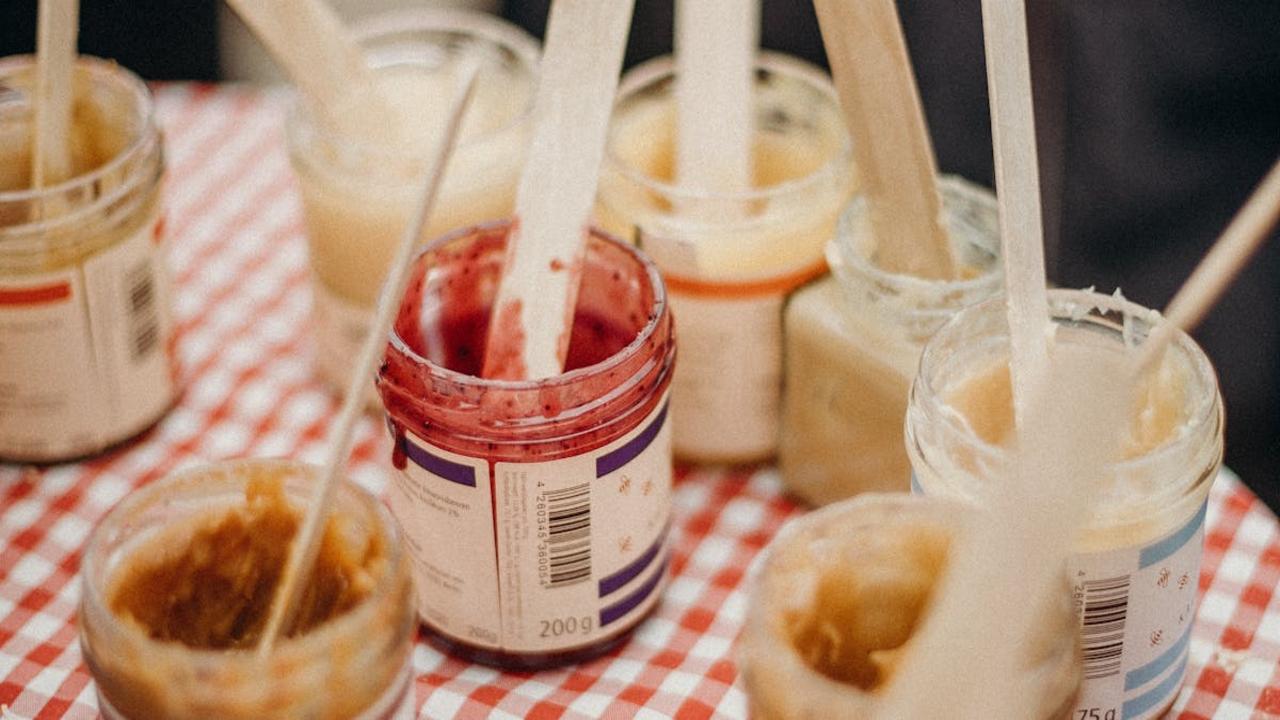
Those overripe peaches sitting on your counter? Don’t toss them! I’ve learned that the softest, most blemished fruits often make the most incredible jams and preserves. When fruit reaches that almost-too-soft stage, its natural sugars have concentrated beautifully, creating deeper flavors that you simply can’t get from perfectly firm produce. I grab whatever’s getting too ripe – strawberries with soft spots, bananas with brown patches, or pears that feel like they might burst – and transform them into gorgeous spreads that last for months.
Making your own preserves saves serious money compared to buying premium jams from the store, and you control every ingredient that goes in. Start with equal parts fruit and sugar, add a splash of lemon juice, and let the magic happen on your stovetop. I love mixing different fruits together – maybe some overripe mangoes with a handful of bruised strawberries for a tropical twist. The process feels meditative, and your kitchen fills with the most amazing aromas. Store your homemade creations in clean jars, and you’ll have breakfast spreads, dessert toppings, and thoughtful gifts ready whenever you need them.
Converting Stale Bread into Breadcrumbs
You know that loaf sitting on your counter that’s gone a bit too firm for sandwiches? Don’t toss it! I transform stale bread into golden breadcrumbs that become my secret weapon in the kitchen. Simply tear the bread into chunks, then pulse them in your food processor until you get the texture you want – coarse for that satisfying crunch on top of casseroles, or fine for coating chicken cutlets. If you don’t have a food processor, no worries – a good old-fashioned grater works perfectly, and there’s something meditative about the rhythmic motion of grating bread by hand.
Store these homemade breadcrumbs in an airtight container in your freezer, and they’ll keep for months, ready whenever you need them. I love using mine to create crispy toppings for my roasted vegetables – just mix the breadcrumbs with olive oil, garlic, and fresh herbs from my garden. They also work beautifully in meatballs, adding texture and helping bind everything together naturally. What makes this hack so brilliant is that you’re not only saving money by avoiding store-bought breadcrumbs (which often contain unnecessary preservatives), but you’re also giving new life to bread that would otherwise end up in the trash.
Preserving Through Pickling and Fermentation
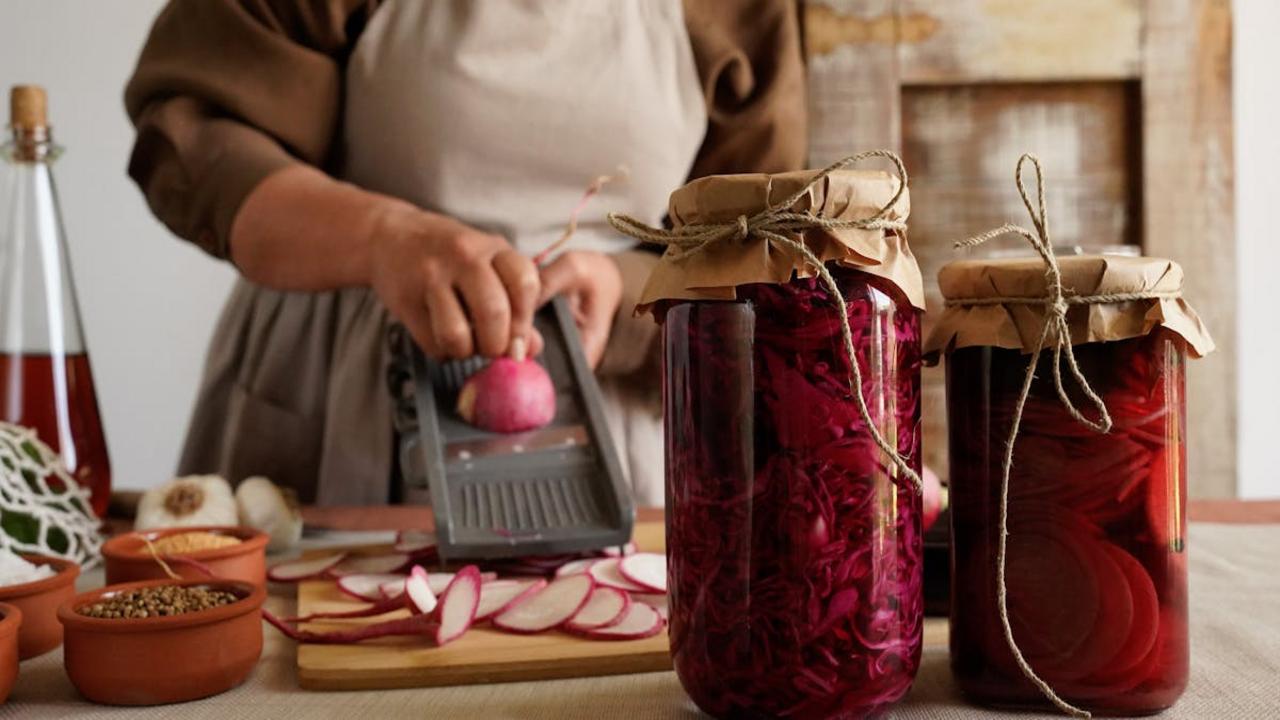
You know that feeling when you buy too many vegetables with the best intentions, only to watch them slowly wilt in your cridge? I’ve been there countless times! That’s exactly when I discovered the magic of pickling and fermentation – two ancient preservation methods that have completely transformed how I handle excess produce. Quick pickles take just 15 minutes and can rescue everything from cucumbers to radishes, turnips, and even watermelon rinds. I simply heat equal parts water and vinegar with a pinch of salt and sugar, pour it over my vegetables, and within hours I have tangy, crunchy additions for salads, sandwiches, and grain bowls.
Fermentation opens up an even more exciting world of possibilities. I’ve learned to turn cabbage scraps into sauerkraut, transform wilting greens into kimchi-style ferments, and even create probiotic-rich beverages from fruit peels. The process requires nothing more than salt, time, and the beneficial bacteria naturally present on fresh produce. Start with simple salt-brined vegetables – pack them in jars with 2% salt by weight, keep them submerged under the brine, and watch as they develop complex, tangy flavors over days or weeks. These fermented foods not only save money and reduce waste but also add incredible depth to your meals while supporting gut health through beneficial probiotics.
Reviving Wilted Produce in Ice Water

You know that sinking feeling when you open your crisper drawer and find limp lettuce, droopy herbs, or sad-looking carrots staring back at you? Before you toss them in the compost, try this simple revival technique that works like magic. Fill a large bowl with ice-cold water and submerge your wilted vegetables completely. The shock of cold water helps the plant cells reabsorb moisture and regain their crisp texture. I discovered this method years ago when my grandmother showed me how she rescued day-old greens from the market, and now it’s become second nature in my kitchen.
Different vegetables need different soaking times—delicate herbs like basil and cilantro only need 10-15 minutes, while heartier vegetables like carrots, celery, and broccoli can benefit from 30 minutes to an hour. You’ll be amazed at how vibrant and fresh your produce looks after this cold-water treatment. This technique works because wilting happens when vegetables lose water from their cells, and the ice bath helps reverse this process by creating the right conditions for rehydration. I use this method regularly, especially with farmers market hauls that sit in my fridge for a few days before I can cook with them.
Using Vegetable Scraps for Homemade Stock
You know what breaks my heart? Watching perfectly good vegetable scraps go straight into the trash when they could become the foundation of something absolutely magical. I keep a freezer bag going at all times, tossing in onion peels, carrot tops, celery leaves, mushroom stems, and herb scraps. Even those wilted vegetables sitting sadly in your crisper drawer can find new purpose here. Think of it as giving your vegetables a second chance to shine – and trust me, they’ll reward you with depths of flavor you never imagined possible.
Making homemade stock transforms your kitchen into a place of pure alchemy, turning what most people discard into liquid gold that costs you practically nothing. I simmer my collected scraps with water, a bay leaf, and maybe some peppercorns for about an hour, then strain the whole thing through a fine-mesh sieve. The result? A rich, complex base that makes store-bought versions taste flat and artificial by comparison. This homemade stock becomes the secret weapon in my soups, risottos, and braised dishes, adding layers of umami that you simply can’t buy in a carton. Plus, you’ll save serious money while reducing your household waste – now that’s what I call cooking smart.
Freezing Excess Fresh Herbs in Oil

Fresh herbs can transform any dish, but watching them wilt in your refrigerator feels like money down the drain. I discovered this brilliant trick during one of my recipe testing marathons when I had mountains of basil, cilantro, and parsley threatening to turn into expensive compost. Simply chop your herbs finely, mix them with a good olive oil or neutral oil, then freeze the mixture in ice cube trays. Each cube becomes a flavor-packed portion ready to drop into soups, stews, or sautéed vegetables.
This method preserves the herbs’ vibrant color and concentrated flavor far better than dried alternatives. You can create custom blends too—imagine cubes of garlic-herb oil with rosemary and thyme for roasted vegetables, or cilantro-lime combinations perfect for Mexican-inspired dishes. Once frozen solid, pop the cubes into freezer bags and label them clearly. These herb cubes last for months and save you from those midnight grocery runs when a recipe calls for fresh herbs you don’t have on hand.
Understanding Expiration vs Best-By Dates

You know what drives me absolutely crazy? Walking into someone’s kitchen and watching them toss perfectly good food because they misread those confusing date labels. Here’s the truth that food companies don’t always make clear: “best-by” dates aren’t expiration dates at all! They’re simply the manufacturer’s estimate of when the product will taste its absolute best. I’ve cooked with canned beans months past their best-by date, and they were completely fine. Your senses are far better judges than any printed date – trust your nose, eyes, and common sense over arbitrary numbers.
The real expiration dates you need to respect are “use-by” dates on highly perishable items like dairy and fresh meat. But even then, I’ve learned to be flexible. That carton of milk that’s one day past its use-by date? Give it a sniff test first. If it smells fresh and looks normal, it’s probably still good for cooking or baking. I’ve saved countless dollars by understanding these distinctions and trusting my instincts. Start checking your pantry with this new knowledge – you’ll be amazed at how much “expired” food is actually perfectly safe and delicious to eat.
Proper Storage Techniques for Different Produce
You know that sinking feeling when you open your fridge and discover those beautiful tomatoes have turned mushy, or your leafy greens have transformed into a wilted mess? I’ve been there countless times, and through years of cooking with fresh ingredients from around the world, I’ve learned that different fruits and vegetables have their own storage personalities. Your bananas actually prefer room temperature and will ripen faster in the fridge, while your potatoes need a cool, dark space away from onions (they make each other spoil faster!). Herbs like basil act like fresh flowers—trim their stems and place them in water on your counter, but keep cilantro and parsley wrapped in damp paper towels in the fridge.
Here’s something that changed my kitchen game completely: understanding which produce releases ethylene gas and which ones are sensitive to it. Apples, avocados, and bananas are the big ethylene producers, so store them away from your leafy greens, carrots, and potatoes if you want everything to last longer. I keep my onions and garlic in a mesh bag in my pantry, my tomatoes on the counter until they’re perfectly ripe, then move them to the fridge to slow down the process. For leafy greens, I wash them immediately, spin them dry, and store them in containers lined with paper towels—this simple step has doubled their lifespan in my fridge. Trust me, once you start treating each ingredient according to its needs, you’ll watch your grocery budget stretch further and your cooking improve dramatically.
First In – First Out Storage Method
You know that feeling when you discover a forgotten bag of spinach turned into green slime at the back of your fridge? I’ve been there too many times! The First In – First Out method becomes your best friend in preventing this kitchen nightmare. Simply organize your pantry, fridge, and freezer so older items stay front and center while newer purchases go to the back. This restaurant-industry trick works magic in home kitchens because it forces you to use ingredients before they expire.
I started labeling everything with purchase dates using a simple marker, and now my family instinctively reaches for items based on their timeline. When I buy fresh herbs, the older bunch moves to the front counter where I can’t miss it, while the new one goes behind. This system works beautifully with canned goods, frozen proteins, and even those gorgeous heirloom tomatoes from the farmers market. You’ll save money by actually using what you buy, and your meals become more creative as you work with ingredients at their peak freshness rather than scrambling to save something that’s nearly past its prime.
Shop with a Specific List

You know that feeling when you walk into the grocery store with good intentions, only to come home with three bags of random ingredients that somehow don’t make a complete meal? I’ve been there countless times! Creating a specific shopping list before you head out isn’t just about staying organized—it’s your first line of defense against food waste. I always spend ten minutes before shopping to check what I already have at home, plan my meals for the week, and write down exactly what I need. This simple practice has transformed how I shop and cook, preventing me from buying duplicate items or impulse purchases that end up forgotten in the back of my fridge.
The magic happens when you organize your list by categories and think beyond just ingredients. I group items by produce, pantry staples, proteins, and dairy, but I also note quantities and intended uses. Instead of writing “tomatoes,” I write “3 large tomatoes for Sunday’s shakshuka and Tuesday’s salad.” This specificity keeps me focused and helps me visualize exactly how each item fits into my meal plans. When you shop with purpose, you buy with intention, and when you buy with intention, you waste less food. Plus, you’ll save money by avoiding those sneaky extras that seem appealing in the moment but don’t serve your actual cooking needs.
Meal Planning with Inventory Checks

I start every week by opening my refrigerator, pantry, and freezer to see what’s already there before I even think about grocery shopping. You’d be amazed how many forgotten vegetables hide behind condiment jars or how that bag of lentils you bought three weeks ago sits patiently waiting for its moment to shine. I grab a notebook and jot down everything I find – the half bunch of cilantro that’s still vibrant, those three sweet potatoes rolling around in the crisper drawer, and that container of leftover coconut milk from last Tuesday’s curry. This simple practice transforms random ingredients into the foundation of my weekly menu instead of letting them slowly deteriorate while I buy duplicates.
Once I know what I’m working with, I build my meal plan around these existing ingredients like solving a delicious puzzle. If I spot aging tomatoes and wilting basil, I know a rustic pasta sauce is calling my name. Those sweet potatoes might become the star of a warming African-inspired stew with whatever beans I discover in my pantry. This approach not only prevents food waste but actually makes me more creative in the kitchen – I’ve discovered some of my favorite recipes by working with what I already had rather than following a strict shopping list. Plus, my grocery bills have dropped significantly since I stopped buying ingredients I already owned, and I feel so much more connected to the food in my home.