15 Clever Ways to Stop Tossing Good Food at Home
Your kitchen holds incredible potential for reducing waste while creating amazing meals from what you already have. I’ve watched countless home cooks transform their cooking habits by learning simple techniques that keep food fresh longer and turn would-be scraps into something delicious. These strategies will change how you think about every ingredient in your pantry and refrigerator.
Food waste happens to everyone, but with the right approach, you can drastically cut down on what gets thrown away. From understanding storage methods to reimagining leftovers, each technique builds upon your natural cooking instincts. You don’t need fancy equipment or complicated systems—just practical knowledge that makes every grocery dollar stretch further.
These fifteen methods will help you become more resourceful in the kitchen while discovering new flavors along the way. Whether you’re saving herb stems for stock or turning overripe fruit into preserves, each tip connects you more deeply with your ingredients and reduces your environmental impact.
Temperature Zones in Refrigerator
Your refrigerator isn’t just one big cold box—it’s actually a collection of different temperature zones, each perfect for specific types of food. I learned this the hard way after watching expensive produce wilt in the wrong spots! The top shelves stay warmest (around 38-40°F), making them ideal for leftovers, drinks, and ready-to-eat items. The middle shelves maintain consistent temperatures perfect for dairy products like milk, yogurt, and cheese. Meanwhile, the bottom shelf runs coldest (32-34°F), which makes it your best friend for storing raw meats and fish safely.
Understanding these zones transforms how you organize food and dramatically reduces waste. I keep my fresh herbs in water containers on the top shelf, store my homemade bone broth on the middle shelves, and always place raw chicken on the bottom shelf in a rimmed dish to catch any drips. The crisper drawers have their own magic too—the high-humidity drawer keeps leafy greens crisp for weeks, while the low-humidity drawer prevents fruits like apples and pears from getting soggy. Once you start thinking of your fridge as different neighborhoods for different foods, you’ll notice your groceries staying fresh much longer, and your wallet will thank you for throwing away less spoiled food.
Storage Container Optimization
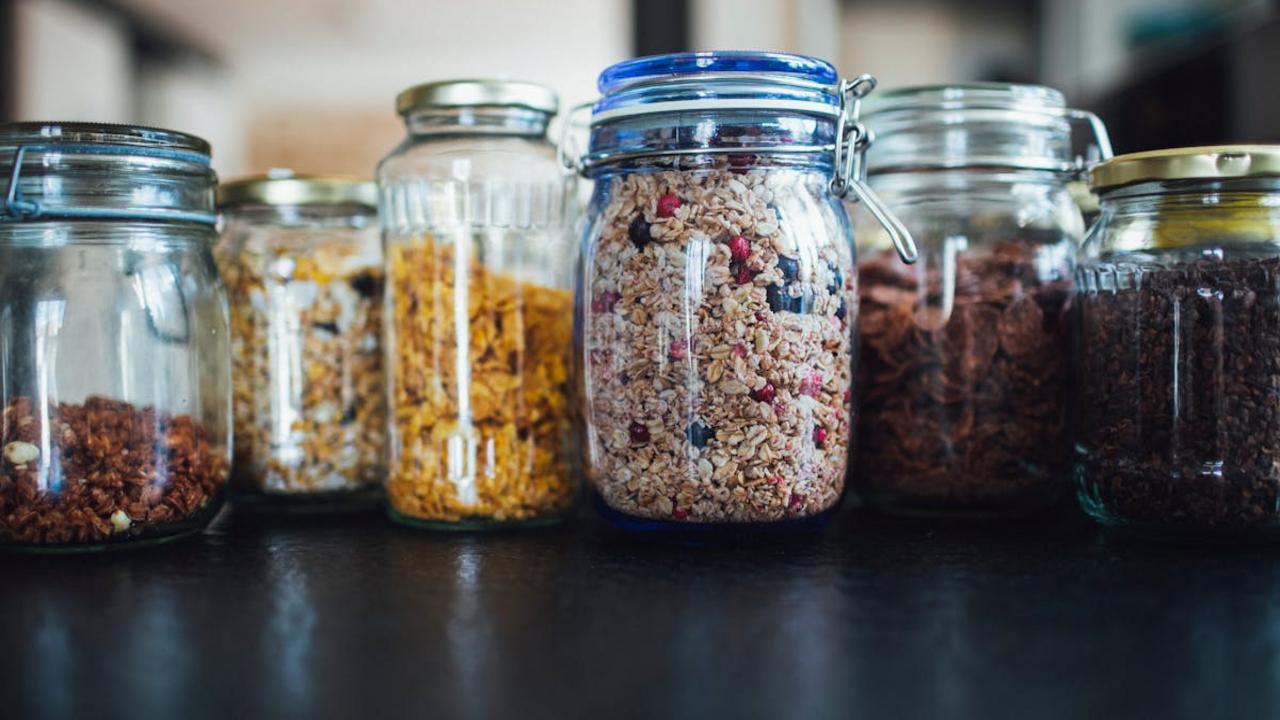
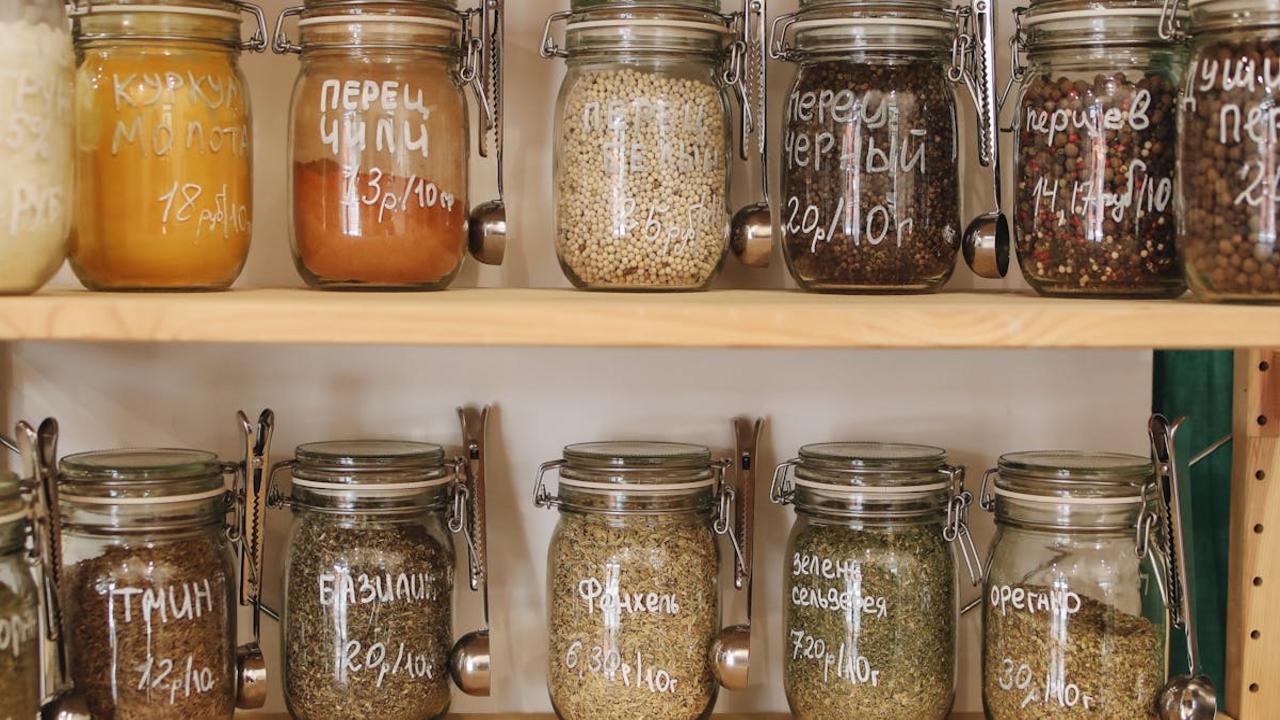
You know what transformed my kitchen from a chaotic food-wasting zone into an organized haven? Getting serious about my storage containers. I’m talking about investing in clear, airtight containers that actually stack properly and show me exactly what’s inside. Gone are the days of mysterious leftovers hiding in mismatched Tupperware or fresh herbs turning into green mush in plastic bags. Now I transfer grains, nuts, and dried legumes into glass jars the moment I bring them home, and my produce gets sorted into breathable containers that keep vegetables crisp for weeks instead of days.
The real magic happens when you match the right container to each ingredient’s personality. Leafy greens love containers with paper towels to absorb excess moisture, while root vegetables prefer slightly ventilated spaces. I keep my homemade spice blends in small mason jars, and leftover soups go into wide-mouth containers that make reheating a breeze. This system doesn’t just save money by extending food life—it actually makes me excited to cook because I can see all my beautiful ingredients clearly organized and ready to become something delicious. Trust me, proper storage containers are like having a personal assistant for your pantry.
Composting Food Scraps
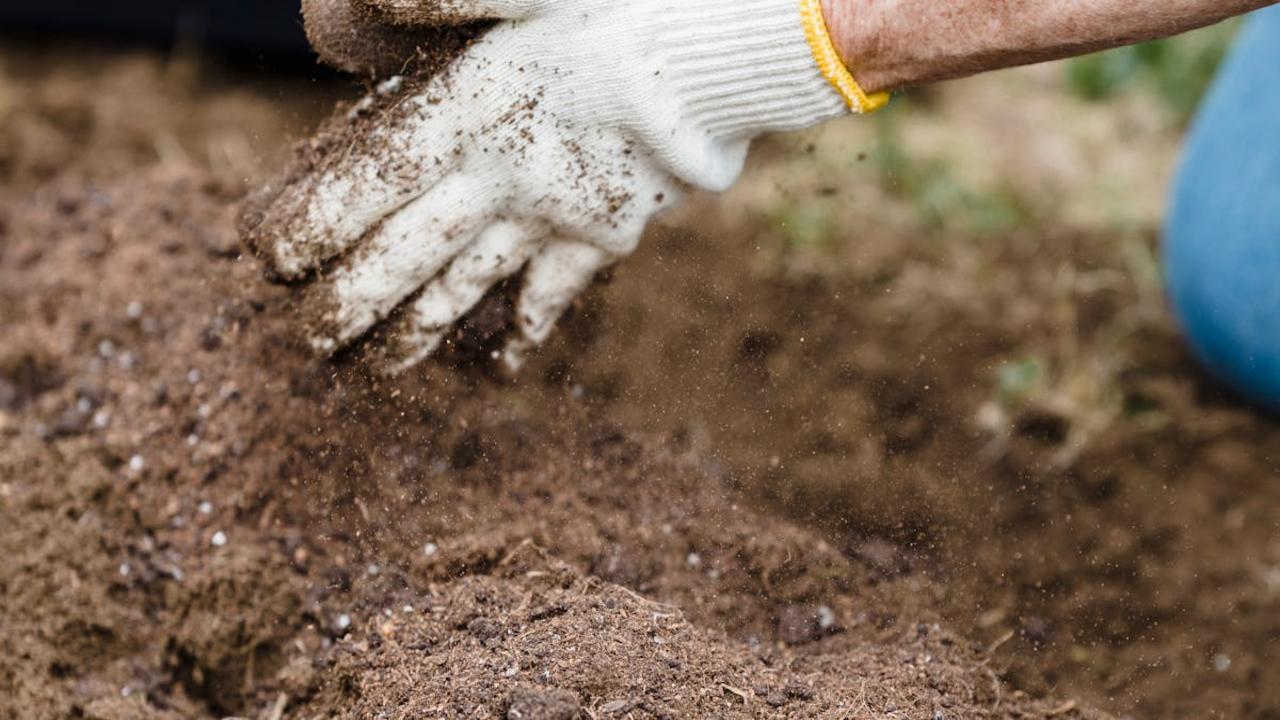
Friend, I want to share something that completely transformed my kitchen waste—turning those banana peels, coffee grounds, and veggie trimmings into black gold for my garden! Composting isn’t just about reducing waste; it’s about creating a beautiful cycle where your food scraps become the foundation for growing even more fresh ingredients. I keep a small counter container right next to my cutting board, and throughout the day, I toss in onion skins, herb stems, apple cores, and eggshells. The process feels so natural now, like I’m feeding the earth that feeds me back.
You don’t need a fancy setup to start—even apartment dwellers can create nutrient-rich compost with a simple bin system or worm composting. I love watching my morning coffee grounds and yesterday’s wilted greens transform into rich, dark soil that makes my tomatoes sing and my basil dance with flavor. The best part? You’ll notice your trash bags getting lighter while your garden gets stronger. Start small with fruit and vegetable scraps, avoid meat and dairy initially, and within months you’ll have your own homemade fertilizer that connects your kitchen directly to your growing space.
Creative Leftover Transformations
Think of your leftover rice as a blank canvas waiting for your creativity to shine. I transform mine into crispy fried rice with whatever vegetables are hanging out in my fridge – wilted spinach, half an onion, or those carrots that are starting to soften. Yesterday’s roasted chicken becomes today’s protein, and that sad-looking bell pepper finds new life with a quick sauté. The magic happens when you heat your pan really hot, add the cold rice, and watch it develop those beautiful golden edges that make every bite satisfying.
Your leftover soup base can become something completely different with just a few tweaks. I take yesterday’s vegetable soup and turn it into a hearty grain bowl by reducing it down and serving it over quinoa or bulgur wheat. Those extra mashed potatoes? They become the most incredible potato pancakes when mixed with an egg and pan-fried until crispy. Even stale bread gets a second chance in my kitchen – I cube it up, toss with olive oil and herbs, then bake until golden for homemade croutons that beat any store-bought version.
Ripe Fruit for Homemade Jams and Preserves
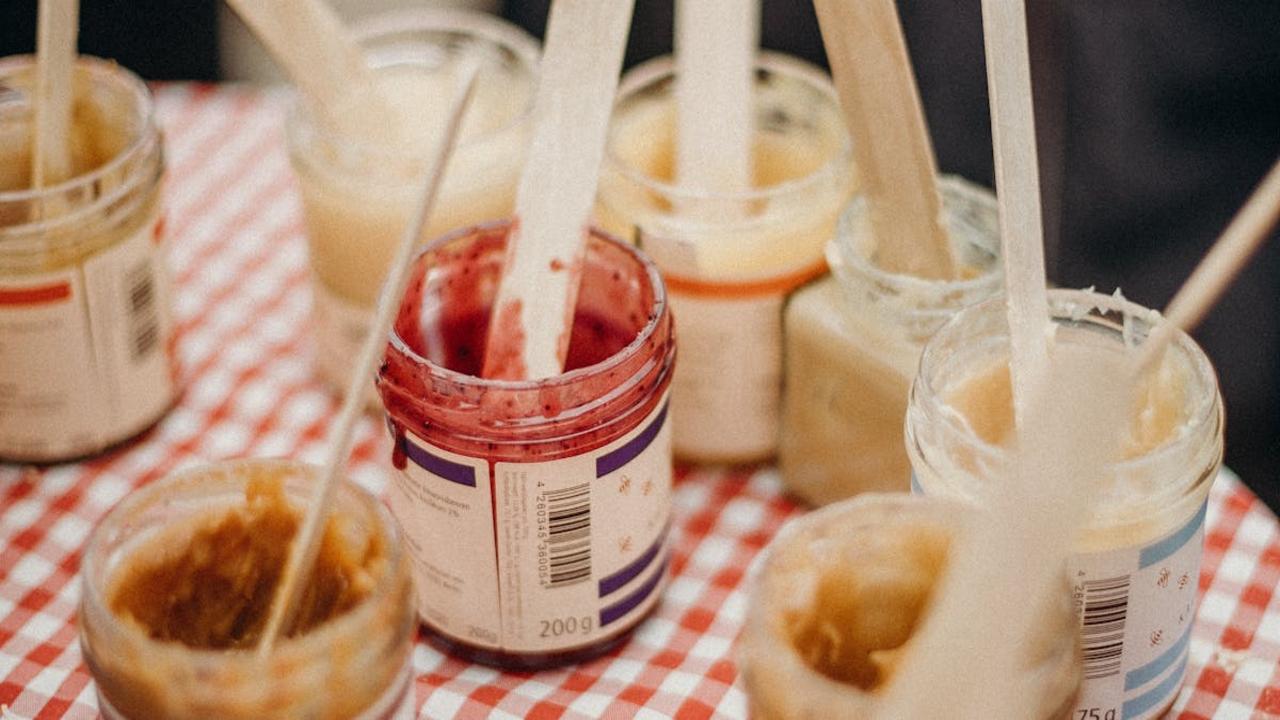
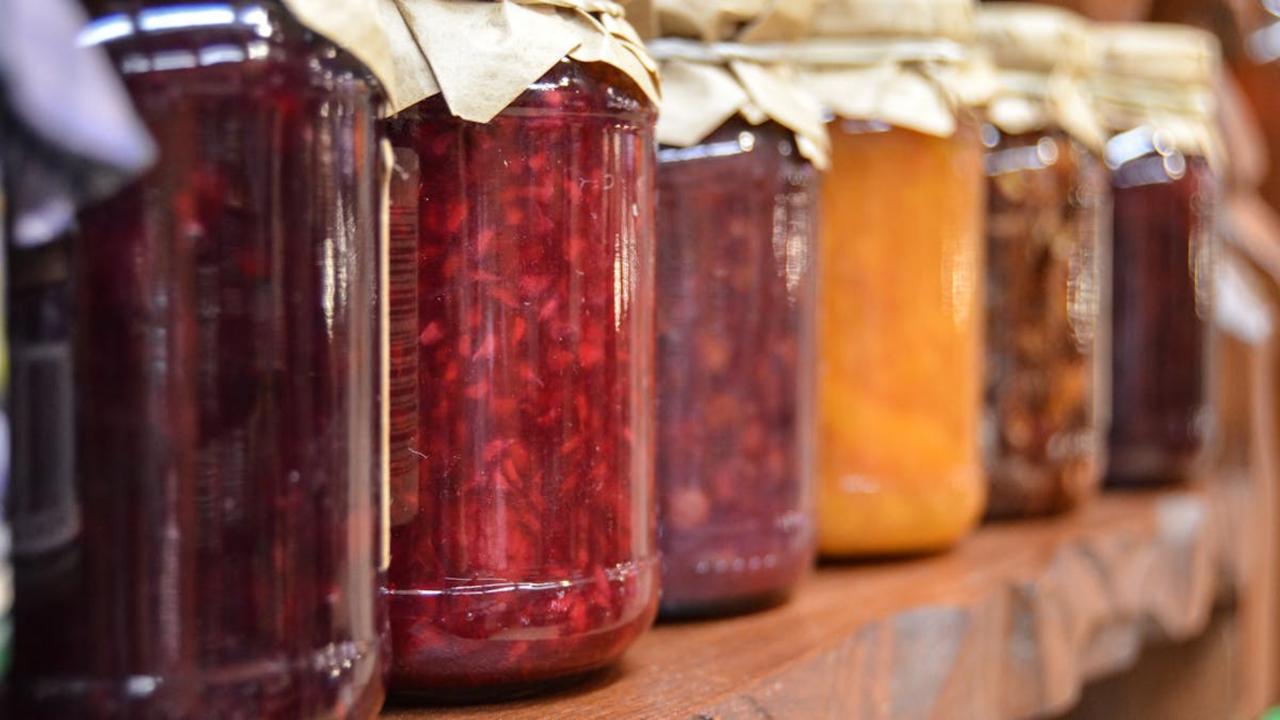
You know that moment when your bananas have gone spotty, your berries are getting soft, and those peaches feel a bit too squishy for fresh eating? Don’t toss them! This is actually the perfect time to transform them into gorgeous homemade jams and preserves. Overripe fruit contains concentrated natural sugars and deeper flavors that create the most incredible spreads. I always keep an eye on my fruit bowl, and the moment I spot that telltale softness, I know it’s jam-making time. The natural pectin in slightly overripe fruit helps your preserves set beautifully without needing artificial additives.
Making preserves at home connects you with traditional food preservation methods while giving you complete control over what goes into your pantry. Start simple with a basic ratio of fruit to sugar, add a splash of lemon juice for brightness, and let the magic happen on your stovetop. You can blend global flavors here too – try adding cardamom to your peach jam, ginger to your apple butter, or a hint of vanilla to strawberry preserves. These homemade creations last months in your refrigerator and make thoughtful gifts for friends and family. Plus, you’ll never waste another piece of overripe fruit again!
Converting Stale Bread into Breadcrumbs
You know that feeling when you discover a forgotten loaf tucked away in your pantry, now harder than a rock? Don’t toss it! I transform stale bread into golden, fragrant breadcrumbs that add incredible texture to countless dishes. Simply tear the bread into chunks and pulse them in your food processor until you get coarse crumbs. For an extra layer of flavor, I toast them in a dry skillet with a pinch of herbs like oregano or thyme, creating an aromatic coating that makes even the simplest vegetables sing.
These homemade breadcrumbs become your secret weapon in the kitchen. I sprinkle them over roasted cauliflower with garlic and lemon, mix them into meatballs for extra binding, or use them to create crispy toppings for gratins. You can store them in airtight containers for weeks, or freeze them for months. The beauty lies in how this simple technique turns waste into something that adds both crunch and depth to your cooking. Every time you make breadcrumbs from stale bread, you’re creating something far superior to store-bought versions while keeping perfectly good food out of the trash.
Preserving Through Pickling and Fermentation
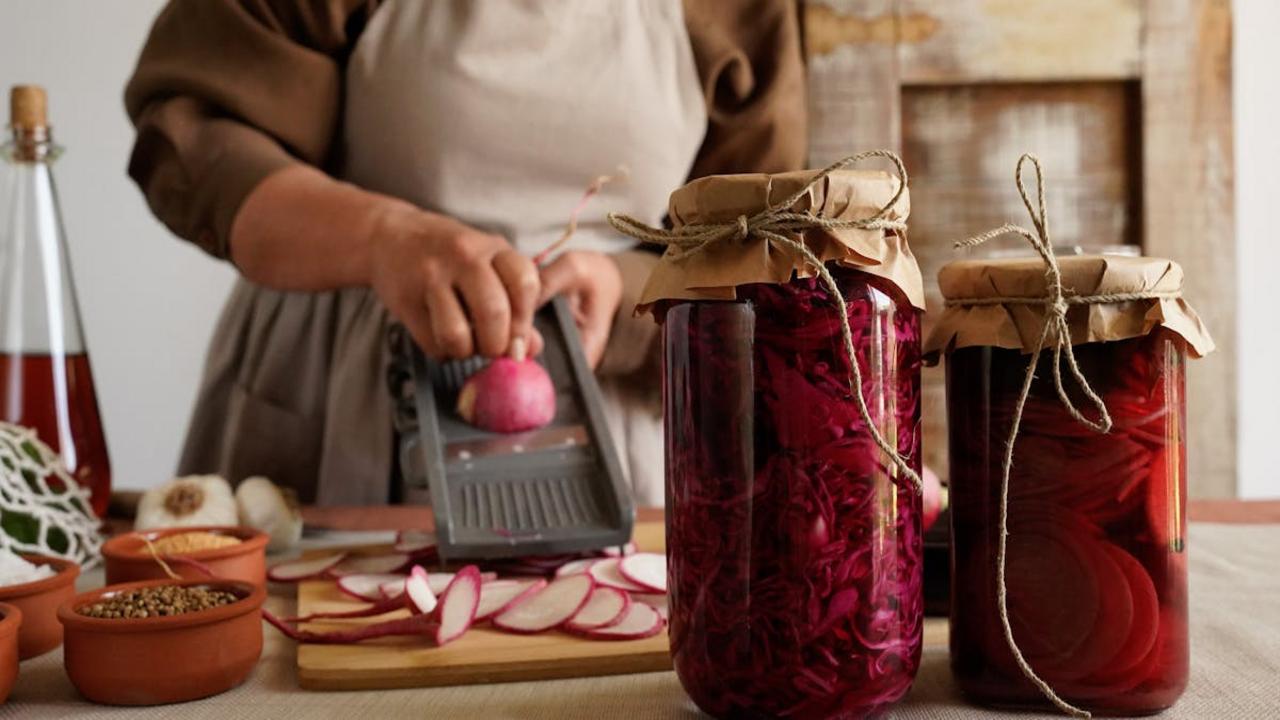
You know that feeling when you buy gorgeous vegetables with the best intentions, only to watch them slowly wilt in your fridge? I’ve been there countless times! That’s exactly why I started experimenting with pickling and fermentation – these ancient preservation methods have completely transformed how I approach food waste in my kitchen. Quick pickles work magic on everything from radish tops to cucumber ends, while fermentation turns forgotten cabbage into tangy sauerkraut or kimchi. The beauty lies in how these techniques actually improve the nutritional value of your ingredients while extending their life by weeks or even months.
What I love most about this approach is how it connects us to traditional cooking wisdom from around the world. Korean households ferment vegetable scraps into banchan side dishes, while Middle Eastern cooks pickle turnips and cauliflower to accompany hearty meals. You can start simple with a basic brine of vinegar, water, and salt for quick pickles, or dive deeper into lacto-fermentation using just salt and time. I keep mason jars ready for any vegetables that need rescuing – carrot peels, beet greens, even those slightly soft bell peppers find new life this way. The probiotics you create through fermentation support gut health while the pickled vegetables add bright, acidic notes that wake up any dish.
Reviving Wilted Produce in Ice Water

You know that sinking feeling when you open your crisper drawer and find limp lettuce leaves or drooping herbs staring back at you? Before you toss those sad vegetables into the compost bin, try this simple ice water revival trick that has saved countless meals in my kitchen. Fill a large bowl with cold water and add plenty of ice cubes, then submerge your wilted greens completely. The shock of cold water works like magic, causing the plant cells to absorb moisture and firm up again. I’ve rescued everything from tired spinach to droopy cilantro this way, and the transformation happens faster than you’d expect.
This method works particularly well for leafy greens, herbs, celery, and even slightly soft carrots or radishes. Let them soak for 15-30 minutes, depending on how wilted they are, then pat them dry with clean kitchen towels. I often prep my revived greens immediately into salads or store them properly in the refrigerator for later use. The key is catching them before they’ve gone too far – if the leaves are slimy or have dark spots, it’s time to compost them. But for produce that’s simply lost its crispness, this ice water bath gives them a second chance to shine in your cooking.
Using Vegetable Scraps for Homemade Stock
You know that feeling when you’re prepping vegetables and watching all those perfectly good scraps hit the compost bin? I used to do the same thing until I realized I was throwing away liquid gold. Those onion skins, carrot tops, celery leaves, mushroom stems, and herb stems contain incredible flavor compounds that transform into the most aromatic, nutrient-dense stock you’ve ever tasted. I keep a freezer bag specifically for collecting these scraps throughout the week—potato peels, leek greens, parsley stems, even the water from soaking dried mushrooms.
Making stock from scraps requires zero fancy techniques or expensive ingredients. Simply toss your frozen collection into a large pot, cover with water, add a splash of apple cider vinegar to help extract minerals, and let it simmer for 45 minutes to an hour. Strain out the solids, and you’ve got liquid magic that costs practically nothing but elevates every soup, stew, risotto, and grain dish you make. I freeze mine in ice cube trays for convenient portioning, then transfer to containers. This approach completely changed how I view food waste—now I see potential in every scrap and feel good knowing I’m nourishing my family while being kind to our planet.
Freezing Excess Fresh Herbs in Oil
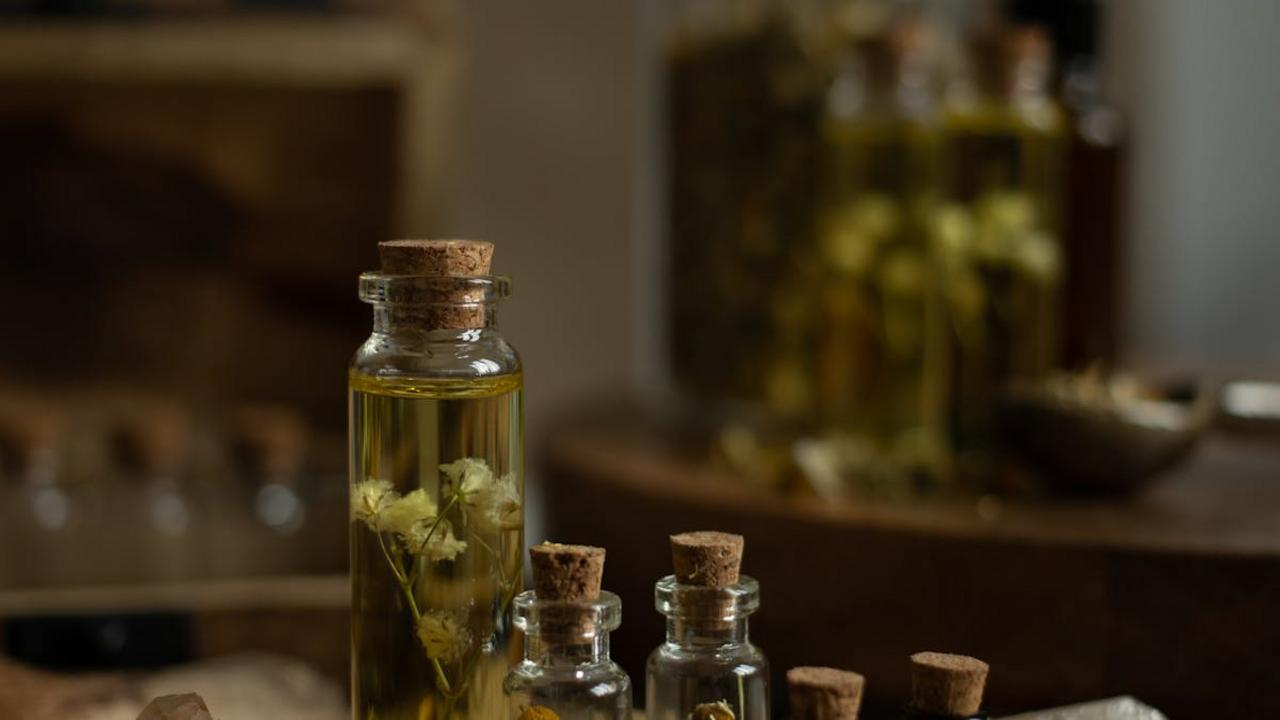
You know that moment when you buy a bundle of fresh basil for one recipe and watch the rest slowly wilt in your fridge? I’ve been there countless times! Instead of letting those beautiful herbs go to waste, I freeze them in olive oil using ice cube trays. Simply chop your herbs—whether it’s cilantro, parsley, dill, or that leftover basil—and pack them into ice cube compartments. Pour good olive oil over each portion until covered, then freeze solid. Once frozen, pop them out and store in freezer bags for up to six months.
These herb-oil cubes become your secret weapon for instant flavor in countless dishes. Drop a cube directly into hot pans when sautéing vegetables, add them to soups and stews, or toss them with roasted potatoes. The oil carries the herb’s bright flavors beautifully, and you get that fresh taste even months later. I particularly love making cilantro-lime cubes with a squeeze of lime juice mixed in—they transform simple rice dishes into something special. This method works with hardy herbs like rosemary and thyme too, though I prefer freezing delicate herbs like basil this way rather than trying to dry them.
Understanding Expiration vs Best-By Dates

Friend, I need to share something that completely changed how I approach my pantry and fridge. Those dates stamped on food packages? They’re not the gospel truth we’ve been treating them as. Most of those numbers represent “best-by” dates, not expiration dates, and there’s a world of difference between the two. Best-by dates simply indicate when the manufacturer believes the product will taste its absolute finest – not when it becomes unsafe to eat. I’ve discovered that canned goods, dried spices, and even dairy products often remain perfectly safe and delicious well beyond these suggested dates. Your senses become your best guide here: smell, look, and taste (when appropriate) to determine if something has actually gone bad.
Learning this distinction has saved me countless dollars and prevented so much unnecessary waste in my kitchen. Now I trust my instincts over arbitrary dates, and you should too. That yogurt a few days past its best-by date? Still creamy and tangy, perfect for my morning smoothie or as a base for homemade tzatziki. Those spices from last year? They might have lost some potency, but they’re still adding warmth and depth to my curries and stews. I encourage you to start reading labels more carefully – look for actual expiration dates on items like fresh meat and seafood, but treat best-by dates as gentle suggestions rather than strict rules. This simple shift in perspective will keep more nutritious food on your plate and less in your trash bin.
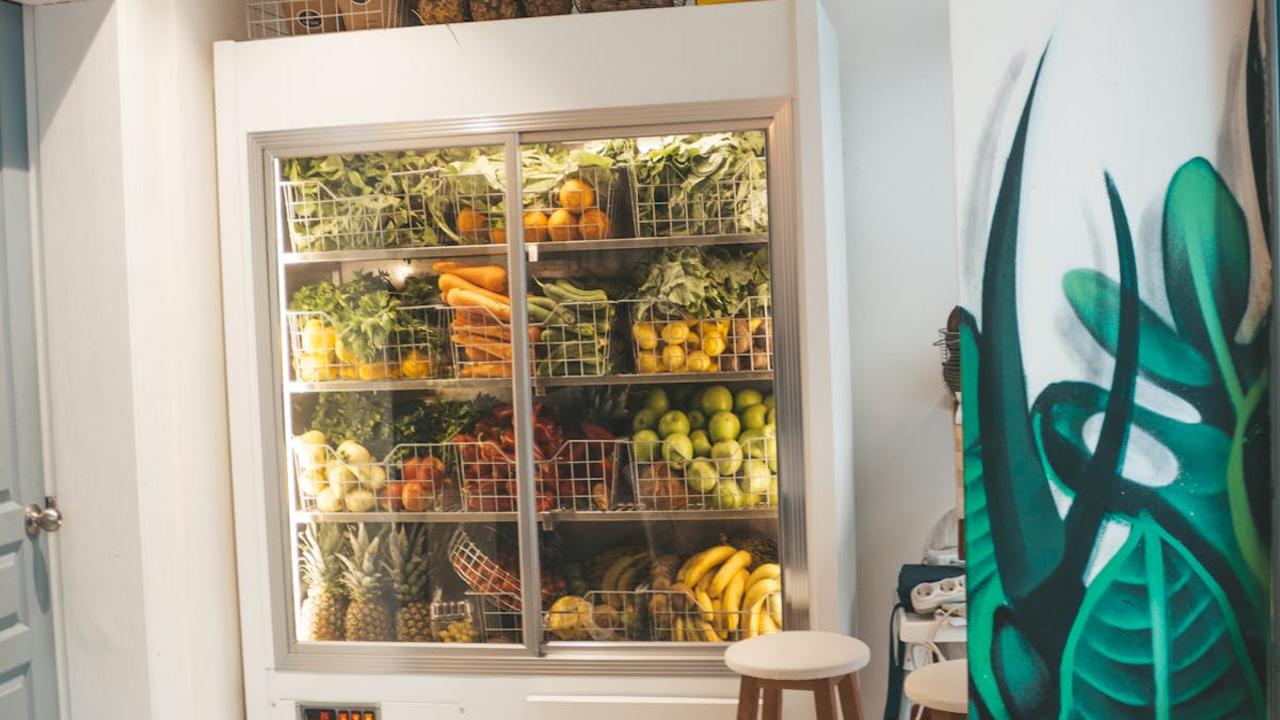
Proper Storage Techniques for Different Produce
You know what breaks my heart? Opening the fridge to find that beautiful bunch of herbs I bought three days ago looking like they’ve been through a windstorm. I’ve learned the hard way that each piece of produce has its own personality and storage needs. Leafy greens like spinach and lettuce stay crisp longer if you wrap them in slightly damp paper towels before placing them in perforated bags – this maintains humidity without creating that slimy mess we all dread. Root vegetables like carrots and radishes actually prefer to have their leafy tops removed immediately, as those greens continue drawing moisture from the root even after harvest.
Here’s what transformed my produce game: understanding that some fruits and vegetables are best friends while others are sworn enemies. I keep my bananas, apples, and tomatoes away from other produce because they release ethylene gas that speeds up ripening in nearby items. Meanwhile, I store my onions and garlic in a cool, dark place with good air circulation – never in plastic bags where moisture builds up and causes sprouting. For herbs, I treat them like fresh flowers: trim the stems and place them in water, covering the leaves loosely with a plastic bag. This simple shift has extended the life of my cilantro and parsley from three days to nearly two weeks, saving me countless trips to the market and keeping more money in my pocket.
First In – First Out Storage Method
You know that sinking feeling when you reach for an onion and find it’s sprouted into a science experiment? I’ve been there too many times, friend. The First In – First Out method changed everything for me – it’s like having a personal assistant for your pantry. When you bring groceries home, place new items behind older ones, so you naturally reach for what needs using first. I started doing this with everything: canned tomatoes, spice jars, even my precious collection of international hot sauces. It sounds simple, but this small shift keeps ingredients rotating properly and prevents that heartbreaking moment when you discover expensive saffron threads have lost their potency.
This method works beautifully whether you’re storing fresh ginger root for your next curry or keeping track of multiple bags of rice from different shopping trips. I label everything with purchase dates using a simple marker – nothing fancy needed. Your refrigerator benefits tremendously too: place newer yogurt containers behind older ones, fresh herbs in front of wilting ones. Think of your storage areas as a gentle conveyor belt where older ingredients get their moment to shine before newer ones take the spotlight. This approach has saved me countless dollars and inspired creative cooking sessions where I transform soon-to-expire ingredients into unexpected flavor combinations.
Shop with a Specific List

You know that feeling when you walk into the grocery store with good intentions, then somehow come home with three bags of snacks you didn’t need but forgot the onions for tonight’s curry? I’ve been there more times than I care to admit. Creating a specific shopping list has become my secret weapon against food waste and those spontaneous purchases that end up wilting in my crisper drawer. Before I head out, I take five minutes to plan my meals for the week, checking what’s already in my pantry and fridge. This simple practice has transformed how I cook and significantly reduced the amount of food I throw away.
When you shop with intention, you buy exactly what you need for the recipes you’ve planned. I organize my list by store sections—produce, pantry staples, proteins—which keeps me focused and prevents those wandering moments where impulse takes over. This approach also helps me think creatively about ingredients that can work across multiple dishes. If I’m buying fresh ginger for a stir-fry, I’ll plan to use it in a warming tea or add it to a salad dressing later in the week. Shopping with a specific list doesn’t limit your creativity in the kitchen; it actually enhances it by giving you a clear foundation to build upon while ensuring nothing goes to waste.
Meal Planning with Inventory Checks

You know that feeling when you open your fridge and discover wilted herbs hiding behind the yogurt, or find those beautiful vegetables you bought with such good intentions now looking sad and forgotten? I’ve been there too, and that’s exactly why I swapped my old random meal planning for something more intentional. Now, before I even think about what to cook this week, I take a complete inventory of what’s already living in my pantry, fridge, and freezer. This simple shift transformed how I cook and dramatically reduced the amount of food I throw away.
Here’s how I do it: every Sunday, I grab my phone and walk through my kitchen like I’m taking stock of a small market. I note everything from that half-can of coconut milk to those three lonely carrots in the crisper drawer. Then I build my weekly menu around these ingredients, treating them like the stars they deserve to be. That lonely butternut squash becomes the base for a warming curry with whatever spices I have on hand, and those random vegetables transform into a vibrant stir-fry or hearty soup. This approach turns meal planning into a creative puzzle rather than a chore, and I love how it pushes me to cook more intuitively and waste absolutely nothing.