10 Smart Freezer Hacks to Keep Food Fresh and Flavorful
Your freezer holds incredible potential for transforming how you store and enjoy food. Most home cooks underestimate this powerful kitchen ally, treating it as a simple storage space rather than a preservation powerhouse that can lock in nutrients and flavors for months.
Smart freezing techniques save you money, reduce food waste, and guarantee fresh-tasting meals whenever you need them. From proper temperature control to strategic packaging methods, these proven strategies will revolutionize your food storage approach and keep your ingredients at peak quality.
Ready to master your freezer? These ten practical tips will help you preserve everything from garden vegetables to batch-cooked meals with confidence. You’ll discover simple methods that professional chefs use to maintain texture, flavor, and nutritional value in frozen foods.
Food Safety Guidelines

Following proper food safety guidelines transforms your freezer from a simple storage space into a reliable food preservation system. Always freeze foods at their peak freshness—never freeze items that are already past their prime or showing signs of spoilage. Keep your freezer temperature at 0°F (-18°C) or below, and invest in a reliable freezer thermometer to monitor this consistently. Label everything with clear dates and contents, using freezer-safe markers that won’t fade over time. The “first in, first out” rule becomes your best friend here—use older items before newer ones to prevent waste and maintain optimal quality.
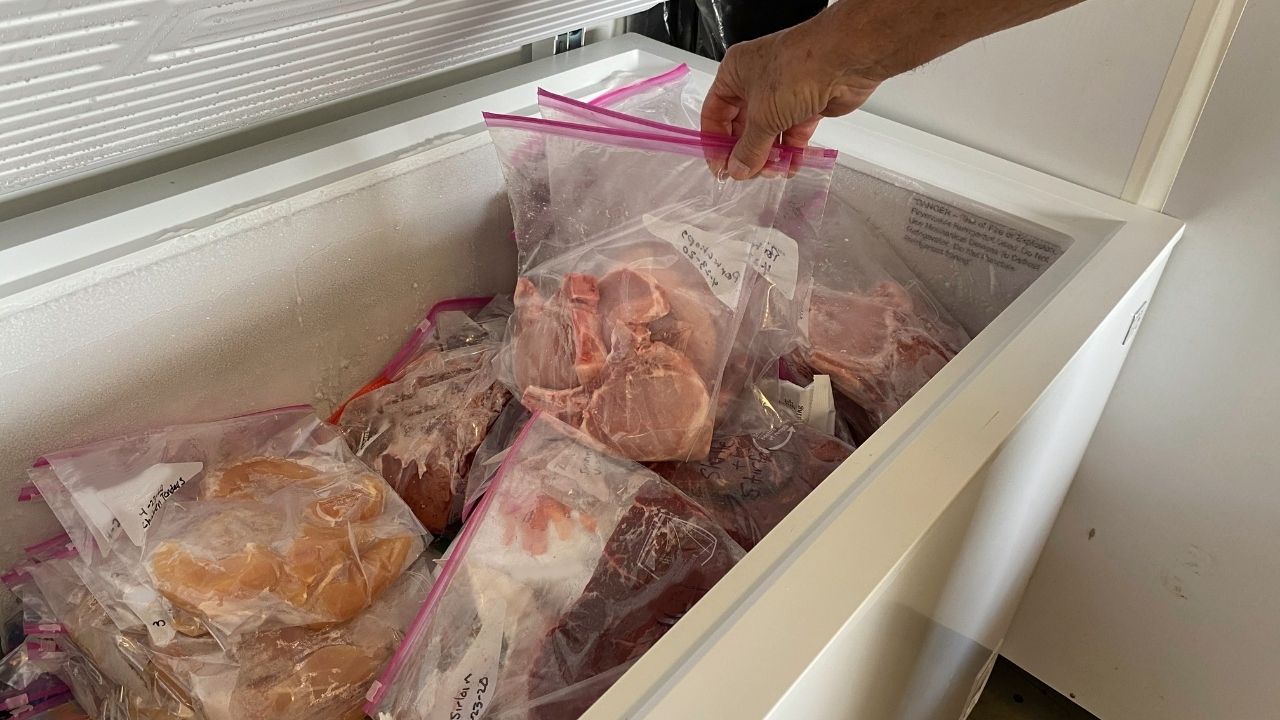
Raw meats require extra attention to prevent cross-contamination and maintain safety standards. Store raw proteins on the bottom shelf or in designated drawers to prevent any potential drips from contaminating other foods. Wrap meats in double layers—first in plastic wrap, then in aluminum foil or freezer bags—to create an airtight seal that prevents freezer burn and maintains flavor. Never refreeze previously thawed raw meat unless you’ve cooked it first. Remember that different foods have varying freezer lifespans: ground meat stays fresh for 3-4 months, while whole cuts can last 6-12 months. Cooked dishes generally maintain quality for 2-6 months, depending on ingredients and preparation methods.
Thawing Methods
Getting your frozen foods from freezer to fork doesn’t have to be a waiting game! The secret lies in choosing the right thawing method for what you’re preparing. For most proteins like chicken, fish, or beef, the refrigerator method works best – just move your frozen items to the fridge 24 hours before you plan to cook. This slow, steady approach keeps everything at a safe temperature while preserving texture and flavor. If you’re short on time, cold water thawing speeds things up significantly. Submerge your sealed frozen food in cold water, changing the water every 30 minutes.
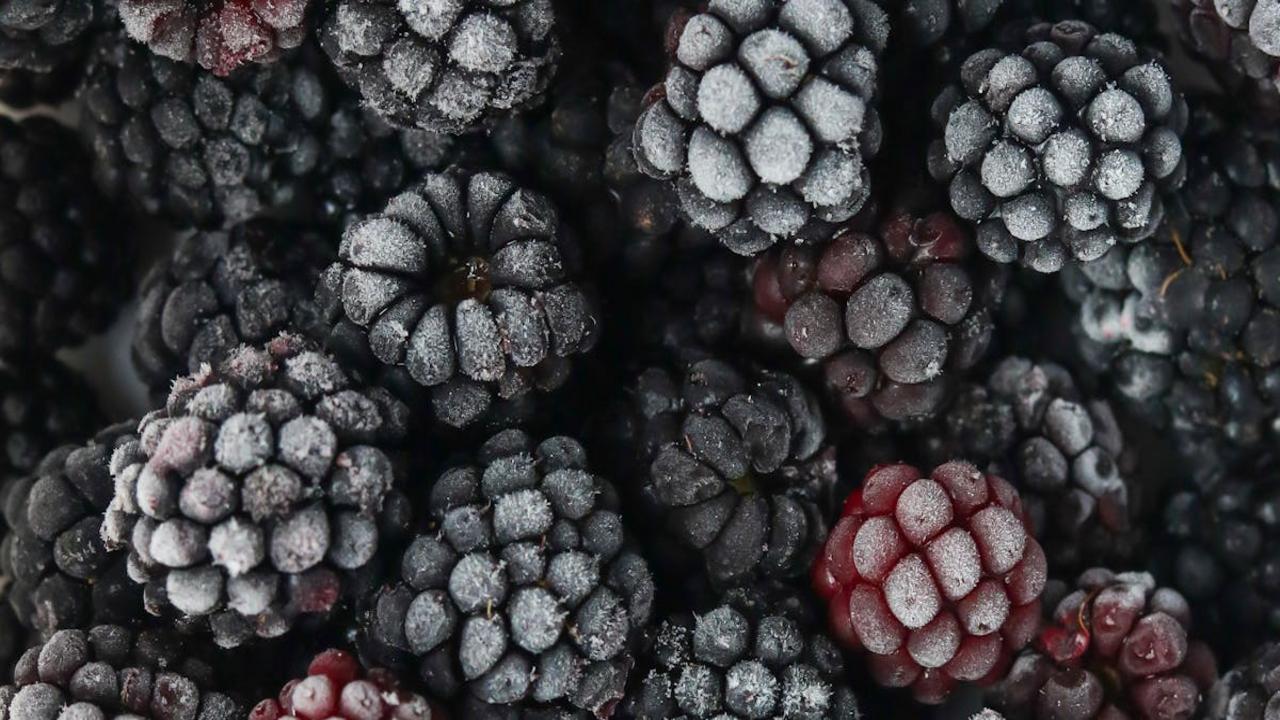
For vegetables and fruits, you often don’t need to thaw them at all! Frozen veggies can go straight into your stir-fry, soup, or steamer, saving you precious prep time. However, if you’re using frozen berries for smoothies or baking, a quick 10-15 minute counter thaw works perfectly. Never use hot water or leave food on the counter for hours – this creates the perfect environment for harmful bacteria. Your microwave’s defrost setting can work in a pinch, but use it immediately after thawing and cook right away. Trust me, taking a few extra minutes to thaw properly makes all the difference in your final dish!
Preventing Freezer Burn
Freezer burn happens when air sneaks into your food storage, creating those unsightly white or grayish patches that make your once-beautiful vegetables look like they’ve seen better days. The good news? You can totally prevent this kitchen nightmare with a few simple tricks! First, make sure you’re removing as much air as possible from your storage containers or bags. I love using vacuum-sealed bags for this, but if you don’t have a vacuum sealer, try the water displacement method – just submerge a zip-top bag in water (keeping the opening above the waterline) and let the water pressure push out all that pesky air before sealing.
Another game-changing tip is to wrap your food in multiple layers – think of it as giving your ingredients a cozy winter coat! Start with plastic wrap directly touching the food, then add a layer of aluminum foil or place everything in an airtight container. Temperature consistency matters too, so avoid storing food near the freezer door where temperatures fluctuate every time someone grabs ice cream. Instead, tuck your precious ingredients toward the back where it stays consistently cold. Trust me, these small steps make a huge difference in maintaining that fresh-from-the-garden flavor and texture that makes your future meals so much more enjoyable!
Smart Storage Organization
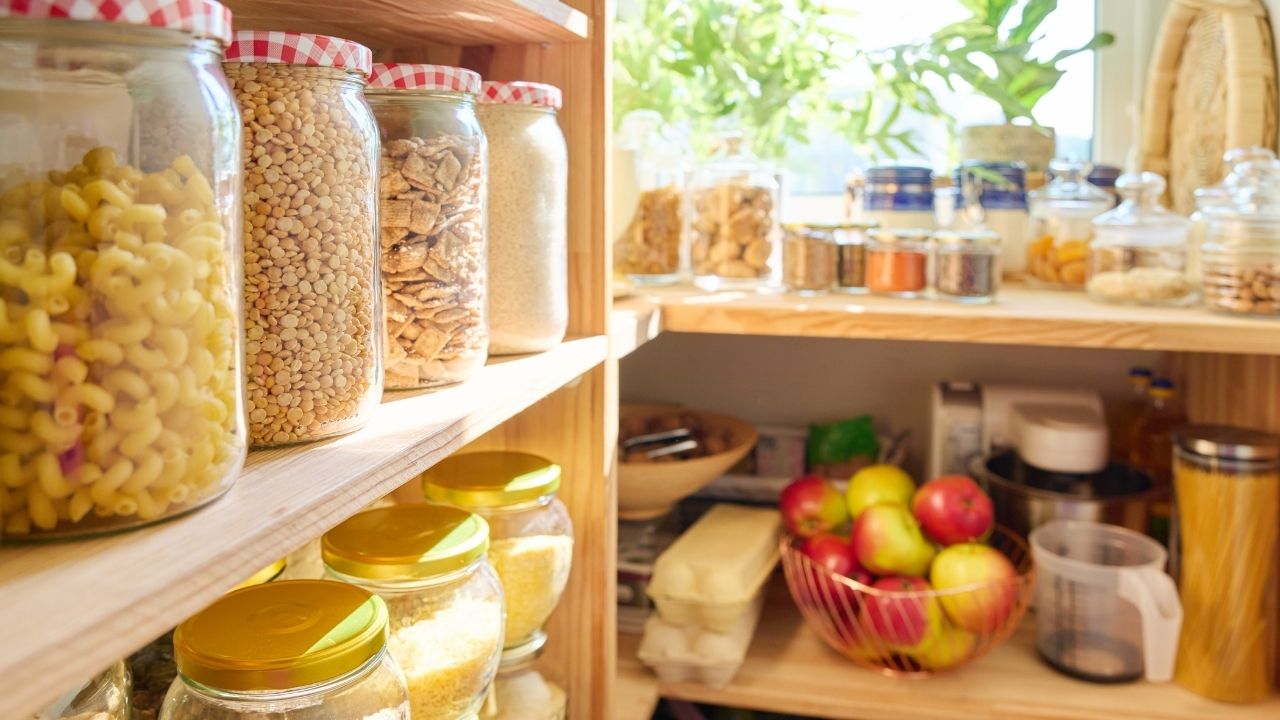
Your freezer doesn’t have to be a chaotic mess where mystery packages hide behind frozen peas! I love creating a system that makes finding ingredients quick and stress-free. Start by designating specific zones for different food categories – keep proteins on one shelf, vegetables in clear bins on another, and prepared meals stacked neatly in a third area. Label everything with the contents and date using masking tape and a permanent marker. This simple step saves you from playing freezer roulette when you’re trying to figure out if that white container holds soup or leftover mashed potatoes from three months ago.
Invest in clear, stackable containers and freezer bags that lay flat – they’re absolute lifesavers for maximizing space and keeping everything visible. I always arrange items so the oldest ones sit in front, following the “first in, first out” rule that restaurants use. Create a quick inventory list and tape it to your freezer door, updating it as you add or remove items. This prevents you from buying duplicates and helps you plan meals around what you already have. Trust me, once you implement this organized approach, you’ll wonder how you ever managed without it!
Removing Air from Containers

Air exposure becomes your frozen food’s worst enemy, causing freezer burn and robbing your meals of their original flavors and textures. When you store food in containers with extra air space, ice crystals form on the surface, creating that unappetizing white coating we all dread. I’ve learned that taking a few extra seconds to remove air from your storage containers makes an incredible difference in maintaining food quality for months.
You can easily squeeze out excess air from freezer bags by slowly sealing them while gently pressing the air toward the opening. For rigid containers, press plastic wrap directly onto the food surface before adding the lid – this creates a barrier that prevents air contact. Another trick I love involves filling containers to the brim, leaving minimal headspace for air to circulate. Your frozen soups, stews, and casseroles will thank you with preserved flavors that taste just as fresh as the day you made them. These simple steps transform your freezer storage game completely!
Blanching Vegetables
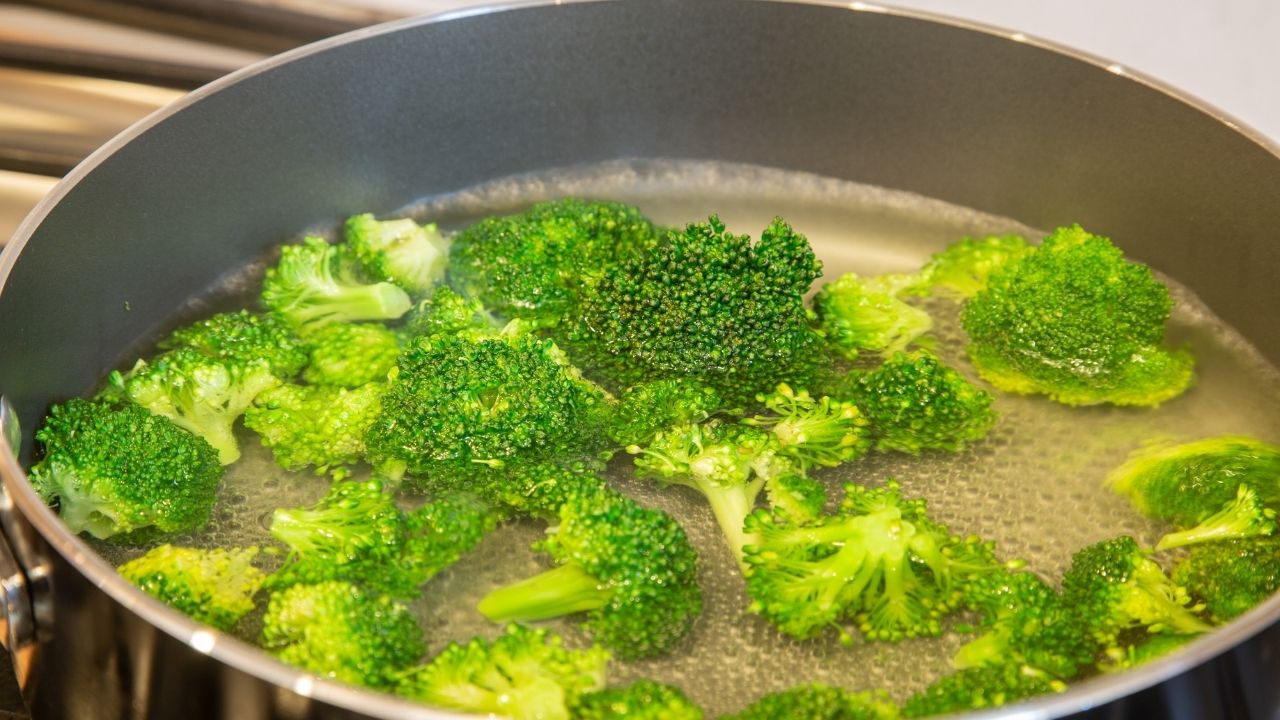
You know that sinking feeling when you open your freezer and find mushy, flavorless vegetables that look nothing like the vibrant produce you bought? Blanching is your secret weapon to prevent this kitchen heartbreak! This simple technique involves briefly boiling your vegetables for just 1-3 minutes, then immediately plunging them into an ice bath to stop the cooking process. The quick heat treatment deactivates enzymes that cause vegetables to lose their color, texture, and nutrients during freezing. Your broccoli stays bright green, your carrots maintain their satisfying crunch, and your green beans keep their fresh snap.
The beauty of blanching lies in its simplicity and the incredible results it delivers. After blanching and cooling your vegetables, pat them completely dry before portioning into freezer bags or containers. This extra step removes surface moisture that creates ice crystals and freezer burn. I love blanching big batches of seasonal vegetables when they’re at their peak – think summer corn kernels, fall Brussels sprouts, or spring asparagus spears. You’ll have perfectly preserved vegetables ready for quick weeknight stir-fries, hearty soups, or colorful side dishes. Your future self will thank you when dinner comes together in minutes with vegetables that taste like they were just picked from the garden!
Labeling and Dating System
Your freezer can quickly turn into a mystery zone without proper organization, and that’s where a solid labeling and dating system becomes your best friend! I always keep masking tape and a permanent marker right next to my freezer because trust me, you won’t remember what that foil-wrapped mystery package contains three months from now. Write the contents, portion size, and freeze date on every single item before it goes in. This simple habit will save you from playing freezer roulette and throwing away perfectly good food because you can’t identify it anymore.
Take your system one step further by using different colored tape or labels for different food categories – blue for proteins, green for vegetables, red for prepared meals. This visual coding makes meal planning so much easier when you can quickly scan and see what you have available. I also recommend placing newer items in the back and older ones in front, following the “first in, first out” rule that restaurants use. Your future self will thank you when you’re standing in front of an organized freezer instead of digging through unlabeled containers wondering if that sauce is marinara or curry from last year!
Portioning Food Before Freezing
You know what makes my weeknight dinners so much easier? Taking just a few extra minutes to portion my food before tossing it in the freezer! This simple step saves me countless hours later and prevents that frustrating moment when you need just one chicken breast but have to defrost an entire package. I always divide proteins like chicken, fish, or ground meat into meal-sized portions – usually enough for my family of four. Ground beef gets separated into one-pound portions perfect for tacos or pasta sauce, while chicken breasts go into freezer bags with two or three pieces each.
The magic happens with soups, stews, and casseroles too! I freeze these hearty dishes in individual or family-sized containers, so I can grab exactly what I need for lunch or a quick dinner. Mason jars work beautifully for single servings of soup – just leave some headspace for expansion. Even fruits and vegetables benefit from this approach. I wash and chop bell peppers, then freeze them in recipe-ready amounts. Berries get portioned into smoothie-sized bags, making my morning routine so much smoother. Trust me, your future self will thank you when dinner planning becomes this effortless!
Airtight Packaging Materials
Your freezer storage game depends entirely on the quality of your packaging materials, and I can’t stress enough how much difference the right containers make! Invest in heavy-duty freezer bags, vacuum-sealed pouches, or glass containers with tight-fitting lids. These materials create a barrier against freezer burn, which happens when air reaches your food and causes those unsightly ice crystals that rob flavor and texture. I always keep a variety of sizes on hand because different foods need different approaches – thick freezer bags work wonderfully for soups and stews, while rigid containers protect delicate items like fresh herbs or pre-chopped vegetables.
Double-wrapping becomes your best friend for long-term storage, especially with items you plan to keep frozen for months. Wrap meat in plastic wrap first, then place it in a freezer bag, or layer parchment paper between burger patties before sealing them up. Label everything with dates and contents using a permanent marker – trust me, mystery packages lead to food waste! Glass containers work beautifully for prepared meals and leftovers, just remember to leave some headspace for expansion. Quality packaging materials might cost a bit more upfront, but they’ll save you money by keeping your food fresh longer and preventing those disappointing moments when you discover freezer-burned treasures.
Proper Temperature Settings and Control
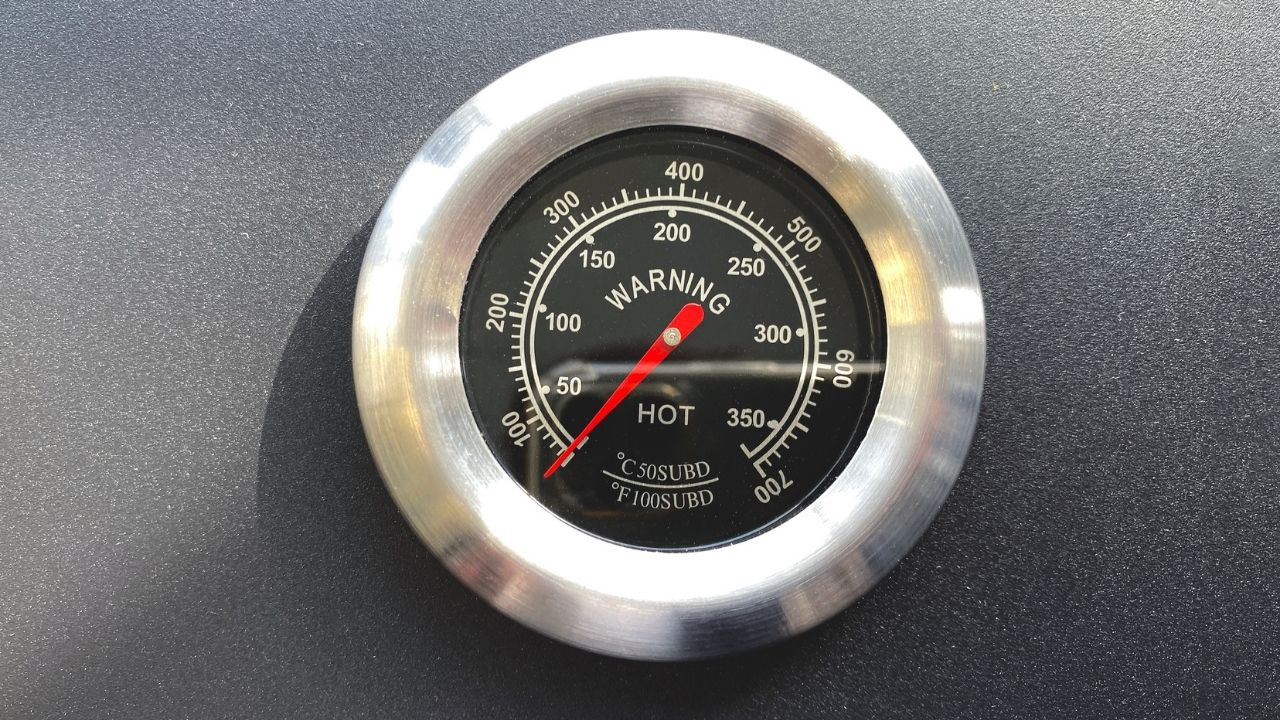
Your freezer’s temperature setting makes all the difference between perfectly preserved food and disappointing frozen disasters! I always recommend keeping your freezer at 0°F (-18°C) – this sweet spot ensures your food stays safe while maintaining maximum flavor and texture. Many people think colder is better, but temperatures below -10°F can actually damage delicate foods like herbs and berries, causing them to become mushy when thawed. Grab a reliable freezer thermometer and check those settings regularly, because your freezer’s built-in gauge might not tell the whole story.
Temperature fluctuations are your frozen food’s worst enemy, so consistency is key! Every time you open that freezer door, warm air rushes in and forces your appliance to work overtime to get back to the right temperature. Try to organize your freezer so you can grab what you need quickly, and avoid leaving the door open while you decide what to cook for dinner. If you notice frost buildup or ice crystals forming on your food, your freezer might be working too hard or the temperature isn’t stable enough. A well-maintained freezer with steady temperatures will keep your frozen vegetables crisp, your meats tender, and your homemade soups tasting fresh for months!