10 Burger Mistakes That Make or Break Flavor and the Fast Fixes Chefs Swear By
You’ve stood there, spatula in hand, wondering why your homemade burgers never match your favorite restaurant’s juicy masterpieces. The secret isn’t fancy ingredients or professional equipment—it’s avoiding common mistakes that sabotage your burger from the inside out. From meat selection to final assembly, tiny missteps can transform your potential masterpiece into a dry, flavorless disappointment.
Professional chefs know the burger battlefield is won through technique, not complexity. They focus on simple fixes: the right meat-to-fat ratio, gentle handling, proper seasoning timing, and yes, resisting the urge to squash your patty with that spatula. These aren’t complicated cooking methods but straightforward adjustments that dramatically improve your burger game.
Your burger deserves better than mediocrity, and you don’t need culinary school to fix what’s wrong. The solutions are quick, simple, and immediately effective. Ready to transform your next backyard cookout from “nice try” to “need this recipe”? These ten chef-approved fixes will revolutionize your burger-making forever.
Overlooking Resting Time
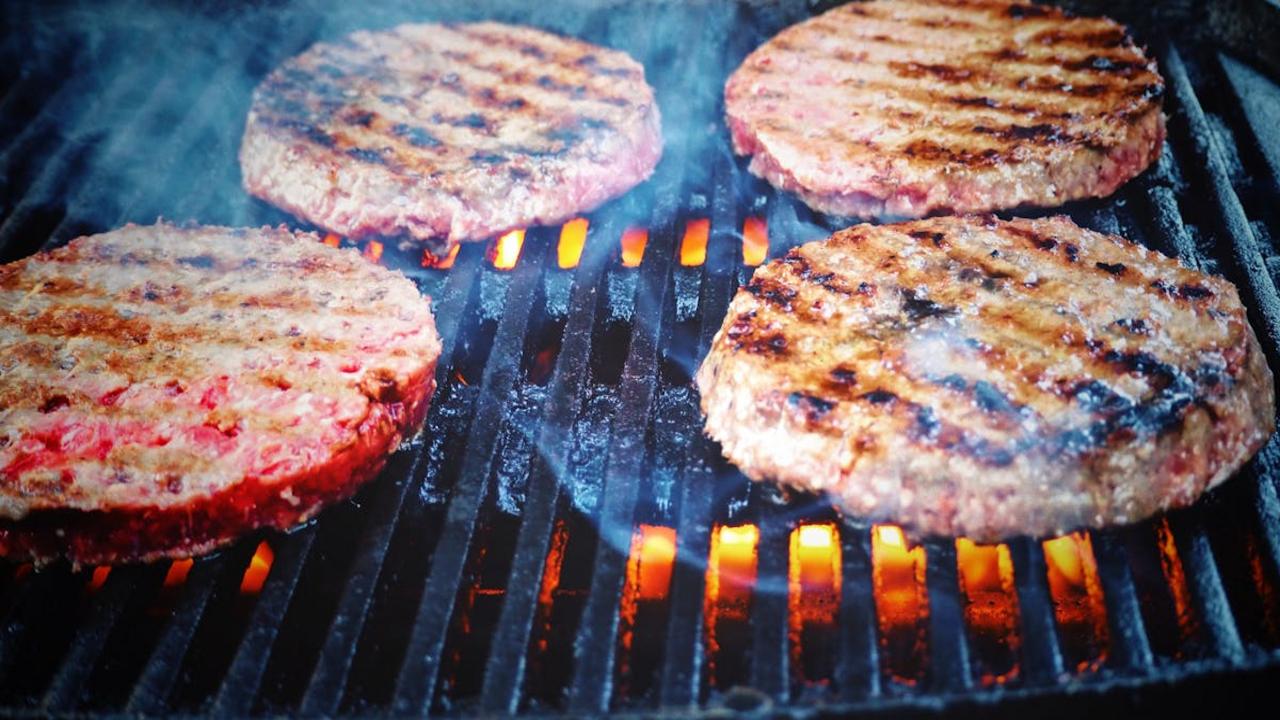
Picture this: you’ve just flipped that perfect patty off the grill, and your stomach is practically doing backflips with anticipation. But here’s where most home cooks commit burger blasphemy – they immediately slap that sizzling meat onto a bun and dive in like hungry wolves. I get it, the temptation is real! But those precious few minutes of resting time make the difference between a good burger and one that’ll haunt your dreams in the best possible way. During this magical pause, all those beautiful juices that got excited during cooking settle back into the meat fibers instead of creating a puddle on your plate the moment you take that first bite.
Professional chefs treat resting time like a sacred ritual, and for good reason – it’s basically free flavor insurance! Those 3-5 minutes give your burger time to redistribute its moisture evenly, creating that perfect, juicy bite from edge to center. Think of it like letting a good wine breathe, except your wine is a gloriously seasoned beef patty that’s about to become your new obsession. While you wait, toast your buns, prep your toppings, or just stand there appreciating the gorgeous crust you’ve created. Trust me, your future self will thank you when every single bite delivers that perfect burst of savory goodness instead of leaving you with a dry disappointment and a soggy bottom bun.
Ignoring Cheese Melting Timing
You know that heartbreaking moment when you bite into what should be the perfect burger, only to find a sad, cold slab of cheese sitting on top like an unwelcome houseguest? Yeah, that’s what happens when you throw cheese onto your patty at the wrong time. Most home cooks make this tragic mistake by adding cheese too early (hello, burnt edges and rubbery texture) or too late (goodbye, proper melt). The sweet spot? Add your cheese during the last 30-60 seconds of cooking, then cover the pan or grill with a lid to create a mini steam chamber. This technique, borrowed from professional kitchens, gives you that Instagram-worthy cheese pull every single time.
Here’s something that’ll blow your mind: different cheeses have wildly different melting points and personalities. American cheese melts at around 150°F and behaves like a dream, while aged cheddar needs closer to 180°F and can get stubborn if you rush it. Sharp cheeses like Gruyère or aged Gouda require patience – they’re the divas of the cheese world and demand gentle heat to avoid splitting into greasy puddles. Pro tip from my chef friend Marcus: keep a small bowl of water nearby and add just a few drops to the pan before covering. That extra steam works like magic, turning even the most temperamental cheese into silky, gooey perfection that’ll make your neighbors jealous.
Overloading or Underloading Toppings
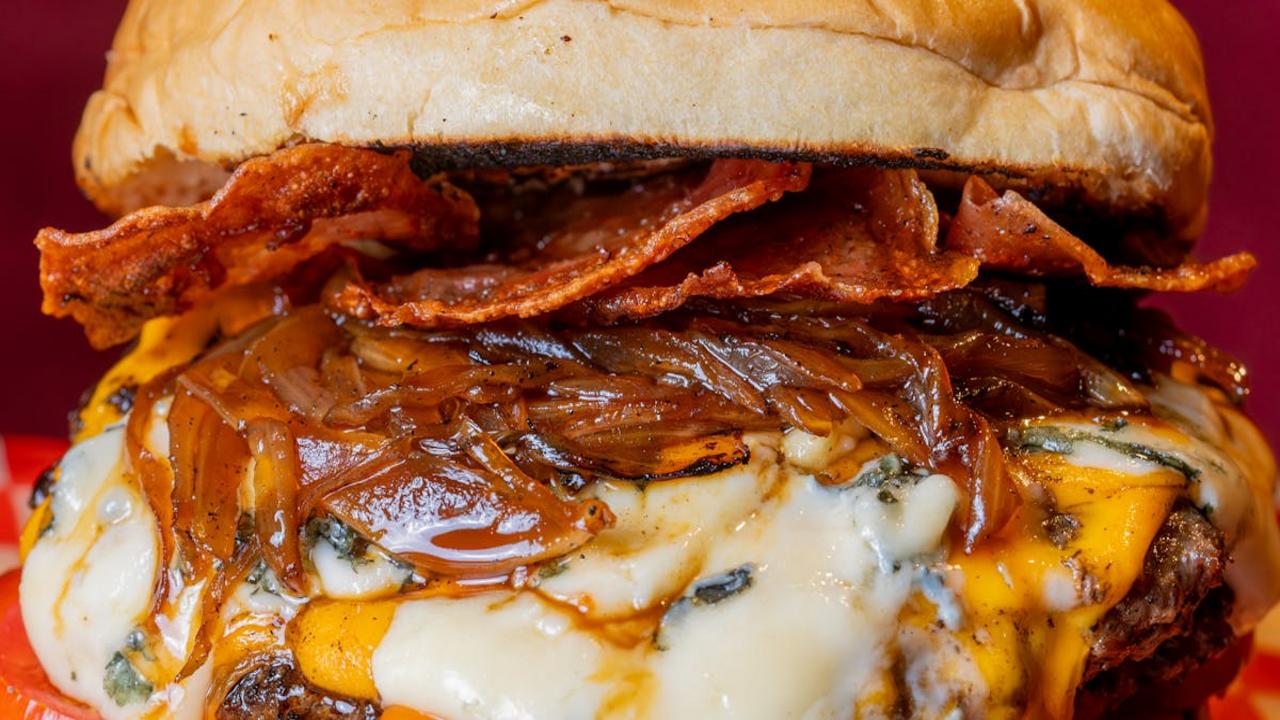
You know that friend who orders a burger with “everything on it” and then spends the entire meal chasing lettuce across their plate while sauce drips down their arms like a condiment waterfall? Yeah, that’s the overloader. On the flip side, there’s the minimalist who orders a plain patty on a bun and wonders why their burger tastes like cardboard with commitment issues. Both camps are missing the sweet spot where toppings actually work together instead of staging a food fight on your plate.
Professional chefs swear by the “rule of five” – pick five complementary toppings max and layer them strategically. Start with sauce on the bottom bun to create a moisture barrier, add your protein, then stack from heaviest to lightest moving upward. A perfectly balanced burger should hold together without requiring architectural engineering skills to eat. Remember, each topping should have a purpose – whether it’s adding crunch, creaminess, acidity, or heat. If you can’t taste individual components because they’re all mashed together in a chaotic flavor soup, you’ve gone too far. The goal is harmony, not a ingredient circus where everything’s competing for attention and nobody wins.
Miscalculating Patty Size
Your burger patty starts innocent enough – a perfect little mound of ground beef that fits snugly in your palm. But here’s what happens next: you slap it on the grill, and suddenly it’s doing its best impression of a hockey puck, shrinking faster than your jeans after the holidays. Meanwhile, your beautifully toasted bun sits there looking oversized and slightly ridiculous, like a hat that’s three sizes too big. The problem? You calculated wrong from the start, my friend. Ground beef contains moisture and fat that evacuate during cooking, causing your patty to pull a vanishing act that would make Houdini jealous.
Smart chefs know the golden rule: start with patties about 25% larger than your finished burger dreams. For a standard 4-inch bun, shape your raw patty to about 5 inches across and keep it relatively thin – think pancake, not meatball. Here’s the kicker: press a shallow dimple in the center with your thumb before cooking. This little indent prevents the dreaded dome effect where your patty puffs up like a meat balloon and rolls right off your bun. Professional kitchens weigh their patties religiously – usually 4 to 6 ounces for the perfect bite-to-bread ratio. Trust me, once you nail this simple math, you’ll never again experience the heartbreak of a shrunken patty swimming sadly in an ocean of oversized bun.
Forgetting to Toast the Bun
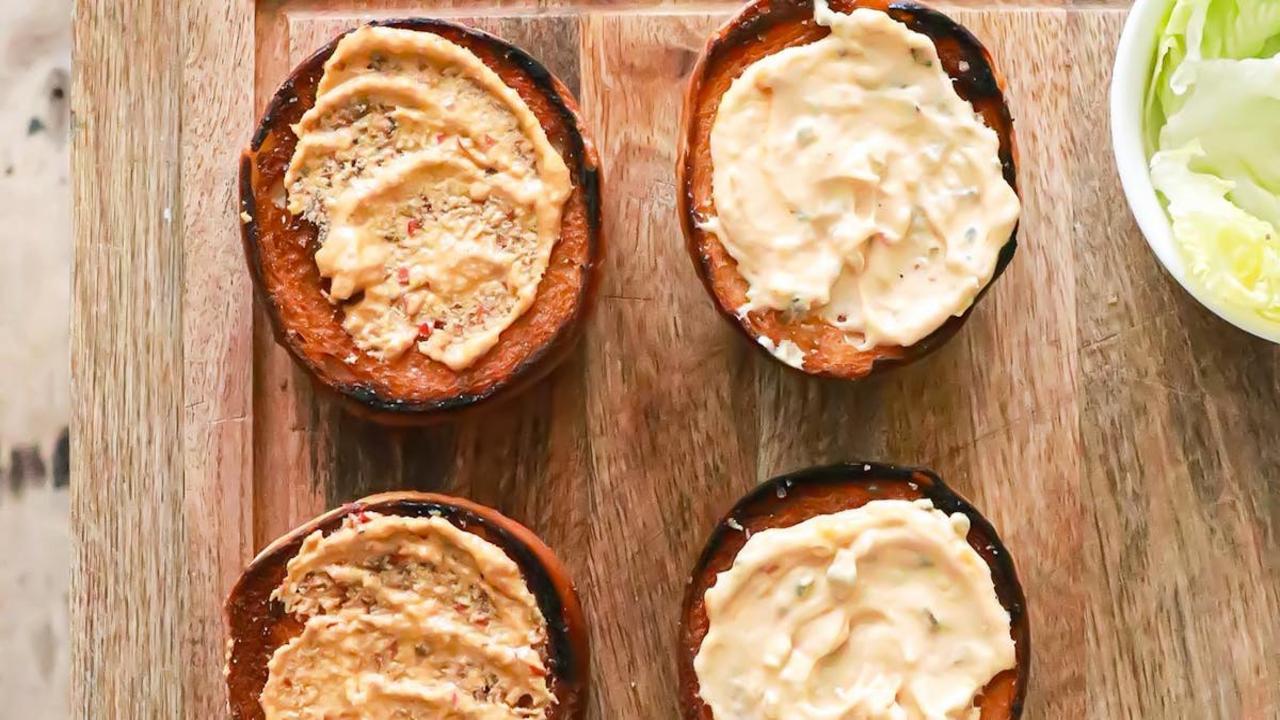
You wouldn’t serve a steak on a soggy paper plate, so why would you plop your beautiful burger masterpiece onto a limp, cold bun? This oversight drives me absolutely bonkers because it’s such an easy win that transforms your entire burger experience. A toasted bun creates that perfect golden barrier between your juicy patty and structural collapse – it’s like armor for your sandwich! The Maillard reaction works its magic on those bread surfaces, creating nutty, caramelized flavors that complement your meat instead of just absorbing its juices like a sad sponge.
Here’s your foolproof fix: split those buns and give them a quick kiss on a hot, dry pan for about 30-60 seconds until they’re golden brown and fragrant. You can also brush them with a touch of butter or garlic oil before toasting for extra flavor points – your future self will thank you when that first bite delivers actual texture instead of mushiness. Professional chefs swear by this step because it creates what they call “structural integrity” (fancy talk for “your burger won’t fall apart in your hands”). Plus, that warm, toasty surface becomes the perfect canvas for condiments, preventing them from soaking through and creating the dreaded soggy bottom syndrome that haunts so many homemade burgers.
Using Inappropriate Bread
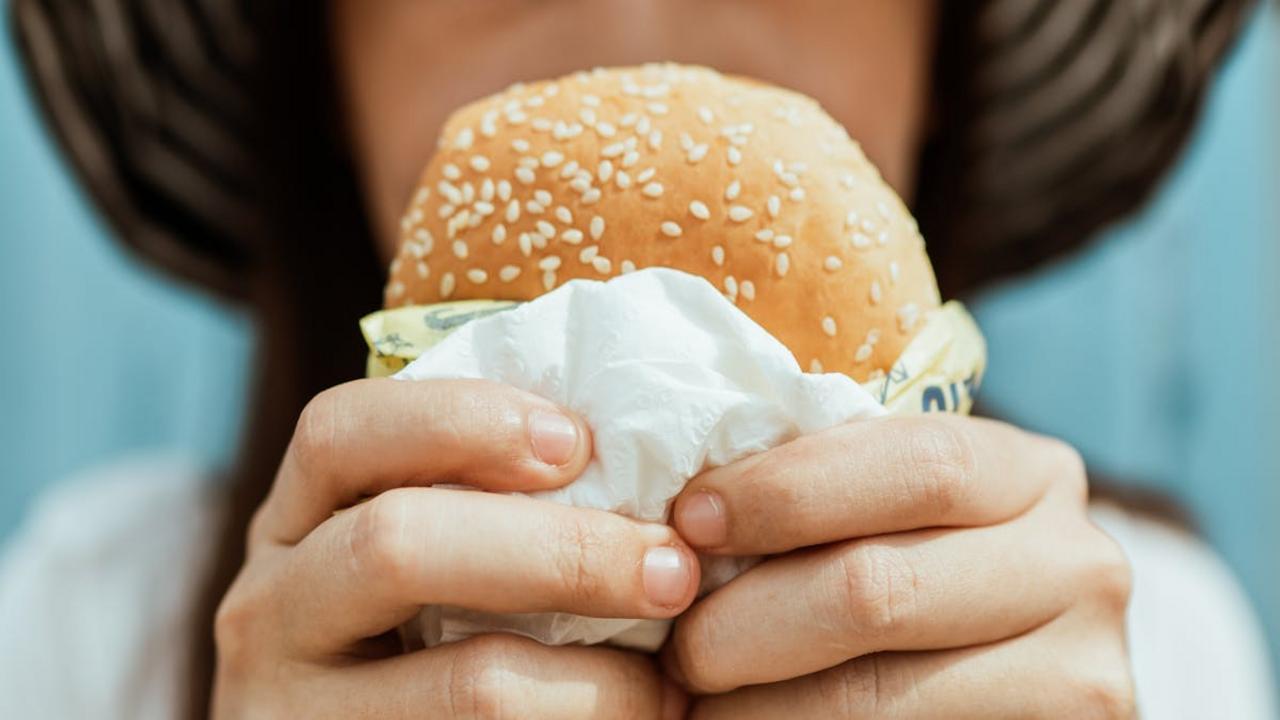
Picture this: you’ve crafted the perfect patty, lovingly seasoned your toppings, and then—plot twist!—you slap that beautiful creation between two slices of Wonder Bread like it’s a sad desk lunch. Your burger just went from hero to zero faster than you can say “sesame seed.” The foundation of any great burger isn’t just the meat; it’s the vessel that holds your masterpiece together. Choose a flimsy bun, and you’ll watch your burger disintegrate into a messy pile of regret with every bite. Meanwhile, go too thick with a dense sourdough, and you’ll need a jaw like a python just to take a proper chomp.
Here’s what the pros know: your bun should complement, not compete with, your filling. A classic sesame seed bun works beautifully for most burgers because it’s sturdy enough to handle juicy patties but soft enough to bite through without launching toppings across the room. For heartier burgers, brioche buns offer that sweet, buttery richness that makes everything taste more expensive. Pro tip from my chef friend Marco: always toast your buns lightly—it creates a barrier that prevents the dreaded soggy bottom syndrome. And here’s a fun fact: the perfect burger-to-bun ratio should be about 4:1 by weight, meaning your bun shouldn’t overpower but should definitely pull its weight in the flavor department.
Pressing Down on the Patty While Cooking
Picture this: you’re standing at the grill, spatula in hand, and suddenly you hear that satisfying sizzle as your burger hits the hot surface. Then, like a reflex you can’t control, you press that spatula down hard on the patty, watching all those beautiful juices spurt out in a dramatic hiss. Congratulations—you just squeezed the life out of your burger! Every time you press down, you’re literally squeezing out the moisture that keeps your patty tender and juicy. Those aren’t just random liquids escaping; they’re the concentrated flavors and fats that make the difference between a memorable burger and a disappointing hockey puck.
Professional chefs will tell you that patience pays off big time here. Instead of playing patty-cake with your burger, let it cook undisturbed for about 3-4 minutes on the first side before flipping just once. The surface tension and natural cooking process will create that perfect crust while keeping all the good stuff locked inside. If you absolutely must do something with your hands (because standing still feels impossible), use that time to prep your toppings or toast your buns. Your burger will reward your restraint with a juicy, flavorful bite that actually tastes like beef instead of cardboard. The only pressing you should do is pressing your lips together in anticipation!
Overhandling the Meat
Listen, I get it—when you’re making burgers, there’s this irresistible urge to knead and squeeze that ground beef like you’re some sort of meat whisperer. But here’s the brutal truth: your burger patty isn’t Play-Doh, and treating it like one will give you hockey pucks instead of juicy masterpieces. The moment you start working that meat with the enthusiasm of a massage therapist, you’re compressing all those beautiful fat pockets and protein strands into a dense, chewy disaster. Professional chefs know this secret: the less you mess with your meat, the more tender and flavorful your burger becomes.
The fix is almost laughably simple—form your patties with the gentle touch of someone handling a soap bubble. Grab your ground beef, give it the absolute minimum shaping needed to create a cohesive round, and then step away from the patty! Make a small dimple in the center with your thumb (this prevents the dreaded burger dome), season generously, and resist every fiber of your being that wants to press, poke, or flatten during cooking. Your reward? Burgers so juicy they’ll make you question every compressed meat puck you’ve ever served before.
Neglecting to Season Properly
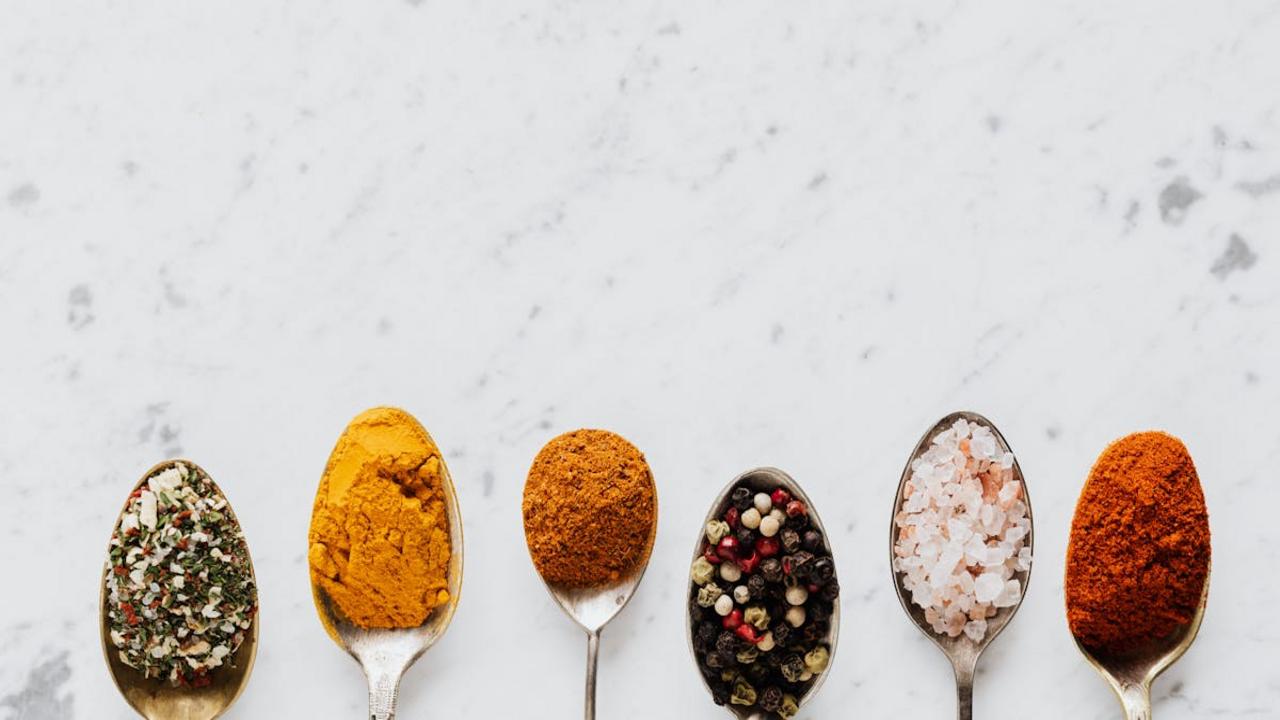
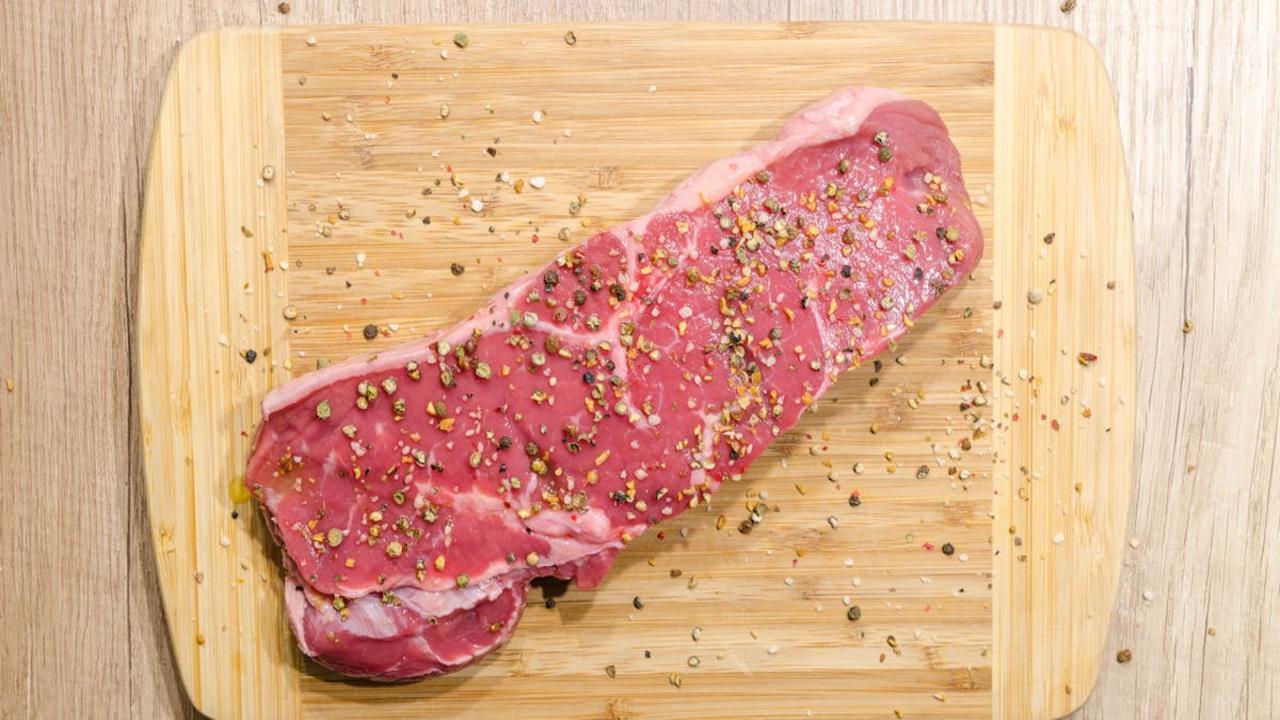
You know what separates a memorable burger from a forgettable hockey puck? Salt. And pepper. And maybe a whisper of garlic powder if you’re feeling fancy. Yet I’ve watched grown adults flip unseasoned patties like they’re afraid the spice rack might bite them back. Here’s the kicker – your beef needs seasoning before it hits the grill, not after. Professional chefs season their meat at least 15 minutes before cooking, giving those flavors time to work their magic. Think of it like a pre-game pep talk for your protein. Salt draws out moisture initially, then that moisture dissolves the salt and gets reabsorbed, creating a deeper, more complex flavor throughout the entire patty.
The fix? Mix one teaspoon of salt and half a teaspoon of freshly cracked black pepper per pound of ground beef. Work it in gently – you’re seasoning, not making meatloaf. Some chefs swear by adding a splash of Worcestershire sauce or a pinch of smoked paprika to their mix. And here’s a fun fact that’ll blow your mind: McDonald’s seasons their patties with a blend that includes onion powder, which explains why their burgers have that distinctive savory punch. Don’t be shy about seasoning the outside of your patties too, right before they hit the heat. Your future self will thank you when you bite into a burger that actually tastes like something instead of expensive cardboard.
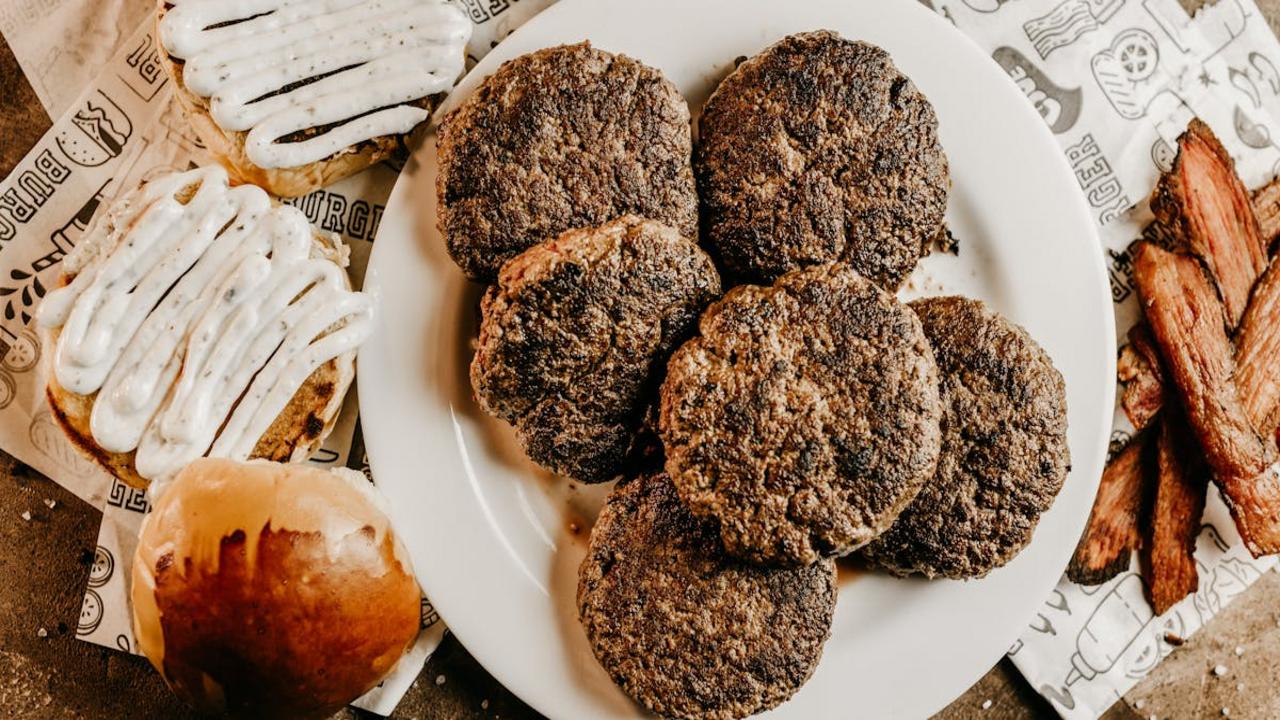
Choosing the Wrong Meat Blend
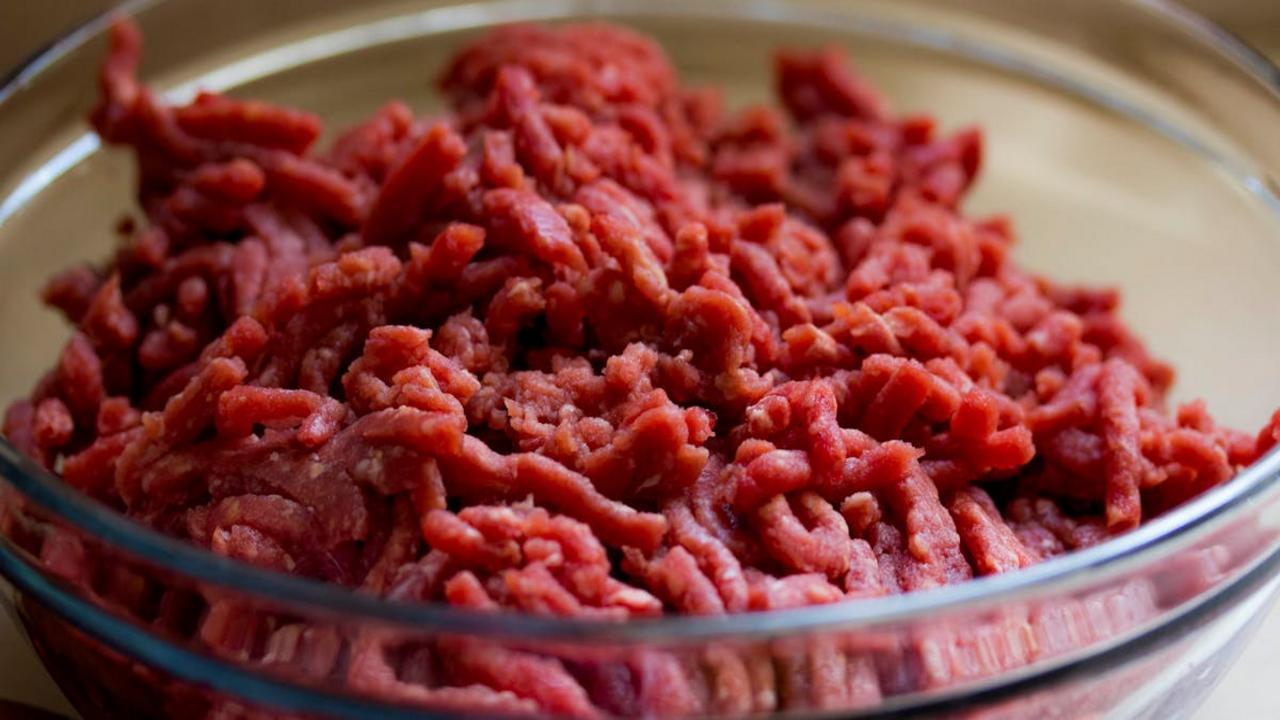
You know what separates a burger that makes you weak in the knees from one that leaves you questioning your life choices? The meat blend, my friend. Most people grab whatever ground beef is on sale, but here’s the thing—fat content is everything. You want that magical 80/20 ratio (80% lean, 20% fat) because fat equals flavor and juiciness. Go too lean with 90/10, and you’ll end up with a hockey puck that could double as a doorstop. I learned this the hard way during a disastrous backyard BBQ where my “healthy” 95/5 burgers bounced off the grill like rubber balls.
Pro chefs know the secret lies in mixing different cuts for complexity. Try combining chuck roast (your flavor base), short rib (for richness), and brisket (for that beefy punch) in a 70/20/10 ratio. Some adventurous souls even throw in a bit of ground bacon—because apparently, we needed to make burgers even more irresistible. Your butcher will grind this custom blend for you, and trust me, once you taste the difference, you’ll never go back to those sad, pre-packaged tubes. The fat renders during cooking, creating those crispy edges while keeping the center impossibly juicy.