15 Genius Hacks to Slash Food Waste and Boost Your Grocery Savings
Want to make your groceries last longer and save money? You’re not alone! Every year, American households throw away nearly $1,500 worth of food. The good news? Simple changes in how you store, plan, and use your ingredients can dramatically reduce waste while keeping more cash in your wallet.
I’ve gathered 15 practical tips that will transform how you handle food at home. From smart meal planning to creative ways to use vegetable scraps, these proven methods will help you maximize every ingredient in your kitchen. Plus, you’ll learn the real difference between expiration and best-by dates – a game-changer for food storage!
These tips go beyond basic storage hacks. You’ll discover how to turn wilted herbs into flavor bombs, create homemade stocks from scraps, and preserve seasonal produce through simple fermentation. Ready to start saving money and reducing waste? Let’s dive into these kitchen-tested strategies that make food last longer.
Temperature Zones in Refrigerator
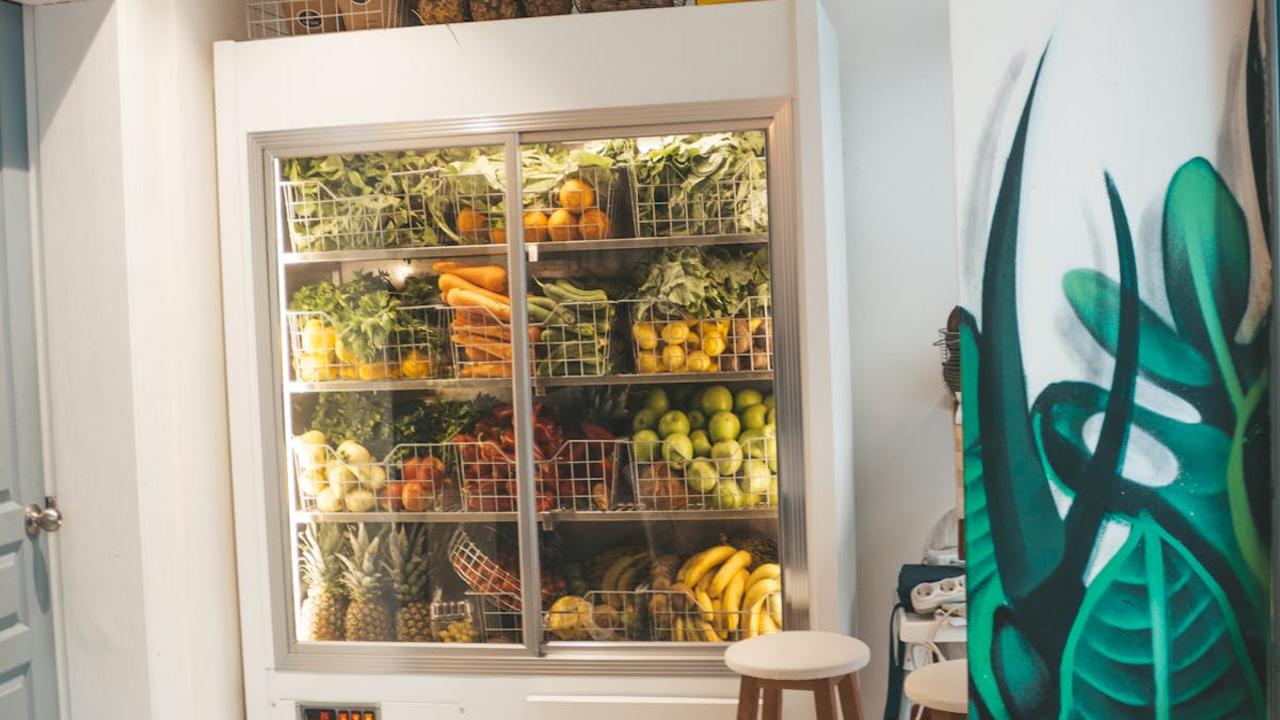
Your refrigerator has distinct temperature zones that can make or break your food’s freshness! The top shelf runs warmer at around 40°F, making it perfect for leftovers and drinks. The middle shelf stays at a steady 37°F – ideal for dairy, eggs, and deli meats. Your bottom shelf maintains the coldest temperature near 35°F, so store raw meat and fish here to prevent drips from contaminating other foods. The crisper drawers create a humid environment that keeps fruits and vegetables fresh longer.
You’ll save money and reduce waste by storing items in their optimal zones. Keep your milk and yogurt on the middle shelf rather than the door, where temperatures fluctuate each time you open it. Place hardy vegetables like carrots and celery in the low-humidity crisper, while leafy greens go in high humidity. Berries, meats, and fish belong in the coldest spots to maximize their shelf life. Once you match each food to its perfect temperature zone, you’ll notice less spoilage and fewer emergency grocery runs!
Storage Container Optimization
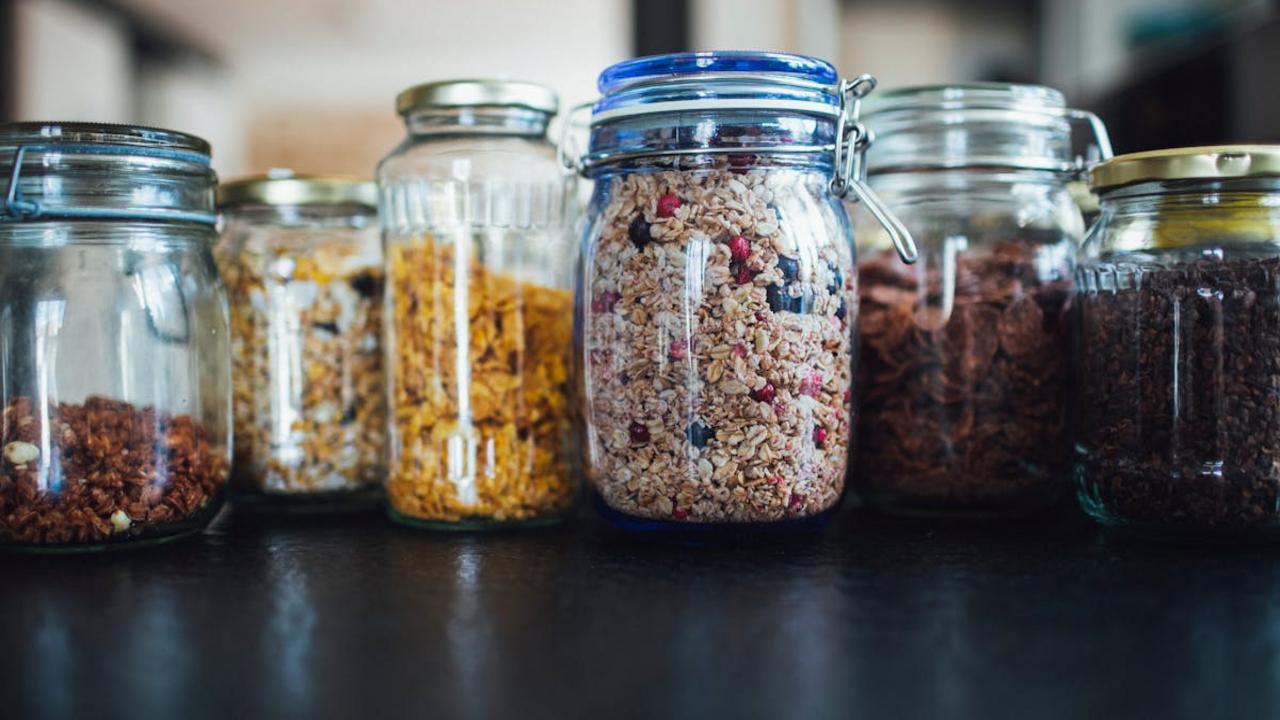
I’ve found that investing in quality storage containers can totally transform your fridge and pantry organization while saving you serious money. Clear, airtight containers help you spot what you have at a glance, preventing forgotten foods from going bad in the back of your fridge. Plus, these containers keep your ingredients fresher for longer – think crisp lettuce that lasts an extra week or nuts that stay crunchy for months instead of going stale after a few weeks.
Make your containers work smarter by labeling them with contents and dates. I keep a set of erasable markers near my fridge to quickly mark when I stored items or when leftovers need to be eaten. Stack similar-sized containers to maximize space and create designated zones in your fridge – one for prepped vegetables, another for leftovers, and a special spot for items that need to be eaten soon. This system has cut my food waste by half and saves me about $50 each month on groceries since I actually use what I buy.
Composting Food Scraps
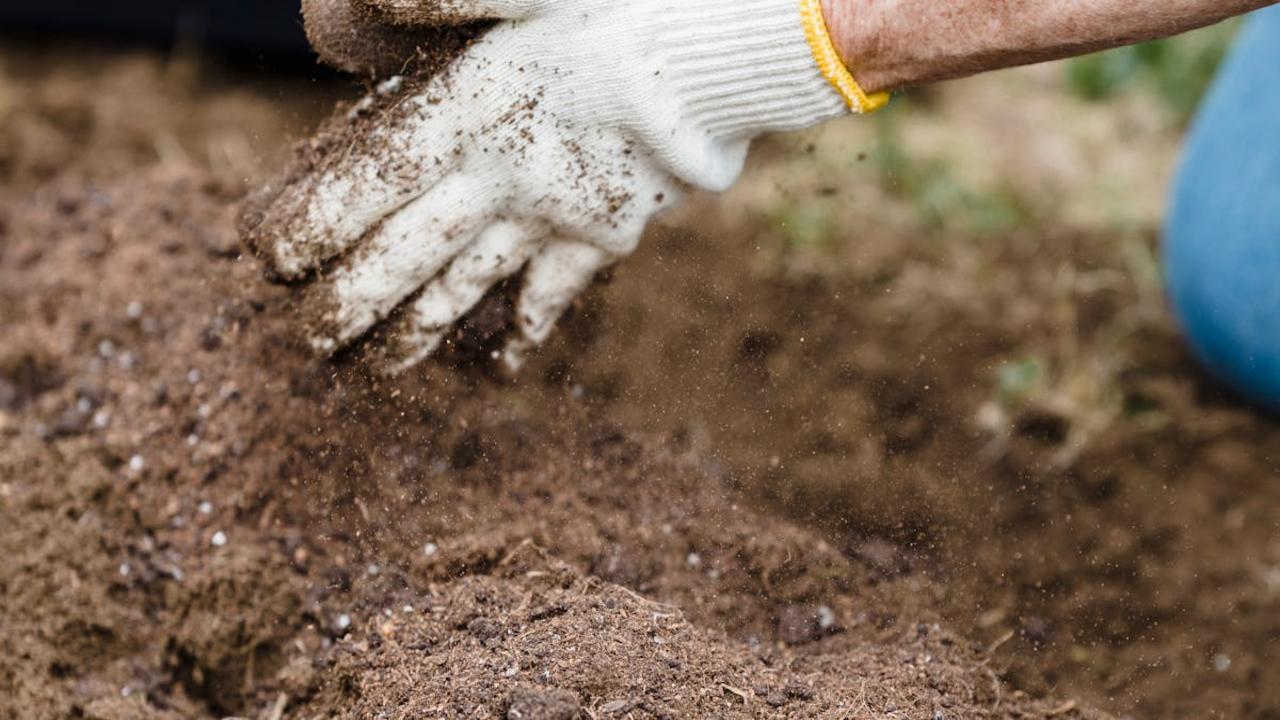
You’ll make Mother Nature proud while turning your kitchen scraps into black gold through composting! I’ve found that setting up a small countertop compost bin makes it super easy to collect vegetable peels, coffee grounds, eggshells, and other organic waste throughout the day. Just transfer these food scraps to your outdoor compost bin or pile, add some dry leaves or paper, and let nature work its magic. Not only will you reduce the amount of waste going to landfills, but you’ll also create rich, nutrient-dense soil for your garden.
Starting a compost system feels like running a tiny recycling factory right in your backyard. Mix your “green” materials (food scraps) with “brown” materials (dried leaves, newspaper) in roughly equal amounts. Keep the pile slightly moist and turn it occasionally with a pitchfork or shovel to add air. Within a few months, you’ll have created amazing fertilizer for your plants while keeping food waste out of the garbage. Even if you live in an apartment, many cities now offer community composting programs or pickup services – just store scraps in your freezer until collection day!
Creative Leftover Transformations
I absolutely love turning yesterday’s leftovers into exciting new meals! You can make magic happen with those forgotten bits in your fridge – just think of them as ingredients waiting for their next adventure. Transform plain rice into flavorful fried rice by adding chopped vegetables, eggs, and a splash of soy sauce. Or give that leftover roasted chicken new life by shredding it for tacos, adding it to a hearty soup, or tossing it into a fresh salad with tangy vinaigrette.
Your creativity can take you far beyond basic reheating. Mix and match different leftovers to create totally new dishes – combine cooked vegetables with pasta for a quick primavera, blend roasted vegetables into a smooth soup, or stuff them into quesadillas with cheese. Even stale bread becomes delicious when you turn it into homemade croutons, breadcrumbs, or a savory bread pudding. By viewing leftovers as building blocks for new recipes, you’ll save money while enjoying fresh, exciting meals every day. Plus, you’ll feel great knowing you’re reducing food waste and making the most of your grocery budget.
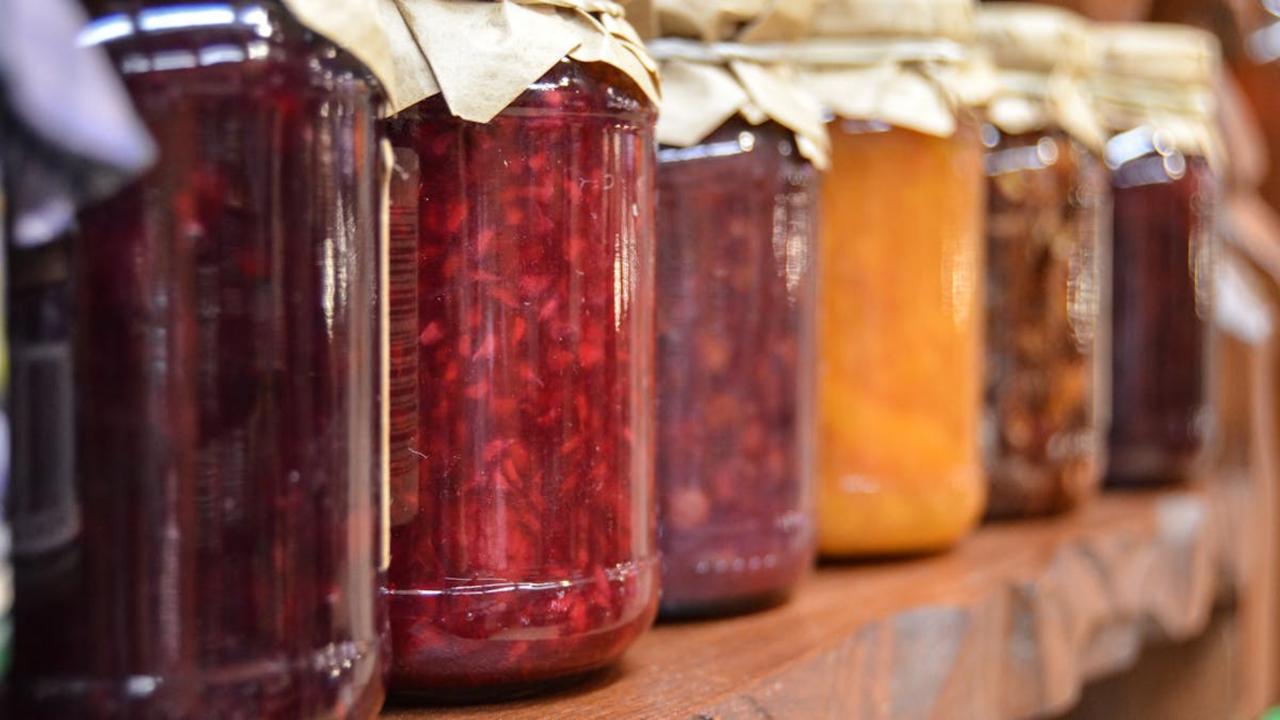
Ripe Fruit for Homemade Jams and Preserves
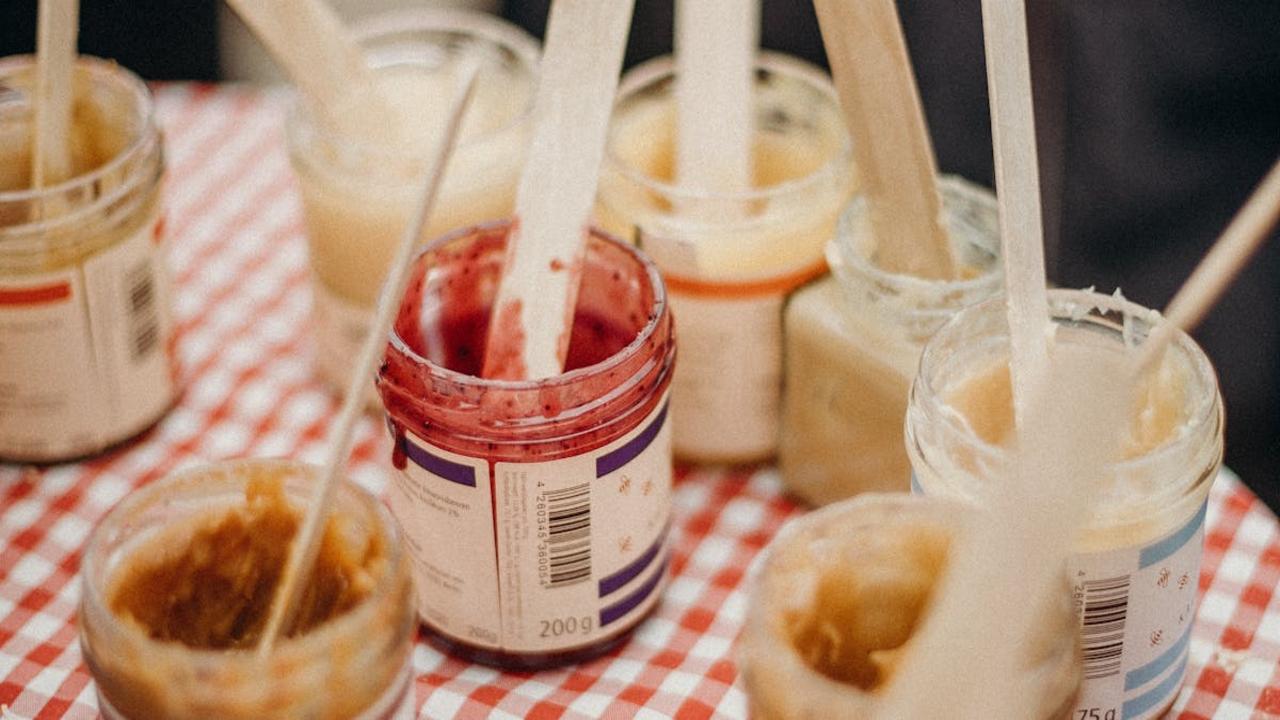
Stop throwing away those extra-ripe fruits! Your slightly bruised or overripe peaches, berries, and plums make the perfect base for homemade jams and preserves. The natural sugars in ripe fruits actually create richer, more flavorful preserves than their fresher counterparts. I’ve found that mixing different fruits together – like strawberries with blackberries or peaches with apricots – adds exciting depth to your homemade spreads. Plus, you’ll save money by turning what might have been food waste into delicious toppings for toast, yogurt, or baked goods.
Making jam is much simpler than you might think. Just dice your fruit, add sugar (about half the weight of your fruit), and simmer until thick. For every 4 cups of fruit mixture, squeeze in half a lemon – the pectin helps your jam set properly. You can keep your creation in clean jars in the fridge for up to 3 weeks, or follow proper canning methods for long-term storage. Your morning toast will thank you, and you’ll feel great knowing you’ve turned potential waste into something truly special for your family to enjoy.
Converting Stale Bread into Breadcrumbs
Got a loaf of bread that’s gone stale? Don’t throw it away! I’ve found that transforming hard bread into homemade breadcrumbs is one of the smartest ways to reduce waste and save money. Simply tear your stale bread into chunks, spread them on a baking sheet, and dry them in the oven at 250°F for about 30 minutes. Once cooled, add them to your food processor and pulse until you get your desired consistency – from fine crumbs to larger, panko-style pieces.
Your homemade breadcrumbs will keep fresh in an airtight container for up to three months, ready to add crunch to mac and cheese, coat chicken cutlets, or top your favorite casseroles. I love adding herbs and seasonings to create custom flavored breadcrumbs – Italian seasoning, garlic powder, or even grated parmesan cheese make delicious additions. Plus, you’ll save money by skipping those expensive store-bought versions while giving new life to bread that would otherwise go to waste.
Preserving Through Pickling and Fermentation
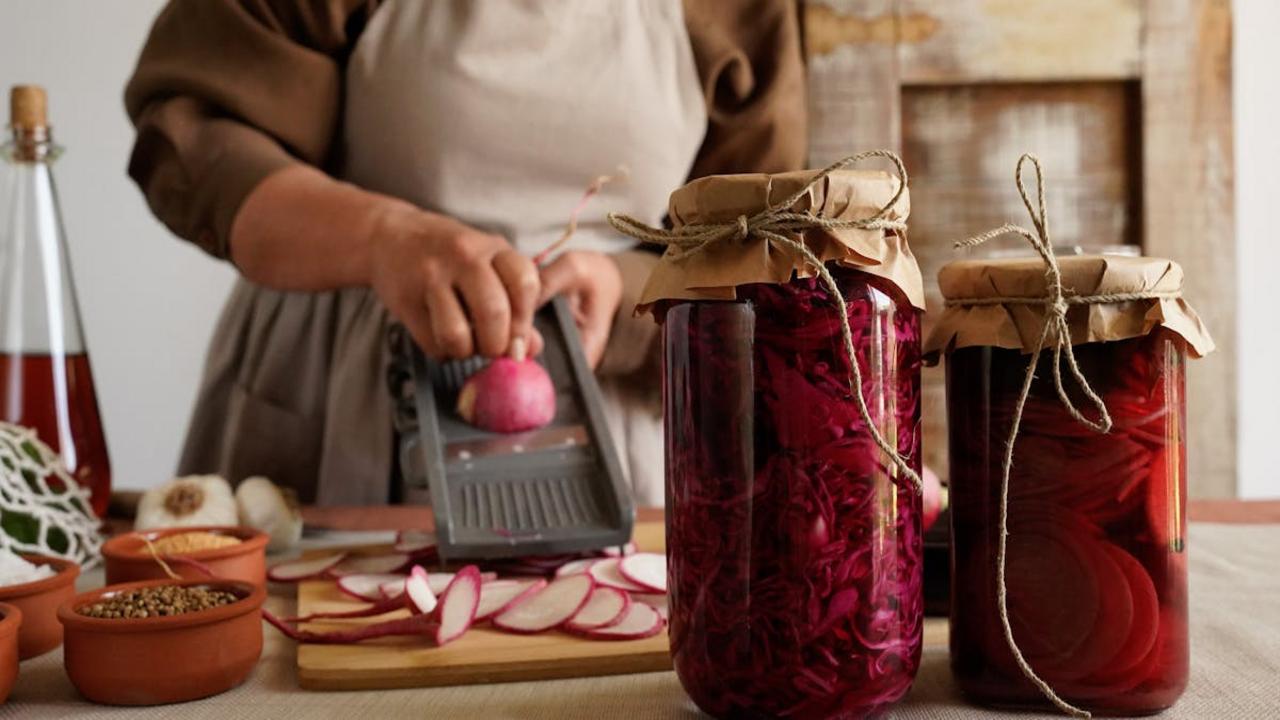
Hey there! I’m so excited to share my favorite pickling and fermentation tricks with you – they’re total game-changers for reducing food waste! I’ve found that turning excess vegetables into pickles or kimchi can make them last for months in your fridge. Just grab some mason jars, vinegar or salt brine, and your favorite seasonings. You can pickle almost anything – from classic cucumbers to carrots, peppers, and even watermelon rinds. The process is super simple: pack your veggies in jars, add your brine and spices, then let time work its magic.
Beyond basic pickling, fermentation opens up a whole new world of preservation possibilities. Sauerkraut, kombucha, and homemade yogurt not only save money but also create beneficial probiotics that boost your gut health. My top tip? Start with small batches until you perfect your recipe. Keep your ferments at room temperature in a dark spot, and check them daily. Once you nail the basic techniques, you’ll never look at surplus produce the same way again. Trust me, there’s something incredibly satisfying about opening a jar of pickled vegetables you preserved months ago!
Reviving Wilted Produce in Ice Water

Want to rescue those sad-looking greens from the crisper drawer? I’ve got a simple trick that will transform your wilted lettuce, herbs, and vegetables back to their crisp glory! Just fill a large bowl with cold water and add a handful of ice cubes. Submerge your wilted produce for 15-30 minutes, and you’ll see them perk right up. This happens because plants cells absorb water when they’re dehydrated, and the ice water helps them quickly regain their structure and firmness. I save about $20 monthly by reviving produce instead of tossing it out.
This method works wonders on leafy greens like spinach and kale, but you can also revive celery, carrots, broccoli, and fresh herbs. After soaking, just pat them dry with a clean kitchen towel and store them properly in the fridge. You’ll get several more days of freshness from your produce, which means more nutrients on your plate and more money in your wallet. I keep a special bowl ready in my fridge for this purpose – it’s become my go-to solution for saving vegetables that need a quick refresh before dinner.
Using Vegetable Scraps for Homemade Stock
Stop tossing those onion skins, carrot tops, and celery ends! I keep a large freezer bag ready to collect these veggie scraps throughout the week, and once it’s full, I transform them into a rich, flavorful homemade stock. The process couldn’t be simpler – just add your frozen scraps to a large pot, cover with water, and let it simmer for an hour. You’ll get the most incredible stock that puts store-bought versions to shame, plus you’ll save money and reduce waste at the same time.
Your homemade stock will make soups, risottos, and sauces taste so much better. I recommend collecting mushroom stems, herb stalks, leek tops, and even corn cobs – they all add depth and character to your stock. Just avoid strong-flavored vegetables like cabbage or brussels sprouts, which can overpower the broth. Once strained, your stock will keep in the fridge for a week or freeze it in ice cube trays for easy portioning. You’ll never go back to store-bought stock once you see how easy and budget-friendly this method is!
Freezing Excess Fresh Herbs in Oil

I love sharing this clever trick with my readers because it’s saved me from throwing away so many fresh herbs! You can freeze your leftover herbs in olive oil using ice cube trays – it’s a total game-changer for your cooking routine. Just chop up your fresh basil, parsley, cilantro, or any other herbs, place them in each compartment of an ice cube tray, fill with olive oil, and pop them in the freezer. This method keeps the herbs fresh and flavorful for months, plus you’ll have perfectly portioned cubes ready to drop into soups, stews, or sauces.
The best part? These frozen herb cubes make weeknight cooking so much faster and more flavorful. I keep different varieties labeled in freezer bags – basil cubes for pasta dishes, cilantro for Mexican recipes, and rosemary for roasted potatoes. Each cube holds about 2 tablespoons of herbs, which is perfect for most recipes. The oil helps protect the herbs from freezer burn and keeps their bright color and fresh flavor intact. You’ll save money by not wasting herbs, and you’ll always have fresh-tasting herbs ready to enhance your meals!
Understanding Expiration vs Best-By Dates

I’ll let you in on a little secret that will save you tons of money and prevent unnecessary food waste – those dates printed on your food packages don’t always mean what you think! Many people toss perfectly good food because they misinterpret expiration and best-by dates. Here’s the scoop: expiration dates indicate when food might become unsafe to eat, while best-by dates simply suggest when the food will be at its peak quality. You’ll still find many foods perfectly safe and tasty to eat days or even weeks past their best-by date.
You can trust your senses to determine if food is still good! Give it a look, smell, and feel test before deciding to throw it away. For example, yogurt often stays fresh 1-2 weeks past its best-by date if properly refrigerated. Hard cheeses can last 3-4 weeks longer, and eggs remain good 3-5 weeks beyond the date on the carton. Keep in mind that proper storage makes a big difference – store foods at the right temperature and in airtight containers to extend their life well beyond those printed dates. Your wallet and the environment will thank you!
Proper Storage Techniques for Different Produce
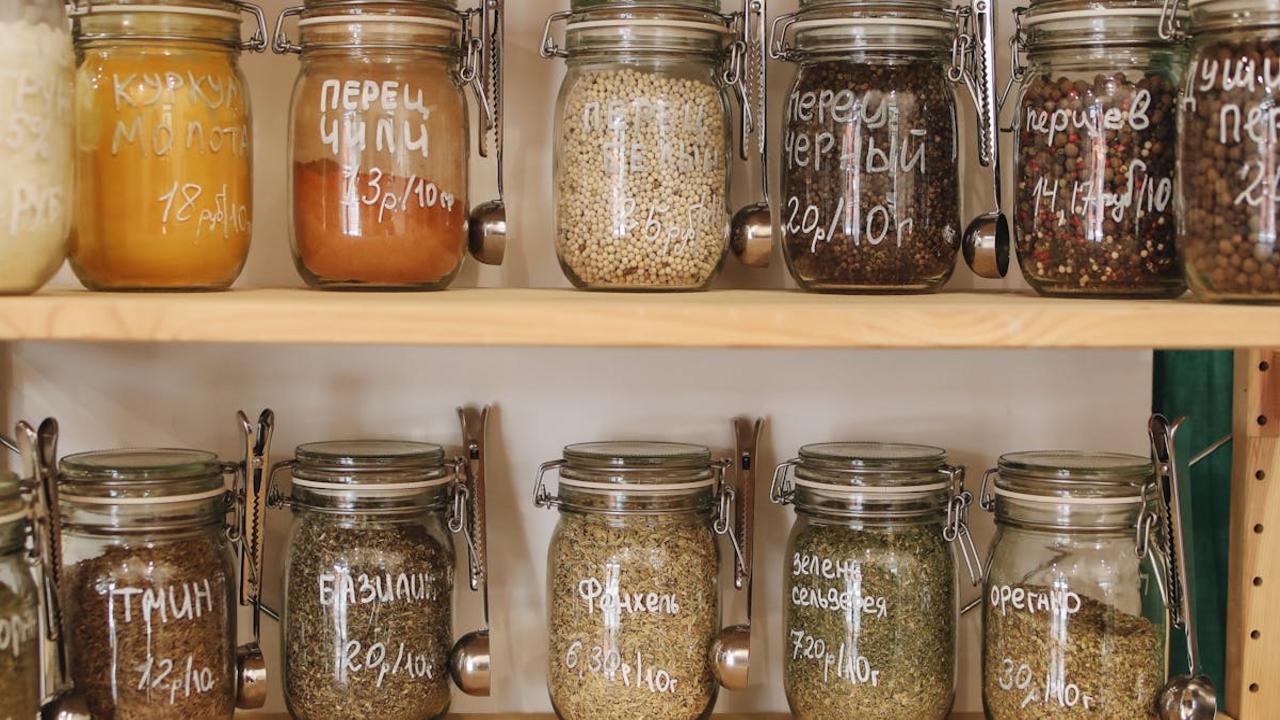
Your fruits and veggies need different homes in your kitchen to stay fresh longer! Store tomatoes, bananas, and avocados on your counter at room temperature until they ripen – then move them to the fridge to extend their life. Keep potatoes, onions, and garlic in a cool, dark pantry, but never together since they can make each other spoil faster. Line your crisper drawers with paper towels to absorb excess moisture and prevent early spoilage of leafy greens. Give mushrooms a paper bag home in the fridge – plastic bags trap moisture and speed up decay.
Create storage zones in your fridge to keep your produce at its best. The bottom drawer works great for high-humidity items like leafy greens, broccoli, and carrots. The middle shelf suits citrus fruits and apples, while the top shelf handles berries and grapes well. Remember to wash berries only right before eating – moisture during storage leads to mold. Keep herbs fresh by trimming their stems and placing them in a glass of water with a loose plastic bag over top. These simple storage tricks will keep your produce fresh for days longer, saving you money and reducing waste.
First In – First Out Storage Method
You’ll save so much money and reduce waste by following the First In – First Out (FIFO) method in your kitchen! I learned this smart storage system from my restaurant days, and it’s super simple – just move older items to the front of your fridge and pantry while placing newer purchases at the back. This way, you’ll use up food before it spoils and keep track of what you actually have, preventing those sad moments of finding moldy produce hidden behind newer groceries.
Make this method work by taking 5 minutes to reorganize each time you unpack groceries. Check expiration dates, rotate items accordingly, and keep similar foods grouped together. I like to add clear bins or turntables in my fridge and pantry to make everything visible and accessible. You’ll quickly notice how much less food you throw away, and your grocery budget will thank you. This small change in how you store food can lead to big savings – I cut my food waste by nearly half after adopting this simple system!
Shop with a Specific List

You’ll slash your food waste dramatically by making a detailed shopping list before heading to the grocery store. I always start by checking my fridge and pantry, noting what I actually need versus buying items that catch my eye in the store. Your list should match your meal plan for the week – this way you’ll buy exactly what you need for each recipe and avoid those impulse purchases that often end up forgotten in the back of the fridge.
Stick to your list religiously while shopping and you’ll notice an immediate drop in both spending and waste. I recommend organizing your list by grocery store sections (produce, dairy, etc.) to make shopping more efficient and prevent wandering through aisles where tempting extras might catch your eye. Keep a running list on your phone or a notepad in the kitchen throughout the week, adding items as you run out. This simple habit will transform your grocery shopping from a scattered experience into a focused mission that saves money and reduces waste.
Meal Planning with Inventory Checks

Want to know my favorite money-saving kitchen hack? Before I plan my weekly meals, I pull everything out of my fridge, freezer, and pantry for a complete inventory check. I jot down what I already have and create meals around those ingredients first. This simple habit keeps me from buying duplicates or letting food spoil in the back of my shelves. Plus, it sparks creativity – I’ve made some of my best recipes by challenging myself to use up random ingredients I discovered during these checks!
Make this process fun by turning it into a weekly ritual – maybe Sunday afternoon with your favorite playlist on. Keep a running list on your phone or a magnetic notepad on your fridge, marking items that need to be used soon. Then build your shopping list only for the extra ingredients you truly need to complete your planned meals. You’ll notice your grocery bills shrinking while your cooking gets more resourceful. My readers often tell me how this method has transformed their kitchen from a place of waste to a space of smart, budget-friendly cooking.