14 Vital Food Safety Tips for a Safer Kitchen
Your kitchen should be the happiest place in your home, not a breeding ground for bacteria! While we all love whipping up delicious meals, food safety often takes a backseat to the excitement of cooking. But here’s the thing – a few simple habits can keep your kitchen as clean as a whistle and your family healthy.
I’ve seen even the most experienced home chefs make basic food safety mistakes. From leaving raw chicken on the counter to mixing cutting boards between veggies and meats, these slip-ups happen more often than you’d think. The good news? Preventing foodborne illness doesn’t require a PhD in microbiology.
Think of these 14 food safety tips as your kitchen guardian angels. They’ll help you transform your cooking space into a safer zone for creating those mouthwatering recipes you love. Whether you’re a novice cook or a seasoned pro, these guidelines will become second nature faster than you can say “medium-rare.”
Food Allergen Management
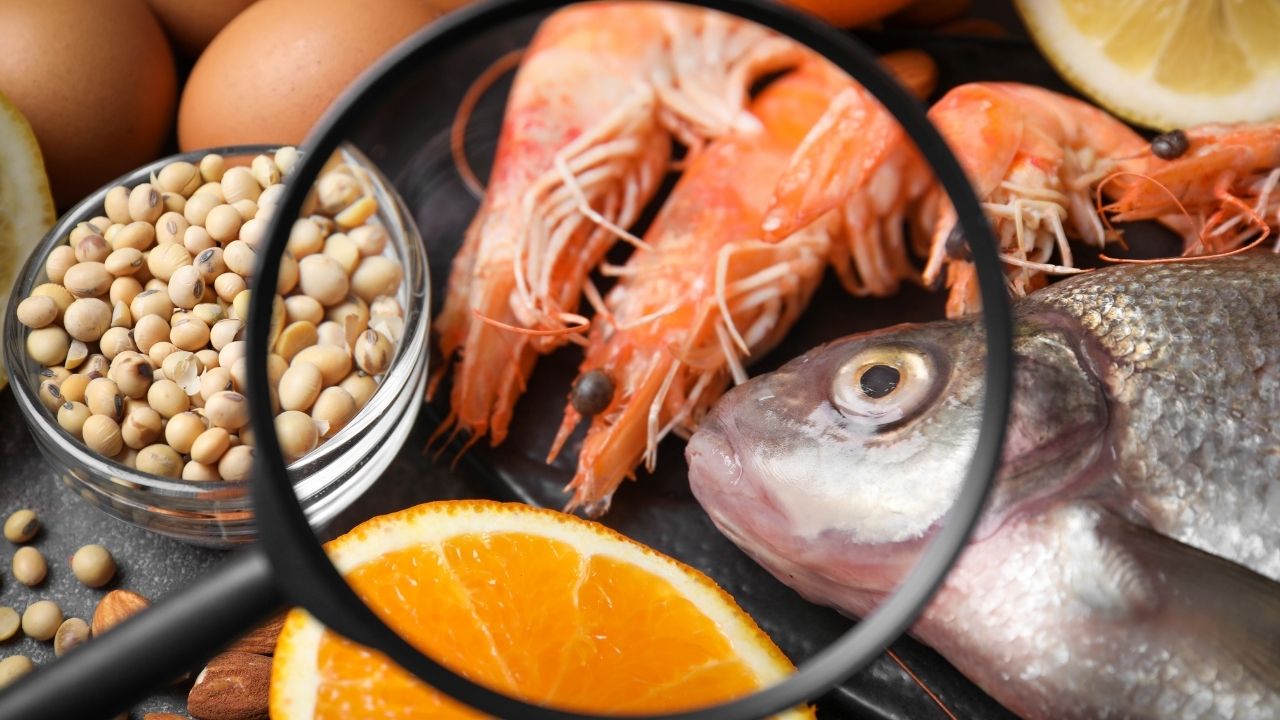
Hey, let’s talk food allergies – because nobody wants their dinner party to end up in the ER! I’ve learned this the hard way after serving my peanut-sensitive cousin a “nut-free” Thai curry that actually contained cashews (spoiler alert: he was fine, but I still feel awful). Now, I keep my kitchen super-organized with separate cutting boards, utensils, and prep areas for common allergens like nuts, shellfish, and dairy. I even have color-coded containers for ingredients that could trigger reactions – red for nuts, blue for dairy, you get the idea!
Your best defense against food allergies starts with reading labels like a detective. I make it a habit to check every single ingredient, even in products I’ve bought before – manufacturers love to switch things up without warning! Keep a running list of everyone’s allergies when cooking for friends and family, and don’t forget to watch out for sneaky cross-contamination. Clean your surfaces thoroughly between prep tasks, and always inform your guests about potential allergens in your dishes. Trust me, your friends with food allergies will appreciate your attention to detail more than any fancy plating or exotic ingredients!
Personal Hygiene While Cooking

Think of your kitchen as a super-clean bubble where you’re the gatekeeper of germ control! I can’t tell you how many times I’ve watched home cooks touch raw chicken, then grab their phone or adjust their hair without washing their hands. Your first line of defense? A thorough 20-second hand wash with warm water and soap before you even think about touching those ingredients. And yes, I’m talking about scrubbing between your fingers, under those nails, and up to your wrists – just like your mom always nagged you about!
Keep your cooking space a hair-free zone by tying back those luscious locks and wearing a clean apron to protect your clothes (and your food from your clothes). Skip the fancy rings and bracelets while cooking – they’re basically tiny bacteria hotels. And here’s a fun fact that might make you squirm: your smartphone carries 10 times more bacteria than most toilet seats! So either keep it out of the kitchen or sanitize it regularly if you’re using it for recipes. Remember, good hygiene isn’t just about keeping yourself clean – it’s about protecting everyone who’ll enjoy your food!
Kitchen Tool Sanitization
Hey there, fellow food lovers! Let me share a not-so-secret secret: your kitchen tools might be hiding more bacteria than you’d care to know about. Those trusty spatulas, cutting boards, and mixing bowls need more than just a quick rinse under the tap. I learned this the hard way after a bout of food poisoning traced back to my supposedly “clean” wooden spoon. Now, I’m religious about soaking my tools in a mix of one tablespoon of bleach per gallon of water for at least one minute – it’s the gold standard for killing those sneaky microbes.
Think your dishwasher does all the work? Think again! While hot water cycles help, some tools need extra TLC. I keep a spray bottle filled with vinegar solution (one part vinegar to four parts water) for quick sanitizing between uses. For wooden items, I scrub them with salt and lemon – a natural antibacterial duo that smells amazing. And don’t forget those often-overlooked items like can openers and thermometer probes. Give them a thorough cleaning after each use, or you’ll risk cross-contaminating tomorrow’s dinner with today’s germs. Your stomach will thank you!
Safe Leftover Storage
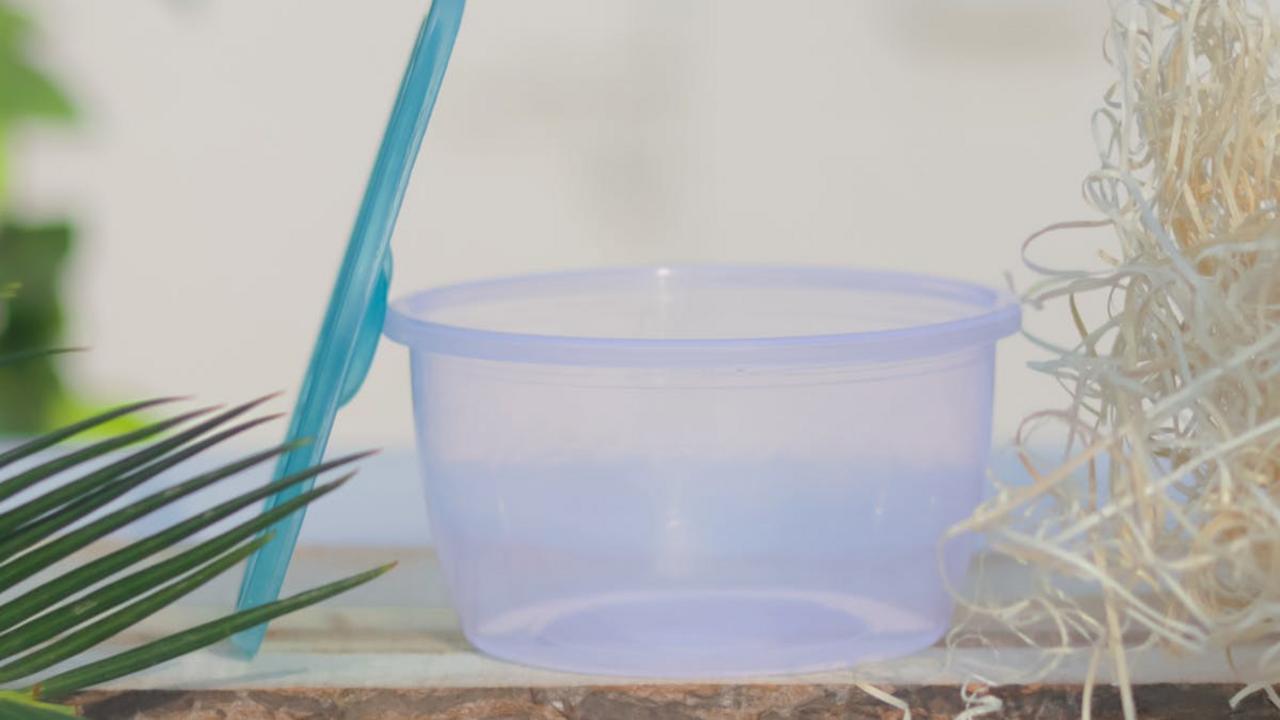
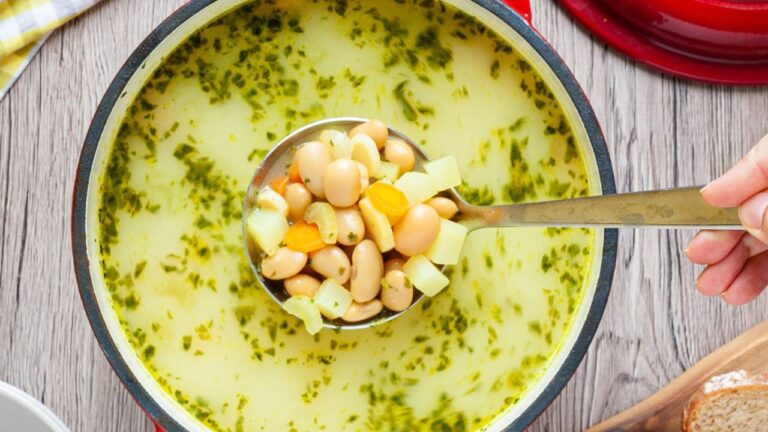
Hey, did you know your fridge isn’t a time machine for leftovers? I learned this the hard way after keeping my mom’s famous lasagna for two weeks (spoiler: it didn’t end well). Here’s the scoop: you need to refrigerate your leftovers within 2 hours of cooking, or within 1 hour if the room temperature is above 90°F. Pop them in shallow containers – they’ll cool faster and keep better. And please, label everything with dates! Your future self will thank you when you’re not playing “guess what this mystery container holds.”
Want to make those leftovers last? Keep your fridge at 40°F or below, and don’t hang onto them forever. Most cooked foods stay good for 3-4 days tops. For longer storage, freeze what you can’t eat within that window. And here’s my favorite food-safety hack: divide large portions into smaller containers before storing. This way, you’ll only reheat what you need, keeping the rest fresh and avoiding the dreaded “reheat cycle” that can make food unsafe. Remember, if you’re questioning whether something’s still good, trust your gut (before it has to trust you) and toss it out!
Cooking Temperature Guidelines
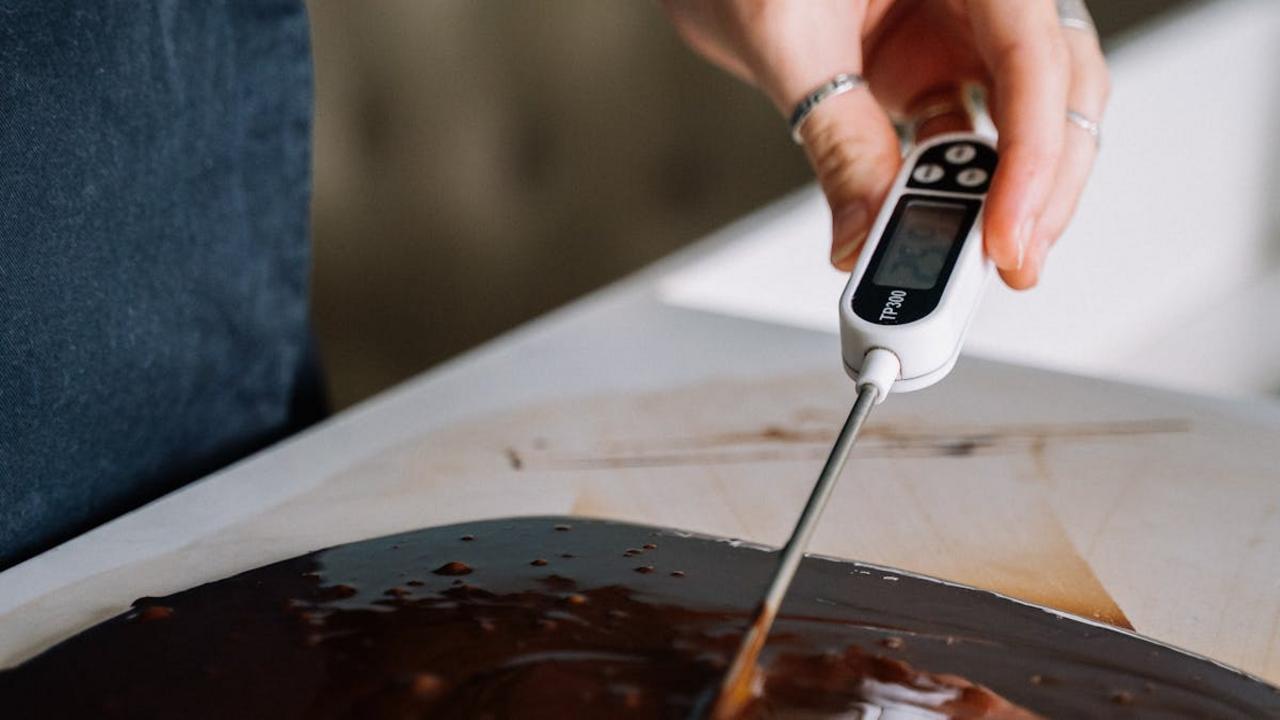
Hey there, fellow food enthusiasts! I can’t tell you how many times I’ve seen people guess if their meat is done by poking it with a finger or cutting into it (and losing all those precious juices!). The truth is, your kitchen’s MVP should be a good meat thermometer. Ground beef needs to hit 160°F, while chicken must reach 165°F to kick those bacteria to the curb. For those perfect medium-rare steaks you see at fancy restaurants? Aim for 145°F and let it rest for 3 minutes – trust me, your taste buds will thank you!
And here’s a fun nugget of kitchen wisdom: temperature zones matter big time! Your fridge should stay at or below 40°F, while your freezer needs to chill at 0°F or colder. I once learned this the hard way after storing some salmon in a too-warm fridge – let’s just say my cat wouldn’t even come near the kitchen that day! Think of temperature control like conducting an orchestra: every instrument (or in this case, every food item) needs to play at exactly the right note to create that perfect symphony of food safety. Keep a thermometer in your fridge and check it weekly – it’s your best defense against the food spoilage blues.
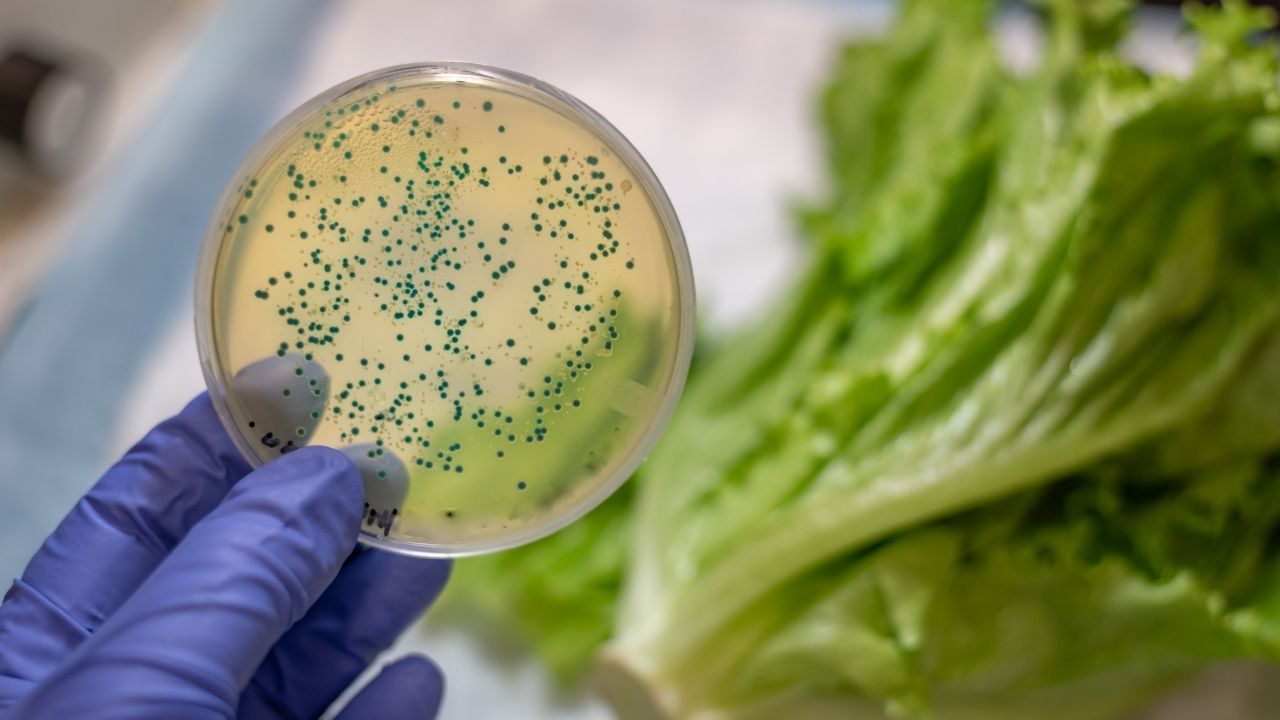
Fresh Produce Cleaning
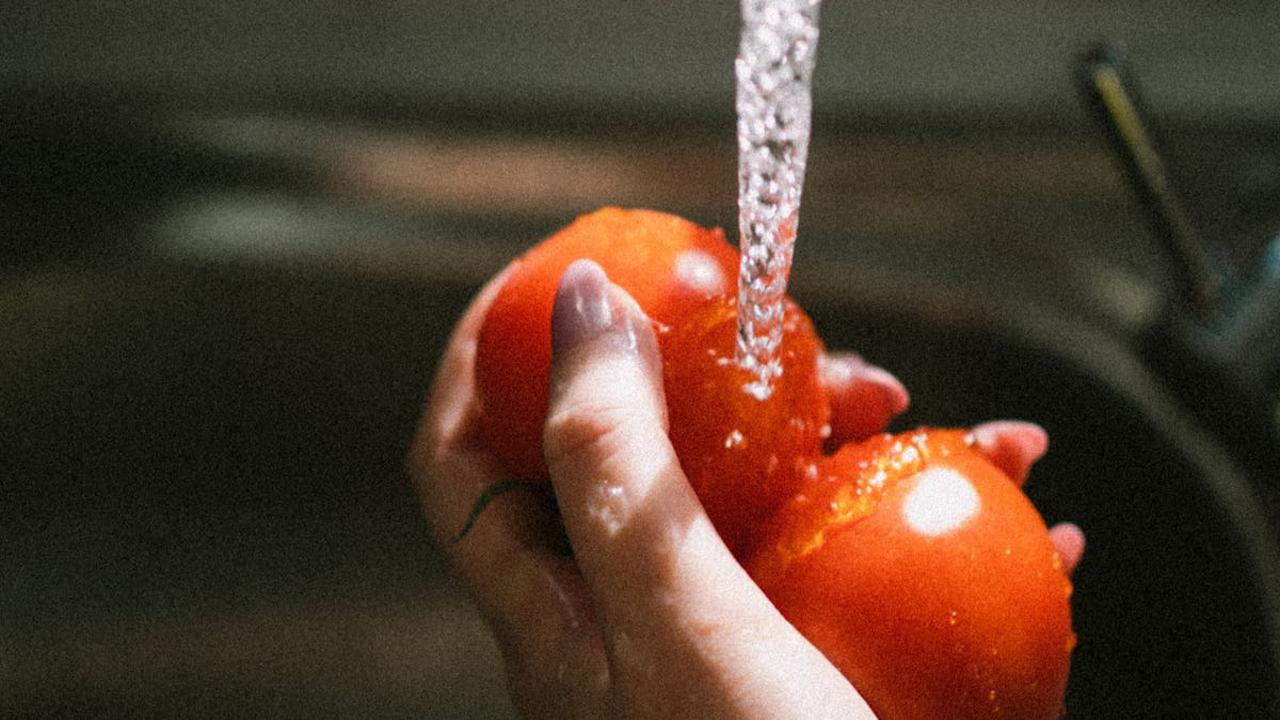
You wouldn’t eat your lunch off a dirty plate, so why skip washing those beautiful fruits and veggies? I’ve seen way too many people grab an apple and bite right in (yes, I’m looking at you, my dear husband Tom!). Even organic produce needs a good scrub to remove dirt, bacteria, and those sneaky pesticide residues. Fill your sink with cold water, add a splash of white vinegar, and give your produce a refreshing bath. For leafy greens, break them apart and swish them around – you’ll be amazed at the dirt that settles at the bottom!
Here’s a fun fact that’ll make you run to wash those berries: the average strawberry can carry up to 100 seeds on its surface, and each tiny dimple around those seeds can trap bacteria. Remember those firm-skinned fruits and veggies like apples, cucumbers, and bell peppers? Give them a good scrub with a produce brush – I name mine “Bruce the Brush” because who doesn’t love a cleaning tool with personality? For delicate items like mushrooms, stick to a quick rinse or gentle wipe with a damp paper towel. Your clean produce will not only taste better but will also keep longer in your fridge!
Refrigerator Organization

Think of your fridge as your food’s cozy apartment building – every item needs its own designated spot! Raw meats should live on the bottom shelf to prevent any drips from contaminating other foods. Keep your produce in those handy drawers where you can control humidity (leafy greens love it moist, while mushrooms prefer it dry). I learned this the hard way after finding a sad, soggy lettuce incident that could have been prevented with proper drawer placement!
Your fridge door is like the party zone – it’s the warmest area due to frequent opening and closing. That’s why you should never store milk or eggs there, despite those convenient door compartments. Instead, use door shelves for condiments, drinks, and butter which can handle temperature fluctuations better. And here’s my favorite organizing hack: use clear containers to store leftovers and label everything with dates. You’ll save money by actually seeing (and eating) what’s in there before it turns into a science experiment worthy of a Nobel Prize!
Safe Defrosting Methods

Hey there, fellow food lovers! Let me set the record straight about defrosting – because nobody wants a chicken-sicle for dinner or a side of food poisoning with their steak. You’ve got three foolproof ways to defrost safely: pop it in the fridge (my go-to method), use cold water, or zap it in the microwave. The fridge method takes longer but keeps your food at a steady temp – I stick my frozen chicken in there the night before, and by dinner time the next day, it’s ready to rock. For the cold water technique, seal your food in a leak-proof bag and submerge it completely, changing the water every 30 minutes.
Your microwave’s defrost setting can be your best friend in a pinch, but watch it like a hawk! I once got distracted during microwave defrosting and ended up with partially cooked shrimp edges while the middle was still frozen solid – not my finest kitchen moment! Whatever method you choose, never (and I mean never) leave frozen food on your counter to thaw. That’s like rolling out the red carpet for bacteria to throw a party on your dinner. And once your food is thawed, cook it right away – no putting it back in the freezer for another day. Trust me, your stomach will thank you for following these simple rules!
Raw Meat Handling
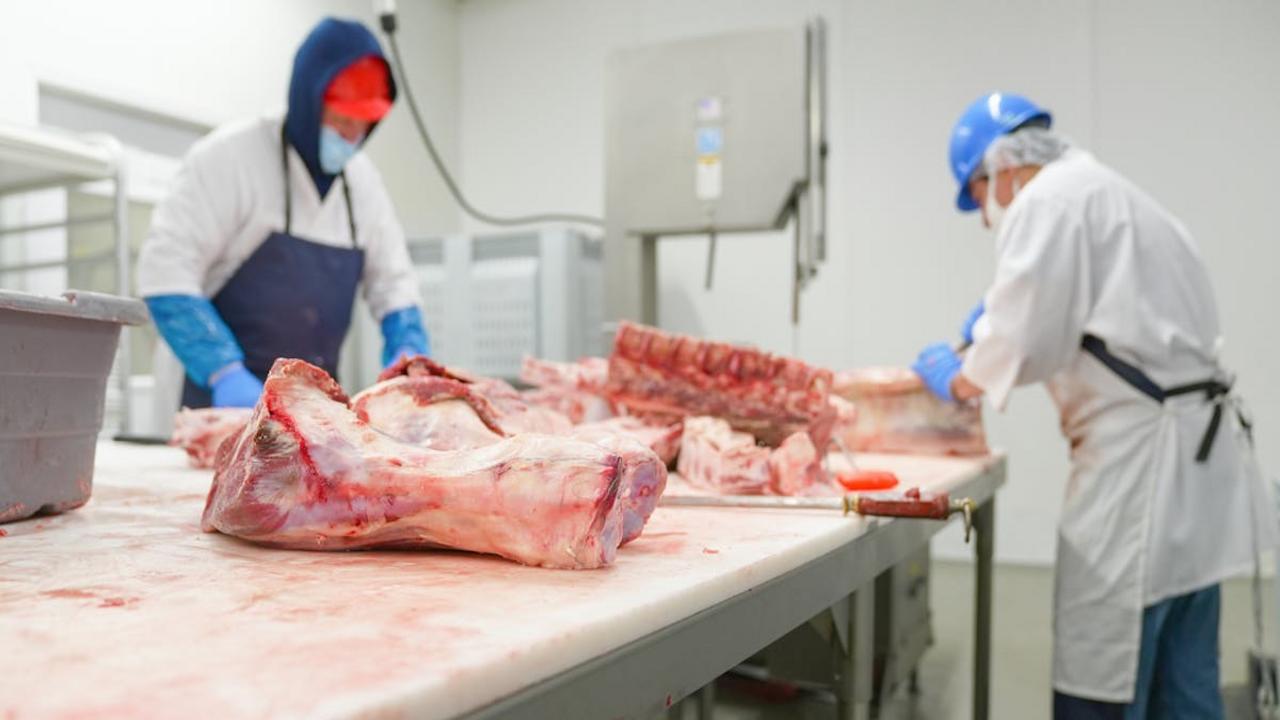
Let’s talk raw meat safety, friends! You wouldn’t believe how many kitchen mishaps I’ve witnessed from improper meat handling (including that one time my cousin tried to rinse his chicken in the sink – yikes!). Here’s the scoop: always keep raw meat on the bottom shelf of your fridge to prevent those pesky drips from contaminating other foods. And please, for the love of food safety, use separate cutting boards and utensils for raw meat – I keep my meat prep tools color-coded with red handles to avoid any mix-ups.
Now, here’s something that might shock you – that package of raw meat sitting in your shopping cart can spread bacteria to everything it touches! Always grab your meat last at the store and wrap it in a separate plastic bag. Keep it away from fresh produce and ready-to-eat foods. And those meat juices? They’re basically bacterial party central, so clean every surface they touch with hot, soapy water. I learned this the hard way after a memorable food prep incident that had me bleaching my entire kitchen counter. Trust me, taking these extra steps now beats dealing with food poisoning later!
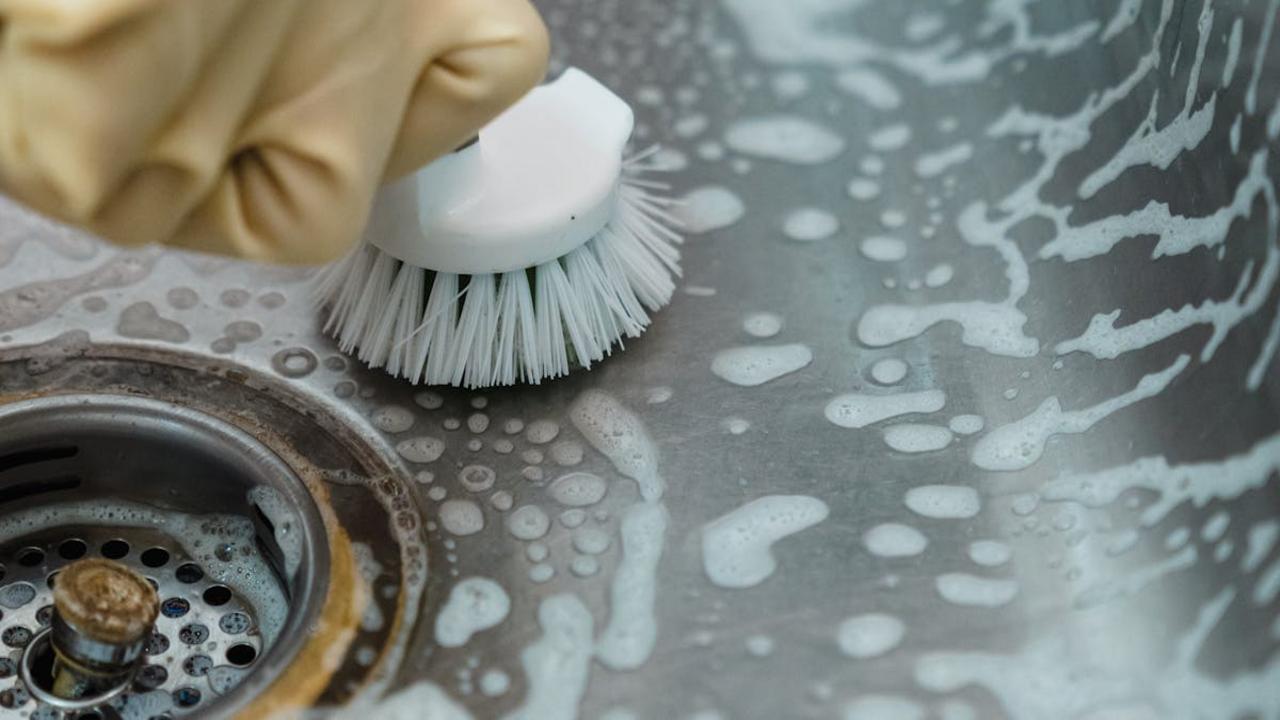
Kitchen Surface Sanitization
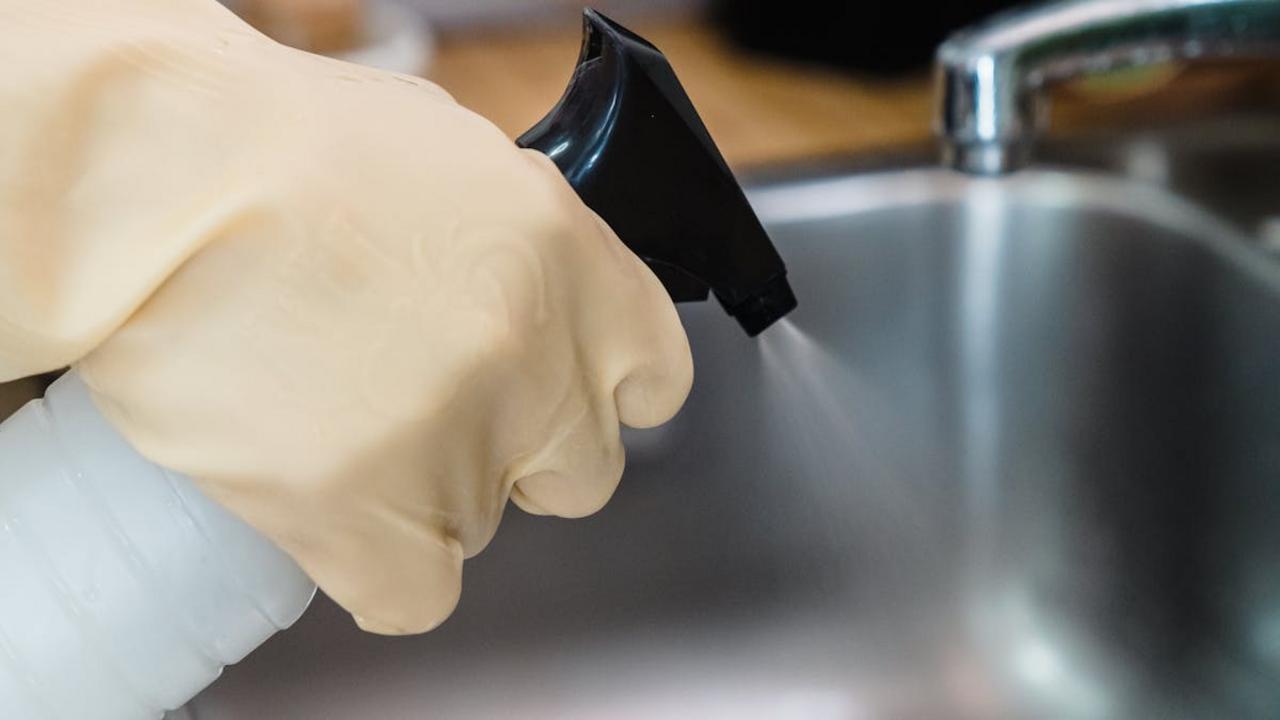
Listen up, fellow food lovers! Your kitchen counters might look squeaky clean, but trust me – those sneaky bacteria are having a party right under your nose. I learned this the hard way after watching my cousin Mike prepare raw chicken and then make a salad on the same cutting board without proper sanitization (spoiler alert: nobody showed up for dinner the next day). You’ll want to wipe down your surfaces with a proper sanitizing solution – mix one tablespoon of unscented bleach with a gallon of water, or grab a commercial kitchen sanitizer from your local store.
Here’s my go-to sanitizing routine that’ll keep those germs at bay: First, clear everything off your counters and sweep away any crumbs or debris. Next, wash the surface with hot, soapy water and rinse thoroughly. Now comes the real germ-fighting magic – spray your sanitizing solution generously and let it sit for at least one minute (I use this time to dance to my favorite cooking playlist). Finally, air dry or wipe with a clean cloth. Remember to give extra attention to high-touch areas like faucet handles, refrigerator doors, and those drawer pulls you grab with messy hands while cooking.
Food Expiration Dates
You know that “best by” date stamped on your yogurt container? It’s not actually a magical self-destruct timer! I’ve noticed so many people tossing perfectly good food because they treat these dates like some sort of doomsday countdown. Here’s the scoop: manufacturers use different phrases like “best before,” “use by,” and “sell by” – and they mainly indicate peak quality, not safety. Most foods stay fresh way beyond these dates if you’ve stored them properly. Your nose and eyes are often better judges than any printed date!
I keep a marker in my kitchen to write purchase dates on everything – it’s my not-so-secret weapon against food waste. Did you know that eggs can last 3-5 weeks past their carton date if kept cold? And those dry goods like pasta and rice? They’ll stay good for months after the package date if you keep them sealed and dry. The real rules are simple: if it looks normal, smells normal, and has been stored correctly, it’s usually fine. But remember – when in doubt, throw it out! Better safe than sorry with that month-old mystery container hiding in the back of your fridge.
Cross Contamination Prevention
Oh honey, let’s talk about keeping those raw meats from partying with your fresh produce! I learned this lesson the hard way when my chicken drippings once snuck their way onto my beautiful salad greens – talk about a kitchen nightmare! Now, I keep separate cutting boards in different colors: red for raw meats, green for veggies, and blue for fish. Think of it as giving your foods their own private VIP rooms. You’ll want to scrub those boards with hot, soapy water after each use, and don’t even think about reusing that plate that held your raw burger patties without washing it first!
Your kitchen tools need the same careful attention too. Keep those knives clean between different ingredients – a quick wipe with a paper towel won’t cut it (pun totally intended!). I store raw meats on the bottom shelf of my fridge, so their juices can’t drip onto other foods. And here’s a pro tip that saved my bacon more than once: prep all your veggies first, then move on to raw meats. This way, you won’t accidentally contaminate your fresh ingredients with meat residue. Think of cross-contamination like that one friend who shows up uninvited to every party – you need to set firm boundaries!
Safe Food Storage Temperatures
I’ll be honest – my refrigerator used to be a temperature free-for-all until my friend Maria (a professional chef) caught me storing raw chicken on the top shelf at a balmy 45°F. She nearly fainted! Here’s what I learned: your fridge needs to stay at or below 40°F (4°C) to keep bacteria from having a party on your food. The freezer should be at 0°F (-18°C) or lower – no exceptions! Get yourself a good thermometer and check it regularly. Think of it like this: between 40°F and 140°F is what food safety experts call the “danger zone” where bacteria multiply faster than teenagers on TikTok.
You know what else blew my mind? Different foods need different zones in your fridge. Raw meat belongs on the bottom shelf (in case of drips), dairy around 36°F in the middle, and fruits and veggies in those special drawers designed to maintain the right humidity. After my temperature revelation, I stuck thermometers in different spots and discovered my fridge door was actually 5-10 degrees warmer than the back – which explains why my milk kept spoiling early! Now I keep condiments in the door and temperature-sensitive items like eggs and yogurt tucked safely in the back where it’s consistently cold.
Proper Hand Washing
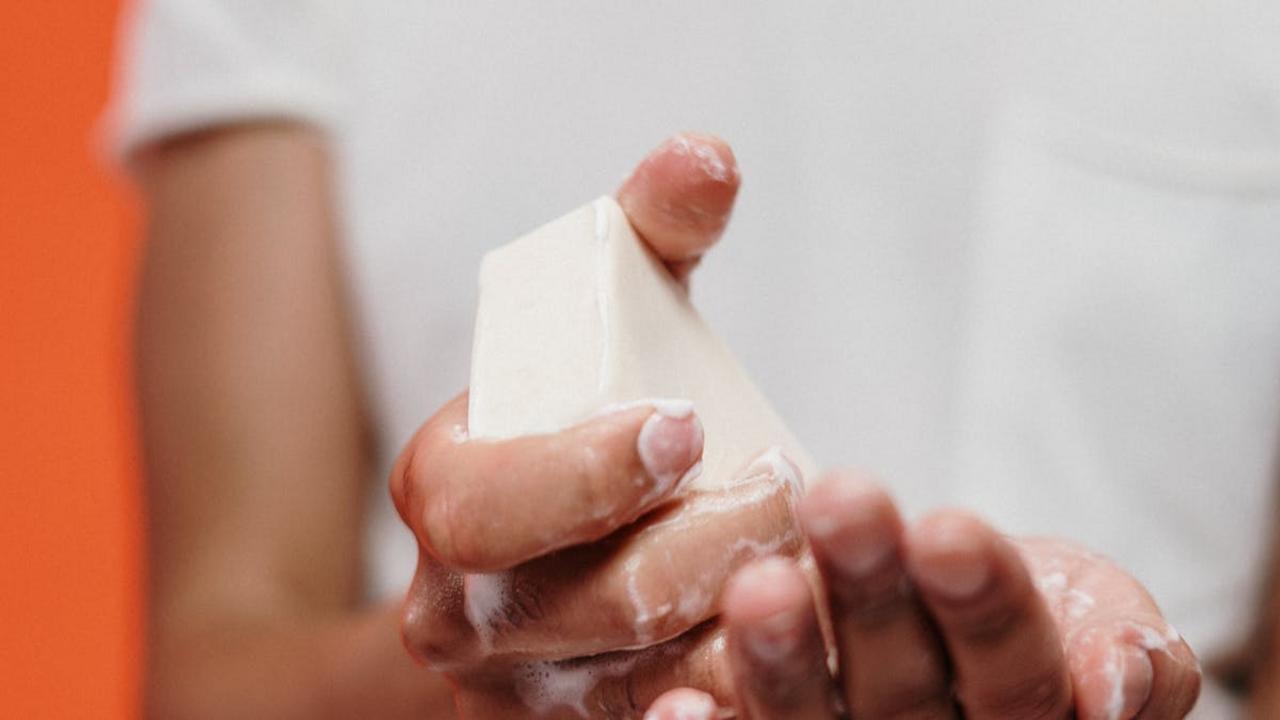
Listen up, kitchen warriors! I know washing your hands sounds like the most basic thing ever, but you’d be shocked how many people get it wrong. Think about this – your hands touch raw chicken, then your phone rings, and suddenly you’re spreading bacteria faster than gossip at a family reunion. The real deal involves warm water, plenty of soap, and a full 20 seconds of scrubbing – that’s about the time it takes to sing “Happy Birthday” twice (though I prefer humming Queen’s “We Will Rock You” for extra flair).
Want the nitty-gritty on hand-washing like a pro? Start by wetting your hands with warm water, add soap, and get scrubbing! Don’t forget those sneaky spots like under your nails, between your fingers, and up your wrists – bacteria love playing hide and seek there. I once watched a chef demonstrate proper hand washing using UV-reactive gel, and the results were eye-opening – spots we thought were clean lit up like a disco ball! Give those hands a thorough rinse and dry them with a clean towel or paper towels. No shirt-drying allowed, folks – your clothes aren’t exactly germ-free!