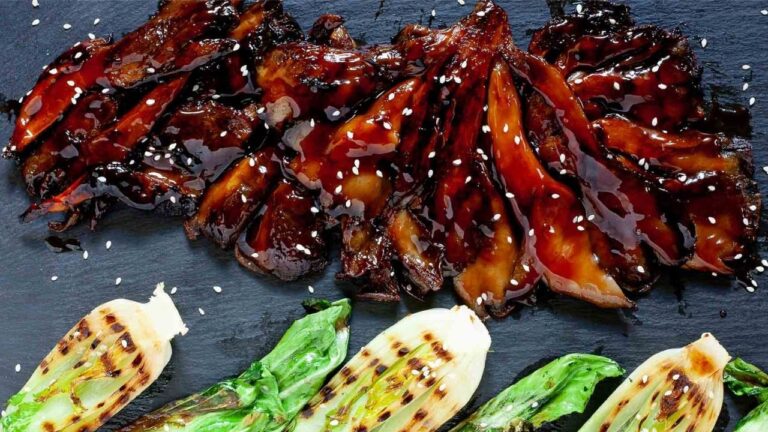
14 Genius Instant Pot Hacks That Will Revolutionize Your Cooking
The Instant Pot sits on millions of kitchen counters, yet so many of us barely scratch the surface of what this magical gadget can do. I discovered mine could do way more than just speed up dinner prep when I accidentally made the fluffiest cheesecake of my life in it last month. From perfectly cooked rice to fall-off-the-bone ribs, this kitchen superhero packs more tricks than a magician’s hat.
Your Instant Pot can transform frozen chicken into tender, juicy meat in under 30 minutes, stack multiple dishes at once like a cooking ninja, and even make yogurt without the special button. These genius hacks will turn you from an Instant Pot novice into a pressure-cooking pro faster than you can say “quick release.”
Whether you’re a busy parent juggling weeknight meals or a food enthusiast looking to step up your game, these 14 brilliant tricks will make your Instant Pot work harder for you. Get ready to unlock cooking secrets that will save you time, boost flavor, and make you wonder how you ever lived without them.
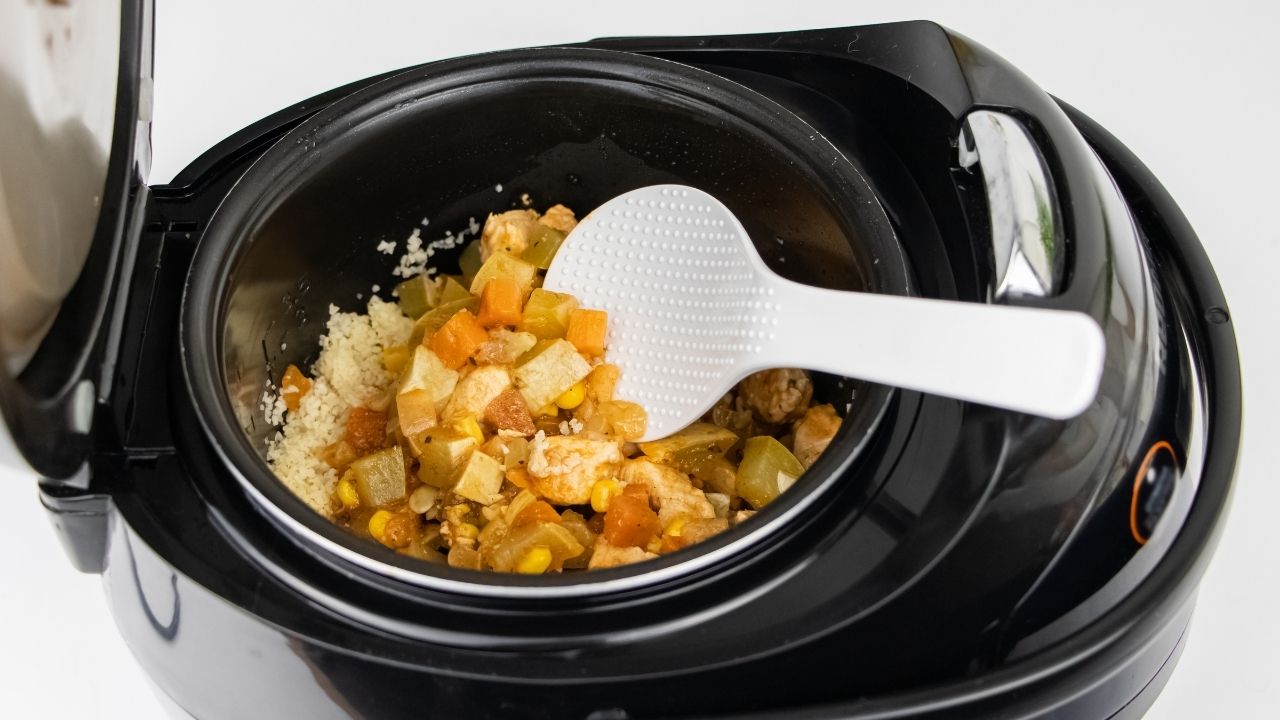
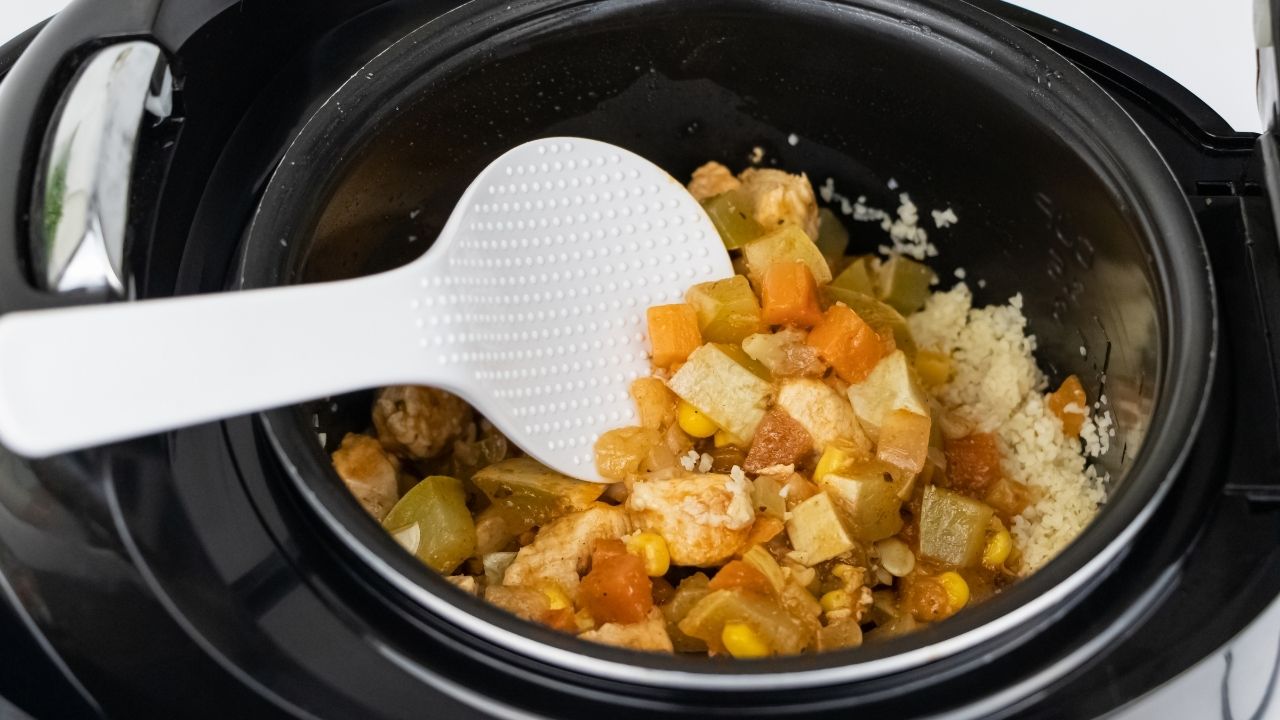
Create Convenient Prep Packets
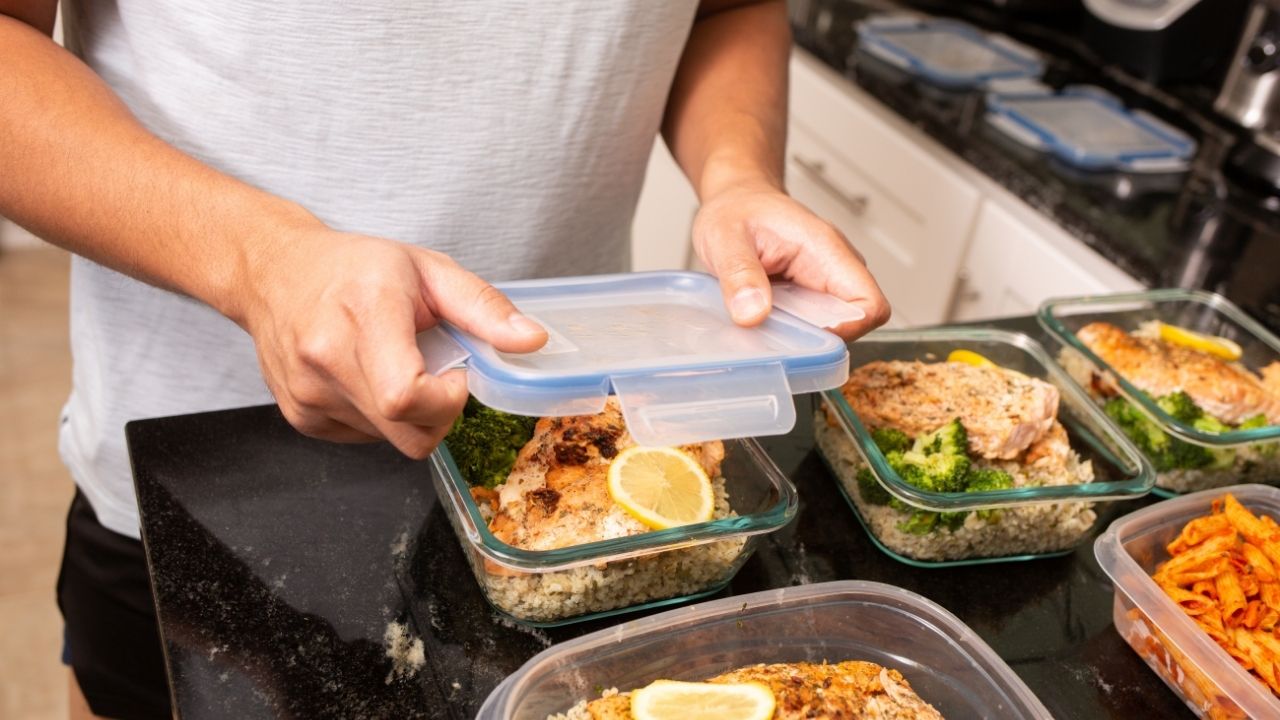
Want to make your Instant Pot cooking even faster? Get ready to become a meal prep genius with convenient freezer packets! I started making these little bundles of joy last year, and they’ve saved me countless hours in the kitchen. Simply portion out your meats, veggies, and seasonings into freezer-safe bags, lay them flat to freeze, and boom – you’ve got ready-to-go Instant Pot meals! The flat shape means they’ll stack neatly in your freezer, plus they thaw quickly when you need them. My go-to combo is chicken thighs with bell peppers, onions, and my secret weapon – a splash of balsamic vinegar.
Here’s the real magic: these prep packets work perfectly for both fresh and frozen ingredients. You can prep a whole month’s worth of dinners in under an hour on Sunday afternoon. Just label each bag with cooking times and any additional ingredients you’ll need (like broth or rice). My favorite trick? Add a cube of frozen butter or olive oil to each packet – it’ll help prevent sticking and add extra flavor while cooking. And yes, you can dump the entire frozen block straight into your Instant Pot! No thawing needed, which means dinner’s ready in minutes, not hours.
Check Valve For Debris
I can’t tell you how many times I’ve had my Instant Pot making weird noises, only to discover a sneaky piece of food blocking the valve. Your valve needs regular TLC to keep your pressure cooker running smoothly! Give it a quick check before each use – pull out the steam release handle and float valve, then peek inside for any food bits playing hide and seek. A clean valve means proper pressure build-up and safer cooking, plus it stops those concerning sounds that make you wonder if your pot’s about having a meltdown.
Here’s my go-to cleaning method: soak the valve parts in warm, soapy water for about 10 minutes, then use a small brush (an old toothbrush works great) to scrub away stubborn debris. I learned this trick after a particularly messy bean soup incident that left my valve looking like it had survived a food fight. Remember to dry everything thoroughly before putting it back together. Your Instant Pot will thank you with perfectly cooked meals and none of those anxiety-inducing whistles that make your cat hide under the bed!
Use Less Liquid Than Traditional Recipes
I learned this little nugget of wisdom the hard way after flooding my kitchen counter with an overly soupy chicken stew. Here’s the deal: your Instant Pot needs way less liquid than traditional cooking methods because it traps all the moisture inside that sealed pressure chamber. While your grandma’s recipe might call for 4 cups of broth, you can usually cut that down to 1-2 cups in your IP. The vegetables and meat will release their own juices during cooking, adding to the liquid content.
Think of your Instant Pot as a super-efficient moisture recycler – nothing escapes! This means you’ll get richer, more concentrated flavors in your dishes instead of watered-down results. I’ve found this especially true with tomato-based sauces and curry dishes. My go-to rule is to start with half the liquid a regular recipe suggests, then adjust from there. Just remember to always keep at least 1 cup of liquid in the pot – that’s the minimum needed for proper pressure building. Your soups will be thicker, your sauces richer, and your countertops significantly drier!
Save Time With Frozen Meat

Your Instant Pot will become your best friend when you forget to thaw meat for dinner (which happens to me at least twice a week!). You can toss frozen chicken breasts, pork chops, or even a whole roast straight from the freezer into your pot – no thawing required! Just add 5-10 minutes to your regular cooking time, and your meat will turn out tender and juicy. I’ve rescued countless dinners by throwing rock-solid chicken breasts into my IP with some broth and seasonings, and 15 minutes later, I’m serving perfectly cooked chicken.
The magic happens because the Instant Pot creates an optimal pressure and temperature environment that safely cooks frozen meat through to the center. Remember to separate individual pieces before freezing – that stack of chicken breasts frozen together won’t cook evenly! Pro tip: Keep frozen meat portions in your freezer specifically portioned for your IP. I store individual chicken breasts in zip-top bags with marinades, so they’re ready to pop in the pot whenever my meal planning goes sideways (which, let’s be honest, is pretty often!).
Perfect Hard Boiled Eggs Timing

Oh friends, let me share the secret to perfect hard-boiled eggs in your Instant Pot that will make your old stovetop method look like amateur hour! Just pop those beautiful eggs on the trivet, add a cup of water, and set your timer according to your preferred yolk consistency: 4 minutes for jammy centers, 5 minutes for perfect medium-boiled, or 6-7 minutes for fully firm yolks. The best part? The shells practically slide off after a quick ice bath, making your egg-peeling woes a thing of the past.
Here’s a fun fact that blew my mind: the pressure cooking method actually makes fresh eggs peel more easily than older ones – completely opposite from traditional boiling! I used to stockpile eggs for weeks before making deviled eggs for parties, but now I can grab them straight from the farmer’s market. Plus, the consistent results mean you’ll never have that dreaded green ring around your yolks again. My Sunday meal prep now includes a batch of these beauties for quick protein-packed snacks throughout the week.
Make Yogurt Without The Yogurt Button
No yogurt button on your Instant Pot? No problem! Your trusty pressure cooker can still whip up creamy, tangy yogurt without that fancy preset. The secret lies in using your Instant Pot’s “Keep Warm” function, which maintains the perfect temperature for those beneficial bacteria to work their magic. Just heat your milk to 180°F using the “Sauté” function, cool it to 110°F, stir in your starter culture, and hit that “Keep Warm” button. Your kitchen will transform into a cozy bacterial spa for the next 8-12 hours.
I learned this trick during a power outage when my fancy yogurt maker bit the dust. The results? Better than any store-bought yogurt I’ve tried! The beauty of this method is its flexibility – you can make Greek-style by straining it through cheesecloth, or keep it regular for smoothies and parfaits. Plus, you’ll save money and reduce plastic waste from all those single-serve containers. Pro tip: save a few tablespoons of your homemade batch to use as starter culture for your next round. Your yogurt-making adventure just became a self-sustaining cycle of deliciousness!
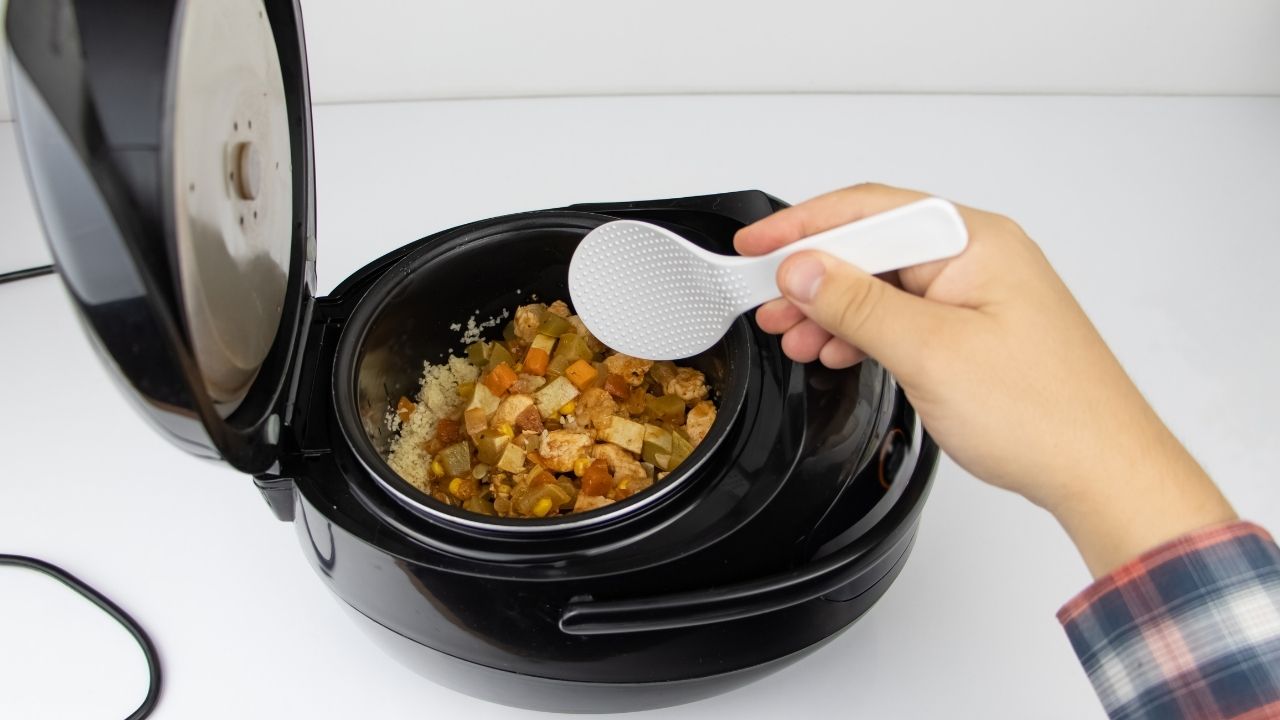
Use The Pot In Pot Method
Oh my goodness, where has the pot-in-pot method been all my Instant Pot life? This genius technique lets you cook multiple dishes at once by placing a smaller pot or bowl inside your Instant Pot on a trivet. Picture this: fluffy rice steaming away in a stainless steel bowl while your curry bubbles below. I discovered this trick during a dinner party emergency when I needed to make both cheesecake and soup simultaneously – talk about a kitchen revelation!
The beauty of pot-in-pot cooking goes beyond just saving time. You can finally make smaller portions without worrying about burning them at the bottom, and cleanup becomes a breeze since food doesn’t stick directly to your Instant Pot. My favorite combo? A hearty chili on the bottom with cornbread steaming in a cake pan above. Just remember to add enough water to the main pot for proper pressure building, and use heat-safe containers like stainless steel, glass, or ceramic. Your meal prep game will never be the same!
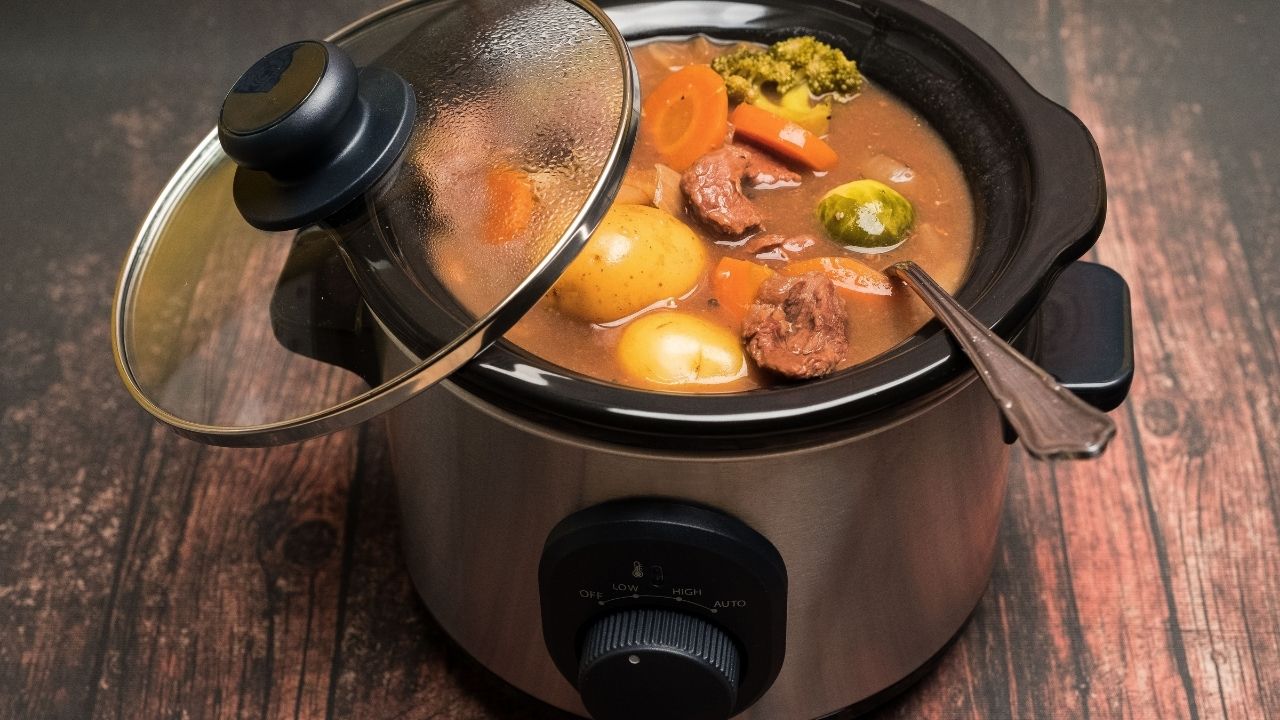
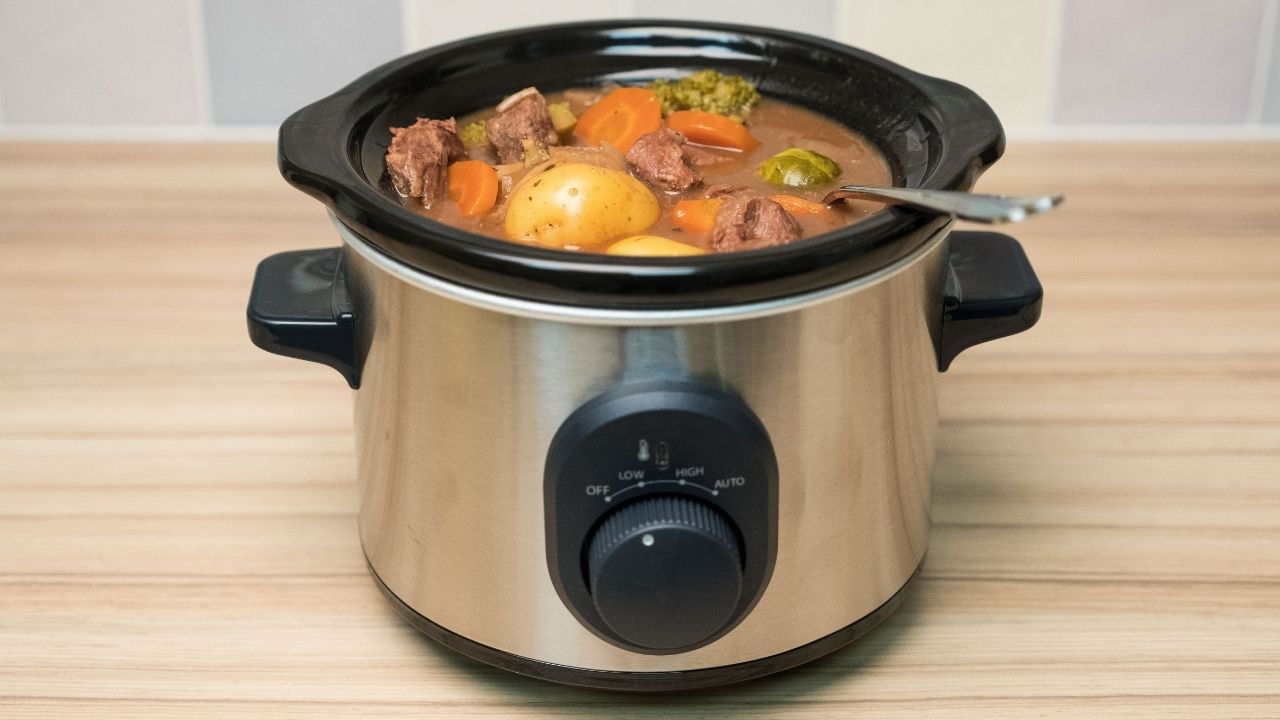
Convert Slow Cooker Recipes

You know that beloved slow cooker recipe for pulled pork that simmers away all day while you’re at work? Well, guess what – your Instant Pot can transform that 8-hour wait into just 45 minutes! The magic ratio for converting slow cooker recipes to your Instant Pot is simple: divide the cooking time on low by 8, or the time on high by 4. Just remember to add at least 1 cup of liquid to create the necessary steam, and you’ll get those same tender, flavorful results in a fraction of the time.
I recently converted my grandmother’s famous beef stew recipe from a slow cooker marathon to an Instant Pot sprint. Instead of waiting 6 hours, I had perfectly tender meat and vegetables in 45 minutes flat! The key is to adjust your seasonings slightly – pressure cooking intensifies flavors, so you might want to dial back on strong herbs and spices by about 25%. And here’s a fun tip: for recipes that call for dairy, always add it after the pressure cooking is complete to avoid any curdling mishaps (learned that one the hard way with a very interesting-looking chicken alfredo).
Double Check The Sealing Position
You know that moment when you’re standing in your kitchen, staring at your Instant Pot with a confused look because your food isn’t cooking? Nine times out of ten, it’s because the sealing ring isn’t properly positioned. I learned this the hard way after serving my family raw chicken – talk about a dinner disaster! Now, I make it a habit to run my finger around the sealing ring before every cook, making sure it sits snugly in the groove. Think of it like checking your car’s seatbelt – a quick safety check that prevents major headaches.
The sealing position is your Instant Pot’s best friend or worst enemy. A properly sealed pot builds pressure quickly and keeps all those wonderful flavors locked inside. But if that seal isn’t right, you’ll lose pressure faster than my cat runs from bath time. Make it a routine to check both the steam release valve and the sealing ring – they work together like a dynamic duo. And here’s a pro tip: keep an extra sealing ring on hand. These little rubber warriors can wear out over time, and having a backup ready will save you from mid-recipe panic attacks.
Saute Before Pressure Cooking
Listen up, fellow Instant Pot enthusiasts! If you want to transform your pressure-cooked meals from “meh” to “magnificent,” you need to befriend that handy sauté function first. I learned this game-changing trick after serving one too many bland stews to my poor family. By hitting that sauté button and browning your meat, onions, or garlic before pressure cooking, you’ll create this amazing caramelization that adds incredible depth and richness to your dishes. The Maillard reaction (fancy science talk for browning food) creates hundreds of new flavor compounds that’ll make your food sing!
Think of the sauté function as your dish’s opening act – it sets the stage for an unforgettable performance. Just yesterday, I made this killer beef stew where I browned the chunks of meat until they had this gorgeous golden crust. The difference was mind-blowing! The meat turned out tender and packed with flavor, not just “beef-flavored” if you know what I mean. Plus, you can deglaze all those beautiful brown bits stuck to the bottom with some wine or broth – that’s where the real flavor magic happens. Your Instant Pot becomes a one-stop flavor factory, and you’ll save yourself from washing extra pans. Win-win!
Use Cold Water For Better Pressure
Hey friend, I learned this cool trick that changed my Instant Pot game forever – cold water is your secret weapon for faster pressurization! Think about it: hot water already has steam rising from it, which means your pot struggles to build up that perfect pressure seal. Cold water, on the other hand, gives you a clean slate to work with. I discovered this by accident one day while rushing to make dinner, and now I won’t cook any other way!
The science behind this is pretty fascinating – cold water remains stable until it hits that boiling point, creating a more efficient pressure build-up in your pot. You’ll notice the difference right away – your Instant Pot will reach pressure about 2-3 minutes faster than with warm or hot water. Plus, you’ll avoid that annoying steam leakage that sometimes happens with hot water. Just fill your pot with cold tap water up to the recommended line, add your ingredients, and watch how quickly that pressure pin pops up. It’s like giving your Instant Pot a turbo boost!
Stack Multiple Dishes
Your Instant Pot can be a multi-story cooking machine! By stacking dishes inside, you’ll cook two or three different foods at once – think of it as building a tiny food skyscraper. I discovered this trick during a dinner party crisis when I needed to make rice, steam broccoli, and cook chicken simultaneously. The secret? Grab some stackable steamer baskets, heat-safe bowls, or the official Instant Pot stackable containers. Just remember to put foods with similar cooking times together, or you’ll end up with mushy veggies and undercooked meat!
Here’s my go-to stacking combo: place chicken or meat at the bottom, then add a steamer basket with potatoes or rice in the middle, and top it off with quick-cooking vegetables. The steam circulates beautifully between layers, and each food maintains its distinct flavor without any mixing. Plus, this method saves you time, energy, and dishes to wash – a triple win! My favorite part? Opening the lid to reveal three perfectly cooked dishes, like a magician pulling rabbits from a hat. Just make sure to add an extra minute or two to your cooking time since you’re stuffing more food inside.
Natural Release Versus Quick Release
Hey there, pressure release nerds! I’ll bet you’ve stood in front of your Instant Pot, debating whether to flip that valve or wait it out naturally. Here’s the scoop: Natural Release means letting your pot depressurize on its own – perfect for meats, beans, and rice that need that extra time to get tender. Think of it like a spa day for your food – no rushing, just pure relaxation. Quick Release, on the other hand, is your fast-track option – just flip that valve and watch the steam shoot up like a mini volcano (but please, keep your face away from it!).
Your choice between these methods can make or break your dish. Quick Release works beautifully for veggies, seafood, and anything you don’t want to risk overcooking. I once made the rookie mistake of using Quick Release on a batch of beef stew – ended up with meat tougher than my old running shoes! Natural Release would have given those collagen-rich cuts the time they needed to become fork-tender. Pro tip: if you’re short on time but cooking something that needs Natural Release, try a modified approach – wait 10 minutes, then release the remaining pressure manually. Your food will thank you!
Clean The Ring Properly
Your Instant Pot’s silicone ring holds onto food smells like a clingy ex who won’t let go! I learned this the hard way when my morning oatmeal started tasting suspiciously like last night’s curry. The fix? Pop that rubber ring into your dishwasher’s top rack, or give it a thorough soak in white vinegar and warm water. For extra stubborn odors, I recommend leaving it in the sun for a few hours – UV rays are natural deodorizers (who knew?).
Here’s a pro tip that’ll save you from flavor-confusion disasters: keep two separate rings – one for savory dishes and another for sweet treats. I mark mine with a tiny dot of nail polish to tell them apart. And don’t forget to inspect your ring regularly for cracks or warping. A damaged ring won’t seal properly, and you’ll end up with a kitchen that looks like a soup explosion. Trust me, I’ve been there, and cleaning tomato sauce off the ceiling is not how I want to spend my Saturday morning!