14 Cooking Mistakes We’re All Guilty Of with Easy Fixes
We’ve all been there – smoke detectors blaring because you’re frantically fanning a burnt pan while wondering how your perfectly planned dinner turned into a kitchen nightmare. You’re not alone! Even seasoned home cooks make these common mistakes that can turn a promising meal into a disappointing dish.
From leaving the oven door wide open (hello, temperature drop!) to crowding your pan until those mushrooms steam rather than sear, these cooking blunders are practically universal. And who hasn’t skipped reading a recipe all the way through, only to discover midway that those beans needed to soak overnight?
The good news? These kitchen mishaps come with simple fixes that will immediately upgrade your cooking game. No culinary school required – just a few tweaks to habits you probably didn’t even realize were sabotaging your meals. Your taste buds (and dinner guests) will thank you for the delicious improvement.
Ignoring Oven Hot Spots
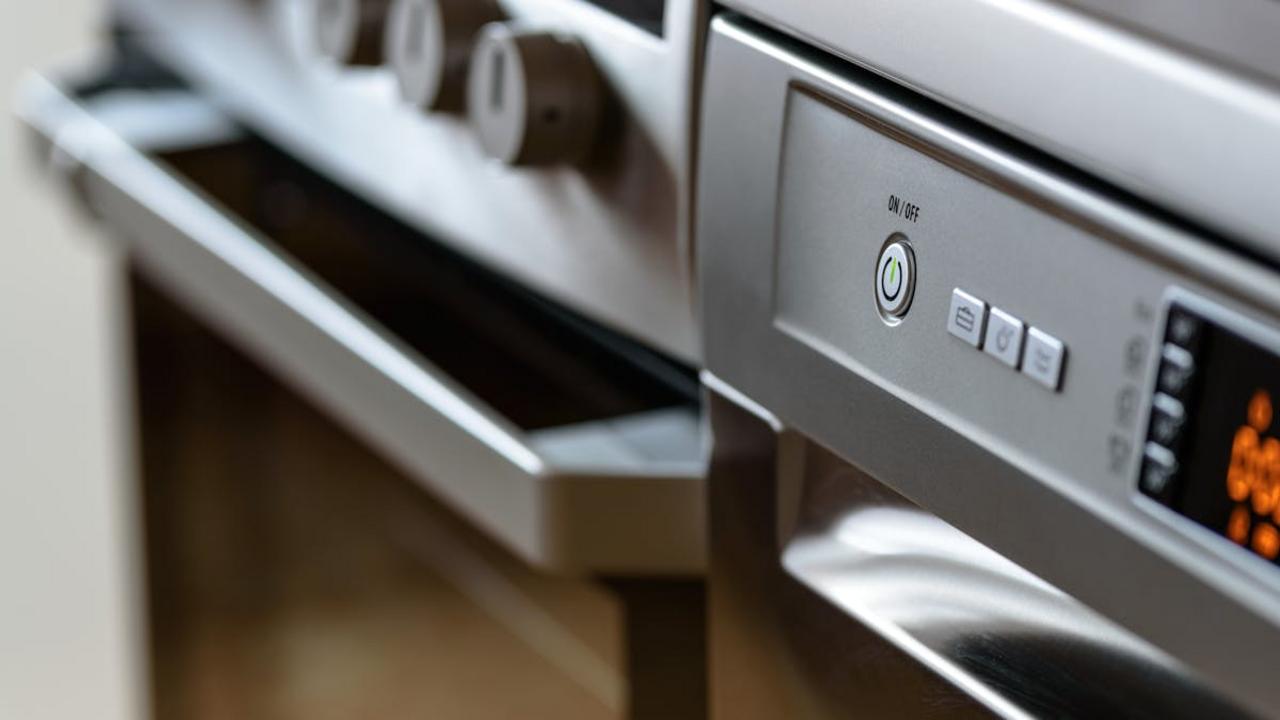
Your oven lies to you every single day, and you probably don’t even know it! That little temperature dial might say 350°F, but inside your oven, there’s a wild temperature party happening with some spots running 25-50 degrees hotter than others. Most ovens have notorious hot zones near the back or sides where heating elements work overtime, creating what I like to call “the Bermuda Triangle of baking” – where cookies go to burn and dreams go to die. You’ve probably noticed this phenomenon when your batch of chocolate chip cookies comes out looking like a checker board, with some golden brown beauties and others that look like they’ve been through a volcanic eruption.
Here’s your game plan: grab a cheap oven thermometer (seriously, they cost like five bucks) and do some detective work. Place it in different spots during preheating to map out your oven’s personality quirks. Once you know where the hot zones lurk, you can rotate your pans halfway through baking time, or better yet, position your food strategically to avoid the trouble spots altogether. Pro tip from my grandmother’s playbook: she always kept her casseroles toward the center and moved anything delicate away from the back wall. Your perfectly even sheet of roasted vegetables will thank you, and you’ll finally stop playing oven roulette with your dinner!
Not Sifting Dry Ingredients for Baking
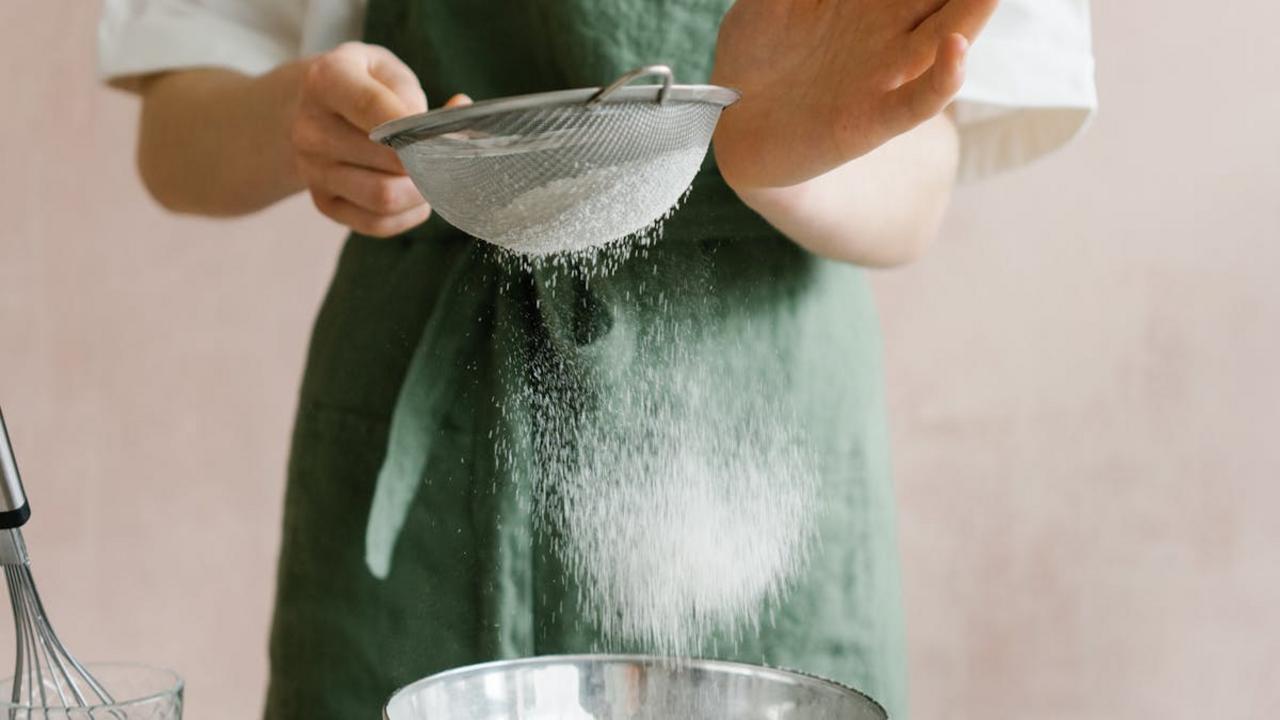
You know that moment when you dump flour straight from the bag into your mixing bowl like you’re feeding chickens? Yeah, we’ve all been there, and our cookies have definitely suffered for it. Flour sits in that bag like a grumpy cat, all clumped together and dense, just waiting to turn your perfectly planned chocolate chip cookies into hockey pucks. Sifting isn’t just some fancy chef nonsense – it actually aerates your flour, breaking up those stubborn lumps and giving your batter the light, fluffy texture it deserves. Think of it as giving your flour a spa day before it meets the rest of your ingredients.
Here’s your super simple fix: grab a fine-mesh strainer (you probably already have one hiding in your drawer) and give those dry ingredients a gentle shake-through before measuring. If you’re feeling extra fancy, invest in a proper flour sifter – they’re like $15 and will make you feel like a legitimate baker every single time you use it. Pro tip: sift your flour, baking powder, and salt together for the most even distribution. Your cakes will rise more evenly, your cookies will have that perfect tender crumb, and you’ll finally understand why your grandmother’s biscuits were always better than yours. Sometimes the old-school methods really do know what they’re talking about!
Panicking Over a Broken Sauce
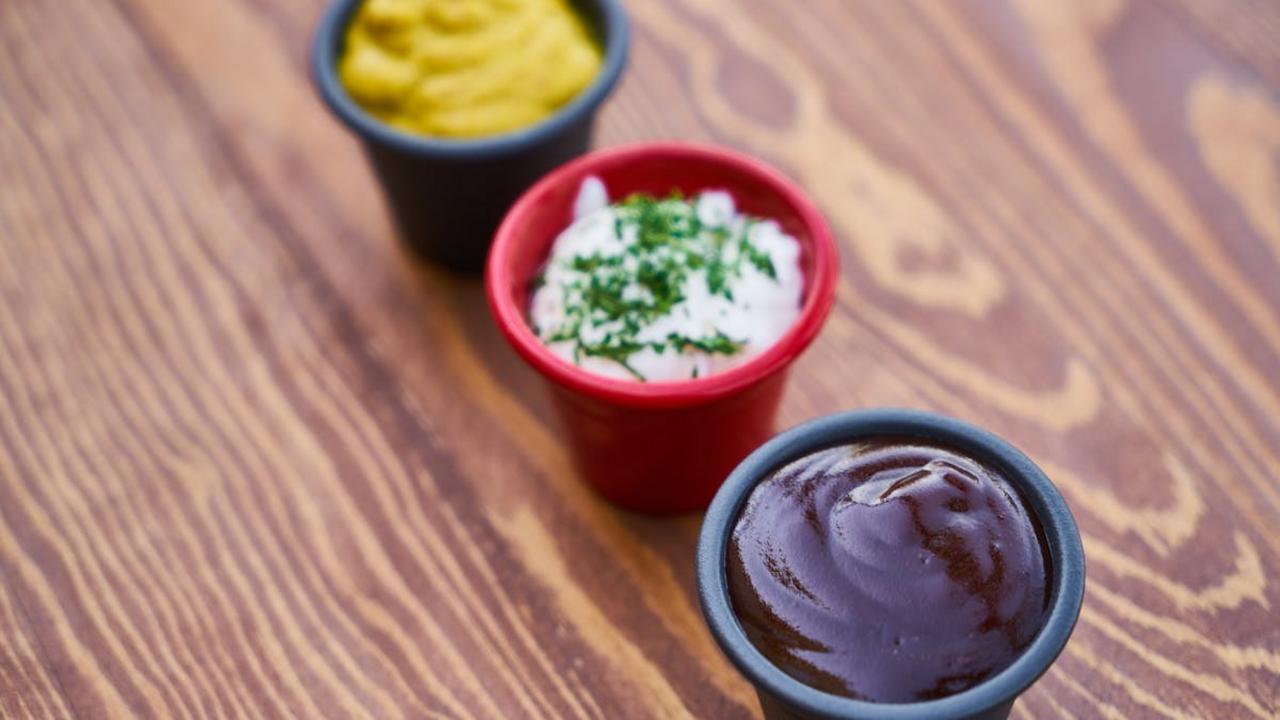
Picture this: you’re standing in your kitchen, wooden spoon in hand, watching your beautiful hollandaise transform into what looks like chunky cottage cheese mixed with butter water. Your heart rate spikes, sweat beads on your forehead, and you’re suddenly questioning every life choice that led to this moment. Stop right there! Broken sauces happen to everyone – even professional chefs have their “oh no” moments with emulsions. The key is staying calm because most broken sauces can be rescued with surprisingly simple techniques.
For mayonnaise or hollandaise that’s gone rogue, start fresh with a clean bowl and one egg yolk. Slowly whisk in your broken sauce, drop by drop, just like you’re making the sauce from scratch. Magic happens! If your cheese sauce looks more like stringy disaster than creamy perfection, remove it from heat immediately and whisk in a splash of cold milk or cream. The temperature shock often brings everything back together beautifully. Pro tip: prevention works wonders too – add cheese off the heat and use lower temperatures. Your sauce may break your heart momentarily, but it doesn’t have to break your dinner plans!
Rinsing Pasta After Cooking
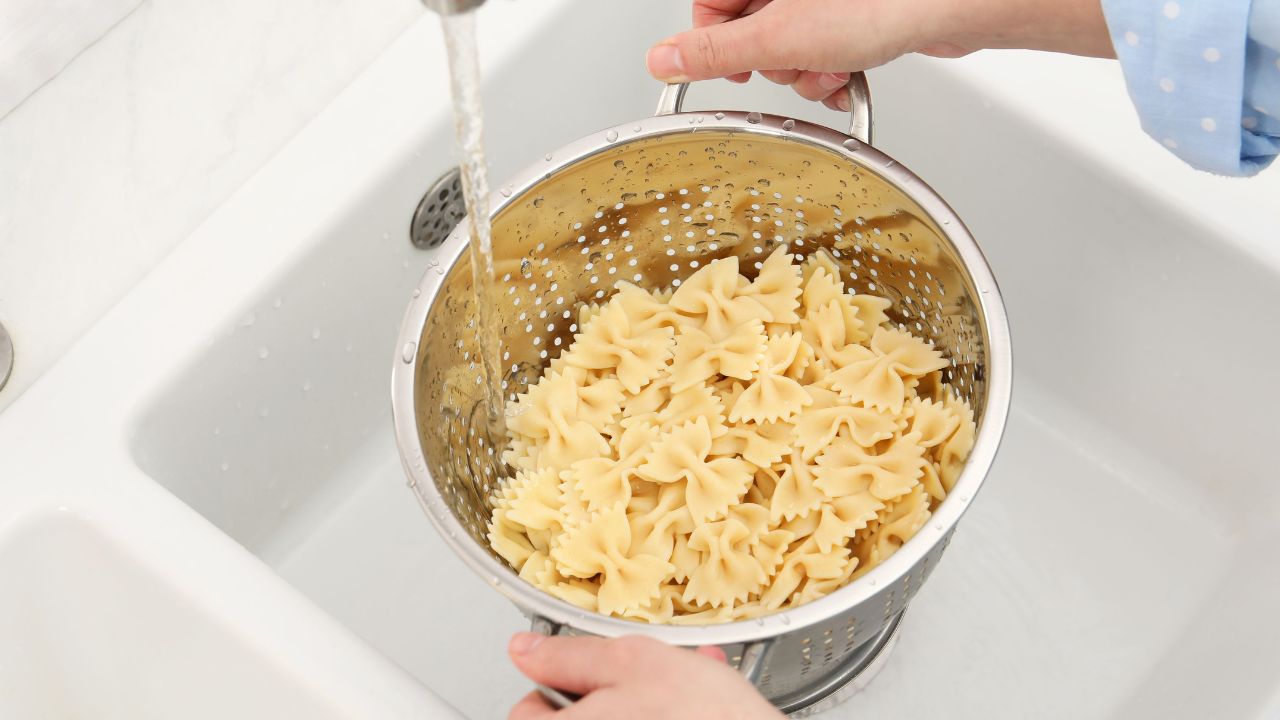
Picture this: you’ve just drained your perfectly cooked spaghetti, and your first instinct screams “rinse it!” Stop right there, pasta rebel! Running cold water over your beautiful noodles is like washing away liquid gold – that starchy, cloudy pasta water contains the secret ingredient that makes your sauce cling like it’s never letting go. Those microscopic starch molecules act as nature’s own glue, creating the perfect marriage between your pasta and whatever delicious concoction you’re about to toss it with. Fun fact: Italians have a special term for this starchy water – “acqua di cottura” – and they guard it more fiercely than their grandmother’s secret recipes.
The only time you should rinse pasta is when you’re making a cold pasta salad, and even then, you’re basically committing a minor food crime that would make any Italian nonna weep into her apron. When you rinse hot pasta, you’re not just removing the starch – you’re also cooling down those beautiful noodles, which means your sauce won’t absorb properly and you’ll end up with a sad, slippery mess instead of the silky, cohesive dish you deserve. Instead, save a cup of that precious pasta water before draining, then toss your hot, unrinsed noodles directly with your sauce, adding splashes of the reserved water to create that restaurant-quality, glossy finish that’ll make you feel like a true kitchen magician.
Ignoring the Importance of Knife Skills
You know that friend who takes forty-five minutes to dice an onion while tears stream down their face like they’re watching the finale of a heartbreaking romance? Yeah, that’s probably you – and honestly, it was me too until I realized my knife technique resembled a toddler attacking a piñata. Poor knife skills don’t just slow you down; they make cooking feel like medieval torture. When you hack at vegetables instead of slicing them properly, you’re bruising the cells and releasing bitter compounds. Plus, uneven cuts mean uneven cooking – some pieces turn to mush while others stay crunchy enough to crack a tooth.
Here’s your fix: invest thirty minutes learning three basic cuts – the chop, the dice, and the julienne. Keep your knife sharp (a dull blade is actually more dangerous because it slips), use the “claw grip” to protect your fingers, and rock that blade instead of lifting it completely off the cutting board. Practice on carrots – they’re cheap, forgiving, and make satisfying little clicking sounds when you nail the technique. Once you master proper knife work, you’ll slice through prep time like a kitchen ninja, and your food will cook evenly and taste better because you’re not massacring those poor vegetables anymore.
Not Reading the Recipe Through First
Picture this: you’re halfway through making what should be a stunning chocolate soufflé, feeling like a total kitchen rockstar, when suddenly you realize the recipe calls for egg whites that need to be whipped to stiff peaks—and you just used your only mixing bowl for the chocolate base that’s now hardening faster than concrete. Welcome to the classic “didn’t-read-ahead” disaster that strikes even the most confident home cooks! You know that moment when you discover you need to marinate something overnight, but dinner guests arrive in two hours? Or when you find out your “quick weeknight meal” actually requires three different cooking vessels and a food processor you forgot you lent to your neighbor six months ago.
The fix here couldn’t be simpler, though it requires the patience of a saint in our instant-gratification world: read the entire recipe before you crack a single egg. Think of it as your culinary GPS—you wouldn’t start a road trip without knowing where the toll roads and construction zones are, right? Take five minutes to scan through every step, check your pantry for ingredients, and mentally map out your cooking timeline. Professional chefs call this “mise en place”—having everything in its place—and there’s a reason restaurant kitchens run like well-oiled machines. Your future self will thank you when you’re calmly whisking away instead of frantically searching for that vanilla extract buried behind seventeen bottles of expired spices.
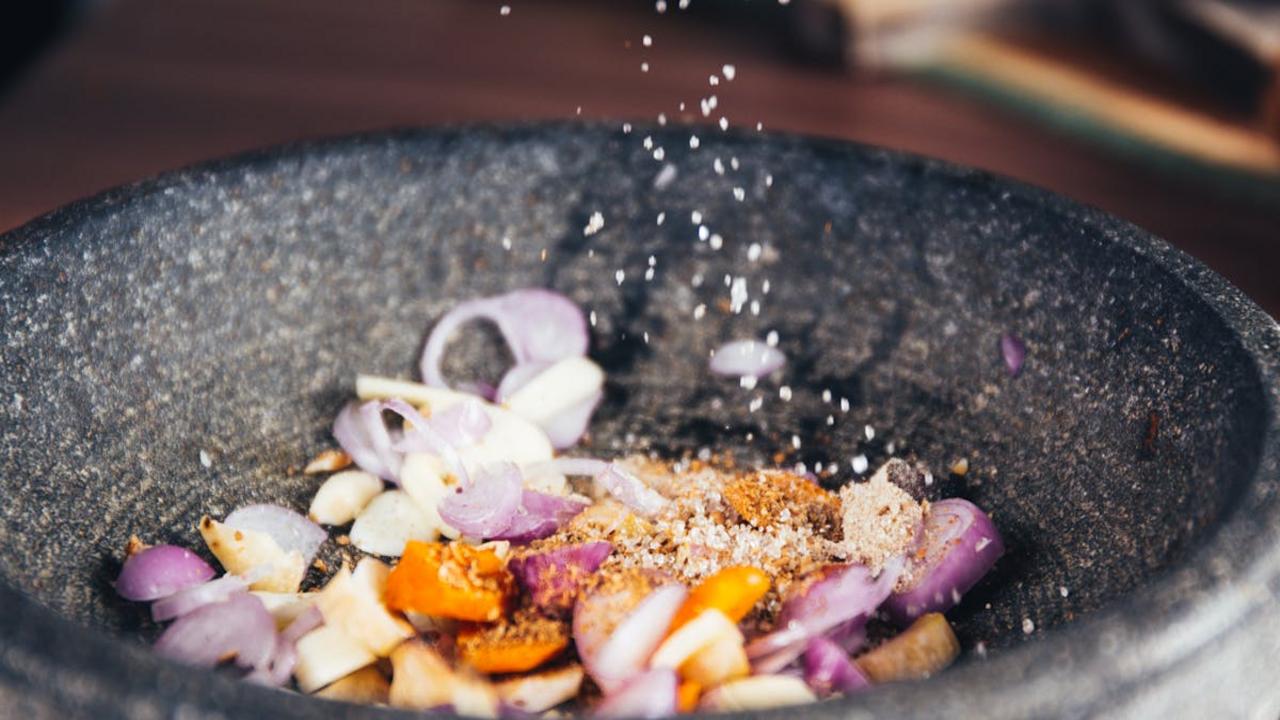
Neglecting to Taste As You Go

You know that friend who throws ingredients into a pot like they’re casting spells, then serves dinner with crossed fingers and a prayer? That’s you when you skip the most important step in cooking: tasting your food as you build it. I once watched a roommate add salt to her pasta sauce three separate times because she refused to grab a spoon and check her progress. The final result? Salt lick city, population: her very sad dinner guests. Professional chefs taste their dishes dozens of times during cooking, and there’s a reason their food doesn’t taste like it came from the “oops, I ruined dinner again” cookbook.
Your tongue is your most reliable cooking tool—more trustworthy than timers, thermometers, or even your grandmother’s recipe cards. Flavors change dramatically as ingredients cook together, reduce, and concentrate. That perfect balance of sweet and savory you thought you nailed twenty minutes ago might now need a splash of acid or a pinch more salt. Keep a stack of clean spoons nearby and use a fresh one each time you taste (nobody wants your backwash seasoning the marinara). Think of yourself as a flavor detective, constantly investigating and adjusting until your dish hits that “mmm, this is exactly right” moment that makes all the difference between good food and unforgettable food.
Using the Wrong Type of Oil for Cooking
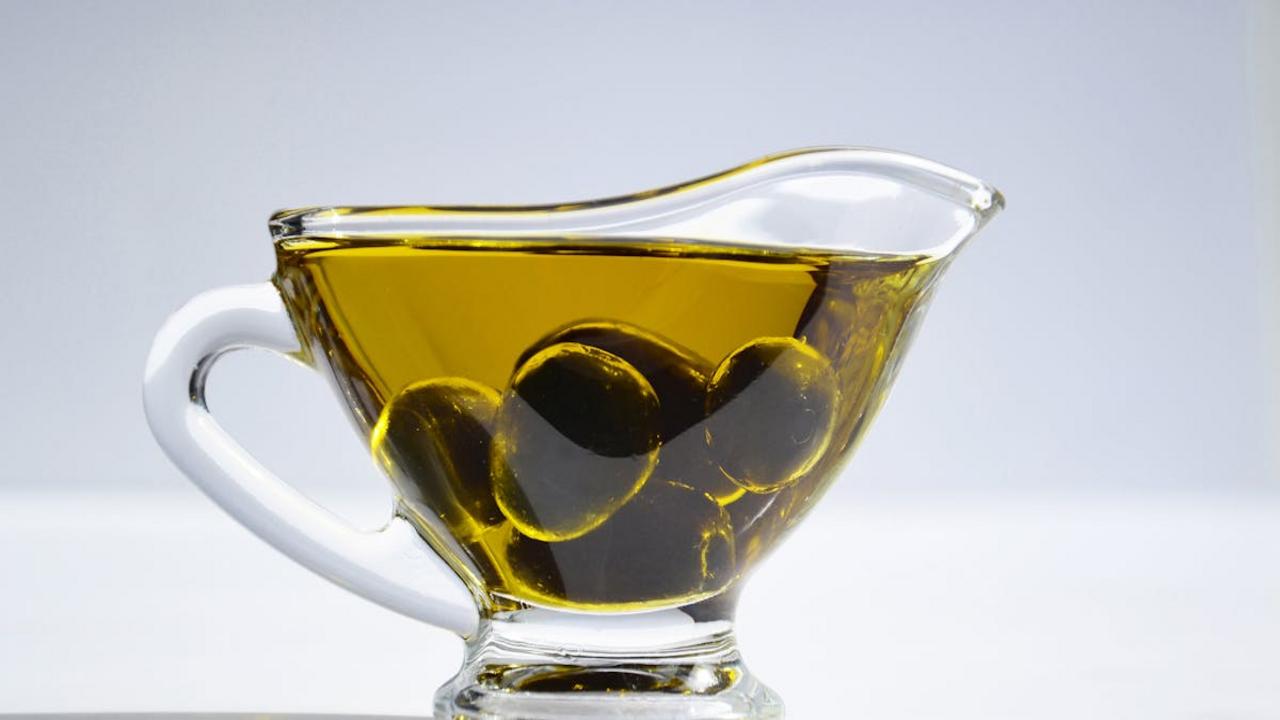
Picture this: you’re sautéing vegetables with your trusty extra virgin olive oil, feeling fancy and health-conscious, when suddenly your kitchen fills with smoke and your beautiful broccoli turns bitter. You’ve just witnessed the great oil catastrophe that haunts home kitchens everywhere! Each cooking oil has its own personality and breaking point – what we call the smoke point. Extra virgin olive oil, despite its superior flavor and health benefits, throws a tantrum at around 375°F, making it perfect for drizzling over salads but terrible for high-heat cooking. Meanwhile, avocado oil struts around with confidence at 520°F, ready to handle whatever searing action you throw at it.
Here’s your simple fix: match your oil to your cooking method like you’d match shoes to an outfit. For gentle sautéing and medium-heat cooking, olive oil works beautifully. But when you’re cranking up the heat for stir-fries or searing that perfect steak, reach for neutral oils like canola, vegetable, or avocado oil. Keep a bottle of each in your pantry – think of them as your cooking oil dream team. Pro tip: if your oil starts smoking, it’s basically screaming “I quit!” and you should too. Lower that heat, open a window, and next time remember that not all oils are created equal. Your taste buds (and smoke detector) will thank you!
Cooking Meat Straight from the Fridge
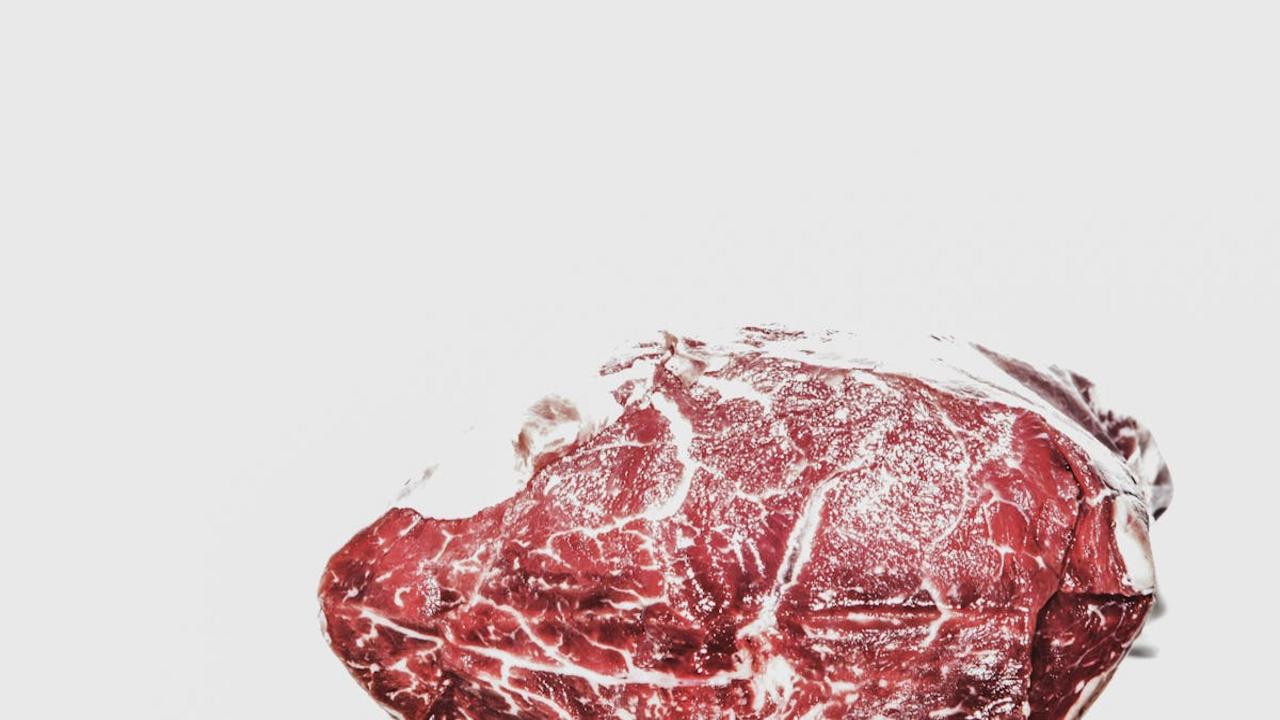
Picture this: you’re rushing to get dinner on the table, so you grab that beautiful steak from the fridge and slap it straight onto a screaming hot pan. What happens next? The outside turns into charcoal while the inside remains colder than your ex’s heart. This temperature shock creates uneven cooking that would make Gordon Ramsay weep into his chef’s hat. Cold meat hitting hot surfaces causes the proteins to seize up faster than you can say “well-done disaster,” creating tough, chewy results that nobody deserves.
Here’s your simple fix: pull that protein out of the fridge 20-30 minutes before cooking (longer for thicker cuts). Room temperature meat cooks evenly, giving you that perfect pink center with a gorgeous golden crust. Professional chefs have been doing this forever – it’s like giving your meat a little spa day before the main event. While you wait, prep your sides or pour yourself a glass of wine. Your patience will reward you with tender, juicy results that’ll have your dinner guests asking for your secret. Trust me, this small step transforms amateur hour into restaurant-quality magic every single time.
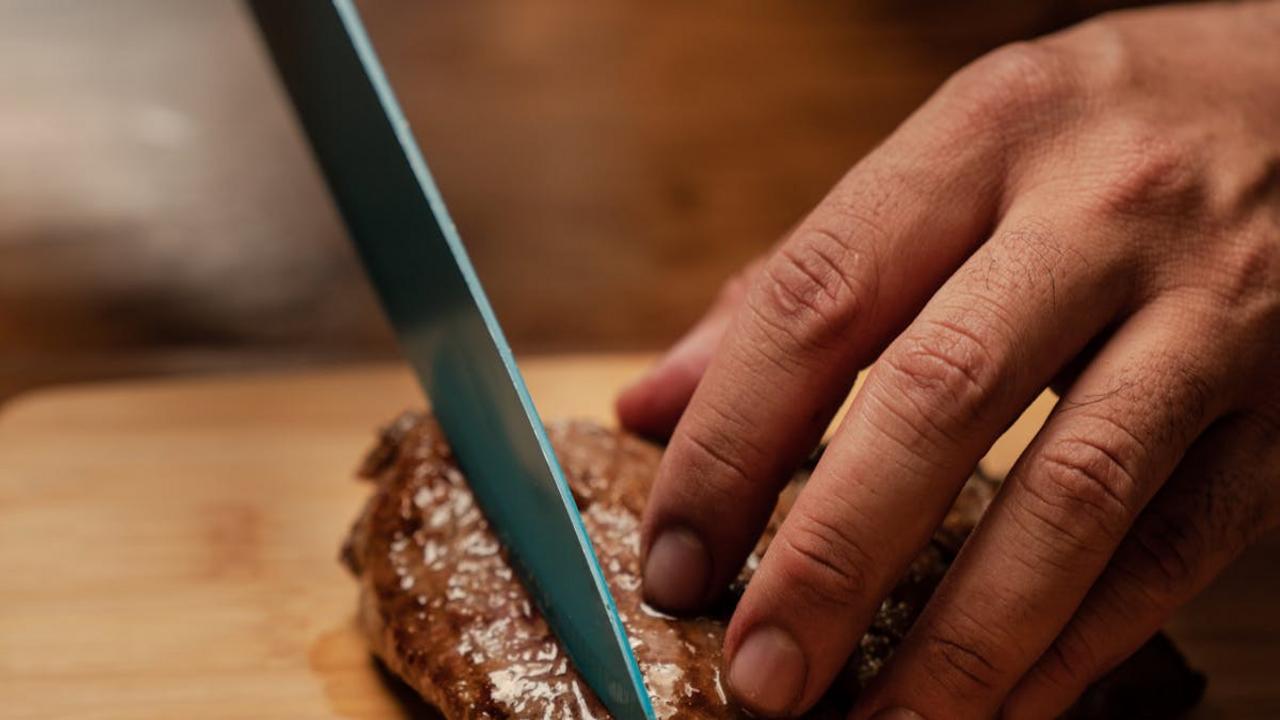
Not Letting Meat Rest
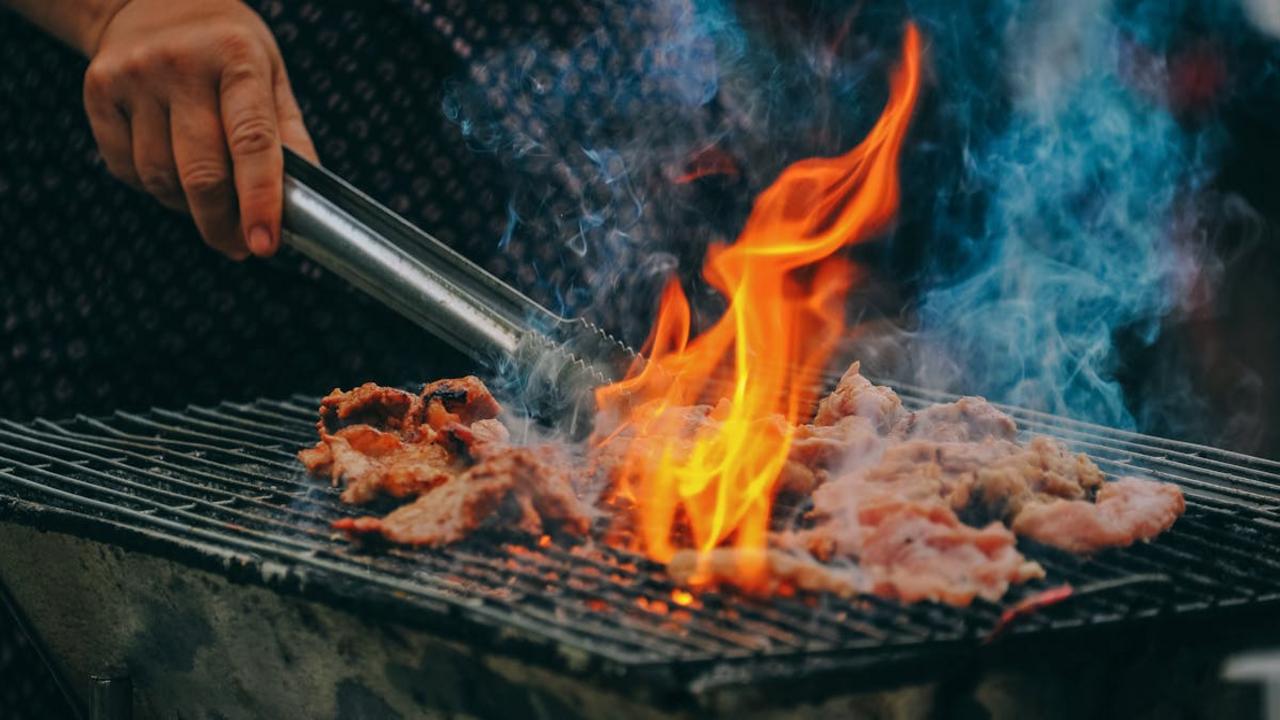
Picture this: you’ve just pulled a gorgeous steak off the grill, and it’s calling your name like a siren song. Your knife hovers over that beautiful crust, ready to slice into what promises to be pure heaven. But wait! If you cut into that meat right now, you’re about to watch all those precious juices spill across your cutting board like a crime scene. Here’s the thing your impatient stomach doesn’t want to hear – that perfectly cooked protein needs a timeout to redistribute its moisture throughout every fiber.
Think of resting meat like giving a stressed-out friend five minutes to collect themselves after a long day. During cooking, heat pushes all the juices toward the center, creating a tense situation where everything’s bunched up in the middle. Those 5-10 minutes of rest time (longer for larger cuts) allow the proteins to relax and the juices to spread back out evenly. Fun fact: a properly rested steak retains about 40% more of its juices compared to one that’s sliced immediately! Tent your meat loosely with foil and resist the urge to peek – your patience will be rewarded with each succulent, perfectly moist bite that doesn’t require a napkin emergency.
Using Non-Stick Spray on Non-Stick Pans

Oh honey, we need to talk about this relationship crime happening in kitchens everywhere! You bought that gorgeous non-stick pan, probably spent a pretty penny on it, and then you go and blast it with cooking spray like you’re graffiti-tagging a subway wall. Here’s the thing your pan manufacturer definitely wants you to know but buried in tiny print somewhere: that innocent-looking spray actually contains lecithin and other additives that build up over time, creating a sticky, gummy coating that’s harder to remove than your ex’s Netflix password from your account.
Your beautiful pan starts looking like it survived a toddler’s art project, with brown, burnt residue that laughs in the face of your scrubbing efforts. The fix? Ditch the spray bottle and grab some good old-fashioned butter, oil, or even a paper towel with a tiny bit of fat. Your eggs will slide around like they’re ice skating, your pancakes will flip with Olympic-level grace, and your pan will stay smooth and gorgeous for years instead of becoming a sticky mess that makes you question all your life choices. Trust me, your future self will thank you when you’re not standing over the sink with steel wool, wondering where it all went wrong.
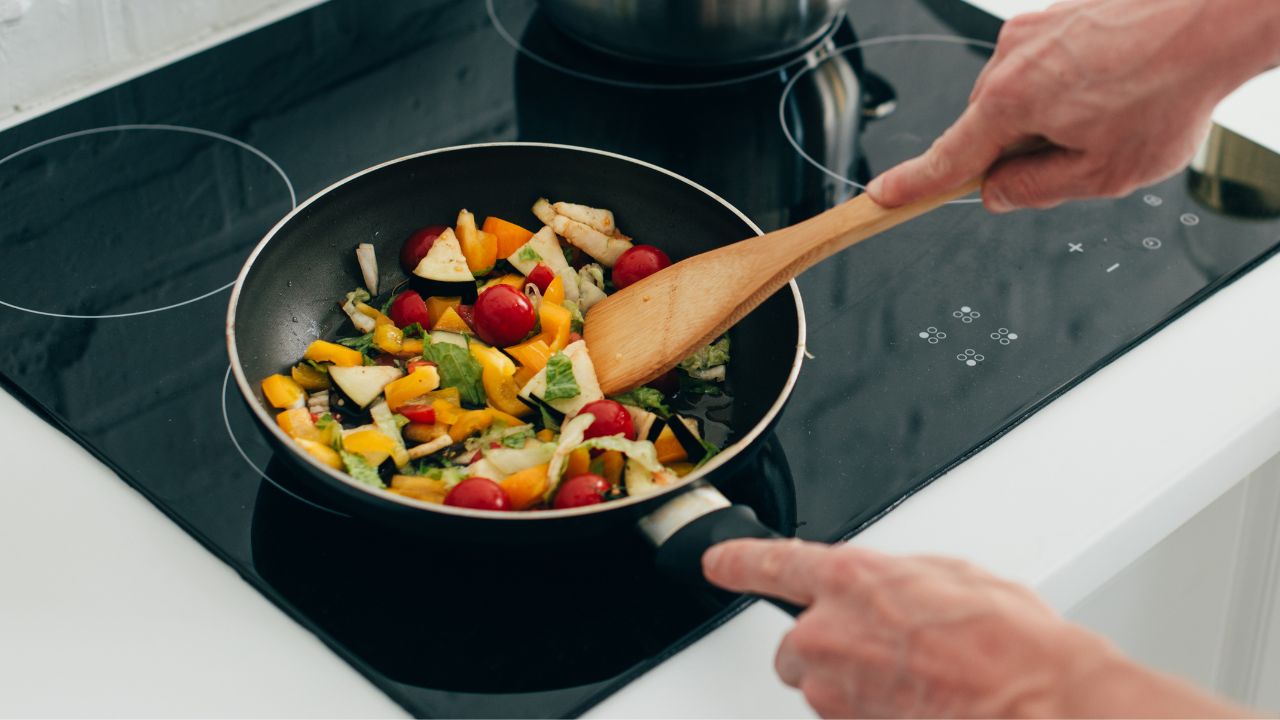
Crowding the Pan
Picture this: you’re standing in your kitchen, wielding a spatula like a culinary sword, and you dump an entire bag of mushrooms into your trusty skillet. What happens next? Instead of that satisfying sizzle you expected, you hear the sad, deflated sound of vegetables releasing their water and essentially taking a steam bath together. Congratulations, you’ve just created mushroom soup when you wanted beautiful, golden-brown fungi! This phenomenon happens because when you pack too much food into a pan, the temperature drops faster than your motivation on a Monday morning, and your ingredients start steaming in their own juices rather than getting that gorgeous caramelization you’re after.
The fix is brilliantly simple: give your food some breathing room! Think of your pan like a dance floor – nobody wants to be squished shoulder-to-shoulder when they’re trying to show off their moves. Cook in batches, even if it means making multiple trips to the stove. Your patience will be rewarded with perfectly browned vegetables that actually taste like themselves instead of sad, soggy versions. Here’s a fun fact: professional chefs call this the “Maillard reaction,” and it’s responsible for creating over 600 different flavor compounds that make your food taste absolutely divine. So next time you’re tempted to cram everything in at once, remember that good things come to those who don’t overcrowd their cookware!
Forgetting to Preheat the Pan
You know that satisfying sizzle when food hits a hot pan? That’s not just theater—it’s chemistry in action! When you toss ingredients into a cold pan, they basically sit there having an existential crisis instead of getting that gorgeous caramelization you’re after. Your onions turn soggy and sad, your meat releases all its juices and steams itself into mediocrity, and don’t even get me started on what happens to eggs. They stick like they’re auditioning for a permanent residency on your cookware.
Here’s your fix: give your pan at least 2-3 minutes to heat up over medium heat before adding oil, then another 30 seconds before the food goes in. Want to test if it’s ready? Flick a drop of water into the pan—if it dances and evaporates immediately, you’re good to go! Fun fact: professional chefs call this “blooming” the pan, and it’s the difference between restaurant-quality results and “why does my food always turn out weird?” moments. Trust me, your taste buds will thank you for this tiny bit of patience, and your Instagram followers will wonder how you suddenly became a cooking wizard.
Leaving the Oven Door Open While Checking Food

You peek into that oven like you’re checking on a sleeping baby, cracking the door just enough to see if your roast chicken has reached golden perfection. But here’s the thing—every time you fling that door wide open for your food inspection, you’re basically inviting winter into your nice, toasty oven chamber. Your beautiful 375-degree sanctuary drops to around 300 degrees faster than your enthusiasm for Monday mornings. That temperature plummet means your carefully calculated cooking times go out the window, and your dinner gets delayed while the oven works overtime to heat back up.
Instead of playing peekaboo with your food, turn on that oven light and press your face against the glass like you’re window shopping for dinner. Most ovens have surprisingly good visibility once you flip that little switch, and you can watch your cookies puff up or your casserole bubble without causing a temperature crisis. If you absolutely must open the door, make it quick—no longer than five seconds should do the trick. Think of it like checking your phone during a movie: a quick glance won’t hurt, but staring for minutes ruins the whole experience for everyone involved, including your poor oven trying to maintain its composure.