14 Cooking Mistakes Sabotaging Your Meals — And Simple Fixes You’ll Wish You Knew Sooner
You’re in your kitchen, music playing, ready to whip up something amazing…until smoke pours from the oven or your sauce splits into a sad, oily mess. We’ve all been there! Those little cooking missteps can transform your Pinterest-worthy dinner into a takeout night faster than you can say “where’s my spatula?”
The good news? Most kitchen disasters stem from simple mistakes you can easily fix. From crowding your pan (hello, soggy vegetables) to neglecting the all-important meat rest, these common errors sabotage your food without you even realizing it.
I’ve compiled 14 cooking blunders that chefs spot immediately—along with quick fixes that’ll transform your cooking game. No fancy equipment needed, just small adjustments that make massive differences. Your future dinners will thank you!
Ignoring Oven Hot Spots
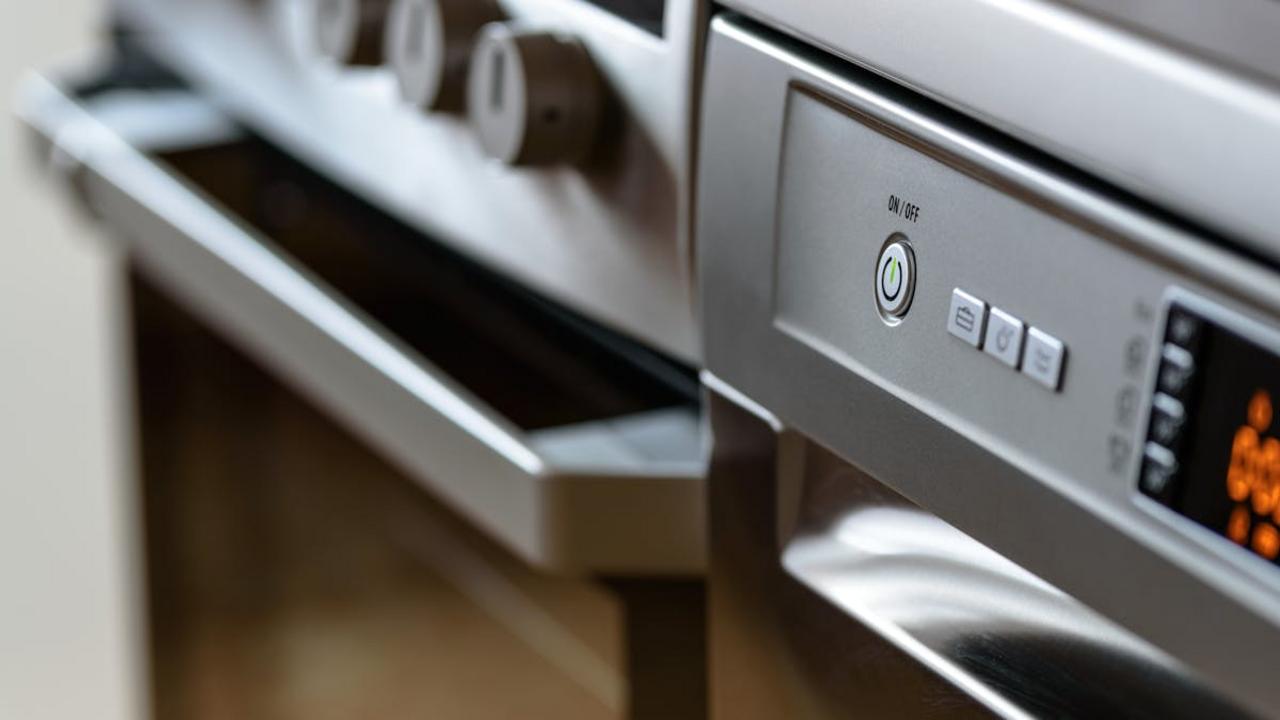
You might think your oven heats evenly, but let me bust that myth right now! Nearly every oven has sneaky hot spots that can turn one side of your cookies into sad little hockey pucks while leaving others undercooked. I learned this the hard way during a holiday baking marathon when half my gingerbread people came out looking like they’d vacationed in the Sahara. The fix is wonderfully simple: rotate your pans halfway through cooking time, and for extra insurance, get to know your oven’s personality by mapping its hot spots with the toast test (spread slices across a baking sheet, bake, and see which ones burn first).
Your oven rack placement matters too, folks! The center isn’t just a good compromise politically—it’s your best bet for even cooking. If you’re using multiple racks, swap their positions midway through. And here’s a quirky tip from my grandmother that actually works: keep an oven thermometer inside to check if your oven is fibbing about its temperature. My own oven runs 25 degrees cooler than what it claims, the sneaky little liar! Once you understand and work around your oven’s hot spots, you’ll stop wondering why your casseroles always burn on the left side or why your sheet cakes rise like lopsided mountains.
Not Sifting Dry Ingredients for Baking
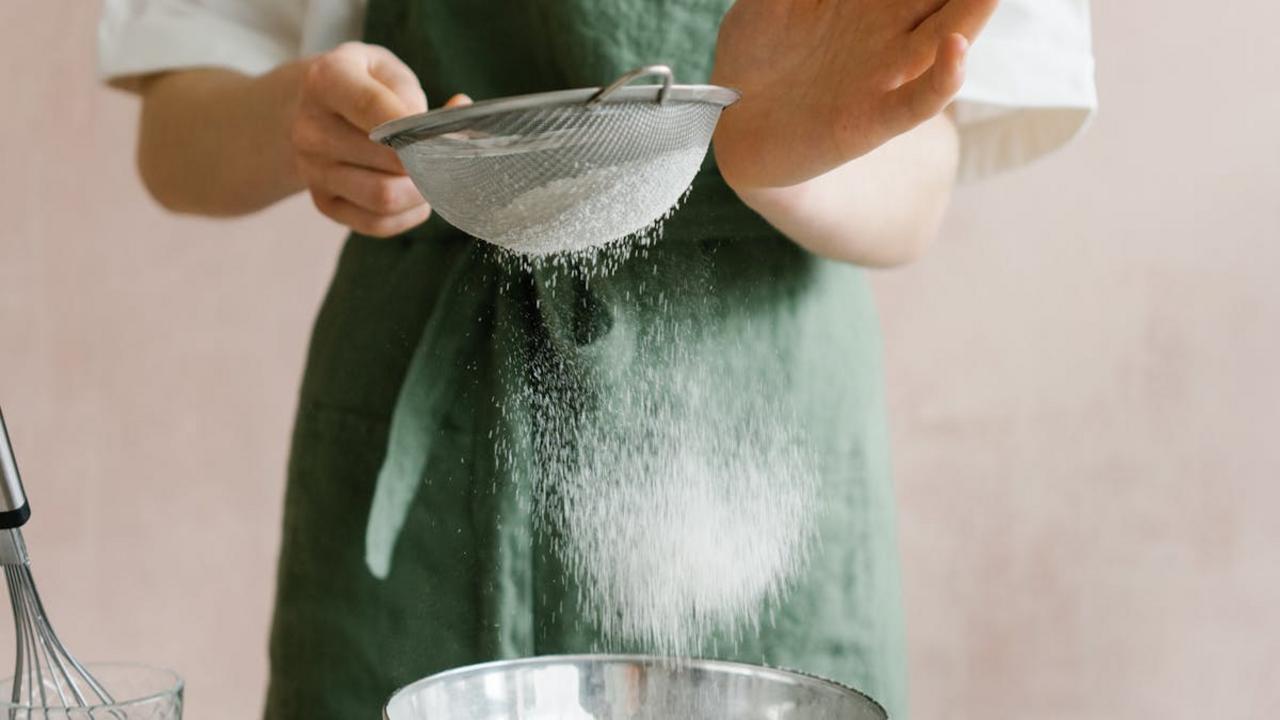
Oh, the baking rebellion I once had! “Sifting is just fussy extra work,” I thought, dumping flour straight from bag to bowl. Then came my cousin’s birthday cake—a lumpy, dense disaster with pockets of baking soda that tasted like a science experiment gone wrong. Here’s the truth: skipping the sift creates uneven distribution of leavening agents and leaves you with flour clumps that survive mixing. Your cakes turn out with the texture of a brick, and your cookies bake unevenly because some parts got more baking powder than others.
The fix is gloriously simple: just sift those dry ingredients! You don’t need fancy equipment—a regular mesh strainer works perfectly. Hold it over your bowl, add your flour, baking powder, salt, and other dry friends, then gently tap or swirl until everything falls through in a light, airy shower. This five-minute step aerates the ingredients, breaks up clumps, and makes sure everything mixes evenly. Your reward? Tender cakes with perfect crumb, cookies with consistent texture, and muffins that rise like a dream. Your future baking self will thank you!
Panicking Over a Broken Sauce
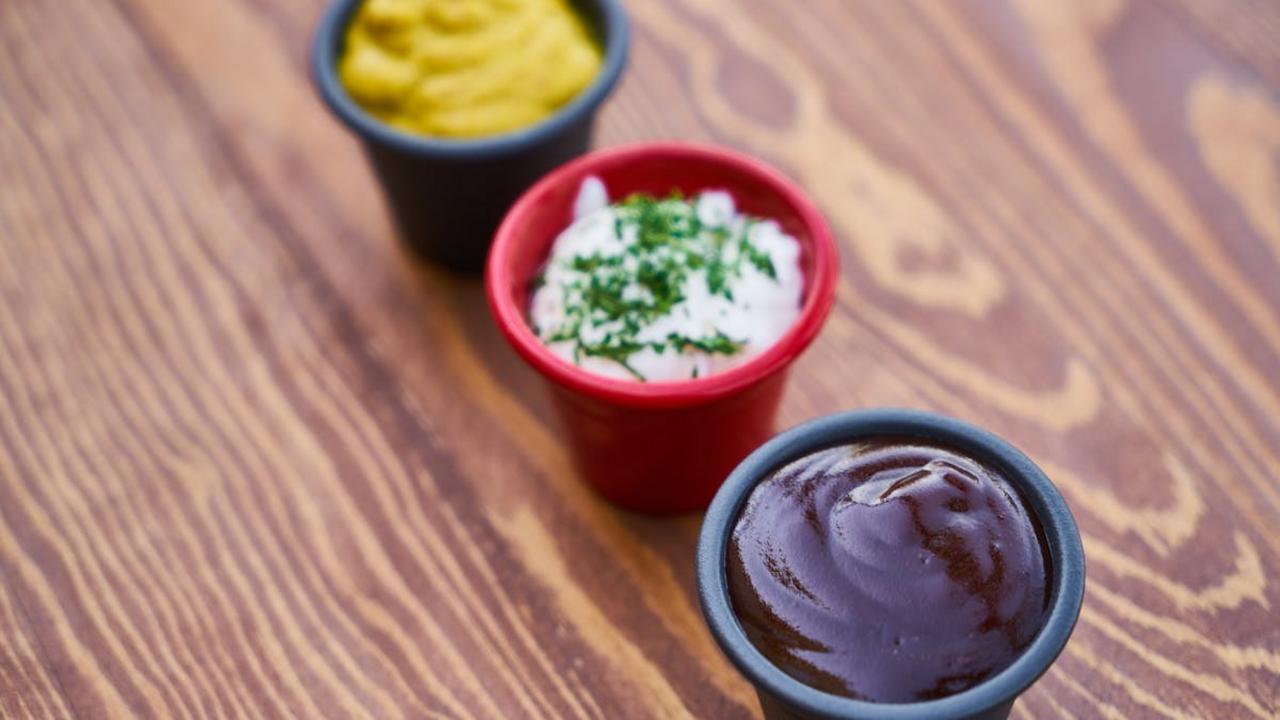
Oh, the sauce drama! We’ve all been there—one minute you’re whisking a beautiful hollandaise, and the next, your kitchen creation looks like cottage cheese gone wild. But here’s your permission slip to stop the panic attack! Most broken sauces can be rescued with simple fixes. For mayonnaise or aioli that’s split, whisk a teaspoon of hot water into it gradually. If your cream sauce has curdled, try adding cold cream while whisking vigorously. And for that separated butter sauce? A splash of cold water and a quick re-heating work wonders!
I once ruined a béarnaise sauce five minutes before my dinner guests arrived (cue internal screaming). Instead of ordering pizza in defeat, I grabbed a clean bowl, added a tablespoon of warm water, and slowly whisked the broken sauce back in. The result? Silky smooth perfection that had my friends begging for the recipe. Remember: professional chefs break sauces too—they just know the quick fixes! Your sauce mishap isn’t the culinary apocalypse it feels like, just a tiny detour on your cooking adventure. Keep calm and whisk on!
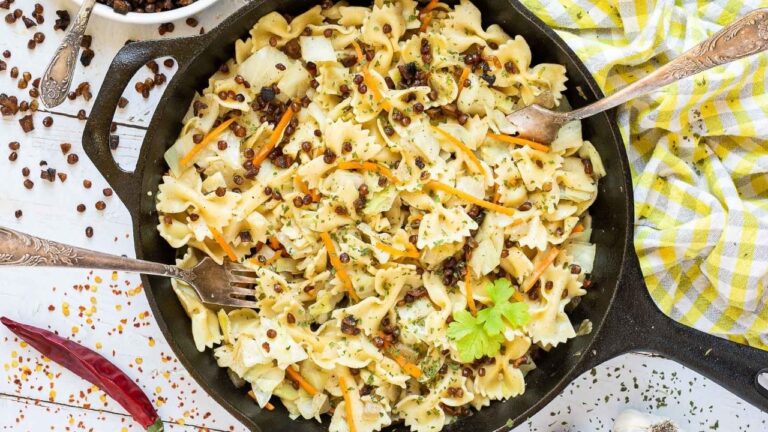
Rinsing Pasta After Cooking
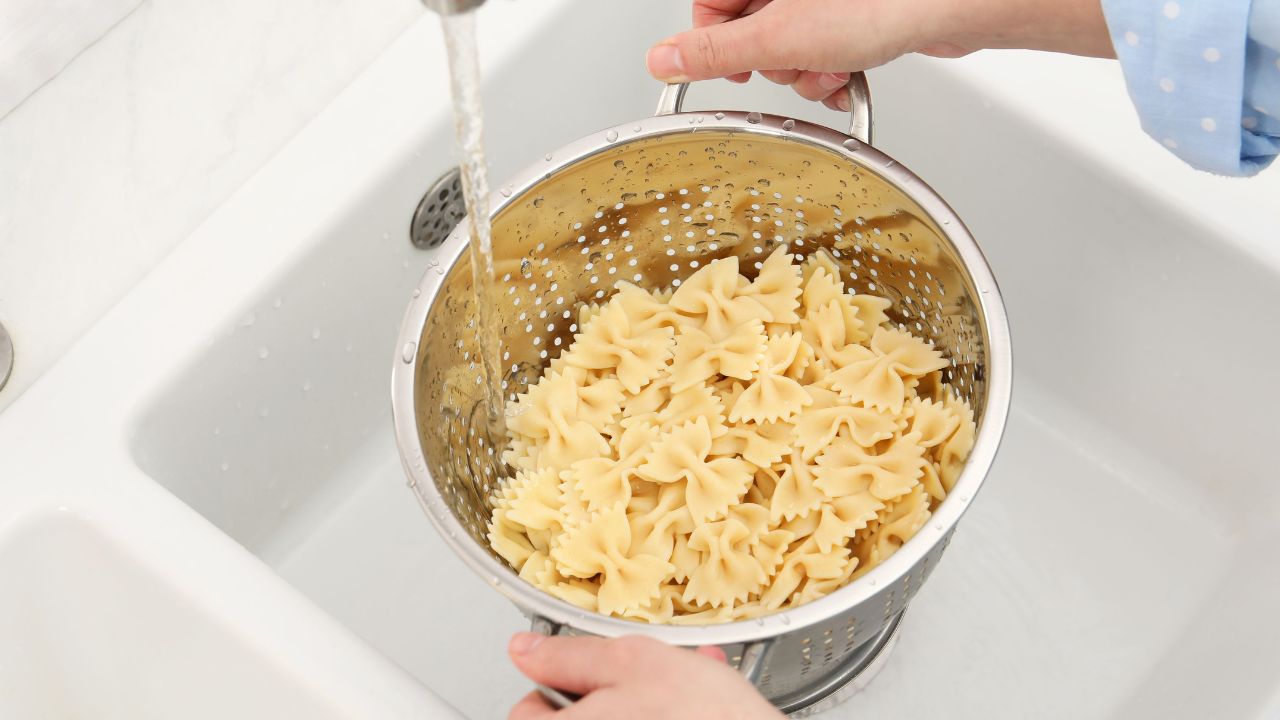
Oh, friends, stop that pasta-rinsing habit right now! You’re washing away all the starchy goodness that helps your sauce cling to every noodle. I once made this mistake at a dinner party, and my Bolognese slid right off those slippery strands, pooling sadly at the bottom of the plate. The only pasta you should ever rinse is the kind you’re using in cold dishes like pasta salad—and even then, just a quick splash to stop the cooking process.
Instead of rinsing, transfer your perfectly al dente pasta directly from the boiling water to your waiting sauce using tongs or a slotted spoon. This brings along just enough of that starchy cooking water to create a silky marriage between pasta and sauce. If you’re not ready for the sauce yet, toss drained pasta with a tiny bit of olive oil to prevent sticking. Your pasta dishes will transform from good to restaurant-quality with this simple fix, and your dinner guests will wonder what other cooking secrets you’ve been hiding!
Ignoring the Importance of Knife Skills
Oh honey, we need to talk about your knife game! I once watched my friend chop an onion for 20 minutes (I timed it) while I stood there, wine in hand, physically restraining myself from grabbing that knife. Your dull, awkwardly-held knife isn’t just making cooking take forever—it’s actively ruining your food! Unevenly cut vegetables cook at different rates, turning your stir-fry into a sad mix of burnt bits and raw chunks. Plus, those blunt edges crush cell walls instead of cleanly slicing through them, releasing more bitter compounds and actually changing how your food tastes.
The fix? Learn three basic knife skills: the rock chop, the slice, and the dice. Hold your knife properly—pinch the blade between your thumb and forefinger with remaining fingers wrapped around the handle. Keep your knife sharp (a sharp knife is actually safer than a dull one since it requires less force). Practice on forgiving vegetables like cucumbers before moving to tomatoes or herbs. Your cooking time will shrink dramatically, your food will cook more evenly, and you’ll look like a total kitchen boss flinging that blade around with confidence. Your future dinner guests thank you in advance!
Not Reading the Recipe Through First
You know that panic-inducing moment when you’re halfway through making lasagna and discover you need to let it “rest for 45 minutes” before serving? Suddenly your dinner party timing implodes! I’ve been there—frantically improvising appetizers while guests arrive and my main dish lazily sets up in the kitchen. This common kitchen calamity happens because you didn’t scan the entire recipe first. Those sneaky instructions hiding at the bottom (“chill overnight” being the absolute worst offender) can derail your cooking plans faster than you can say “where’s my takeout menu?”
Take three minutes before cooking to read every single step. Check for weird techniques, unusual ingredients, or time bombs like “simmer for two hours.” Jot down prep times and cooking times to create a realistic timeline. You’ll spot potential disasters before they happen—like realizing you need a food processor when you’ve already got flour all over your hands. This simple habit prevents that horrible mid-recipe realization that you’re missing a critical ingredient or tool. Your future hungry self will thank you for this tiny bit of preparation that saves massive headaches later!
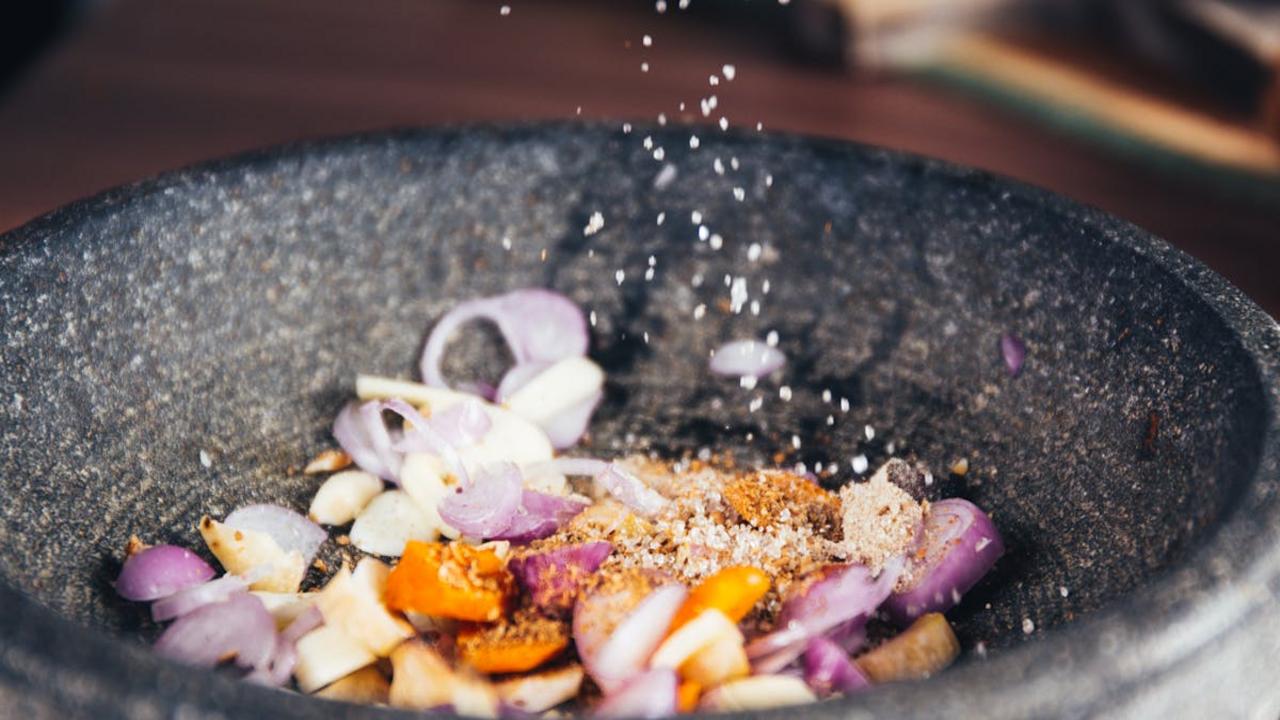
Neglecting to Taste As You Go

I can’t count how many dinner disasters I’ve had because I waited until the final moment to taste my cooking! That beef stew you slaved over for hours might be bland as cardboard, or that pasta sauce could be saltier than the Dead Sea—but you’d never know until it’s too late. Tasting throughout the cooking process gives you crucial checkpoints to adjust seasonings, acidity, or sweetness. Your wooden spoon is both a stirring tool and your sampling device—use it liberally!
Think of tasting as reading a map during a road trip rather than waiting until you’re completely lost. A quick sample after adding each major ingredient helps you catch problems early. Too spicy? Add something creamy. Too bland? Reach for those herbs. Too acidic? A touch of honey works wonders. My grandmother always said, “The difference between a good cook and a great one is fifty tiny tastes.” She was right—your palate is your most powerful kitchen tool, so don’t let it sit idle until serving time!
Using the Wrong Type of Oil for Cooking
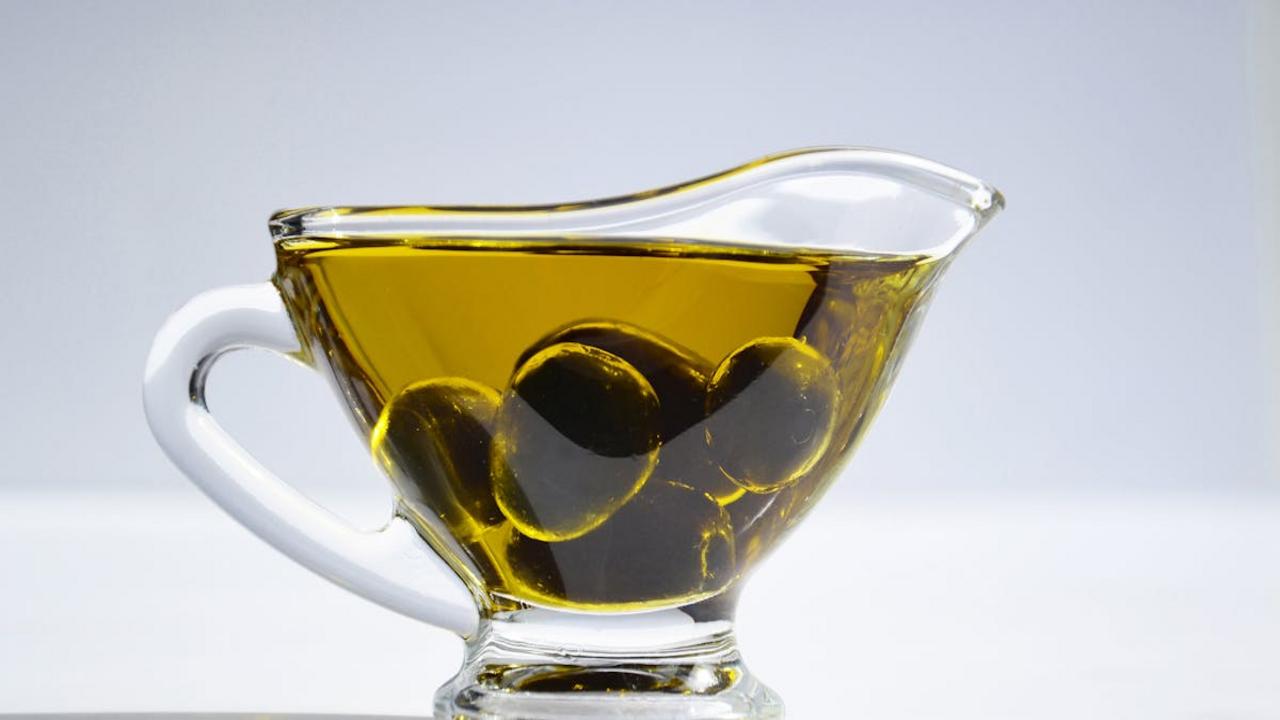
Oh, honey, let’s talk oils – it’s like picking the wrong outfit for a blind date! You’ve got your olive oil breaking down in tears (and smoke) at high heat while your poor stir-fry gasps for a proper sesame or peanut oil. Each oil has its own smoke point – the temperature where it starts to burn, smoke, and turn your kitchen into a mini fire station visit waiting to happen. Your gorgeous salmon deserves oil that can handle the heat without tossing bitter flavors into the mix. I once ruined a perfectly good paella by grabbling my fancy olive oil instead of a heat-stable one – my guests politely smiled through the charred-tasting rice!
The fix is ridiculously simple: match your oil to your cooking method. Need high-heat for searing that steak? Grab avocado, grapeseed, or refined coconut oil – they can take the heat up to 520°F without breaking a sweat. Save your delicious cold-pressed olive oils for salad dressings and finishing touches where their flavors shine without getting scorched. Think of your oils like friends – some thrive at wild parties (high heat cooking), while others prefer quiet dinner conversations (low-temp cooking and dressings). Your food will thank you with clean flavors instead of that weird burnt aftertaste that makes everyone wonder what went wrong.
Cooking Meat Straight from the Fridge

Listen, we’ve all been there—hungry, impatient, and ready to slap that cold steak straight from the fridge onto a sizzling pan. Big mistake! Your meat needs to come to room temperature before cooking, a step I learned the hard way after serving my dinner guests what can only be described as a charred-outside, frozen-inside chicken disaster. Cold meat hits a hot pan and immediately tightens up, causing uneven cooking where the outside burns while the inside remains raw or undercooked.
Give your meat about 30 minutes on the counter before cooking (larger cuts might need an hour). This simple step ensures the heat distributes evenly throughout, resulting in juicier, more tender results. Your steak will cook more uniformly, your chicken will remain moist, and your pork chops won’t curl up like they’re trying to escape the pan. Trust me, your dinner guests will notice the difference—and you’ll save yourself from the embarrassment of watching someone politely saw through an undercooked protein while making strained small talk.
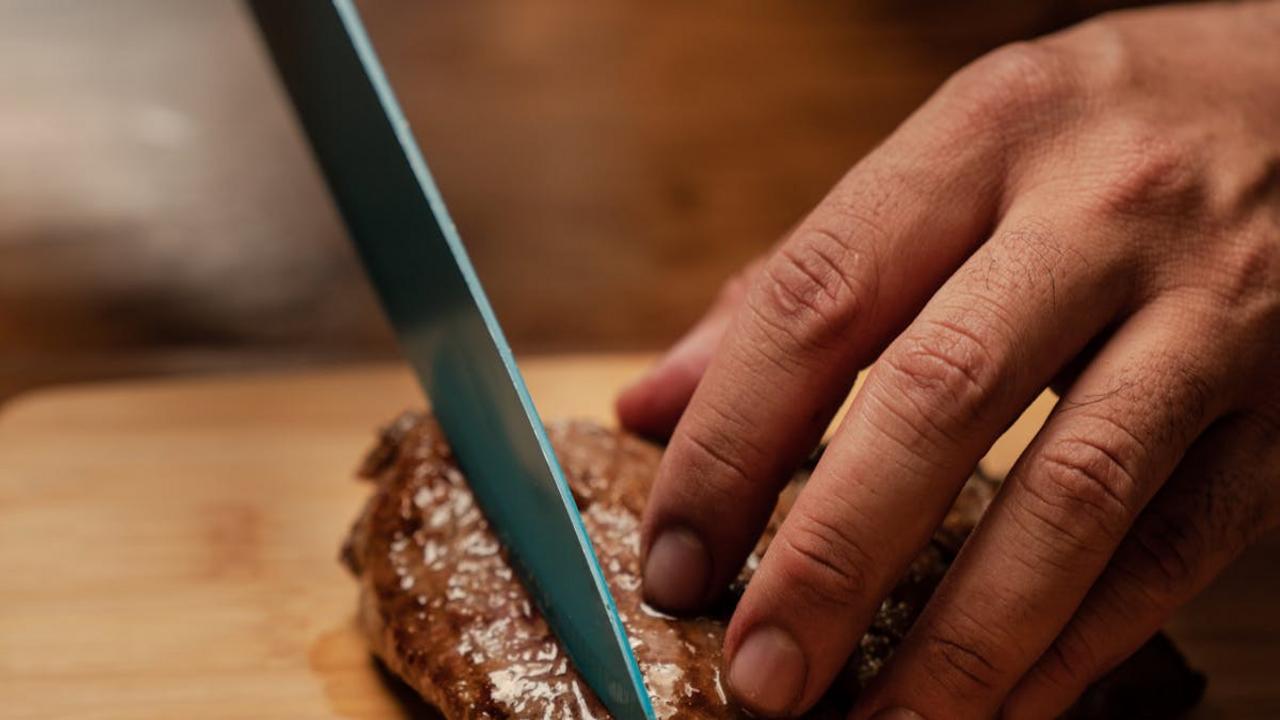
Not Letting Meat Rest
Oh, the impatience of slicing into that gorgeous steak the second it leaves the heat! I’ve been guilty of this crime too many times to count. Here’s the deal: when you cook meat, the juices rush to the center during heating. If you cut into it immediately, those precious, flavorful juices spill out onto your plate instead of redistributing throughout the meat. It’s like throwing away the best part of your dinner! Give your meat at least 5-10 minutes under a loose foil tent, depending on size. Your patience will reward you with juicier, more tender bites that actually stay on your fork instead of creating a swimming pool on your plate.
The resting rule applies to virtually all meats – from a humble chicken breast to a fancy prime rib. My friend Jake once served an otherwise perfect Thanksgiving turkey that turned bone-dry because he carved it straight from the oven. The following year, he let it rest for 30 minutes and everyone thought he’d somehow bought a premium bird! Temperature continues rising slightly during rest time too (called carryover cooking), so pull your meat from heat about 5°F below your target temp. Try this simple change next time you cook – I promise the hardest part is just keeping your hungry self from diving in too soon!
Using Non-Stick Spray on Non-Stick Pans

Hey there, kitchen buddies! I’ve got a hot tip that might save your fancy non-stick pans from an early grave. Spraying cooking spray directly onto your non-stick cookware? Big mistake! Those aerosol sprays contain lecithin and other additives that actually build up over time, creating a sticky, gunky layer that ruins the non-stick surface. Instead of making your cooking experience easier, you’re actually making your pan less effective with each spray! I learned this the hard way after destroying my favorite omelet pan and wondering why everything suddenly started sticking like glue.
The fix? Super simple! Just add a tiny drop of oil to your pan and spread it with a paper towel, or invest in an oil mister that you fill yourself with pure oil. If you must use cooking spray, spray it on your food before adding it to the pan, not directly on the cooking surface. Your non-stick pans will thank you by lasting years longer, and you’ll avoid that weird, impossible-to-clean residue that turns your slick cooking surface into something resembling prehistoric amber. Trust me, this small change will save you both money and the frustration of watching your eggs stick to a supposedly “non-stick” surface!
Crowding the Pan
Oh, that moment when you’re hungry and impatient, so you toss every single chicken piece into the pan at once! We’ve all been there. But crowding your pan turns what should be a beautiful sear into sad, soggy steaming. When food items touch too closely, they release moisture that gets trapped, preventing that golden-brown magic from happening. Your mushrooms become rubbery, your potatoes never crisp, and your meat looks disappointingly gray.
The fix? Work in batches, my friend! Yes, it takes longer, but your taste buds will thank you. Keep a warm oven (around 200°F) ready to hold your first batches while you finish the rest. For best results, leave at least an inch between food pieces in your pan. This simple spacing technique allows moisture to evaporate properly and creates that caramelized exterior that makes everyone at the table say, “How did you make this so delicious?” Your patience will reward you with properly cooked food that actually looks like the recipe photos!
Forgetting to Preheat the Pan
You know that sizzle when a steak hits a hot pan? That’s the sound of food cooking properly! If you slide ingredients into a cold pan, you’ve just sentenced them to a sad, soggy fate. Cold pans cause food to stick, cook unevenly, and lose moisture—turning your crispy chicken into rubbery disappointment. I learned this lesson the hard way after wondering why my homemade pancakes always looked like sad, deflated frisbees while my grandmother’s puffed up like fluffy clouds.
Give your pan at least 2-3 minutes on the heat before adding anything to it. For non-stick pans, you’ll know they’re ready when a few drops of water dance and evaporate immediately. For cast iron, the surface should look almost smoky. This simple step creates that beautiful sear on meats, that perfect crust on bread, and stops your vegetables from turning into a steamed, mushy mess. Your food deserves better than a cold welcome—and your taste buds will thank you for the extra minute of patience!
Leaving the Oven Door Open While Checking Food

Oh, honey, we’ve all been there – anxiously peeking at that golden-brown pie or checking if those chicken thighs are done yet. But each time you swing that oven door wide open, you’re letting precious heat escape faster than teenagers when chores are mentioned! Your oven temperature can drop 25-50 degrees in seconds, turning your perfect 30-minute bake into a frustrating 45-minute wait. Plus, those temperature fluctuations create uneven cooking – hello, cake that’s simultaneously burnt AND raw!
Instead, flip on your oven light and peer through the window like a proper kitchen detective. If you absolutely must open the door, make it quick – grab that basting brush, do your thing, and shut it immediately. For those of us with older ovens sporting foggy windows (mine looks like it’s permanently steamed up after a hot shower), invest in an oven thermometer with a probe you can read without opening the door. Your perfectly cooked meals will thank you, and you’ll save energy costs too. Win-win, my kitchen friends!