13 Must-Know Tricks for Next-Level Home Cooking
I’ve spent years learning the tricks that transform basic home cooking into restaurant-worthy meals. Through countless kitchen experiments and plenty of tasty mistakes, I’ve discovered that mastering simple techniques makes all the difference in creating memorable dishes.
These 13 fundamental skills will boost your confidence and help you cook with intention and creativity. From organizing ingredients before cooking to perfecting the art of sauce-making, each technique builds on the next to enhance your cooking abilities.
Whether you want to make perfectly seared steaks, create balanced flavors, or plate dishes beautifully, these professional tips will make cooking more enjoyable and give you consistently better results. Get ready to take your home cooking to new heights with these proven methods.
Food Plating Techniques
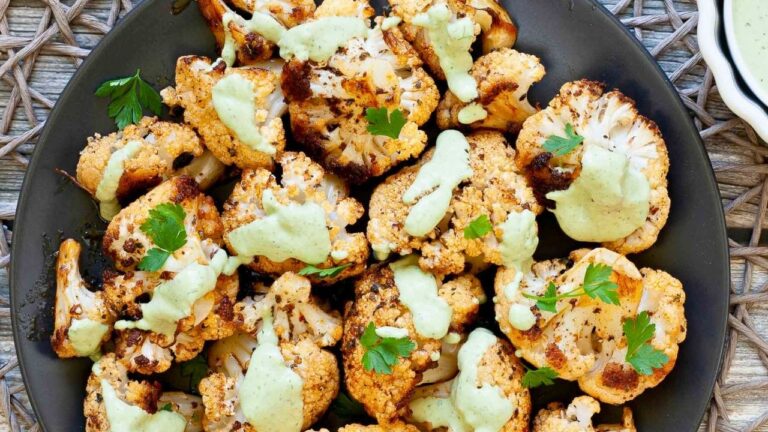
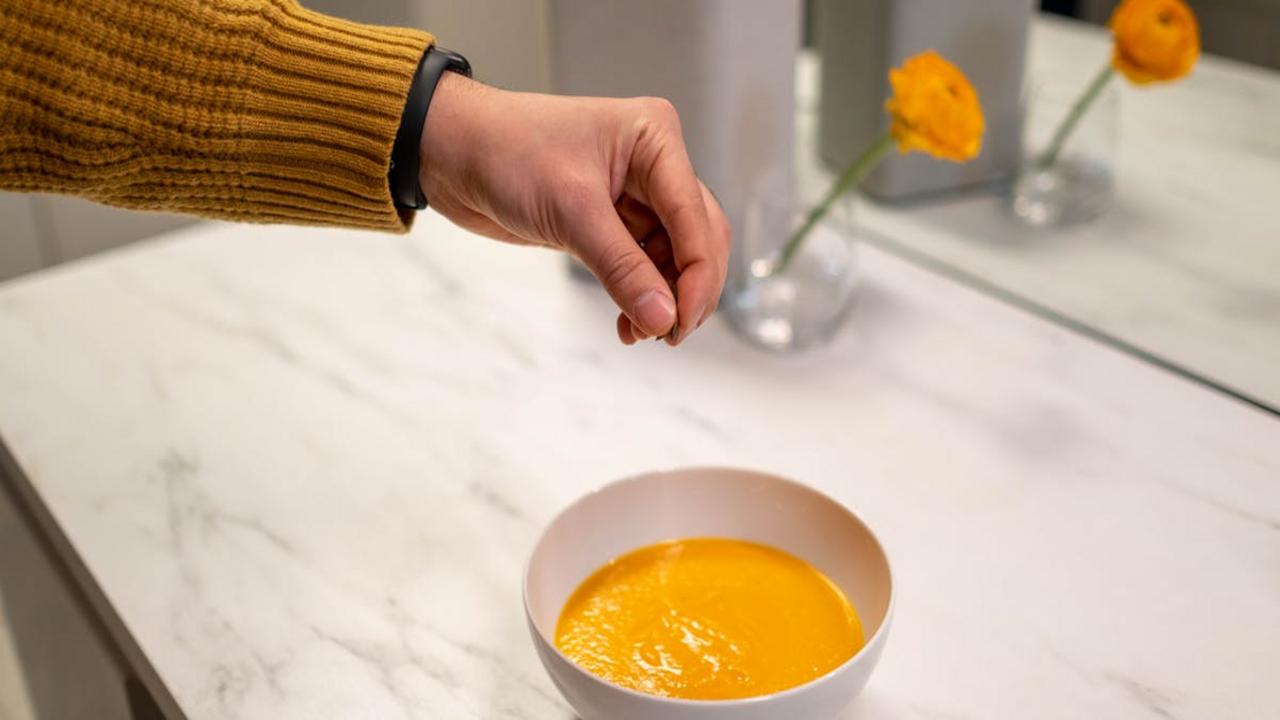
You don’t need fancy restaurant training to make your home-cooked meals look stunning on the plate! I’ve learned that creating beautiful plates starts with thinking in layers and heights. Put your main protein slightly off-center, then build around it with your sides. Try adding different textures through your garnishes – think crispy fried shallots, fresh herbs, or a sprinkle of toasted nuts. One of my favorite tricks is to use squeeze bottles filled with sauces to create elegant drizzles or dots around the plate.
Color makes such an impact on presentation, so I always try to include at least three different colors on each plate. If you’re serving something monochromatic like a cream pasta, brighten it up with fresh basil, cherry tomatoes, or a pinch of chili flakes. Clean edges matter too – wipe away any spills or smudges with a damp paper towel before serving. And here’s a pro tip: warm plates in the oven for a few minutes before plating hot food. This keeps your food at the right temperature longer and shows you really care about the whole dining experience.
Ingredient Quality Selection
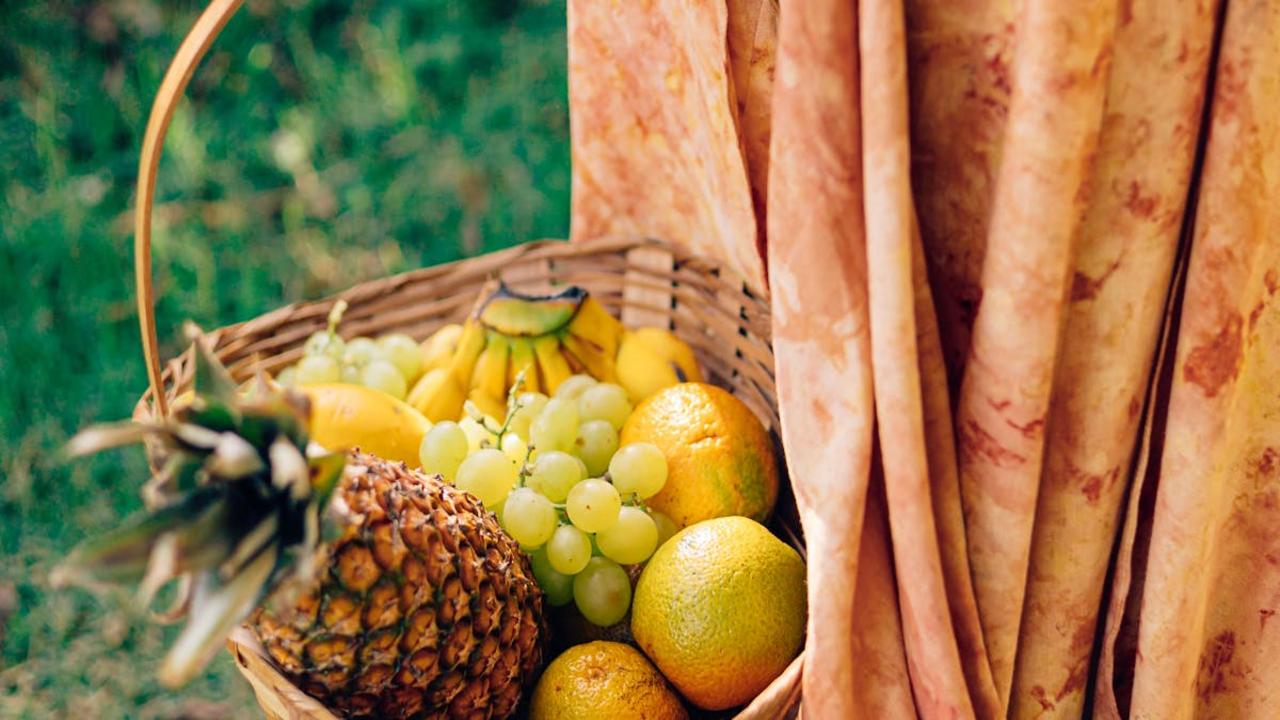
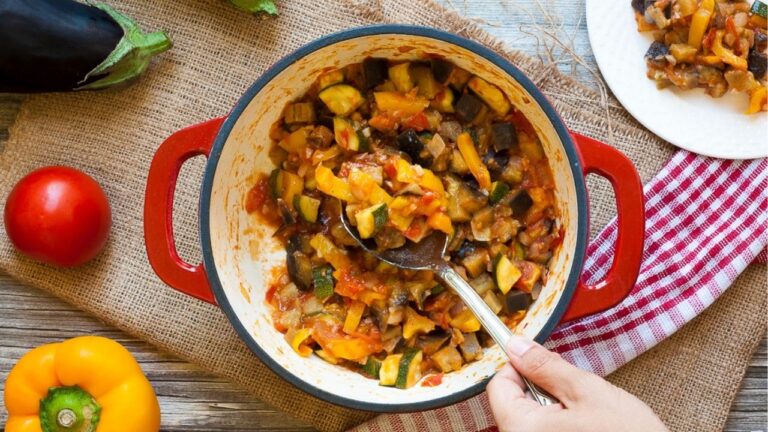
You can instantly upgrade your home cooking by choosing top-quality ingredients – it’s really that simple! I always tell my cooking students that fresh, high-grade ingredients do 80% of the work for you in creating outstanding dishes. Start with whole, unprocessed ingredients whenever possible. Head to your local farmers’ market for seasonal produce at peak ripeness, or build a relationship with a trusted butcher who can guide you to the best cuts of meat. Fresh herbs will add so much more depth than dried ones, and freshly ground spices will give you much bolder flavors than pre-ground versions.
Make smart substitutions that focus on quality – real butter instead of margarine, pure maple syrup instead of artificial pancake syrup, extra virgin olive oil instead of refined vegetable oils. Read ingredient labels carefully and skip items with long lists of unpronounceable additives. I’ve found that spending a bit more on certain foundation ingredients like good olive oil, real vanilla extract, or high-quality chocolate makes a huge difference in the final result. Your cooking will only be as good as your ingredients, so investing in quality at the start sets you up for success.
Kitchen Tool Maintenance
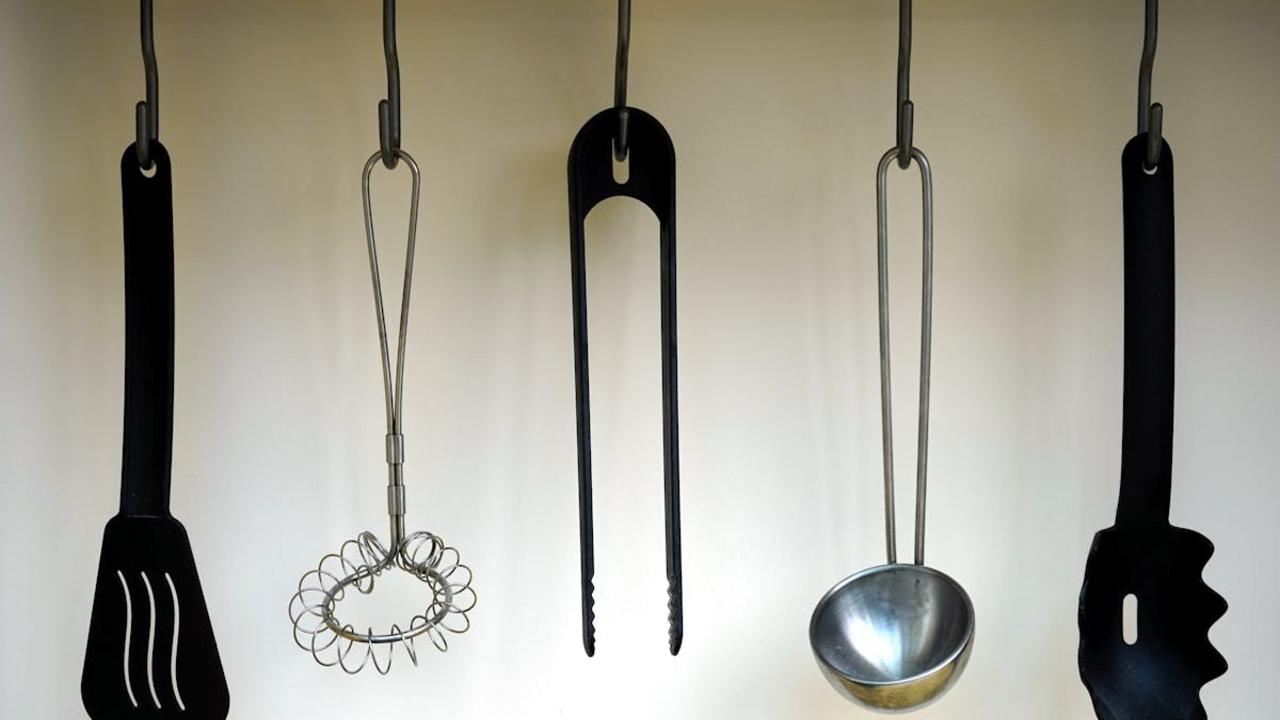
I’ve learned through years of cooking that your knives, pots, and tools will last much longer with proper care. Start by wiping your knives clean immediately after use and storing them in a knife block or magnetic strip – never toss them in a drawer where they’ll bump against other items. Hand wash your good knives rather than putting them in the dishwasher, as the harsh detergents and heat can damage the blades. For wooden utensils and cutting boards, rub them with food-grade mineral oil monthly to prevent cracking and warping.
Your pots and pans need attention too! Avoid using metal scrubbers on non-stick surfaces – opt for gentle sponges instead. To remove stubborn burnt bits, fill the pan with water and a splash of vinegar, then simmer for 10 minutes – the debris will lift right off. Keep your cast iron seasoned by coating it lightly with oil after each wash and heating it briefly on the stove. And don’t forget your small appliances – descale your kettle regularly with vinegar solution, and clean your blender by running it with warm soapy water after each use. These simple habits will keep your tools working perfectly for years to come.
Seasoning Adjustments
Your cooking will transform when you learn to adjust seasonings at different stages. I always start with a light hand – you can add more salt, spices, and herbs, but you can’t take them away! Keep tasting throughout the cooking process and make small additions, letting each layer build depth. Remember that heat levels change how we perceive seasoning – a dish that tastes perfectly salted when hot might need more once it cools down.
Think about timing too – add hardy herbs like thyme and rosemary early so they can release their oils, but save delicate ones like basil and cilantro for the end to preserve their fresh flavors. With spices, toasting them in a dry pan before using will intensify their taste dramatically. And don’t forget acid! A splash of vinegar or citrus juice right before serving can brighten up and balance out an entire dish. Keep a small notebook to track your seasoning successes and learn from any misses.
Flavor Layering
Building complex flavors in your cooking starts with understanding how to layer different taste elements throughout the cooking process. I always start with aromatics like onions, garlic, and ginger as my foundation, letting them slowly cook to develop their natural sweetness. Next, I add spices and herbs at different stages – some at the beginning to infuse the oil, others midway through cooking, and a final sprinkle of fresh herbs at the end. This method creates depth that you simply can’t achieve by dumping everything in at once.
One of my favorite tricks is to incorporate umami-rich ingredients like mushrooms, tomato paste, or miso at multiple points while cooking. For example, when making a veggie stir-fry, I’ll add dried mushrooms early on, then fresh ones halfway through, and finish with a dash of soy sauce. The same goes for acidic ingredients – a splash of vinegar during cooking helps balance flavors, while a squeeze of fresh citrus right before serving adds brightness. Remember to taste your food throughout the process and adjust the seasonings accordingly. This mindful approach to layering will transform your everyday dishes into memorable meals.
Meat Resting Techniques
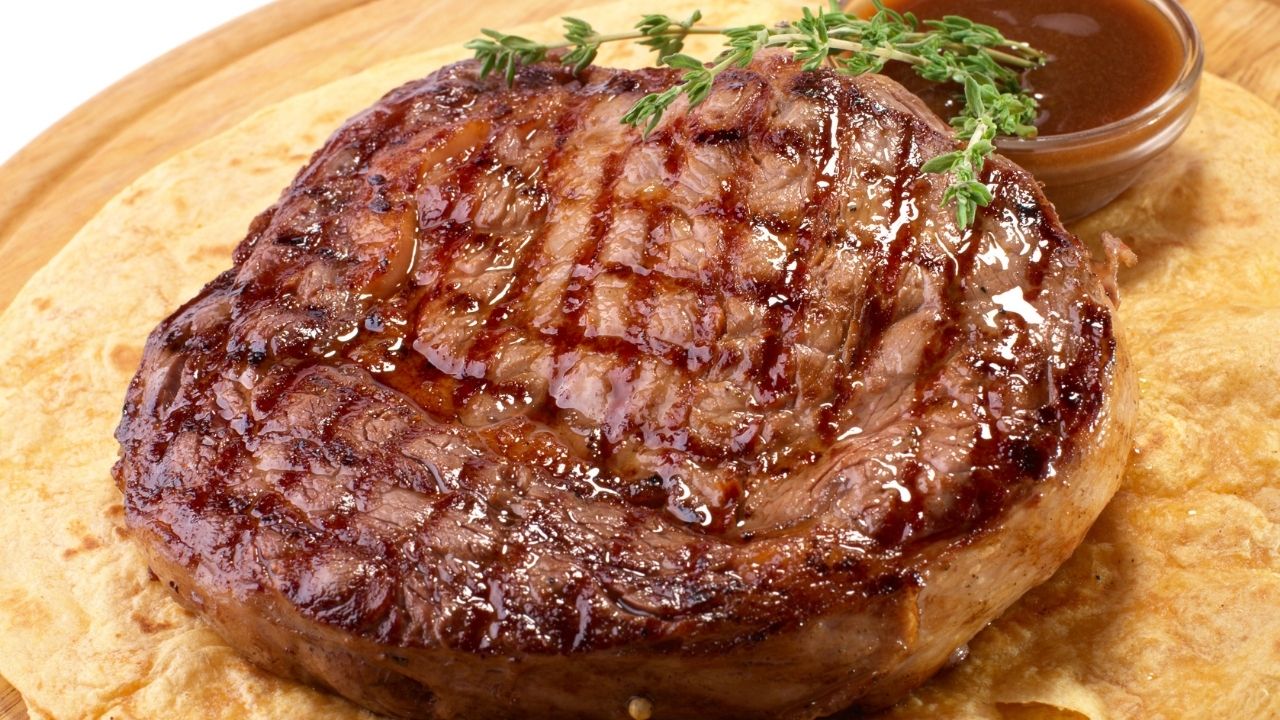
You know that moment when you’re tempted to slice into your beautifully cooked steak right off the heat? Hold that thought! I’ve learned through years of cooking that resting your meat is just as important as the cooking itself. For steaks, chops, and roasts, you’ll want to give them 5-10 minutes on a warm plate, loosely tented with foil. This simple pause helps the meat’s internal juices redistribute evenly throughout, making every bite juicy and flavorful. During cooking, these juices get pushed toward the center – if you cut too soon, they’ll spill right onto your plate instead of staying in the meat where they belong.
The resting time depends on the size of your meat cut. A general rule I follow: rest your meat for about half the time you cooked it. For a thick ribeye that took 8 minutes to cook, give it 4 minutes to rest. For larger cuts like roasts or whole chickens, you might need 15-20 minutes. Don’t worry about the meat getting cold – it actually continues cooking slightly during this time due to residual heat. Keep the foil tent loose to prevent the meat from steaming and losing that beautiful crust you worked so hard to create. Trust me, your patience will reward you with the juiciest, most tender meat you’ve ever made at home.
Knife Skills Mastery
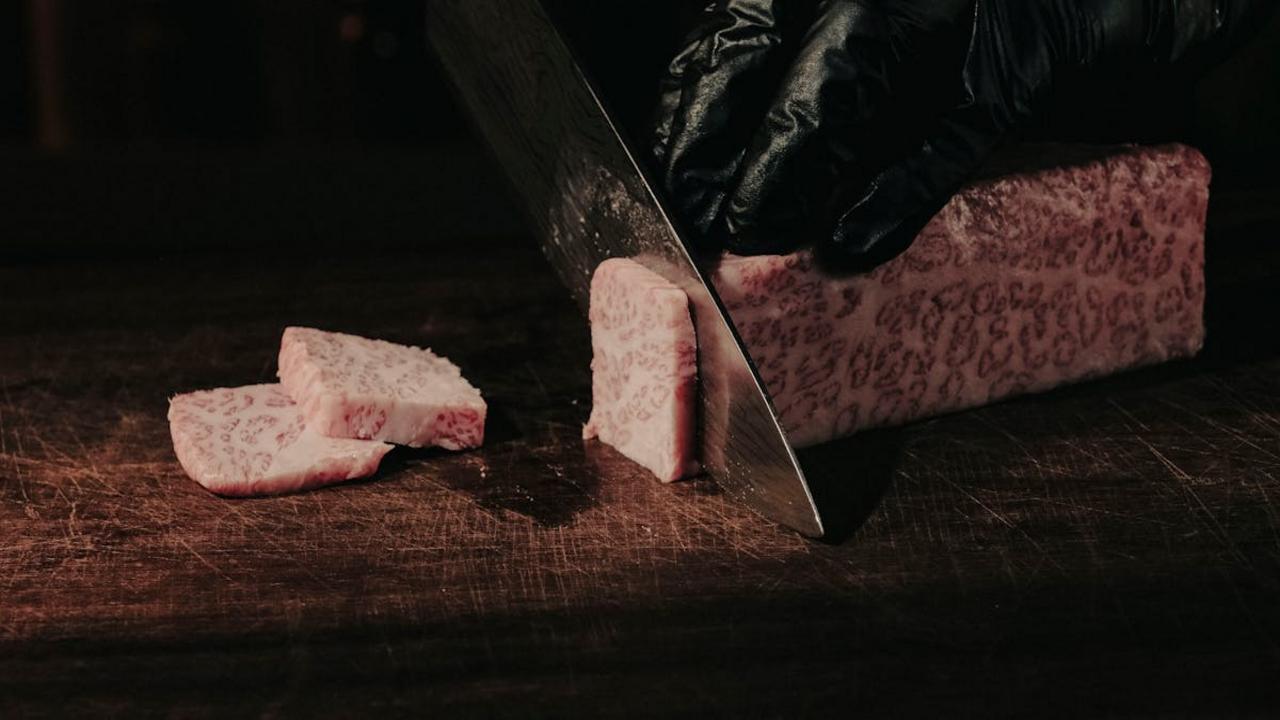
You’ll transform your cooking instantly once you master proper knife skills – it’s truly the foundation of becoming a confident home cook. I always tell my cooking students to start by learning the right grip: pinch the blade near the handle with your thumb and index finger while wrapping remaining fingers around the handle. This gives you maximum control and precision. Practice the main cuts: slice (long strokes), chop (up-and-down motion), and dice (uniform cubes). Keep your knife sharp – a dull blade is actually more dangerous since it can slip off food instead of cleanly cutting through.
Focus on maintaining a steady rhythm as you cut, keeping your guide hand in a “claw” position with fingertips tucked under to protect them. Start slowly to build muscle memory before increasing speed. I recommend practicing with hardy vegetables like carrots or celery until you feel comfortable. The right cutting board makes a huge difference too – look for a sturdy wooden or plastic board that won’t slip around. Once you nail these fundamentals, you’ll prep ingredients faster, cook more efficiently, and create more professional-looking dishes. Your knife will become a natural extension of your hand.
Sauce Making Basics
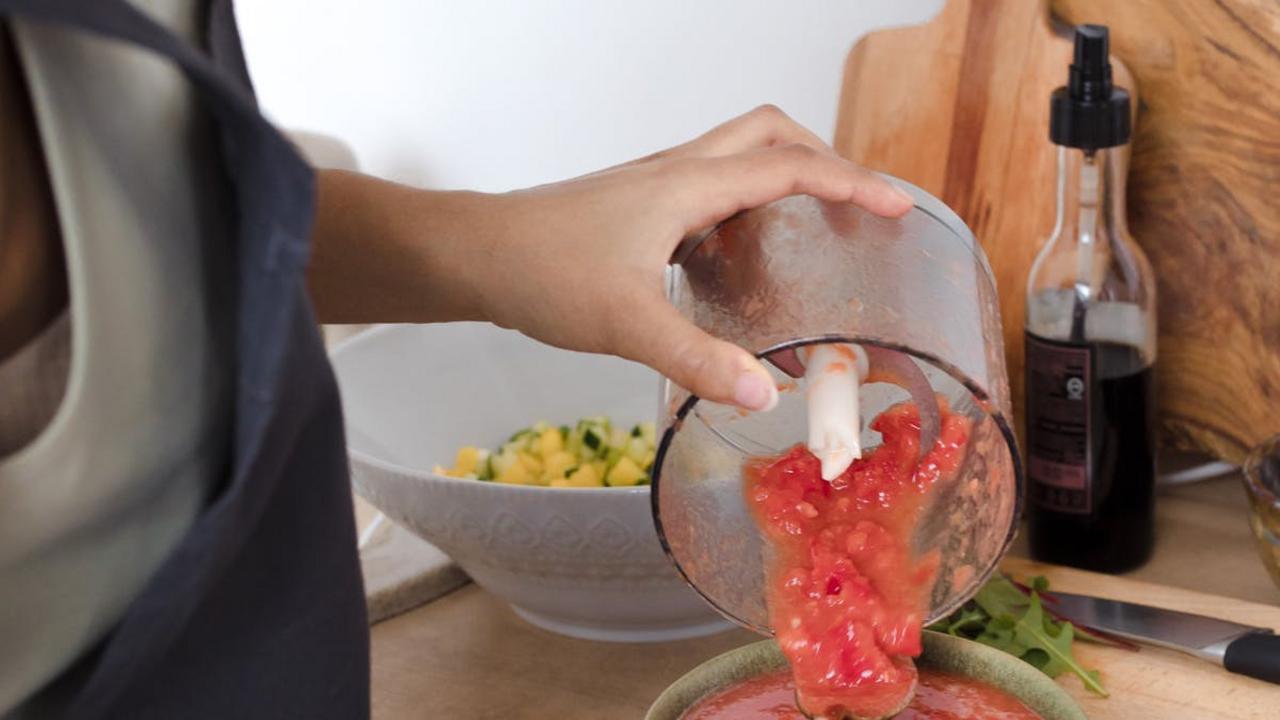
Making sauces from scratch will transform your home cooking instantly. I learned early in my cooking that you only need to master five French mother sauces – béchamel, velouté, espagnole, hollandaise, and tomato sauce. Start with a roux (equal parts flour and butter) for your béchamel, then gradually whisk in warm milk until smooth. For velouté, swap the milk with chicken, veal, or fish stock. These two basic white sauces form the foundation for countless variations – from creamy mac and cheese to silky mushroom sauce.
Your sauce-making toolkit should include a heavy-bottomed saucepan, a good whisk, and a fine-mesh strainer. Temperature control makes or breaks your sauce – too hot and it could break or curdle, too cool and it won’t thicken properly. I always keep my heat on medium-low and stir constantly. Don’t forget to season as you go – salt helps bring out flavors, while a splash of acid (lemon juice or vinegar) adds brightness. Once you nail these basics, you can branch out into pan sauces, compound butters, and global favorites like chimichurri or Thai peanut sauce.
Fresh Herbs Usage
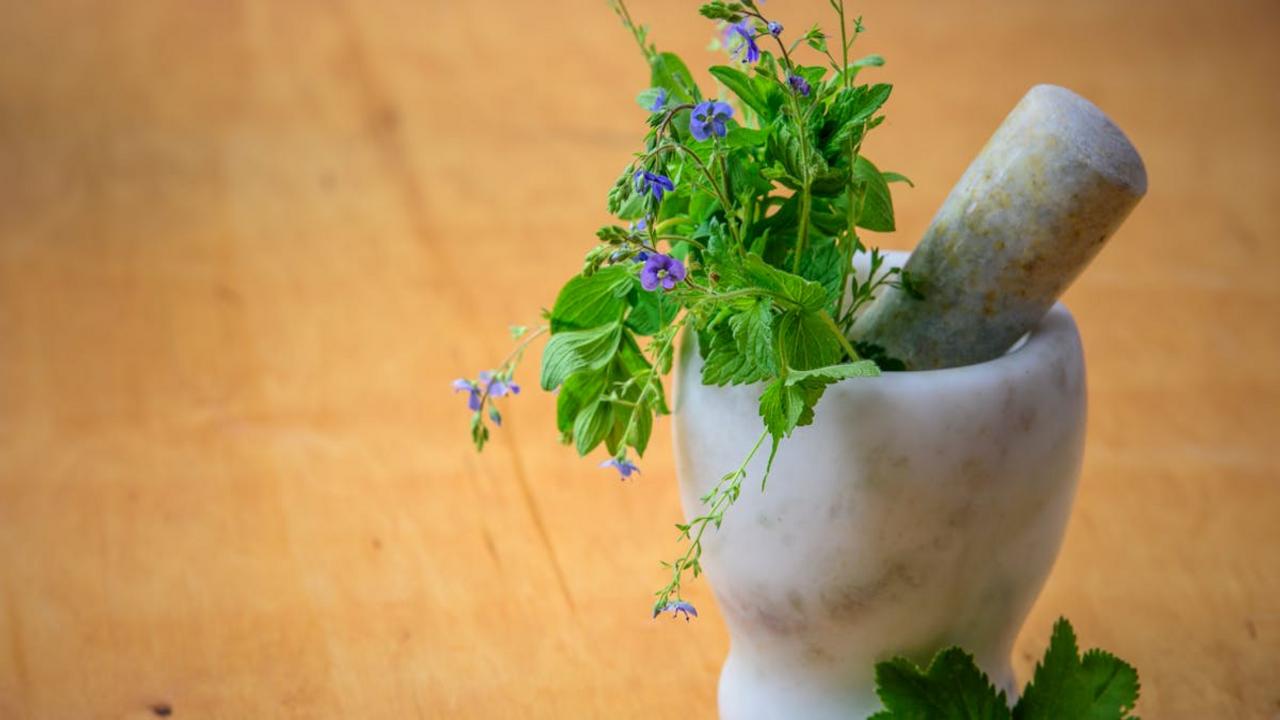
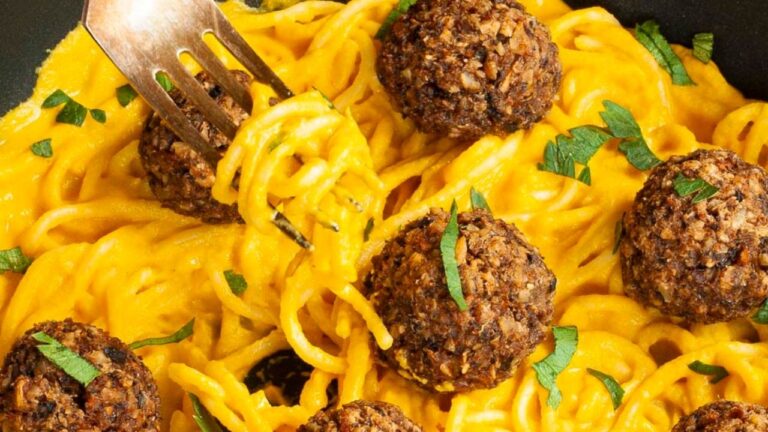
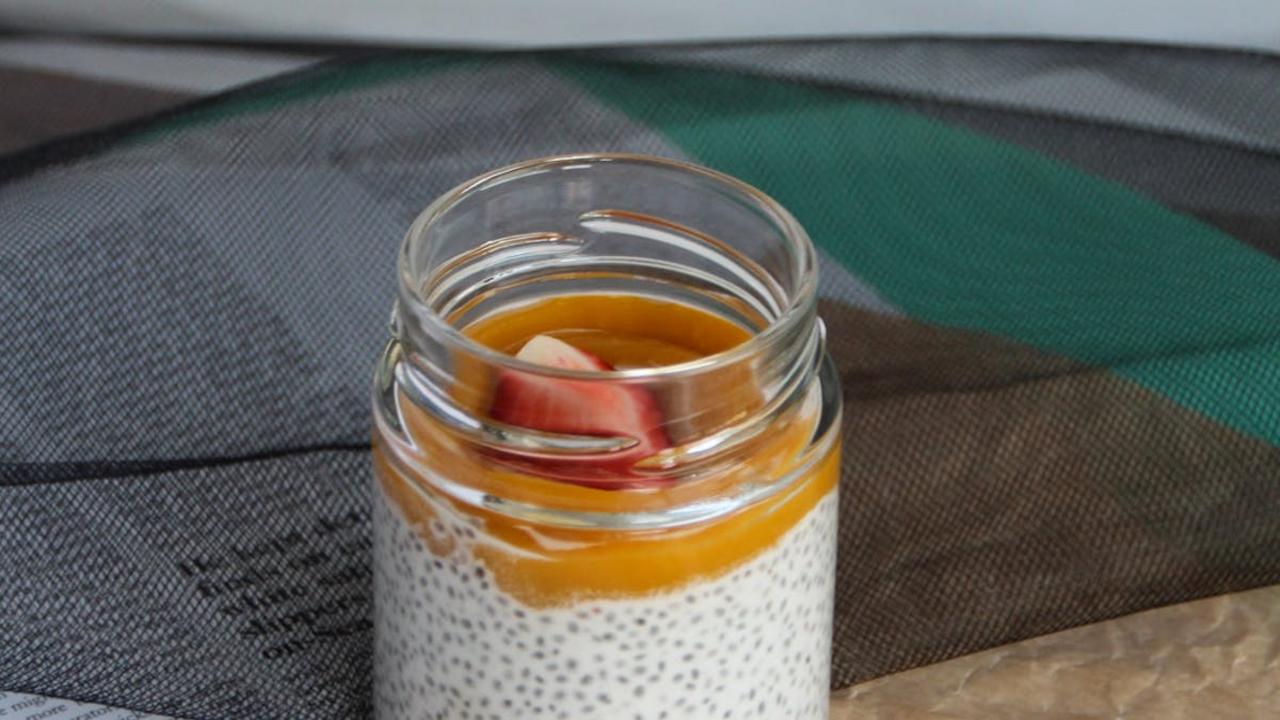
I learned early in my cooking that fresh herbs can transform an average dish into something extraordinary. Take flat-leaf parsley – rather than just sprinkling it as a garnish, try chopping it finely and adding it to your marinades or salad dressings. The same goes for mint, basil, and cilantro – add them at the end of cooking to maintain their bright flavors and vibrant colors. Store your herbs like flowers in a glass of water with a plastic bag over the top, and they’ll stay fresh in your fridge for up to two weeks.
Fresh herbs can do more than just season your food – they can become the star ingredient. Blend handfuls of fresh herbs with olive oil, nuts, and garlic to make homemade pesto variations. Think beyond basil – try cilantro-pepita pesto for tacos or mint-pistachio pesto for lamb. You can also steep fresh herbs in hot water for refreshing caffeine-free teas, or muddle them into cocktails and mocktails. My favorite trick? Finely chop leftover herbs and freeze them in ice cube trays with olive oil – perfect portion-sized flavor bombs for future dishes.
Proper Pan Selection

You’ll cook better meals instantly by matching your pan to the job at hand. Think of your pans like different tools – each serves a specific purpose. I keep a sturdy cast iron skillet for high-heat searing and getting that perfect crust on steaks. My stainless steel pans work great for building pan sauces and deglazing, while my non-stick pan is reserved strictly for delicate items like eggs and fish that tend to stick. The material and weight of your pan directly impact how evenly your food cooks.
Beyond materials, pan size matters tremendously for cooking success. Using a pan that’s too large will cause liquids to evaporate too quickly and foods to burn, while an overcrowded small pan leads to steaming instead of browning. Give your ingredients enough space – they should fit comfortably with room to move around. For stovetop cooking, make sure your pan’s base matches your burner size for even heat distribution. Quality pans might cost more upfront, but they’ll last years longer and dramatically improve your cooking results.
Salt Timing
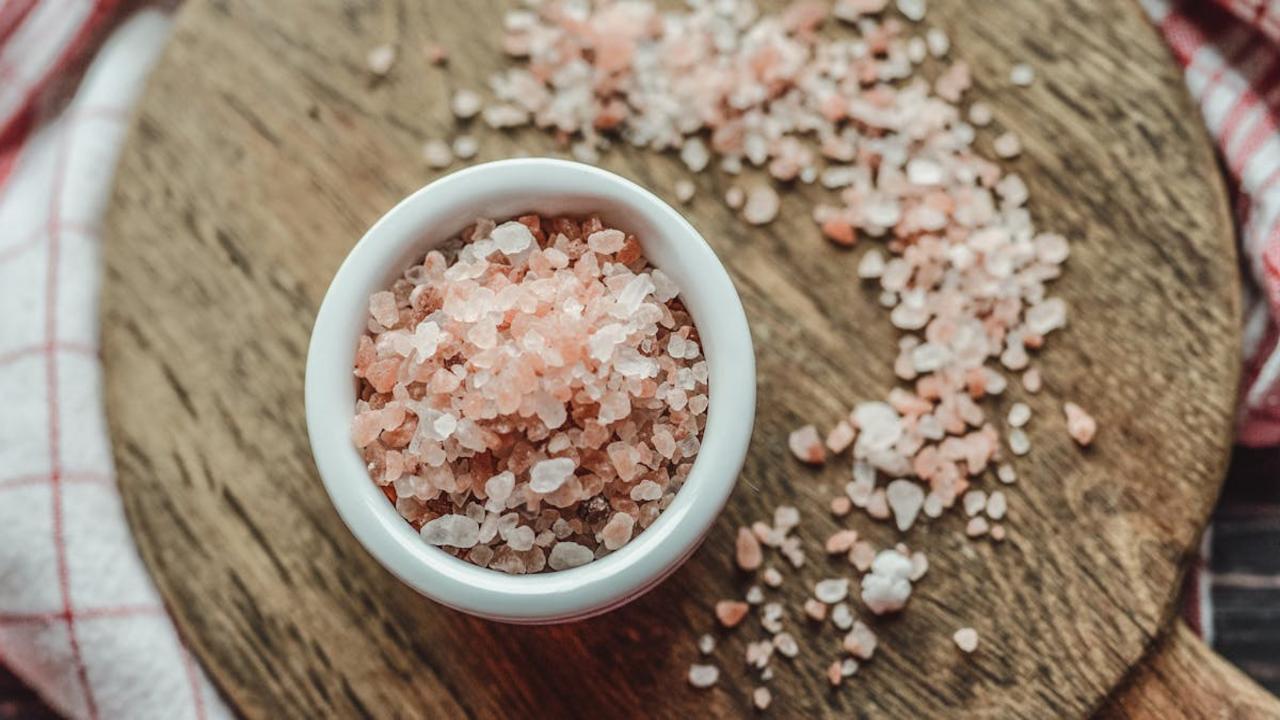
I’ve learned through countless hours of cooking that adding salt at the right moment makes all the difference in your dishes. You’ll notice deeper, more developed flavors when you salt early in the cooking process, giving ingredients time to absorb and distribute the seasoning. For dishes like soups, stews, and braises, add salt gradually from the start and adjust near the end. With vegetables, salt them right before cooking to draw out excess moisture and create better browning.
Your salt strategy should adapt based on what you’re making. For pasta water, add a generous amount of salt once the water boils – this seasons the pasta from within as it cooks. Raw proteins need salting 30-60 minutes before cooking to enhance moisture retention and create a more tender result. Fresh herbs and finishing touches benefit from a light sprinkle of flaky salt right before serving. Keep tasting throughout cooking and remember – you can always add more salt, but taking it away is impossible.
Temperature Control
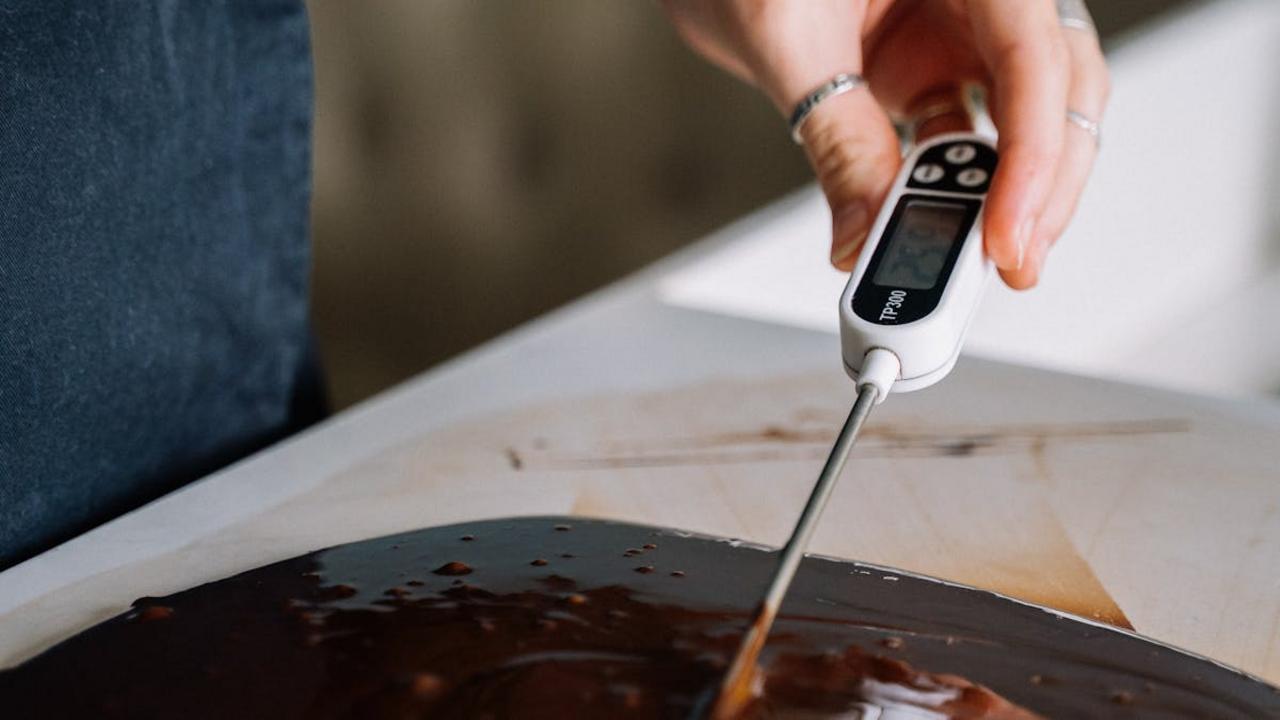
Getting your cooking temperatures right can transform an average meal into something extraordinary. You’ll notice the biggest difference in meats – searing at high heat (400-450°F) creates that beautiful brown crust while keeping the inside tender. For vegetables, I recommend starting with medium-high heat to get some caramelization, then lowering it to medium to cook through without burning. Your pans and oils matter too – cast iron holds heat beautifully for searing, while stainless steel gives you more temperature flexibility.
Take time to learn your stovetop’s personality – each burner might heat differently. Keep an instant-read thermometer handy to check meat doneness, and remember carryover cooking will raise temperatures 5-10 degrees after removing from heat. For baking, an oven thermometer helps compensate for hot spots or temperature variations. I’ve found that rotating pans halfway through baking ensures even browning. And don’t forget about resting times – letting meat rest under foil for 5-10 minutes redistributes those flavorful juices throughout.
Mise en Place Organization
I can’t stress enough how much mise en place has transformed my cooking flow. Think of it as your personal kitchen command center – having every ingredient measured, chopped, and lined up before you start cooking. Pull out all your ingredients, prep them completely, and arrange them in small bowls or plates based on when you’ll need them in the recipe. This simple step prevents that mid-cooking panic of realizing you’re missing an ingredient or rushing to chop onions while your garlic burns in the pan.
Your kitchen setup matters just as much as the prep work. I keep my most-used tools within arm’s reach and arrange my ingredients in order of use, moving from left to right. Clear your counters of anything unrelated to the recipe you’re making. This dedicated workspace keeps you focused and makes cleanup easier too. Want a pro tip? Keep a “prep bowl” nearby for food scraps – it saves countless trips to the trash and keeps your workflow smooth. Once you start cooking with mise en place, you’ll wonder how you ever managed without it.