13 Fun Cooking Skills Every Kid Can Master by Age 10
Teaching children how to cook transforms kitchens into playgrounds of discovery and confidence-building. Young hands learn to measure flour without creating snowstorms, crack eggs like pros, and wield kid-safe knives with proper technique. These foundational skills create independent little chefs who beam with pride at their accomplishments.
Children absorb cooking knowledge faster than we imagine, turning simple tasks into exciting adventures. They master reading recipes like treasure maps, understand timer importance, and develop respect for hot surfaces. Each successful attempt builds their self-reliance and connects them to wholesome food preparation.
Starting early with age-appropriate techniques creates lifelong healthy eating habits. Kids who learn proper food storage, vegetable washing, and basic kitchen organization develop respect for ingredients and cooking processes. These skills become second nature, setting them up for nutritious choices throughout their lives.
Basic food storage knowledge
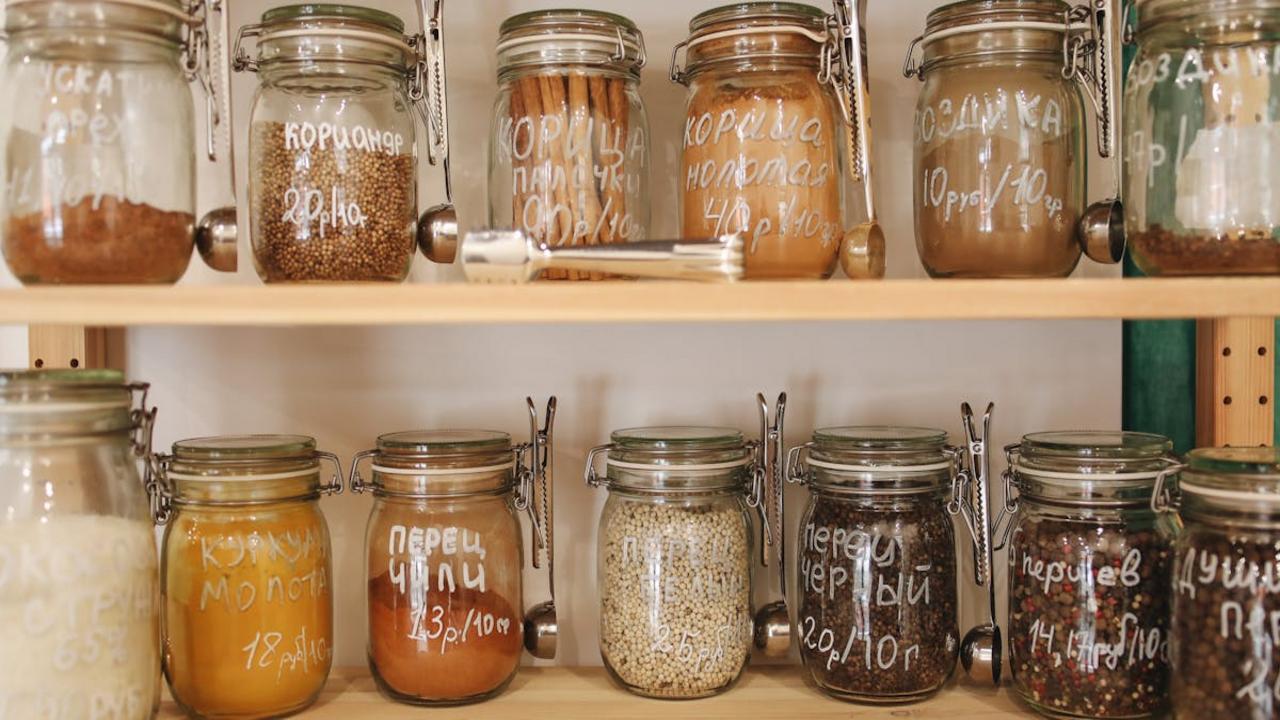
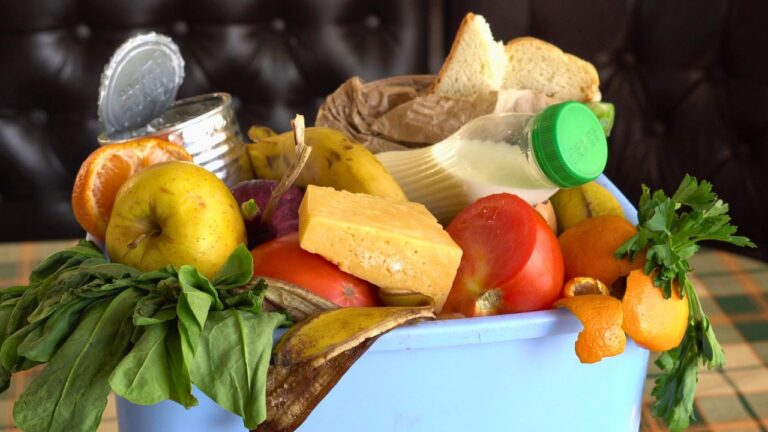
Teaching kids proper food storage creates smart, safe kitchen habits that will serve them for life. Start with the refrigerator basics – show them how dairy products, leftovers, and fresh produce need cold temperatures to stay fresh and prevent harmful bacteria from growing. Explain why raw meat goes on the bottom shelf (so juices don’t drip onto other foods) and how fruits like bananas and tomatoes actually taste better when stored at room temperature. Make it a fun detective game by checking expiration dates together and teaching them the difference between “sell by,” “use by,” and “best before” dates.
Pantry organization becomes second nature when kids understand the simple rules. Dry goods like pasta, rice, and cereal stay fresh longer in airtight containers, while potatoes and onions prefer cool, dark spaces away from each other. Show them how to rotate stock by putting newer items in the back and older ones in front – just like grocery stores do! Kids love having their own designated snack bin or shelf where they can practice these skills independently. Once they master these fundamentals, they’ll confidently pack school lunches, help with grocery shopping, and even start planning their own simple meals.
Setting up and cleaning workstation

Teaching your child how to set up a proper cooking workspace transforms chaotic kitchen sessions into organized, enjoyable experiences. Start by showing them how to gather all ingredients and tools before they begin cooking – this simple habit prevents frantic searches mid-recipe and keeps everything flowing smoothly. Help them understand that a clean, spacious counter gives them room to work safely and efficiently. Show them how to tie back long hair, wash their hands thoroughly, and roll up sleeves. This preparation ritual becomes second nature with practice, and soon they’ll automatically create their perfect cooking zone without any reminders from you.
Cleanup becomes much easier when kids learn to clean as they go rather than facing a mountain of dishes afterward. Teach them to rinse bowls and utensils immediately after use, wipe spills right away, and put ingredients back in their proper places. Make it fun by setting up a “dirty dish station” with soapy water where they can drop used items throughout cooking. Show them how to sanitize cutting boards between different ingredients, especially when switching from raw meat to vegetables. Once they master this rhythm of organized setup and ongoing cleanup, cooking becomes less overwhelming and more enjoyable for everyone involved.
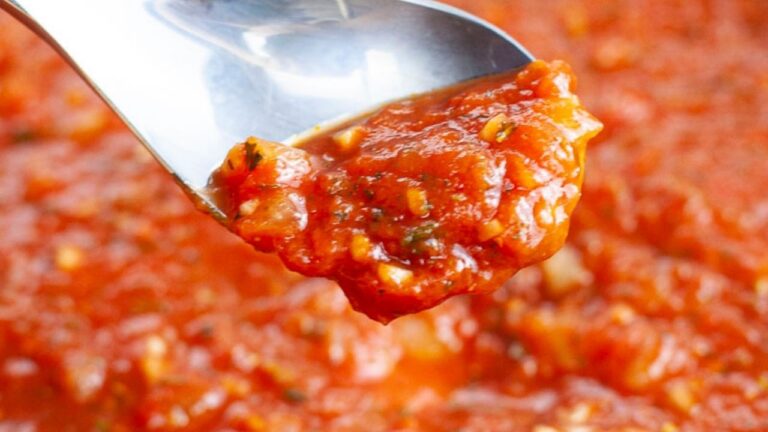
Boiling pasta and checking doneness
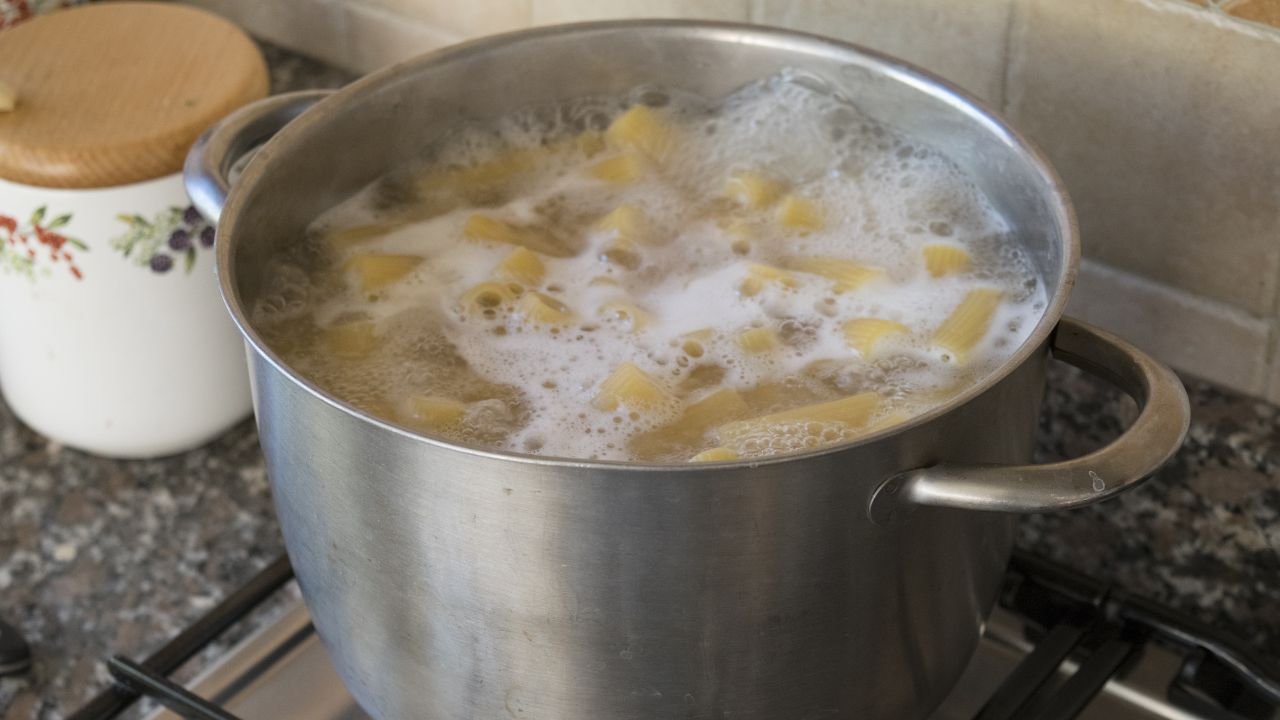
Learning to boil pasta perfectly is one of those foundational skills that will serve your child for life! Start by bringing a large pot of salted water to a rolling boil – and yes, the salt makes a real difference in flavor. Once those bubbles are dancing, add your pasta and give it a gentle stir to prevent sticking. The magic happens in timing and testing. Most pasta packages suggest cooking times, but here’s where your little chef gets to be a detective. About two minutes before the suggested time, fish out a piece with a fork and let it cool for a few seconds before tasting.
Perfect pasta should have just a tiny bit of firmness when you bite into it – what Italians call “al dente,” which literally means “to the tooth.” If it’s still too hard, keep cooking and test again in another minute. If it’s mushy, well, that’s a learning moment for next time! Your kids will love this hands-on approach because they get to taste-test along the way. Once they master this simple technique, they can confidently make everything from spaghetti with marinara to mac and cheese. Plus, there’s something deeply satisfying about draining that perfectly cooked pasta and knowing you nailed it!
Washing fruits and vegetables correctly
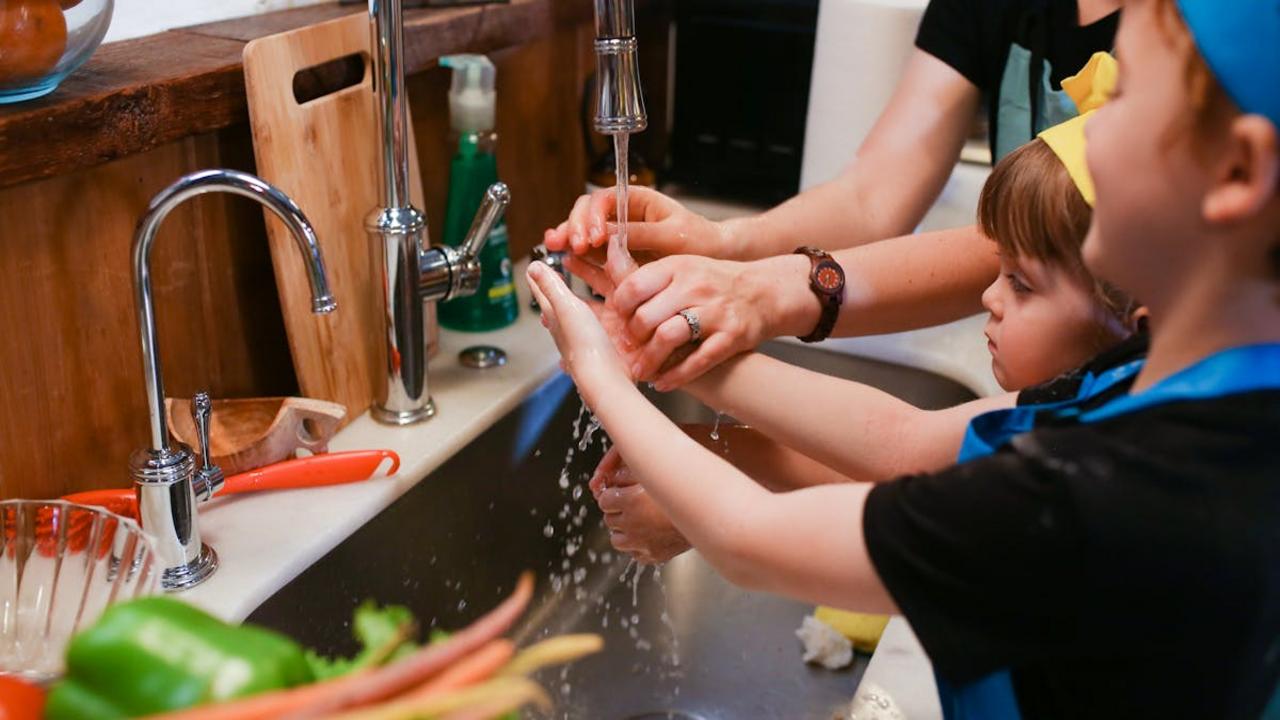
Teaching your kids how to properly clean fruits and vegetables gives them their first real taste of kitchen responsibility! Start by showing them the simple cold water rinse technique – hold produce under cool running water while gently rubbing with clean hands. For sturdy items like apples, potatoes, and carrots, demonstrate how a soft brush can remove stubborn dirt and waxy residue. Leafy greens need special attention, so teach them to separate leaves and swish them around in a bowl of cold water, then rinse each leaf individually.
Make this skill fun by turning it into a mini science lesson – explain how washing removes bacteria, pesticides, and dirt that can make people sick. Show them which fruits need extra scrubbing (like melons and root vegetables) and which ones require gentler handling (berries and soft fruits). Create a simple rule they can remember: “If you’re going to eat it, you need to clean it first!” This includes items with peels they’ll remove, since knives can transfer contaminants from the outside to the inside. Once they master this fundamental skill, your young cook will understand that good food safety starts before any actual cooking begins.
Using kitchen timers

Kitchen timers become your best friend when you start cooking! These simple tools help you keep track of multiple tasks at once, and honestly, they’re like having a personal cooking assistant right on your counter. When you’re baking cookies, boiling pasta, or simmering soup, setting a timer means you won’t forget about your food and end up with burnt disasters. Start by teaching your kids to set timers for everything – even simple tasks like letting dough rest or marinating chicken. This habit builds confidence and prevents those “oops, I forgot!” moments that we’ve all experienced in the kitchen.
The magic happens when kids learn to use multiple timers for different cooking stages. Maybe they’re roasting vegetables that need 25 minutes while also cooking rice that takes 18 minutes – having separate timers running helps them manage both perfectly. Most smartphones have built-in timer apps, but I love those colorful magnetic kitchen timers that stick right on the refrigerator where kids can easily see and hear them. Teaching children to rely on timers instead of guessing creates reliable cooking habits that will serve them well into adulthood. Plus, there’s something incredibly satisfying about hearing that timer go off and knowing your food is ready at exactly the right moment!
Kitchen safety around heat sources
Teaching kids about kitchen safety around heat sources might sound intimidating, but trust me – it’s one of the most important skills you can pass on to your little chefs! Start with the basics: always turn pot handles toward the center of the stove so curious hands can’t grab them, and never leave a burner unattended. Show your kids how to identify when surfaces are hot by looking for visual cues like steam rising from pans or the glow of electric burners. I love teaching children the “hover test” – hold your hand a few inches above a surface to feel the heat without touching. This simple trick has saved countless fingers in my kitchen!
Make heat safety fun by creating a kitchen “traffic light” system with your kids. Red means stop and think before touching anything near the stove or oven, yellow means proceed with caution and ask for help, and green means it’s safe to continue. Always keep oven mitts within easy reach and teach children to put them on before handling anything that’s been near heat. I’ve found that kids remember safety rules better when they understand the “why” behind them, so explain how heat travels through metal handles and why we use wooden spoons for stirring hot foods. Remember, confidence in the kitchen comes from knowledge and practice, so start slow and celebrate every safe cooking victory together!
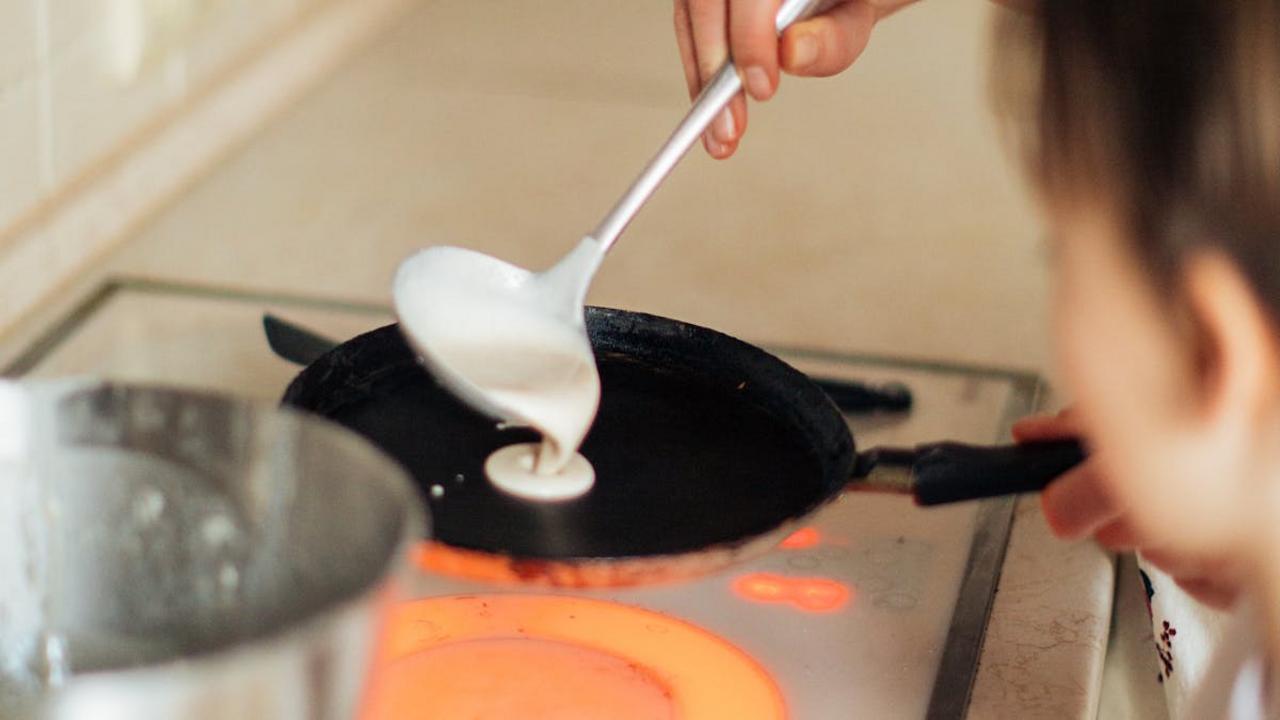
Mixing and whisking techniques

Teaching kids how to mix and whisk properly sets them up for baking success and gives them confidence in the kitchen! Start with the basics: show your little chef how to hold a whisk correctly – grip it firmly but not too tight, like holding a pencil but with more strength. For mixing batters, teach them the gentle folding motion that keeps air bubbles intact, moving the spoon in a figure-eight pattern from bottom to top. When whisking eggs or cream, demonstrate how a steady circular motion works best, keeping the whisk moving consistently around the bowl’s edges.
Different mixtures need different approaches, and kids love learning these “secret techniques.” For thick cookie dough, they can use a sturdy wooden spoon with strong stirring motions, while pancake batter needs just a few gentle stirs to avoid tough pancakes. Teach them to recognize when something is “just mixed” versus overmixed – this awareness will make them better bakers for life! Let them practice with simple recipes like scrambled eggs or whipped cream, where they can see immediate results from their whisking skills. Watch their faces light up when they create fluffy peaks or perfectly smooth batter all by themselves!
Making a sandwich
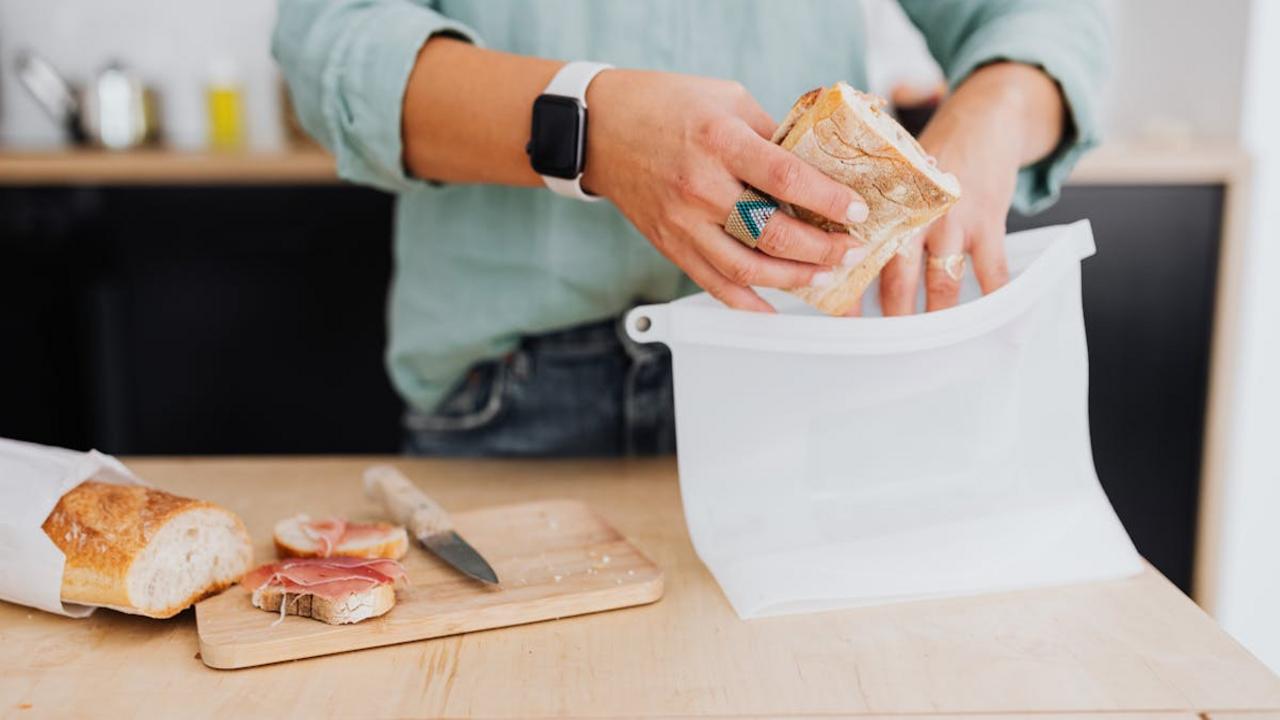
Building a sandwich might seem simple, but it’s actually one of the most valuable skills you can teach a child! This fundamental cooking technique introduces kids to layering flavors, understanding textures, and making creative decisions about their food. Start with basic ingredients like bread, protein, and vegetables, then let your little chef experiment with different combinations. Show them how to spread condiments evenly, layer ingredients for the best bite, and cut their creation safely with a butter knife.
The beauty of sandwich-making lies in its endless possibilities and instant gratification. Your child can practice knife skills by slicing tomatoes or cucumbers with supervision, learn about nutrition by choosing colorful vegetables, and develop their palate by trying new flavor combinations. From classic peanut butter and jelly to more adventurous turkey and avocado creations, sandwiches teach kids that cooking can be both fun and functional. Plus, there’s something deeply satisfying about creating a complete meal with your own hands – and the confidence boost your child gets from making their own lunch is absolutely priceless!
Simple vegetable chopping
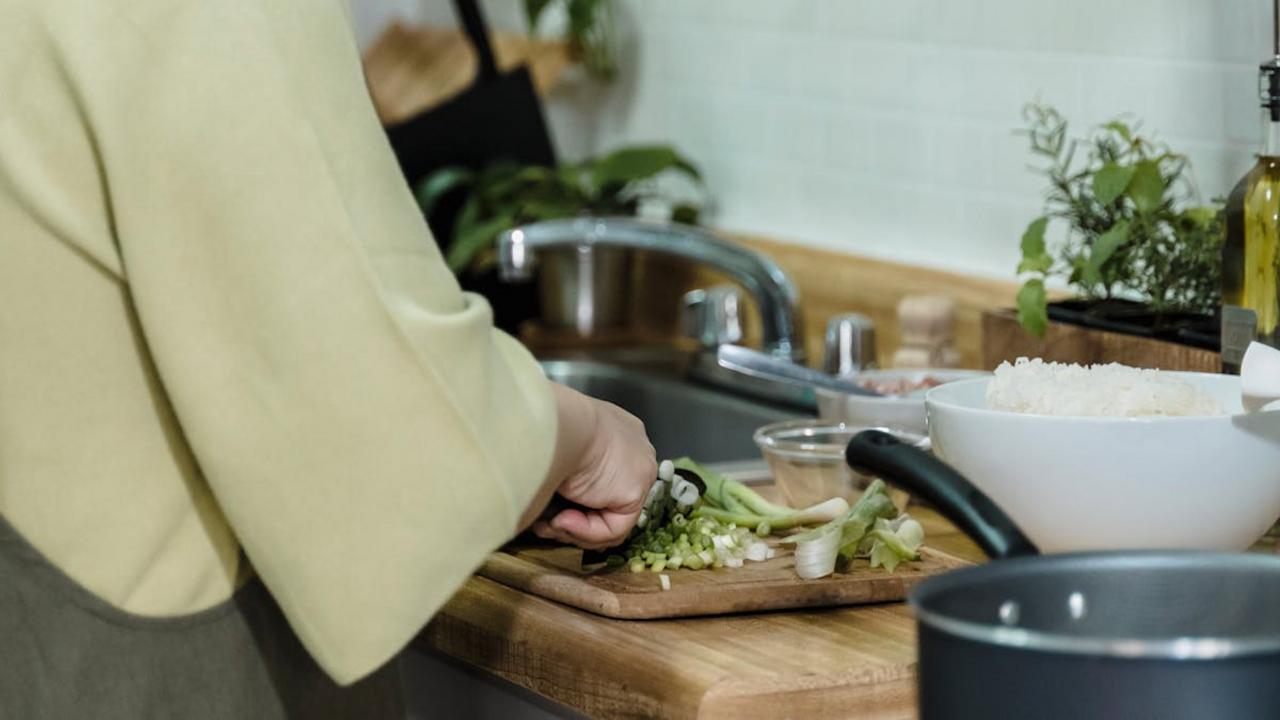
Teaching your little ones how to safely chop vegetables opens up a whole new world of kitchen confidence! Start with softer vegetables like mushrooms, zucchini, or bell peppers, and always begin with a proper knife grip. Show them how to make a “claw” with their non-cutting hand, tucking those fingertips safely away from the blade. A small, sharp paring knife actually works better than a dull adult knife – it requires less pressure and gives kids more control. Practice makes perfect, so let them work on cutting uniform pieces while you guide their technique.
Once they master the basics, watch how proud they become when they can contribute real prep work to family meals! Start with simple cuts like rounds for cucumbers or strips for carrots, then gradually work up to dicing onions (tears and all – it’s part of the fun!). This skill builds their motor coordination and gives them ownership over what goes into their food. You’ll notice they become much more excited about eating vegetables they’ve prepared themselves. Plus, having a sous chef who can handle the veggie prep makes weeknight cooking so much more enjoyable for everyone!
Basic knife safety and grip
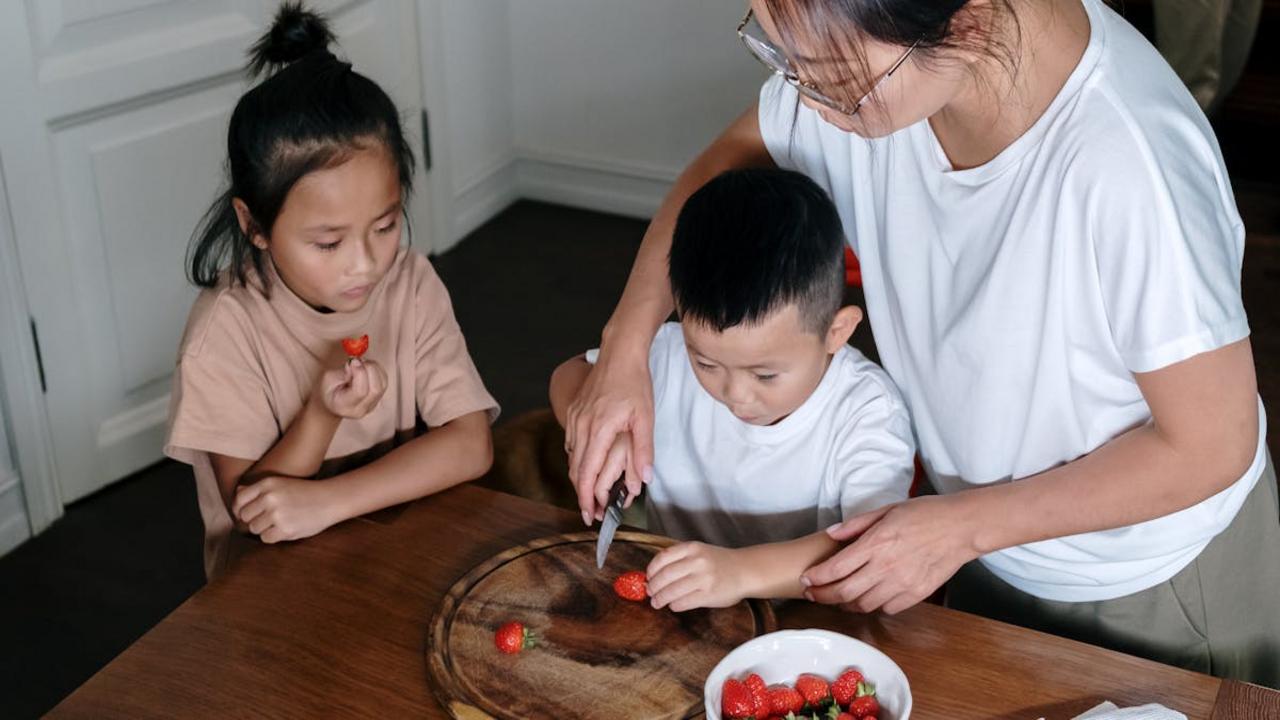
Teaching kids proper knife safety starts with choosing the right tool for their hands. I recommend starting with a small paring knife or a high-quality plastic knife designed for children around age 6-7, then gradually moving to a sharp chef’s knife by age 9-10. Show your child how to hold the knife with their dominant hand, wrapping their fingers around the handle with their thumb and index finger gripping just above the blade’s base. This “pinch grip” gives them maximum control and prevents the knife from slipping. Always keep the knife blade pointing down when walking, and never leave knives in soapy water where little hands might accidentally grab them.
The “claw grip” becomes your child’s best friend when learning to chop safely. Teach them to curl their non-knife hand into a claw shape, with fingertips tucked under and knuckles forward, creating a protective guide for the blade. Start with soft ingredients like bananas or cooked potatoes, letting them practice slow, deliberate cuts while you guide their movements. Make it fun by counting together or singing songs to maintain a steady rhythm. Remember, a sharp knife is actually safer than a dull one because it requires less pressure and gives kids better control. With consistent practice and your close supervision, your little chef will develop confidence and muscle memory that will serve them well in their cooking adventures.
Cracking eggs without shell fragments
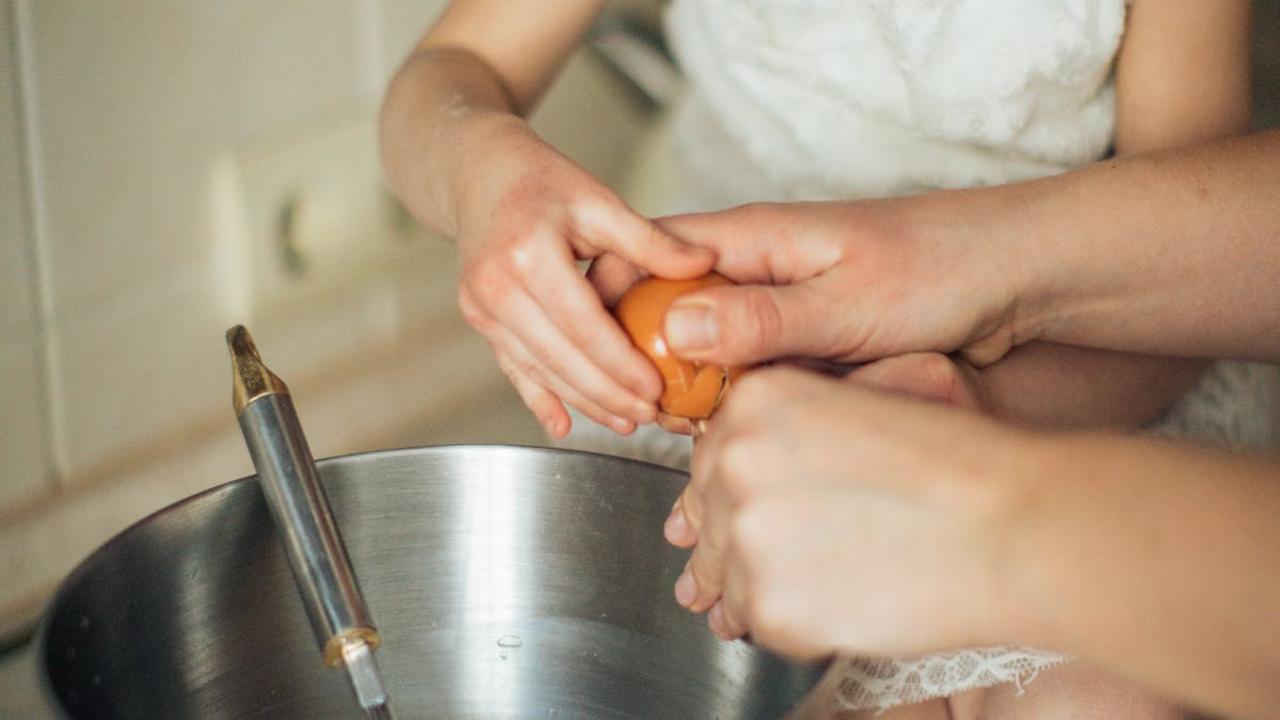
Getting clean egg cracks feels like magic when you’re 10, but it’s actually one of the most satisfying kitchen skills to master! Start by teaching your little chef to tap the egg on a flat counter surface rather than the edge of a bowl – this creates a cleaner break and reduces those pesky shell pieces that love to hide in the whites. Show them how to use both thumbs to gently pull the shell apart right at the crack line, keeping the egg close to the bowl to prevent splattering. The secret is confidence paired with a gentle touch – no aggressive whacking needed!
When shell fragments do sneak in (and they will at first!), teach kids the wet-fingers trick: dip your finger in water and use it like a magnet to fish out the pieces – dry fingers just push shells around, but wet ones grab them easily. Practice makes perfect here, so let them crack eggs for weekend pancakes or scrambled eggs until they develop that natural rhythm. You’ll be amazed how quickly they go from nervous first-timers to confident egg-crackers who can handle a dozen eggs without missing a beat. This foundational skill opens doors to countless recipes and builds serious kitchen confidence!
Reading a basic recipe
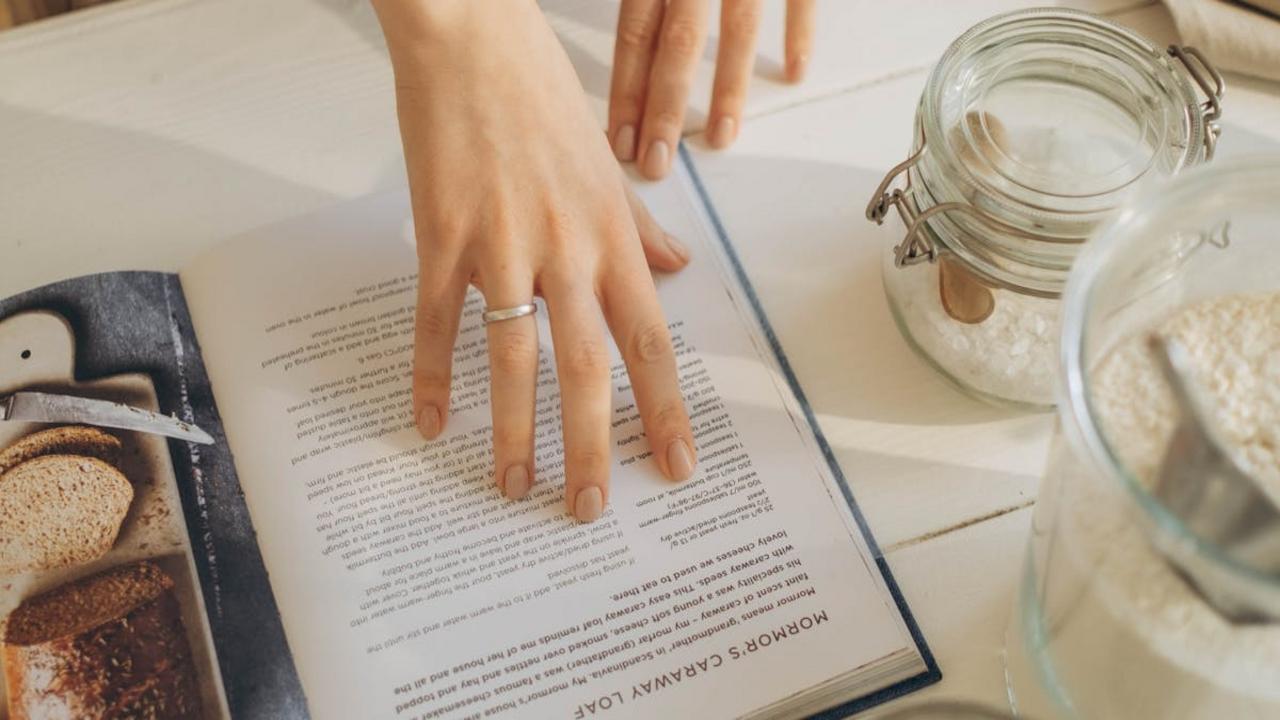
Teaching your little chef how to read a recipe transforms cooking from a mystery into an exciting adventure! I love watching kids discover that recipes are like treasure maps – each ingredient and instruction leads them closer to something delicious. Start with simple recipes that have short ingredient lists and clear, step-by-step directions. Show them how to scan through the entire recipe first, just like reading a story from beginning to end. This helps them understand what they’ll be making and what tools they’ll need before they start.
Make recipe reading interactive by having your child gather all ingredients on the counter first – this teaches them the importance of mise en place (having everything ready). Point out measurement abbreviations like “tsp” for teaspoon and “cup” for, well, cup! I always encourage kids to read each step out loud before doing it, which builds confidence and prevents mistakes. Soon, they’ll be racing ahead to read the next instruction, and you’ll see their pride shine through as they follow along independently. This foundation skill opens doors to countless cooking adventures and builds their confidence in the kitchen every single day.
Measuring dry ingredients properly

You know that moment when your cookies turn out flat or your cake doesn’t rise quite right? Nine times out of ten, the problem traces back to measuring! Teaching your little chef how to measure dry ingredients correctly sets them up for baking success every single time. Grab those measuring cups and spoons because we’re about to turn your kiddo into a measuring master who can tackle any recipe with confidence.
Start with the golden rule: always use dry measuring cups for flour, sugar, and cocoa powder, never liquid measuring cups. Show your child how to spoon ingredients into the cup without packing them down, then level off the top with a straight edge like a butter knife. For brown sugar, you’ll want to pack it firmly so it holds the cup’s shape when turned out. Make measuring a fun game by having them practice with different ingredients, and soon they’ll develop that natural feel for what “one cup” actually looks like. Once they master this skill, they’ll have the foundation for every amazing baked good they’ll create throughout their lives!