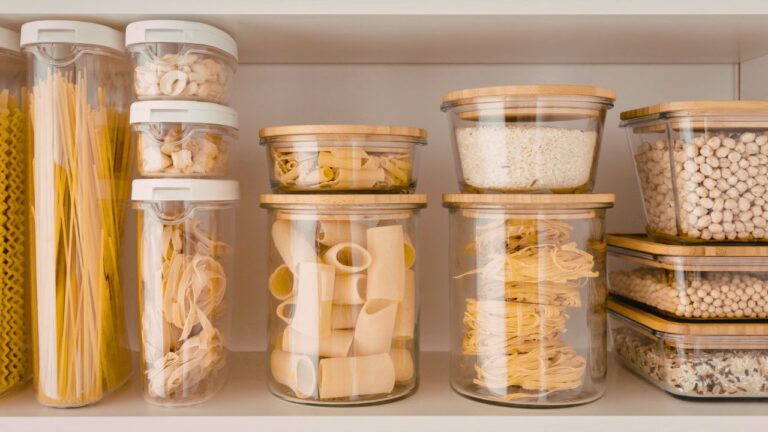
12 Must-Try DIY Food Projects That Will Wow Your Taste Buds
Want to turn your kitchen into a magical food lab? These 12 DIY projects will transform basic ingredients into mind-blowing creations that’ll make your friends think you’ve secretly trained at a Michelin-star restaurant. From crafting tangy sourdough to brewing fizzy kombucha, each recipe brings a new adventure to your counter.
The best part? You’ll discover the pure joy of making foods you never thought possible at home. Picture pulling fresh mozzarella like a Italian nonna or watching salmon smoke to perfection in your backyard. These projects go beyond cooking – they’re edible science experiments that’ll have you grinning with pride.
I’ve gathered the most rewarding DIY food projects that give amazing results without requiring a culinary degree. Whether you start with a simple vanilla extract or dive right into aging your own cheddar, each creation tells a story and adds a personal touch to your meals. Your kitchen’s about to become your favorite playground.
Japanese Miso Paste
Making your own miso paste will change your kitchen game forever – trust me! After spending a month tinkering with soybeans, salt, and koji (that magical fermentation starter), I’ve discovered a whole new world of umami. You’ll need patience since traditional miso takes several months to ferment, but think of it as your own little science experiment that ends with incredible flavor. The best part? You can customize the taste by adjusting fermentation time – shorter for sweet, mild miso or longer for that deep, rich funk that makes Japanese food so incredible.
Your homemade miso will pack more punch than anything you’ll find at the store, and you can brag about it to all your friends. Start with cooked soybeans, mix them with koji and salt, then smoosh it all into a container where the magic happens. While you wait, dream up all the dishes you’ll enhance – from classic miso soup to marinades, dressings, and even desserts (miso caramel, anyone?). Just remember to keep your fermentation vessel clean and weight the mixture down properly – nobody wants a funky miso explosion in their pantry! The result? A paste so flavorful, you’ll wonder why you ever bought the pre-made stuff.
Cultured Butter
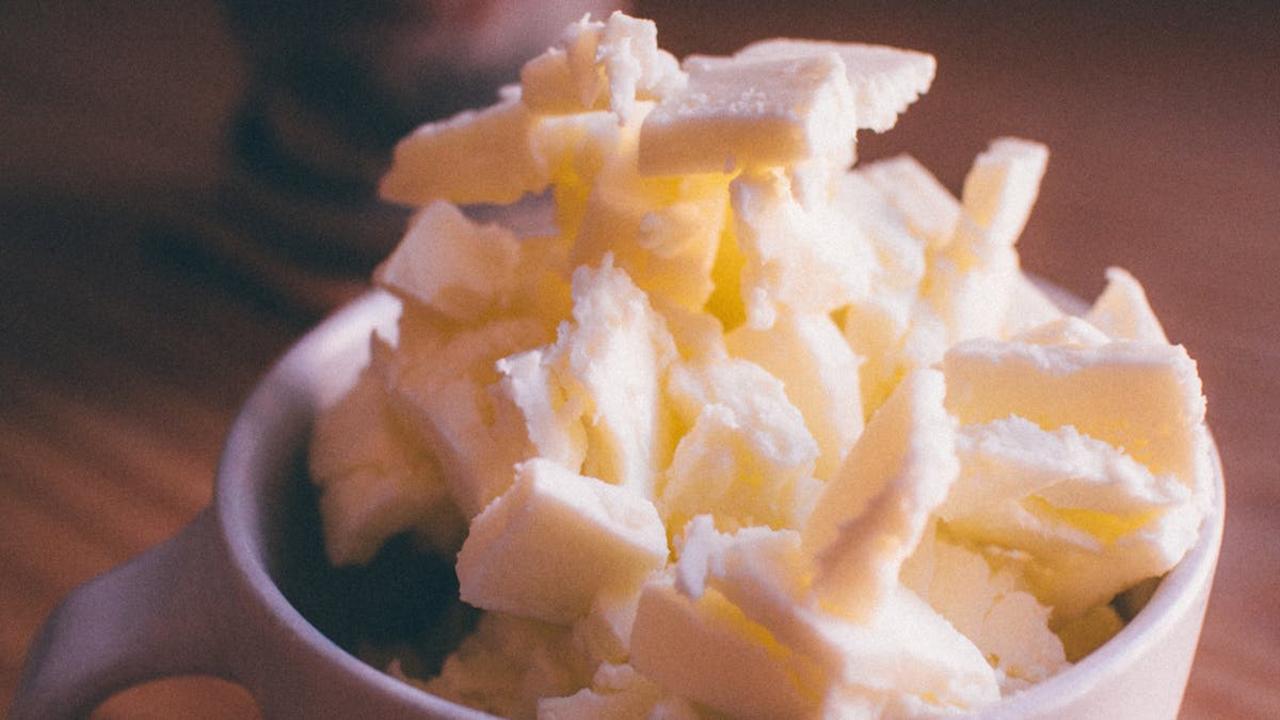
You haven’t lived until you’ve made your own cultured butter – trust me, your morning toast will thank you! The magic happens when you mix heavy cream with a dollop of yogurt or buttermilk and let those friendly bacteria work their charm overnight. The result? A rich, tangy butter that’ll make you wonder why you ever bought the store-bought stuff. I once served my homemade cultured butter at a dinner party, and my friend Sarah almost refused to believe I made it myself – she kept asking for my “butter dealer’s” contact info!
The best part about making cultured butter is watching the transformation happen right before your eyes. After your cream mixture has fermented, you’ll whip it until it suddenly splits into golden butter and buttermilk – it’s like kitchen chemistry in action! Save that buttermilk for pancakes or biscuits, and rinse your butter in ice-cold water until it runs clear. Then knead in some sea salt (or don’t – it’s your butter kingdom!), and voilà! You’ve just created something that would make any French grandmother proud. Plus, you can add herbs, honey, or even roasted garlic to create your own signature spread.
Preserved Lemons
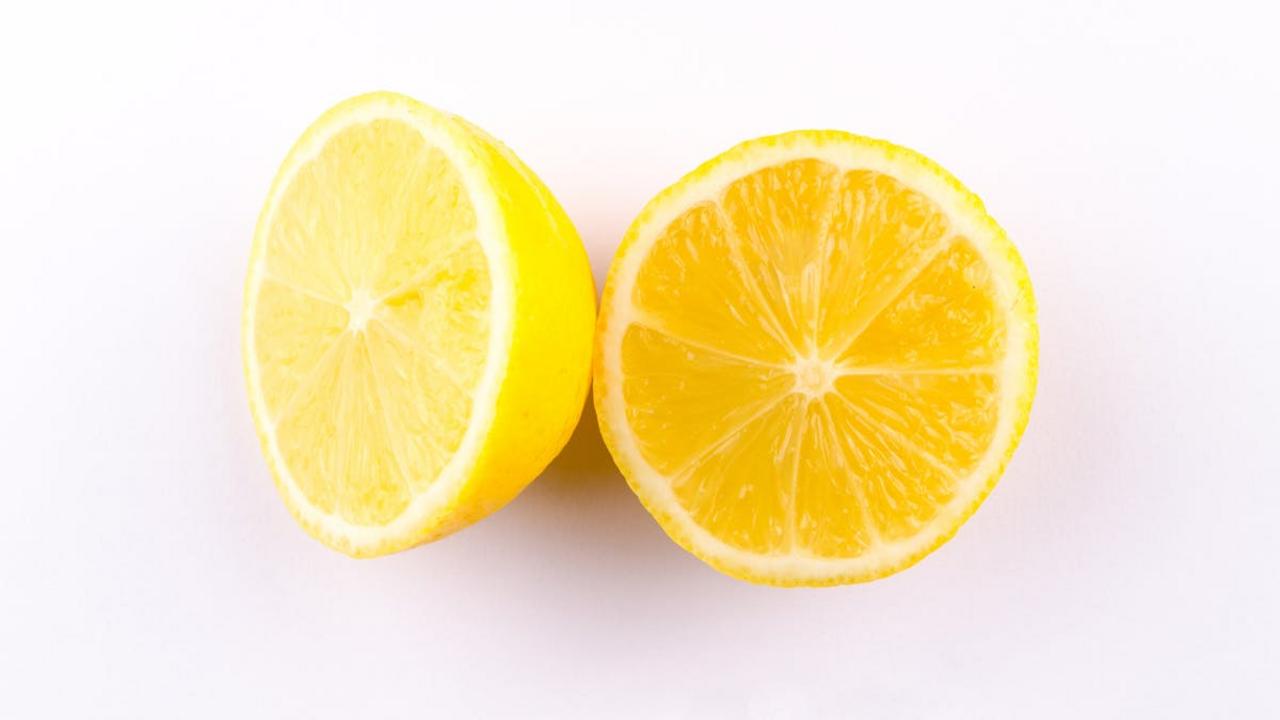
Want to add a punch of bright, intense citrus flavor to your Moroccan tagines and Mediterranean dishes? Meet preserved lemons – your new pantry BFF! I first discovered these golden orbs of joy during a cooking class in Marrakech, where our instructor showed us how a simple mix of lemons, salt, and time creates pure magic. You’ll need fresh lemons, kosher salt, a clean jar, and about 30 days of patience. Just quarter the lemons, pack them with salt, squish them into the jar, and let the transformation begin.
The fermentation process turns ordinary lemons into something extraordinary – the rinds become soft and mellow while developing deep, complex notes that’ll make your regular lemons seem downright boring. Once ready, you can chop them up for salad dressings, blend them into dips, or add them to slow-cooked meats. Pro tip: save the briny liquid after you’ve used up the lemons – it makes an incredible addition to martinis! And here’s a fun fact: preserved lemons were originally created by North African merchants who needed to keep their citrus fresh during long desert trading expeditions.
Aged Sharp Cheddar

Ready to become a cheese-aging wizard? Making your own aged sharp cheddar at home will turn you into the neighborhood’s dairy champion! The process starts with fresh milk, which you’ll transform through careful temperature control, bacterial cultures, and rennet into curds. After cutting, cooking, and pressing these curds, you’ll coat your cheese wheel with wax or bandages and let time work its magic. The waiting part tests your patience, but trust me – after 6-12 months of aging, you’ll have a sharp, complex cheddar that’ll make store-bought versions look bland.
Your homemade cheddar will develop incredible flavor notes – from nutty and tangy to sweet and bright. The longer you age it, the sharper and more crystallized it becomes, creating those delightful crunchy bits cheese lovers go crazy for. I’ve watched countless friends take their first bite of homemade aged cheddar, and their eyes light up with pure joy. Keep your aging environment between 45-55°F with 80-85% humidity, and flip those wheels weekly. Soon you’ll have a cheese that would make Wisconsin’s finest cheesemakers proud – and maybe even a bit jealous!
Vanilla Extract From Scratch
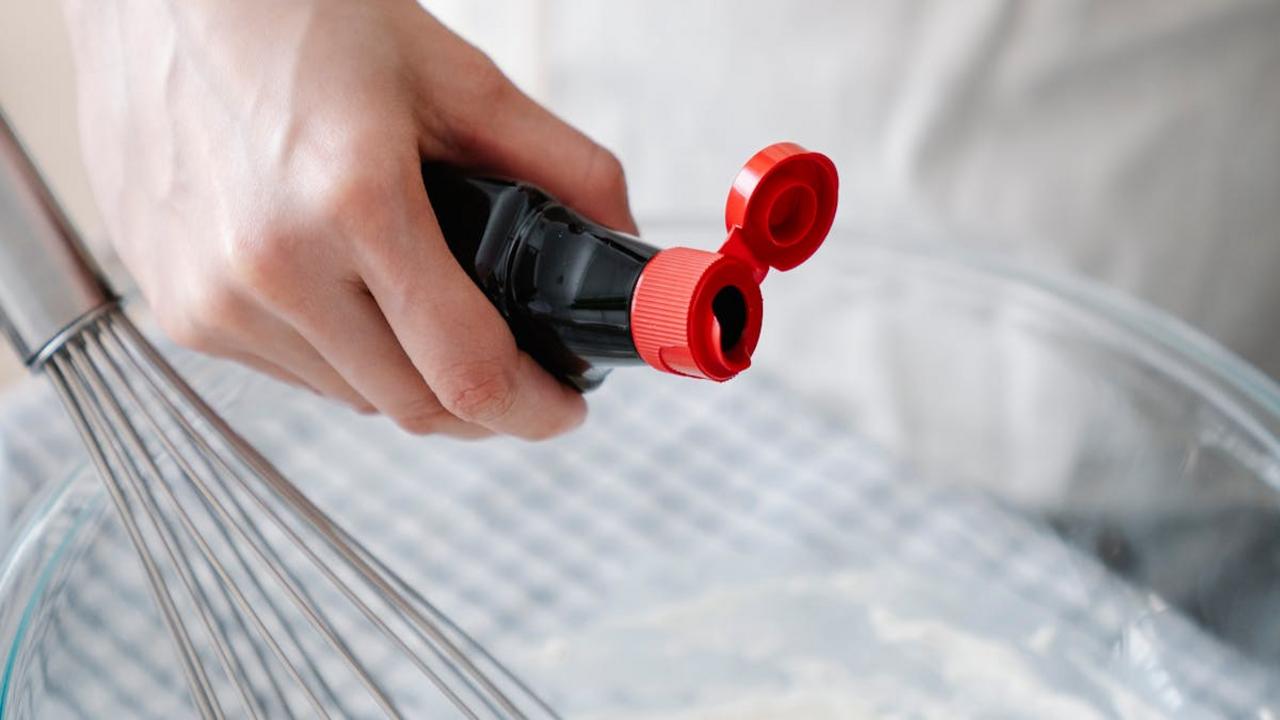
You know that tiny bottle of vanilla extract that costs an arm and a leg at the grocery store? Well, I’ve got a game-changing secret for you – making your own vanilla extract is ridiculously simple and will save you serious cash in the long run. All you need are two ingredients: good quality vanilla beans and vodka (or bourbon if you’re feeling fancy). Split those beautiful, fragrant beans lengthwise, drop them into a clean glass bottle, pour your alcohol over them, and tada! Now comes the hard part – waiting 6-8 weeks while the magic happens in that dark bottle.
The best part? Your homemade vanilla extract keeps getting better with age, like a fine wine or your favorite pair of jeans. Once you’ve mastered the basic recipe, you can experiment with different alcohol bases – rum adds a Caribbean twist, while bourbon brings a rich, caramel note. My favorite trick? Make double batches and package them in cute bottles for holiday gifts. Your friends will think you’re some kind of kitchen wizard, and I won’t tell them it took you all of 5 minutes to put together. Just remember to start the process about two months before you plan to gift them!
Beef Jerky

Making your own beef jerky at home will rock your world! Skip those overpriced bags at the store and create your own mouthwatering strips of dried beef magic. The secret? Pick a lean cut like top round or flank steak, slice it thin against the grain, and mix up your dream marinade. I go wild with combinations like black pepper and garlic, spicy sriracha honey, or my personal favorite – a bourbon-infused soy sauce that makes everyone beg for the recipe.
The drying process transforms your marinated meat into chewy, intensely flavored strips that pack a serious protein punch. You don’t need fancy equipment either – your regular oven set to its lowest temperature works perfectly, though a food dehydrator speeds things up. Keep the temperature between 165-175°F and let the magic happen for 4-6 hours. The hardest part? Waiting while your house fills with an amazing aroma that drives everyone (and their dogs) crazy. Make a big batch because this stuff disappears faster than free pizza at an office party!
Kimchi
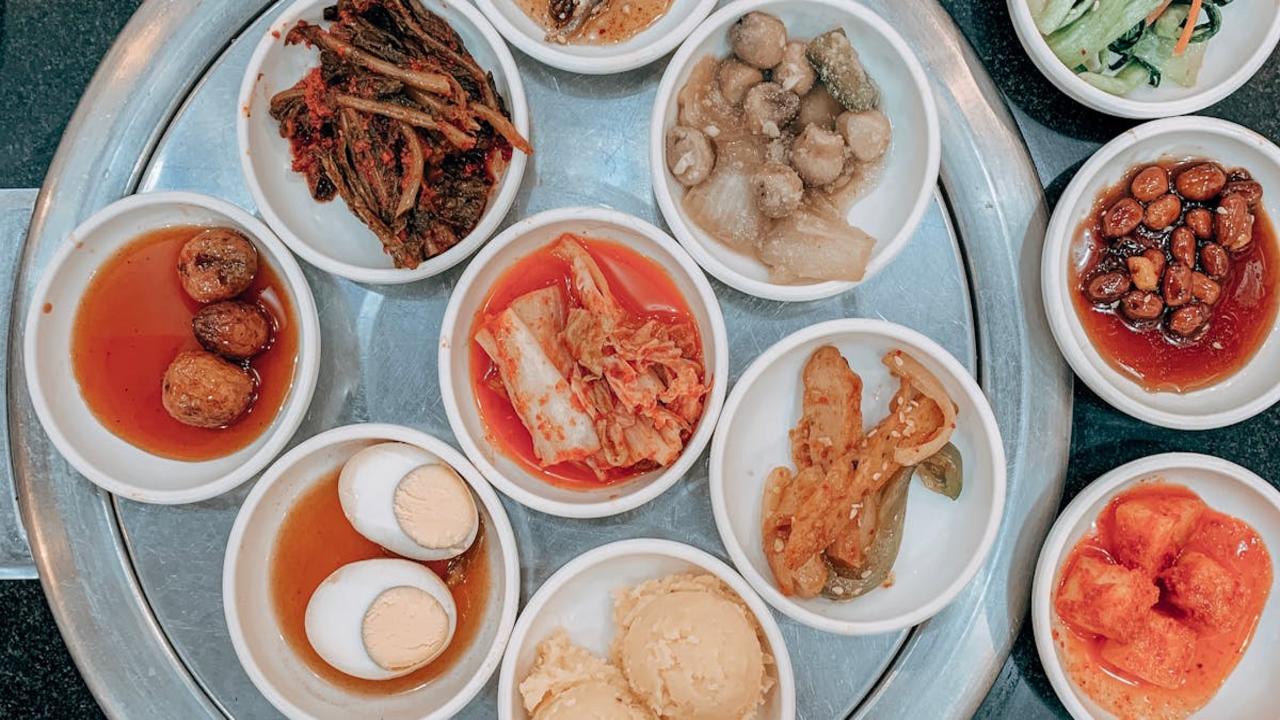
You haven’t lived until you’ve made your own kimchi! I learned this Korean fermented cabbage recipe from my neighbor Mrs. Kim, and now I’m borderline obsessed with creating these spicy, tangy jars of happiness. The magic happens when you mix Napa cabbage with Korean red pepper flakes (gochugaru), garlic, ginger, and fish sauce, then let the good bacteria work their scientific wizardry. My first batch turned my kitchen into what I lovingly call “The Great Kimchi Experiment of 2022” – complete with red-stained countertops and a very confused cat who couldn’t figure out the funky fermentation smell.
The best part about making kimchi? You can adjust the spice level and ingredients to match your preferences. Add more garlic if you want to keep vampires away for eternity, or throw in julienned carrots and radishes for extra crunch. After about 3-5 days of fermentation at room temperature, you’ll have a probiotic-rich condiment that puts store-bought versions to shame. Just remember to “burp” your jars daily to release the built-up gases – unless you want your kimchi to transform into a cabbage volcano. Trust me, cleaning fermented cabbage off your ceiling isn’t nearly as fun as eating it!
Homemade Mozzarella
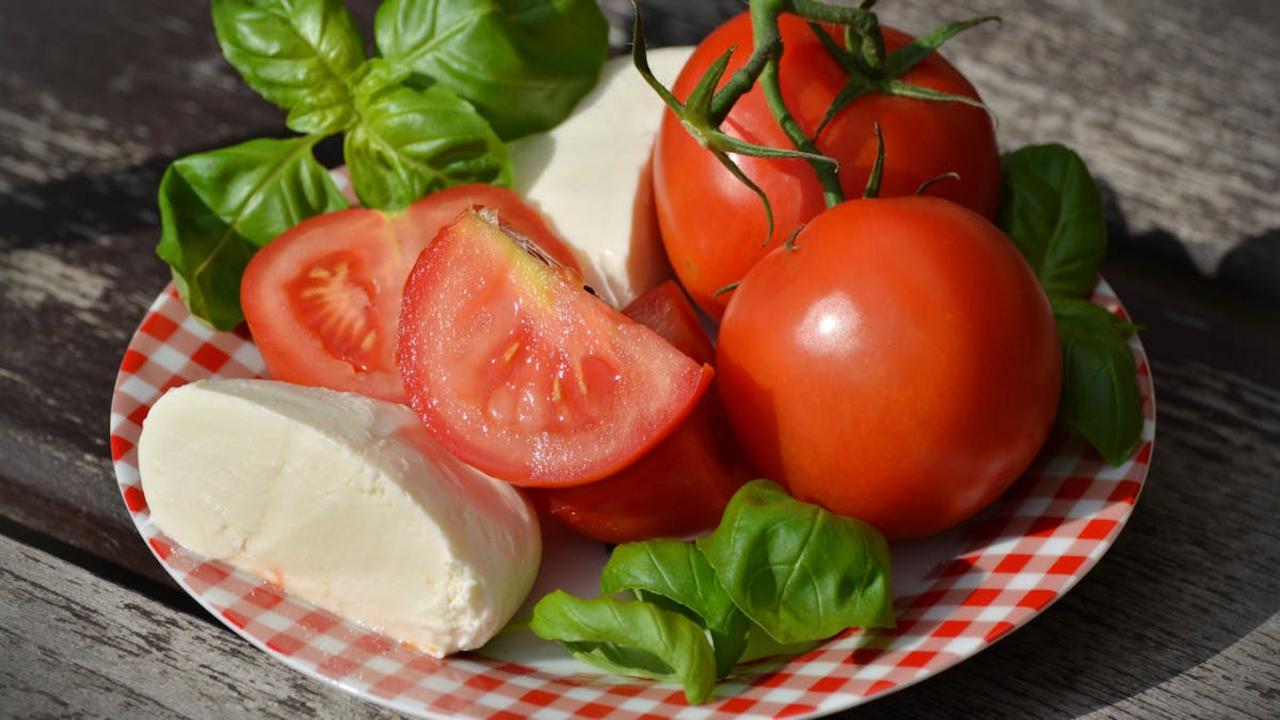
You know that moment when you pull apart fresh mozzarella and those perfect strands stretch like nature’s rubber bands? Making your own mozzarella at home gives you that Instagram-worthy cheese pull, and I can’t get enough of it! The process feels like a mix between science experiment and magic show – you’ll heat milk, add citric acid and rennet, then watch in amazement as curds form right before your eyes. The best part? You only need about 30 minutes and basic ingredients from your local grocery store to transform ordinary milk into silky, tender cheese.
The real fun starts when you get your hands on those curds! You’ll knead them like dough in hot water until they become glossy and smooth – it’s basically a cheese spa treatment. Once you master the basics, you can play around with different shapes and sizes. Roll tiny balls for caprese skewers, braid it into a fancy plait, or keep it classic with one big beautiful ball. My favorite trick? Sprinkle some flaky sea salt and drizzle warm honey over your freshly made mozzarella. Your friends won’t believe you made it from scratch, and you’ll never want to buy store-bought again!
Fermented Hot Sauce

Let me share a fiery secret with you – making your own fermented hot sauce will change your condiment game forever! I discovered this magical process last summer, and now my kitchen counter looks like a mad scientist’s lab, with jars of peppers bubbling away in their briny bath. The best part? You only need three ingredients to start: fresh hot peppers, salt, and water. Through fermentation, these simple ingredients transform into a complex, tangy sauce that’ll make your store-bought versions cry in shame.
The beauty of DIY fermented hot sauce lies in its adaptability. Want a milder kick? Mix sweet bell peppers with your habaneros. Craving something smoky? Toss in a few charred garlic cloves. My favorite combo includes red jalapeños, carrots, and onions – it creates this gorgeous orange sauce that brightens up everything from breakfast eggs to midnight nachos. After about two weeks of fermentation, blend it all up, and boom – you’ve got a living, probiotic-rich condiment that’ll keep for months in your fridge (though mine never lasts that long because I put it on literally everything).
Cold Smoked Salmon
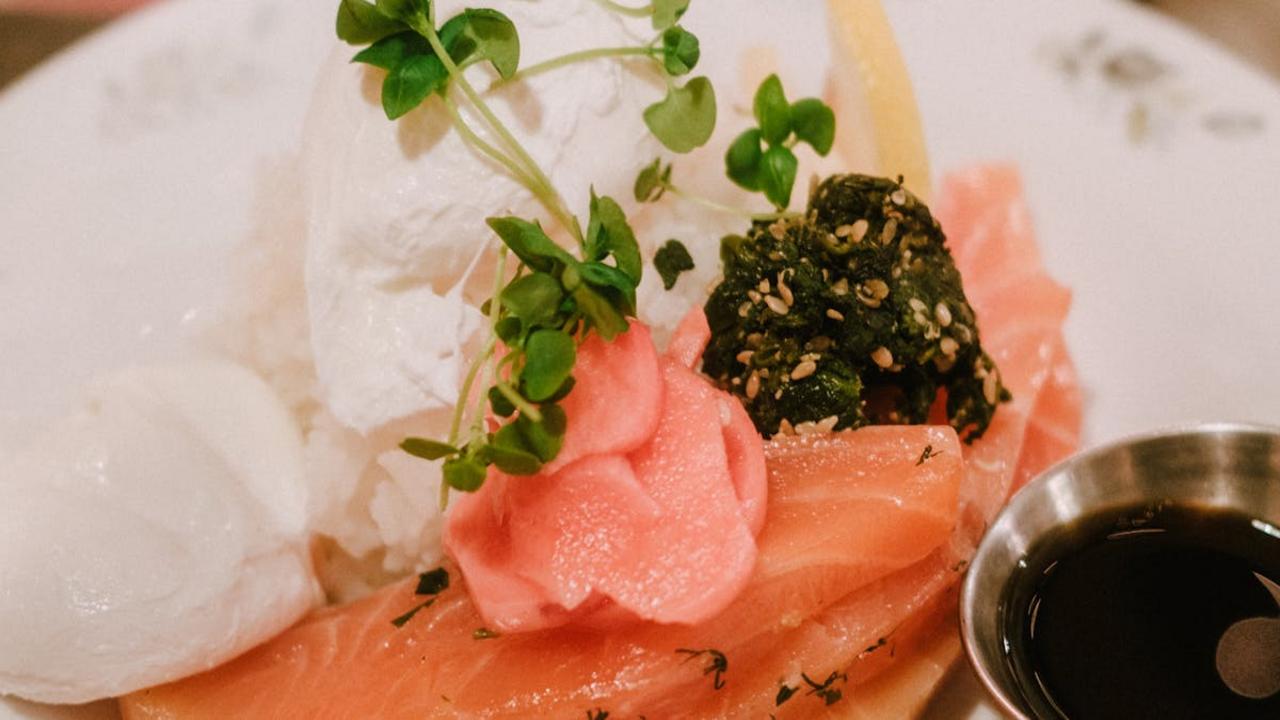
Hey, want to feel like a fancy-pants gourmet without breaking the bank? Cold smoking your own salmon will make you the neighborhood food hero! Unlike hot smoking, cold smoking infuses the fish with deep smoky notes while keeping it silky and almost raw-like in texture. You’ll need a DIY smoker setup (I made mine with a cardboard box and a small electric hot plate), some wood chips (apple or alder work great), and fresh salmon fillets. The magic happens between 65-85°F – any hotter and you’ll cook the fish instead of just flavoring it.
The process takes patience – we’re talking 12-24 hours of gentle smoking – but your reward will be buttery-smooth, translucent salmon that puts store-bought versions to shame. Pro tip: cure your salmon in salt and sugar for 24 hours before smoking. This draws out moisture and creates that perfect texture we all want. I learned this trick after my first attempt turned out way too wet (picture me sadly holding what looked like smoky salmon soup). Now I slice my homemade cold-smoked salmon paper-thin, pile it on bagels with cream cheese and capers, and watch my brunch guests’ eyes light up with pure joy.
Kombucha Brewing
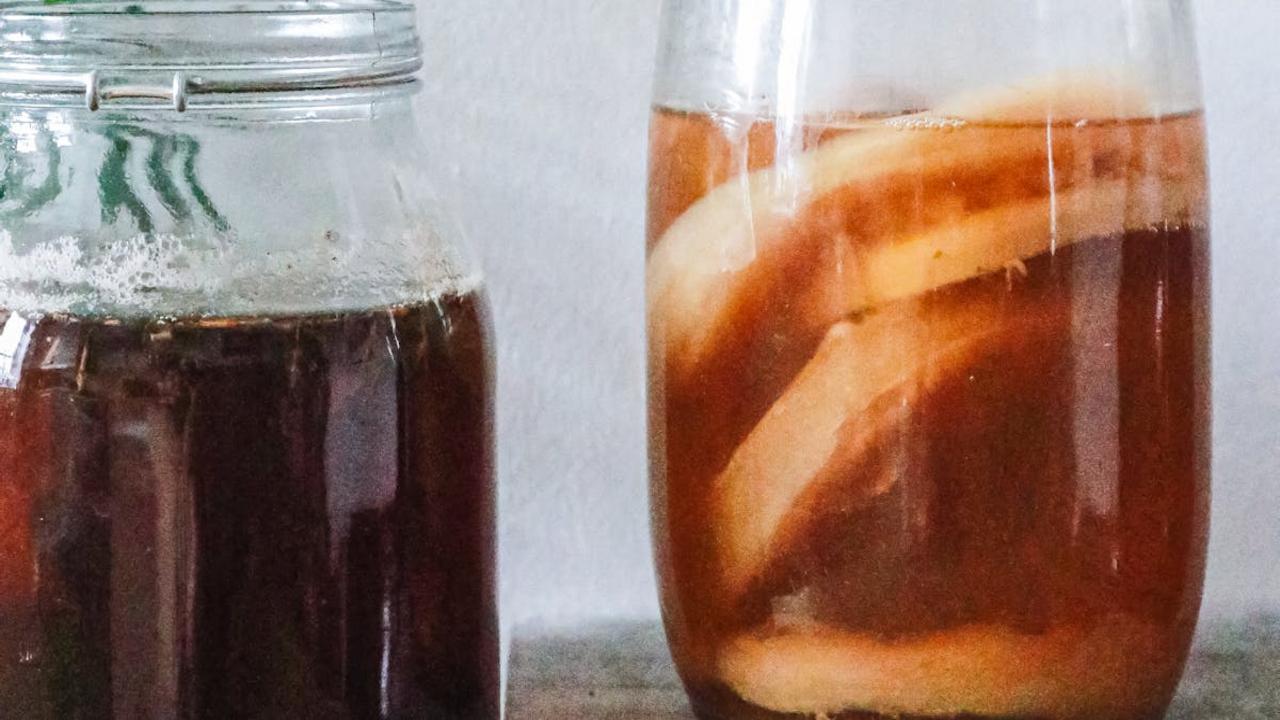
You know that fizzy, tangy drink everyone’s paying $5 for at the store? Time to become your own kombucha brewmaster! The process starts with a SCOBY (Symbiotic Culture of Bacteria and Yeast) – which, yes, looks like a weird alien pancake floating in tea. But don’t let its bizarre appearance scare you away. Mix this living culture with sweetened black or green tea, and within 7-10 days, you’ll have your own probiotic-rich, effervescent creation that’ll make your friends think you’ve gone full hipster-genius.
The real fun kicks in during the second fermentation, where you can add any fruits, herbs, or spices to create unique flavor combinations. Want ginger-turmeric zing? Done. Craving blueberry-mint refreshment? You got it. I’ve even made a killer lavender-lemon version that converted my kombucha-skeptic brother into a true believer. Plus, once you master the basic brew, your SCOBY will keep reproducing, giving you baby SCOBYs to share with friends – it’s like having a pet that makes you drinks!
Homemade Sourdough Starter and Bread
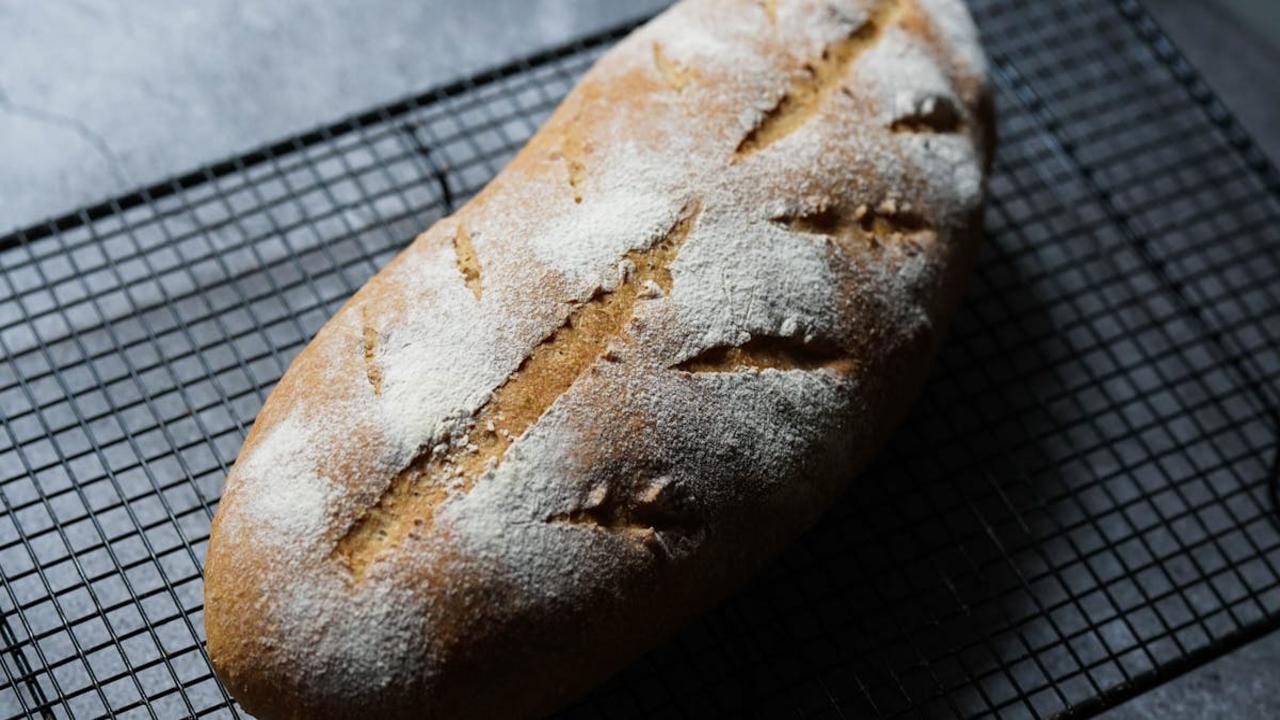
Creating your own sourdough starter feels like adopting a tiny pet – one that needs regular feeding and attention but rewards you with the most incredible bread! Just mix flour and water, then watch the magic unfold over 5-7 days as wild yeast and bacteria transform this simple mixture into a bubbling, fragrant culture. I named mine “Doughy Bowie” and feed it daily with equal parts flour and water. The best part? Your starter will live forever if you treat it right, making it the most low-maintenance pet you’ll ever own!
Once your starter hits peak activity (it should double in size and smell pleasantly tangy), you’re ready for bread-making heaven. Mix your mature starter with bread flour, water, and salt, then let time do its thing through a series of folds and long fermentation. The result? A crusty loaf with those signature holes that make sourdough fans weak in the knees. Your house will smell like a French bakery, and you’ll feel like a bread wizard pulling that golden-brown masterpiece from the oven. Just don’t blame me when your friends start showing up at breakfast time!