12 Essential Rules to Unlock Bold Flavors in Homemade Fermented Foods
Making your own fermented foods at home transforms simple ingredients into bold, complex flavors through time-tested techniques. From kimchi to kombucha, each fermented creation brings beneficial probiotics and deep umami notes that will enhance your cooking. The right methods make all the difference between success and disappointment.
I’ve spent years perfecting my fermentation process through careful experimentation and learning from both triumphs and mistakes. The 12 fundamental rules I’m sharing today will help you create consistently amazing results. Whether you’re new to fermentation or looking to improve your existing practice, these guidelines will set you up for success.
By following these core principles around temperature, salt, equipment and timing, you’ll develop an intuitive understanding of the fermentation process. Soon you’ll confidently create signature kimchi, pickles, hot sauces and more that pack intense flavors you simply can’t buy at the store. Your homemade ferments will become kitchen staples you’ll make again and again.
Kahm Yeast Prevention

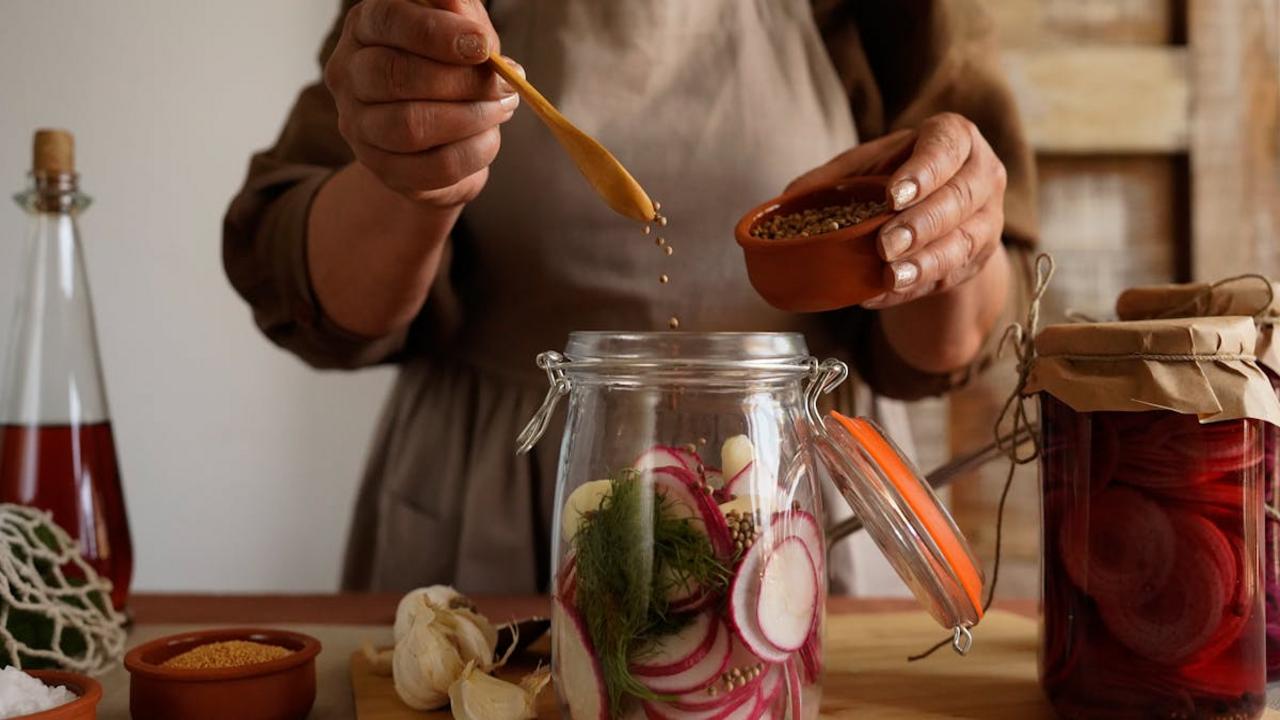
I’ve learned through many fermentation experiments that kahm yeast can quickly ruin your hard work if you don’t take the right steps to prevent it. This white, film-like layer forms on your ferments when oxygen meets the surface of your brine. While it won’t make you sick, it adds an unpleasant taste that can overpower the beautiful flavors you’re trying to develop. Your best defense is keeping everything fully submerged under the brine and using glass weights or a cabbage leaf to hold ingredients down.
Temperature control makes a huge difference in preventing kahm yeast growth. Keep your ferments between 65-72°F (18-22°C) – I store mine in a cool basement corner. Clean everything thoroughly before starting, and check your ferments daily to skim off any developing kahm yeast immediately. If you spot it, don’t panic! Just remove the affected layer carefully with a clean spoon. Salt concentration also matters – I stick to a 2-3% brine solution which inhibits kahm yeast while allowing good bacteria to thrive.
Time Management

I’ve discovered that Brussels sprouts pack a powerful folate punch – a B vitamin that helps your body make DNA and other genetic material while supporting cell division. Just one cup of these mini cabbages delivers about 25% of your daily folate needs. The best part? You can roast them with olive oil and garlic until they turn golden brown and crispy, bringing out their natural sweetness. My go-to method involves halving them, tossing with seasonings, and roasting at 400°F for 20-25 minutes.
Beyond their folate content, Brussels sprouts offer additional mood-lifting benefits through their fiber and antioxidant compounds. Your gut bacteria thrive on the fiber, producing chemicals that communicate with your brain to influence mood. I love adding roasted Brussels sprouts to grain bowls, serving them as a side dish with proteins, or shredding them raw into salads. For maximum nutrition retention, avoid overcooking – you want them tender-crisp with bright green color. A quick steam or stir-fry also works beautifully while preserving their folate content.
pH Monitoring
I adore black beans not just for their rich, earthy flavor but also because they pack a serious iron punch that can lift your mood and energy levels naturally. One cup of these mighty beans delivers about 20% of your daily iron needs, making them a fantastic choice for anyone looking to boost their iron intake through food. Black beans work wonders in your body by helping create red blood cells that carry oxygen to your brain and muscles, keeping you feeling energized and mentally sharp throughout the day.
You’ll get the most iron from your black beans by pairing them with vitamin C-rich foods like bell peppers, tomatoes, or a squeeze of fresh lime juice. I love tossing black beans into my morning breakfast burritos with scrambled eggs and salsa, or adding them to quinoa bowls for lunch. The combination of protein and fiber in black beans also helps stabilize blood sugar levels, which means sustained energy without the crashes that can impact your mood. For maximum nutrition and flavor, I recommend cooking dried black beans from scratch – the texture and taste beat canned beans every time.
Cross Contamination Prevention
I love adding sunflower seeds to my daily meals because they pack a powerful selenium punch – a mineral that helps regulate your mood and fights off anxiety. Just a handful of these crunchy seeds gives you about 30% of your daily selenium needs. My go-to move? I toast them lightly in a dry pan until they release their nutty aroma, then sprinkle them over salads, yogurt bowls, or blend them into smoothies for an instant mood lift.
Beyond their mood-boosting benefits, sunflower seeds bring so much more to your plate. You’ll get healthy fats, protein, and fiber that keep you satisfied throughout the day. I often make a quick trail mix with sunflower seeds, dried cranberries, and dark chocolate pieces for an afternoon pick-me-up. Plus, these little powerhouses contain vitamin E and magnesium, which work alongside selenium to support your overall mental wellbeing. Keep a stash in your pantry – you’ll thank yourself later!
Weight Distribution

If you need a natural mood lift, zinc-rich lentils will be your new best friend in the kitchen. These tiny powerhouses pack a serious nutritional punch, containing about 13% of your daily zinc needs per serving. Zinc plays a direct role in supporting your brain’s neurotransmitter function, helping regulate mood and mental clarity. I love adding these budget-friendly legumes to soups, stews, and salads – they’re incredibly versatile and take on whatever seasonings you pair them with.
My go-to method involves simmering red lentils with turmeric, garlic, and coconut milk for a comforting dal that never fails to brighten my day. The best part? You don’t need fancy cooking skills to prepare them – just rinse, add to water or broth, and cook until tender. Beyond their mood-supporting benefits, lentils give you a healthy dose of protein, fiber, and iron. Keep a variety of lentils in your pantry – red, green, and black – each brings its own texture and cooking time to your meals.
Brine Coverage
I’ve discovered that magnesium-rich spinach can work wonders for your mood and overall well-being. This leafy green superhero packs about 157mg of magnesium per cup when cooked, making it one of nature’s best sources of this mood-lifting mineral. Magnesium helps regulate neurotransmitters in your brain that affect your emotions and sleep patterns. You’ll get the most benefit by adding fresh spinach to your morning smoothies or lightly sautéing it with garlic and olive oil to preserve its nutrients.
Many people don’t know that magnesium deficiency often shows up as anxiety, irritability, and poor sleep quality. That’s why I recommend incorporating spinach into your daily meals – whether it’s tossing a handful into your pasta, blending it into pesto, or creating a vibrant salad base. For maximum absorption, pair your spinach with vitamin C-rich foods like bell peppers or citrus fruits. The combination helps your body absorb more of the magnesium, giving you an extra mood boost throughout your day.
Vegetable Freshness
I love recommending shellfish to my friends and clients as a fantastic source of vitamin B12, which directly impacts your mood and mental well-being. A serving of clams, mussels, or oysters delivers an impressive amount of B12 – just 3 ounces of clams can provide over 1600% of your daily B12 needs! This vitamin helps your body create DNA and maintain healthy nerve and blood cells, which in turn supports your brain function and mood regulation.
You’ll find many delicious ways to incorporate shellfish into your meals. Try steaming mussels in white wine with garlic and herbs, adding clams to your favorite pasta dishes, or enjoying fresh oysters with a squeeze of lemon. If you’re new to cooking shellfish, start with simple recipes like garlic butter shrimp or a classic seafood stew. Your brain will thank you for the B12 boost, and your taste buds will celebrate the rich, briny flavors that make shellfish such a treasured ingredient in kitchens worldwide.
Proper Water Quality

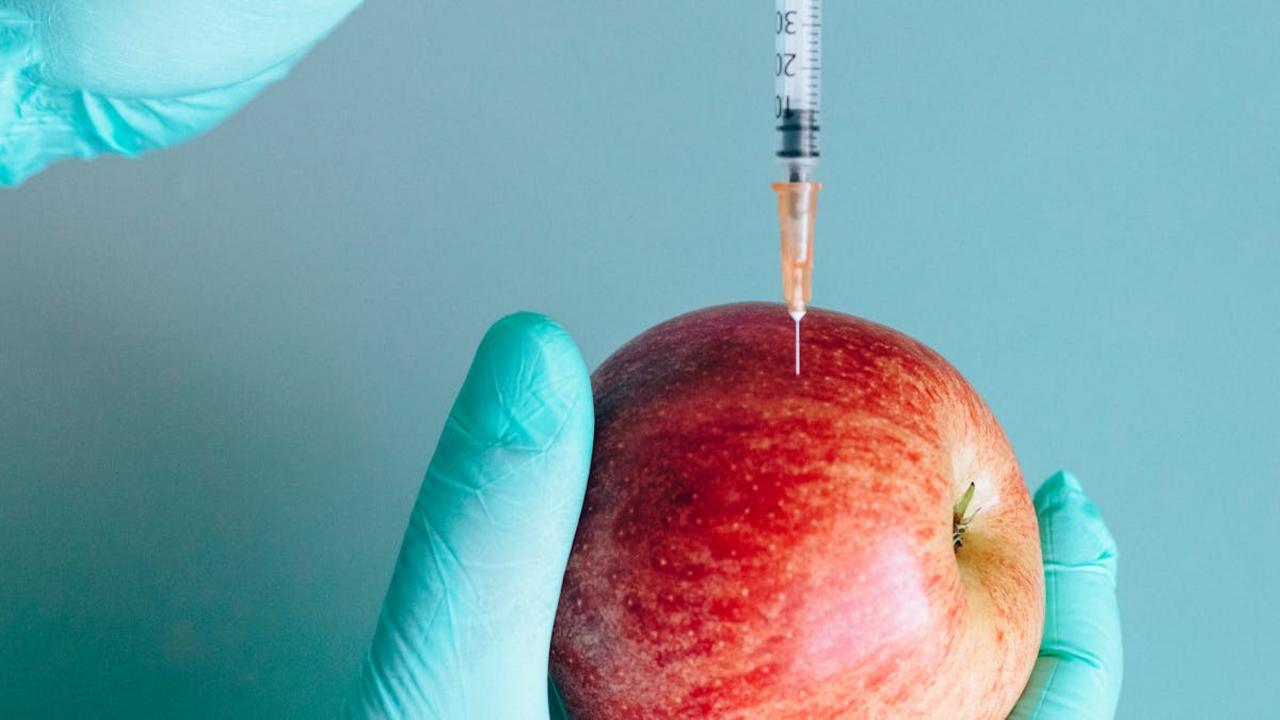
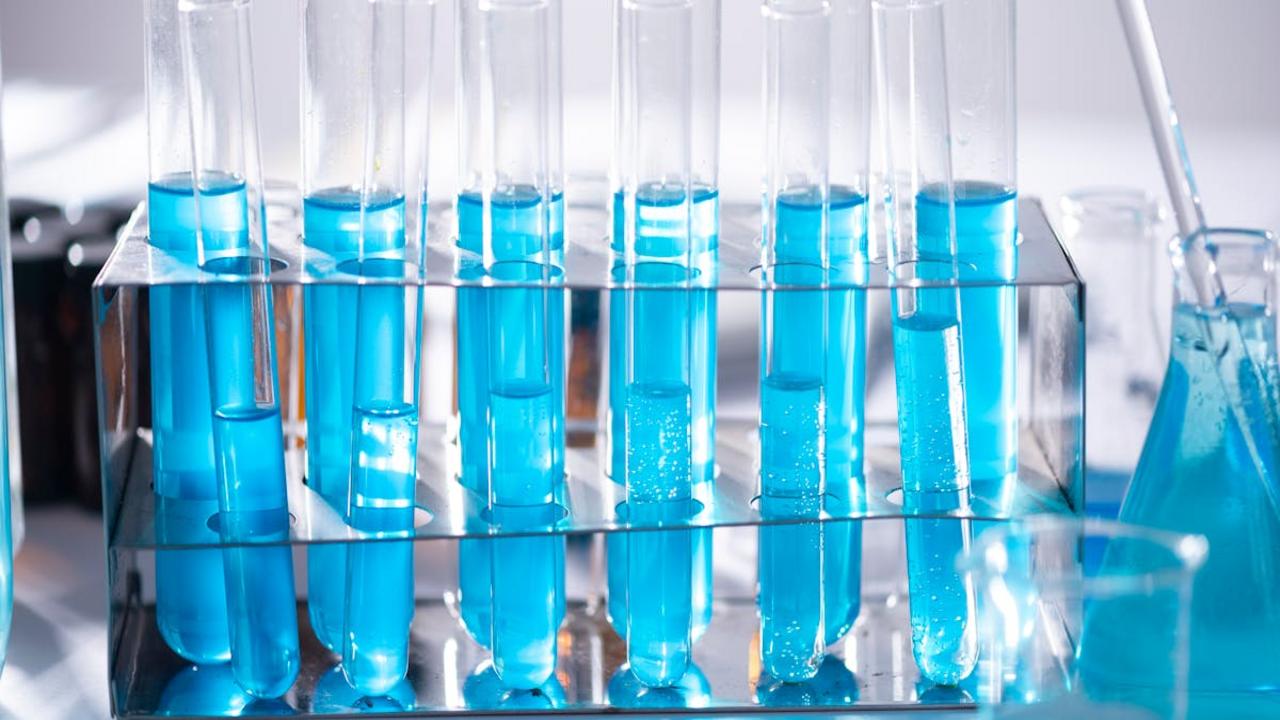
Your water choice makes a huge difference in fermentation success. I always recommend using filtered or spring water since tap water contains chlorine and other chemicals that can kill the beneficial bacteria needed for fermentation. Think of those good bacteria as tiny workers – they need the right environment to do their job properly. If you must use tap water, let it sit out uncovered for 24 hours to allow the chlorine to evaporate before using it in your ferments.
The mineral content in your water also impacts fermentation. Hard water with high mineral content can make your vegetables too soft, while distilled water lacks the minerals that fermentation bacteria need to thrive. I’ve found that filtered water strikes the perfect balance – it removes harmful chemicals while keeping beneficial minerals intact. You can test your water’s chlorine levels using simple test strips from any aquarium store. Remember, clean water equals clean ferments that will give you those bold, complex flavors you’re aiming for.
Clean Equipment Sterilization
I learned early in my fermentation adventures that properly sterilized equipment makes or breaks your ferments. You want to start with immaculately clean jars, weights, and tools – any lingering soap residue or bacteria can throw off the whole process. I always run my equipment through the dishwasher’s sanitize cycle, or submerge everything in boiling water for 10 minutes. For extra protection, I wipe down surfaces with white vinegar before getting started.
Many beginners skip thorough sterilization and wonder why their ferments develop off-flavors or mold. The truth is, good fermentation depends on beneficial bacteria taking over – and dirty equipment introduces unwanted microbes that can outcompete the good guys. Keep a dedicated set of fermentation tools and store them separately from regular kitchen items. Between batches, wash everything in hot soapy water, rinse extremely well, and let air dry completely. This simple habit will dramatically improve your success rate with homemade ferments.
Anaerobic Environment

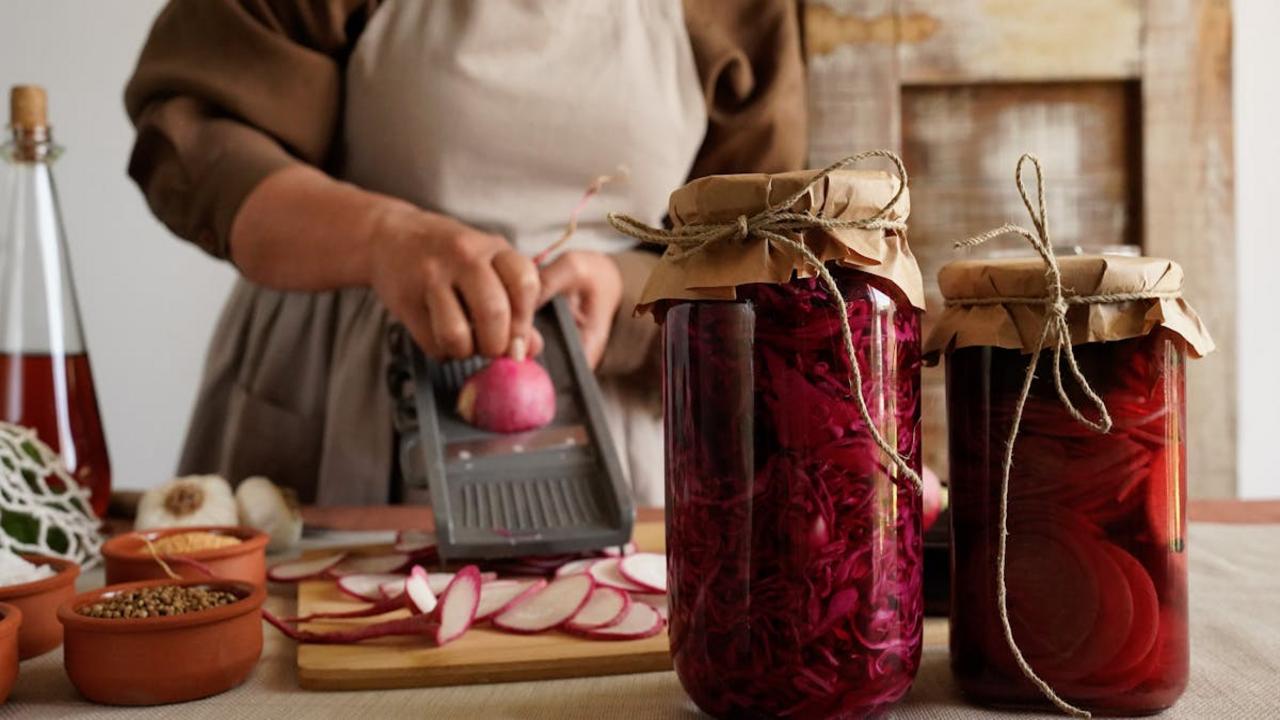
Creating the right anaerobic environment for your fermented foods acts like setting up a cozy home for beneficial bacteria to thrive. I always tell my friends that oxygen is the enemy during fermentation – it can lead to mold growth and spoilage. You’ll want to keep your ingredients fully submerged under their brine or liquid, using weights or even a cabbage leaf to hold everything down. Glass fermentation weights work great, but clean stones or even a small jar filled with water can do the job just as effectively.
I learned through trial and error that proper sealing makes all the difference in successful fermentation. You’ll need an airlock system or a tight-fitting lid that allows carbon dioxide to escape while keeping oxygen out. For small batches, I love using wide-mouth mason jars with fermentation lids – they’re simple and reliable. If you notice any ingredients floating to the top during fermentation, gently push them back down. This helps maintain that oxygen-free zone where good bacteria can work their magic, transforming your ingredients into tangy, probiotic-rich foods.
Salt Ratios
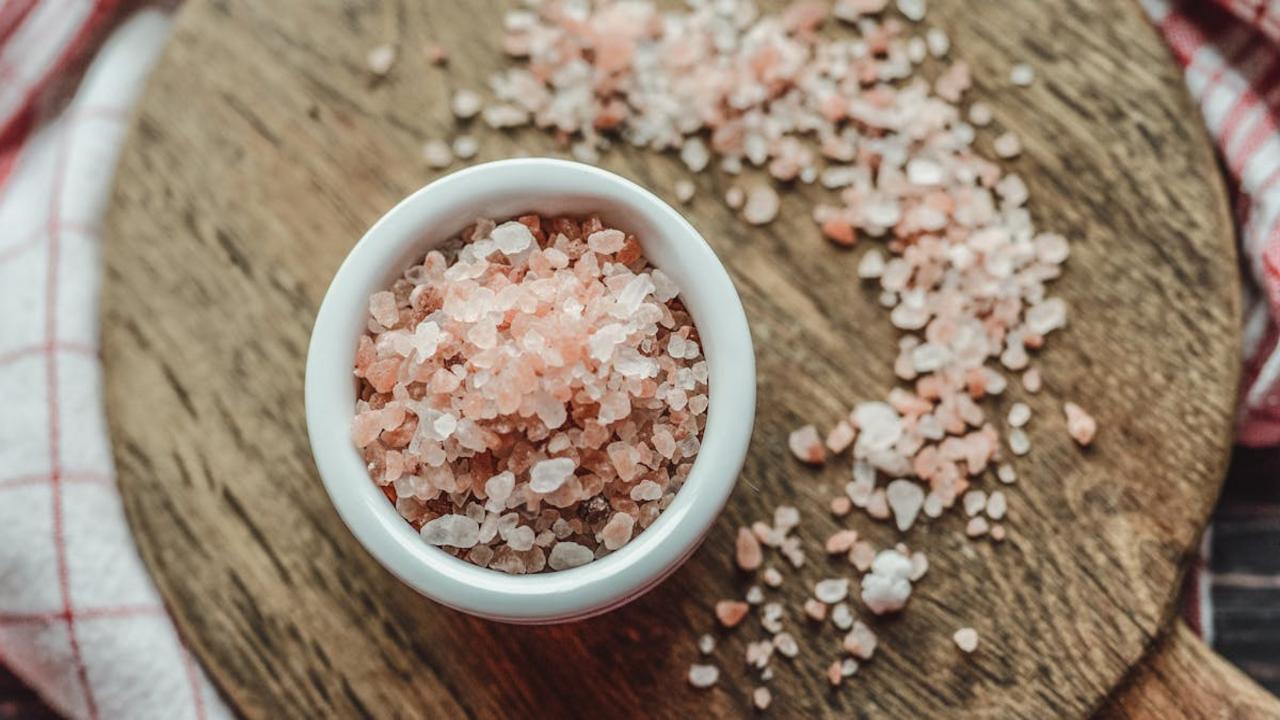
Your salt ratio can make or break your fermentation projects! Through years of fermenting, I’ve found that using 2-3% salt by weight of your vegetables gives you the most reliable results. For example, if you’re fermenting 1000g of cabbage for sauerkraut, you’ll want to add 20-30g of salt. This percentage creates the perfect environment for good bacteria to thrive while keeping the harmful ones at bay. Plus, this amount of salt draws out just enough moisture from your vegetables without making them too salty.
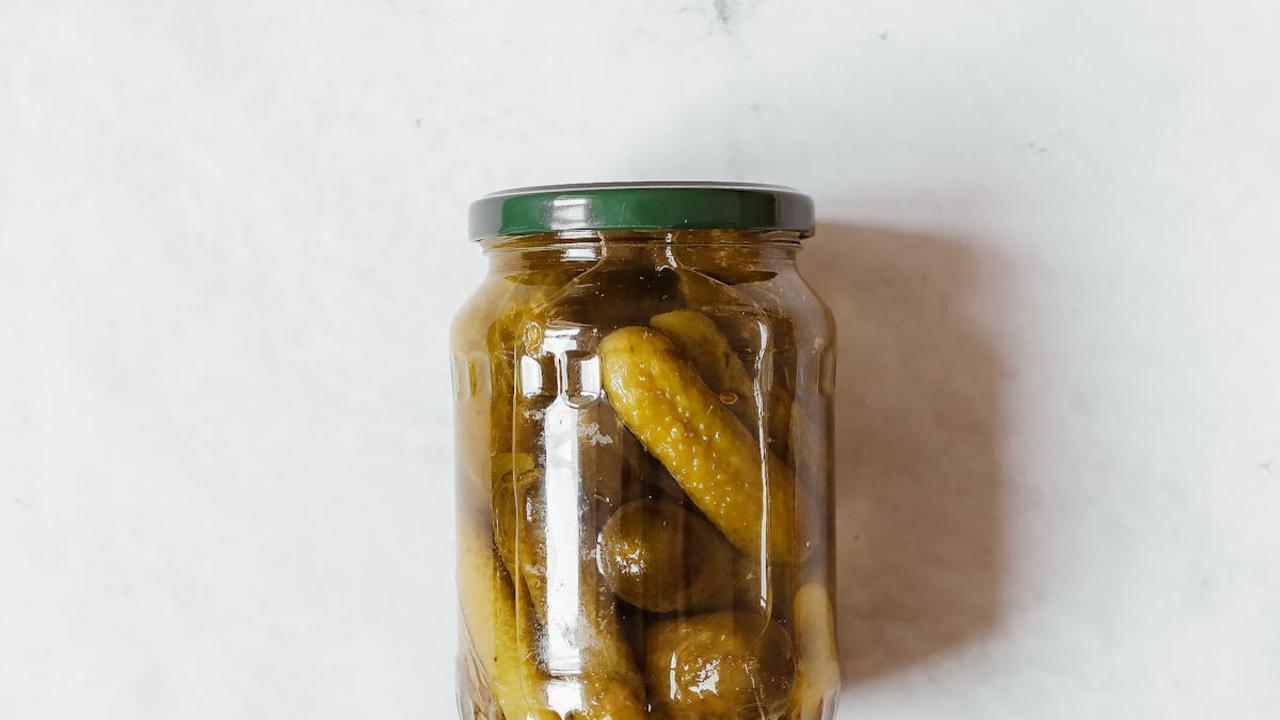
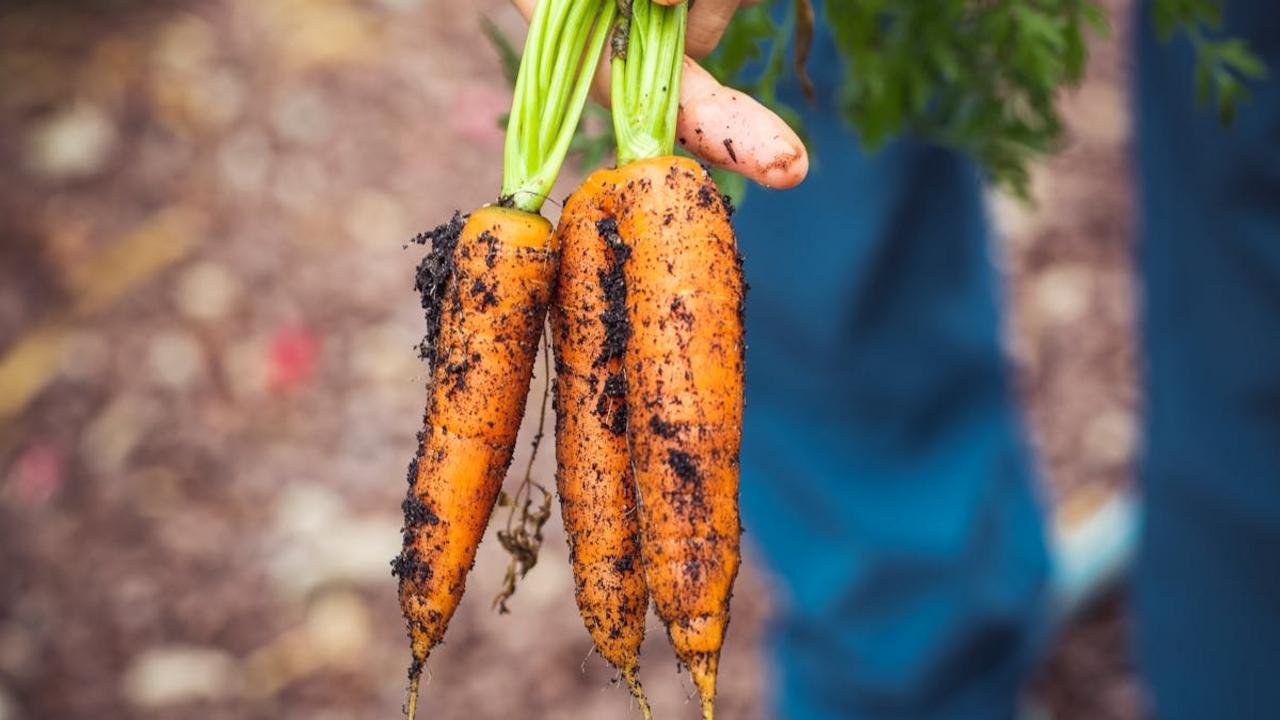
Different vegetables might need slight adjustments to this ratio. Softer vegetables like cucumbers for pickles often do better with a higher salt percentage (3.5-5%) to maintain crispness, while firmer vegetables like carrots can work with a lower percentage (1.5-2%). Keep a notebook to track your salt ratios – you’ll quickly learn what works best for different ingredients. Remember to use pure salt without additives – kosher salt or pure sea salt will give you clean, consistent results every time.
Temperature Control
3