12 DIY Food Projects So Good You’ll Want to Make Them Every Weekend
Weekend cooking transforms your kitchen into a playground of flavors and traditions. These twelve DIY food projects will revolutionize how you think about homemade ingredients, turning simple weekends into productive sessions that stock your pantry with incredible creations.
From bubbling sourdough starters to fermenting kimchi, each project teaches you ancient preservation techniques while filling your home with amazing aromas. You’ll discover how satisfying it feels to slice into bread you nurtured from scratch or drizzle homemade vanilla extract into your morning coffee.
These recipes connect you with food traditions spanning cultures and centuries. Making mozzarella, aging cheddar, or brewing kombucha becomes more than cooking—it becomes a weekly ritual that brings joy, saves money, and creates ingredients far superior to store-bought versions.
Japanese Miso Paste

Making your own miso paste transforms your kitchen into a fermentation wonderland that connects you directly to centuries of Japanese tradition. This protein-packed powerhouse takes patience – we’re talking months, not hours – but the deep, complex flavors you’ll create are absolutely worth every day of waiting. You’ll need just three simple ingredients: soybeans, koji (fermented rice), and sea salt. The process involves cooking and mashing soybeans, mixing them with koji and salt, then packing everything into a clean container for the magic of fermentation to work its wonders.
Your homemade miso will develop layers of umami that store-bought versions simply can’t match, and you control exactly what goes into every batch. Start checking your miso after six months, though some varieties benefit from aging up to two years for maximum depth. The beauty of this project lies in how it teaches you about fermentation while rewarding you with one of the most versatile ingredients in healthy cooking. Use your finished miso in soups, marinades, salad dressings, and glazes that will elevate your weeknight dinners from ordinary to extraordinary. Once you taste the difference homemade miso makes, you’ll never want to go back to store-bought again.
Cultured Butter

Making your own cultured butter transforms an ordinary weekend into something truly special. You’ll start with heavy cream and a touch of cultured buttermilk, letting the mixture sit at room temperature for 12-24 hours until it develops that distinctive tangy flavor. Once you whip this cultured cream, magic happens – the fat separates from the buttermilk, leaving you with golden, creamy butter that tastes nothing like store-bought versions. The process feels almost meditative as you watch the transformation unfold right before your eyes.
What makes this project so rewarding is how you control every single ingredient that goes into your butter. You can add sea salt for a savory spread, fresh herbs from your garden, or even honey for something sweet. The leftover cultured buttermilk becomes a treasure too – perfect for fluffy pancakes or tender biscuits. Store your homemade butter in the refrigerator for up to two weeks, though honestly, it disappears much faster than that. Once you taste the rich, complex flavor of cultured butter on warm bread, you’ll understand why this weekend project becomes such an addictive hobby.
Preserved Lemons

You know that magic ingredient that transforms ordinary dishes into something extraordinary? Preserved lemons are your secret weapon! These salty, tangy gems pack an incredible punch of flavor that brightens everything from roasted chicken to grain salads. The process couldn’t be simpler – you’re basically packing lemons with coarse salt and letting time work its beautiful chemistry. Within a few weeks, those bright yellow beauties become soft, mellow, and intensely lemony without any harsh bite.
What I love most about making preserved lemons is how they turn your kitchen into a Mediterranean haven. The aroma alone will transport you! Start with organic lemons since you’ll be eating the peel, slice them partially (leaving them connected at the base), stuff them with salt, and pack them tight in a jar. Add fresh lemon juice to cover, and patience does the rest. Once they’re ready, you can chop up the rinds to add bright, complex flavor to stews, marinades, or even pasta dishes. Trust me, once you have a jar of these golden treasures in your fridge, you’ll wonder how you ever cooked without them!
Aged Sharp Cheddar

Making your own aged sharp cheddar at home transforms your kitchen into a personal dairy haven where time and patience create magic. You’ll start with fresh milk, cultures, and rennet, then watch as your curds form and separate from the whey. The pressing process requires attention, but don’t worry – it’s much simpler than you might think! Once your wheel takes shape, the aging process begins in a cool, humid environment like your basement or a dedicated cheese cave setup. The beauty lies in checking your creation every few weeks, watching it develop that distinctive sharp flavor profile.
After six months to two years of aging, you’ll slice into a wheel that rivals any artisan cheese from your local market. The complex, tangy notes that develop during the aging process create layers of flavor you simply can’t buy in stores. Your homemade cheddar will have a firm texture with those delightful calcium crystals that crunch between your teeth. Plus, you control every ingredient that goes into your cheese, ensuring no unnecessary additives or preservatives. Weekend cheese-making sessions become meditative rituals, and sharing your finished product with friends and family brings incredible satisfaction that store-bought cheese never could match.
Vanilla Extract From Scratch
Making your own vanilla extract transforms your baking forever! You only need two simple ingredients: high-quality vanilla beans and vodka (or bourbon if you’re feeling adventurous). Split 6-8 vanilla beans lengthwise, scrape out those precious seeds, then drop everything into a clean glass jar with 8 ounces of alcohol. The magic happens during the waiting period – after just 8 weeks of gentle shaking once a week, you’ll have liquid gold that makes store-bought versions taste flat and artificial.
I love how this project teaches patience while rewarding you with something truly special. Your homemade extract keeps getting better with age, developing deeper, more complex flavors over months and even years. Use Madagascar beans for that classic sweet vanilla flavor, or try Tahitian beans for floral notes that make everything taste more luxurious. Once you taste the difference in your cookies, cakes, and morning coffee, you’ll never go back to those tiny expensive bottles from the grocery store. Plus, these beautiful jars make incredible gifts that show you truly care about quality ingredients.
Beef Jerky

Making your own beef jerky transforms a simple piece of meat into a protein-packed snack that beats any store-bought version. You control every ingredient that goes into your homemade jerky, from the quality of the beef to the perfect blend of spices and marinades. I love using lean cuts like eye of round or top round, slicing them thin against the grain for that perfect chewy texture. The marinade process becomes your creative playground – try soy sauce with brown sugar and garlic, or go bold with sriracha and lime juice.
Your dehydrator or oven becomes your best friend during this weekend project, slowly removing moisture while concentrating all those amazing flavors. The process takes patience – usually 4-6 hours – but your kitchen fills with the most incredible aroma that makes the wait worthwhile. You’ll save money compared to premium store brands, and you can make big batches to keep your snack drawer stocked for weeks. Plus, homemade jerky makes fantastic gifts for friends and family who appreciate real, wholesome food made with care.
Kimchi
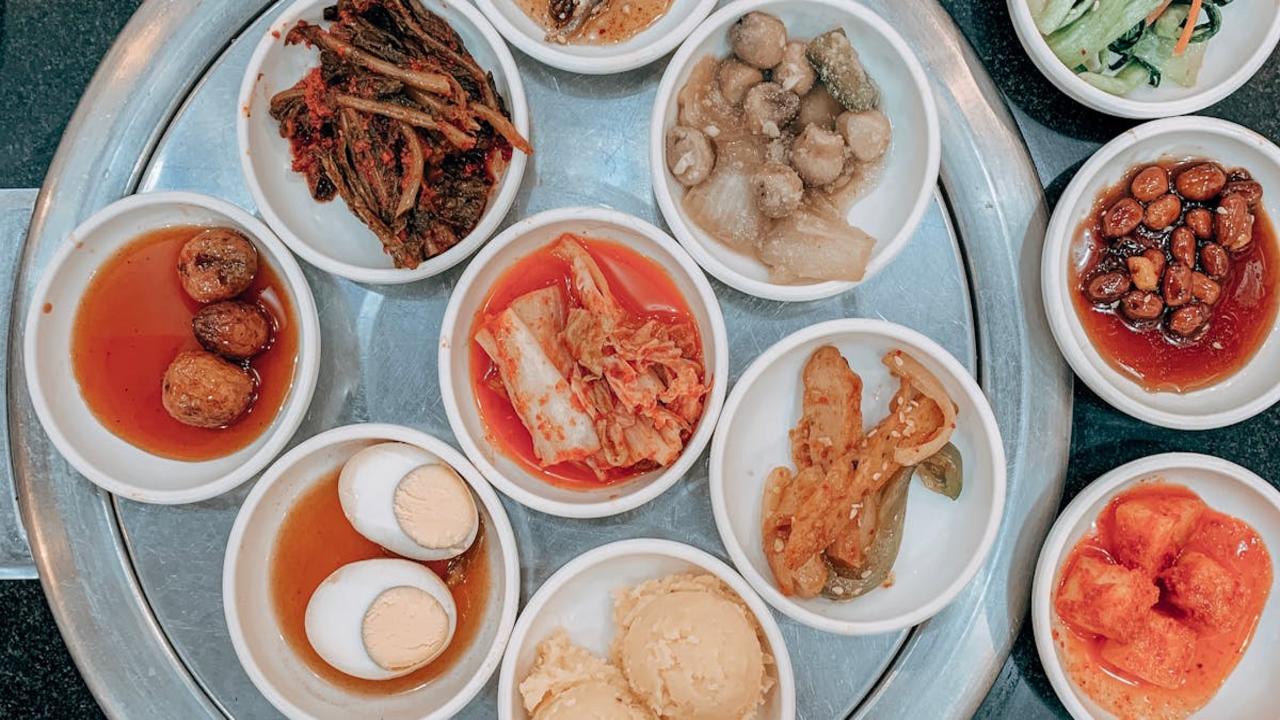
Making your own kimchi transforms your weekend into a fermentation adventure that fills your kitchen with the most incredible aromas! This Korean staple brings together crisp napa cabbage, vibrant gochugaru (Korean red pepper flakes), fresh ginger, and garlic into a probiotic powerhouse that your gut will absolutely thank you for. The process feels almost magical—you massage salt into the cabbage, watch it release its natural juices, then pack everything into jars where beneficial bacteria work their fermentation magic over the next few days.
What I love most about homemade kimchi is how you control every single ingredient, adjusting the spice level to match your preferences perfectly. You can experiment with different vegetables too—try adding radishes, carrots, or even pears for a touch of sweetness that balances the heat beautifully. Once you taste that first crispy, tangy, slightly funky bite of your own creation, you’ll understand why kimchi enthusiasts become completely obsessed. Store-bought versions simply can’t compare to the complex flavors that develop in your own kitchen, and knowing you’ve created this nutritional goldmine yourself makes every spicy, satisfying bite even more rewarding.
Homemade Mozzarella
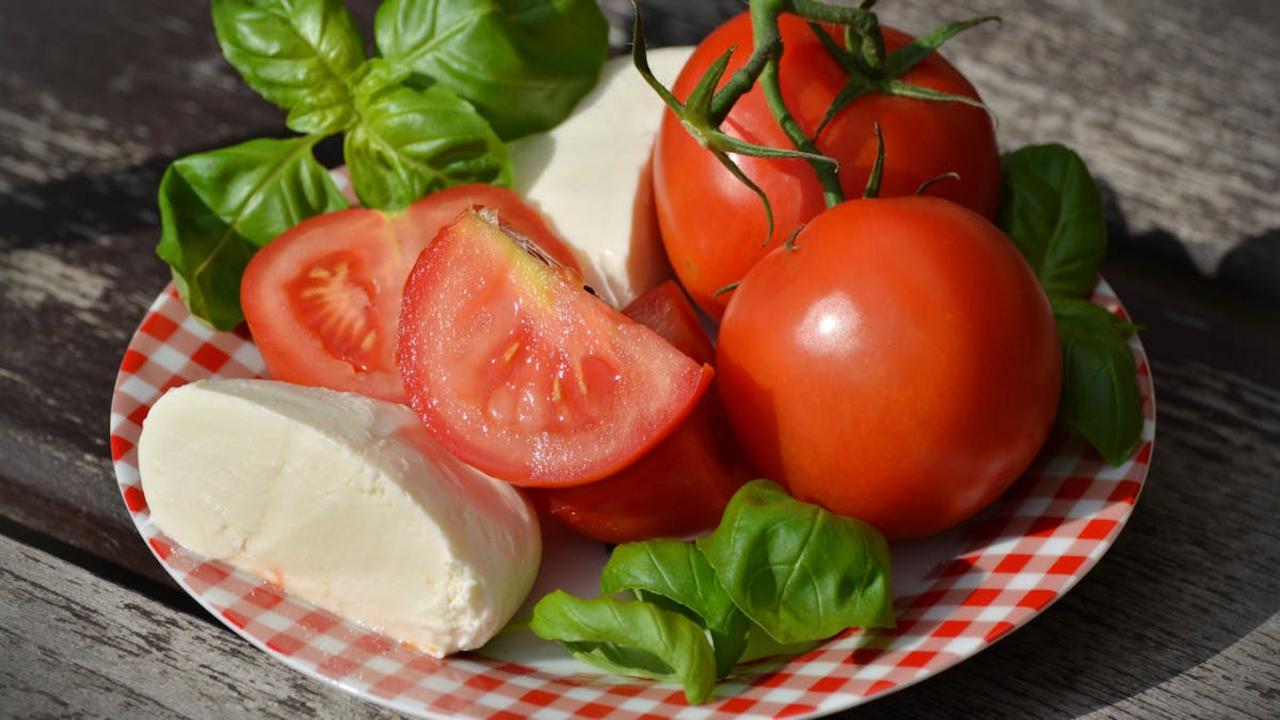
Making fresh mozzarella at home feels like pure magic! You’ll need just four simple ingredients: whole milk, citric acid, water, and rennet tablets. The process transforms ordinary milk into silky, stretchy cheese right before your eyes. I love how this project connects you to traditional cheesemaking while requiring minimal equipment. Heat your milk to the perfect temperature, add the citric acid solution, then watch as curds form within minutes. The best part? You control every ingredient, ensuring a clean, preservative-free cheese that tastes infinitely better than store-bought versions.
Once you master the basic technique, you’ll find yourself making fresh mozzarella for pizza nights, caprese salads, and those moments when you want something special on your table. The cheese stays fresh for several days in the refrigerator, though it rarely lasts that long in my house! I recommend starting with a gallon of milk to get comfortable with the process – you’ll have plenty to share with friends or freeze for later. The satisfaction of pulling your own mozzarella and seeing that perfect stretch makes this weekend project absolutely worthwhile.
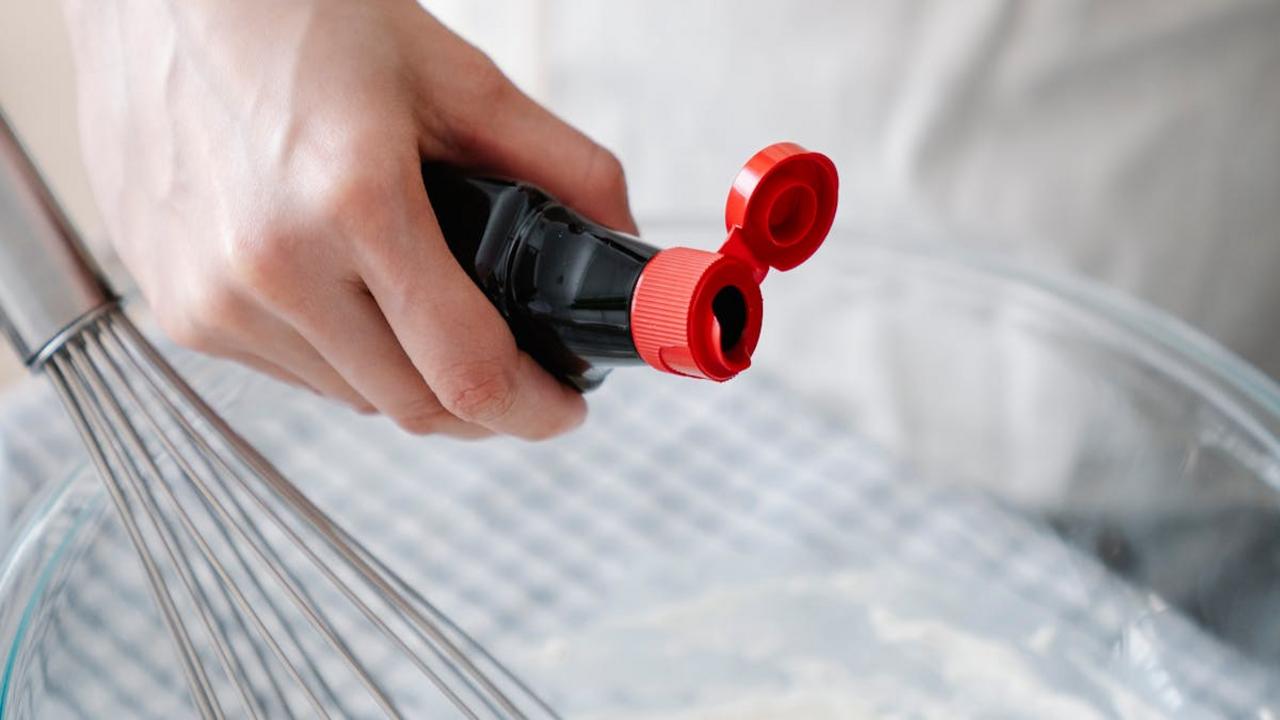
Fermented Hot Sauce

Making your own fermented hot sauce transforms your kitchen into a flavor laboratory where magic happens over weeks of patient waiting. You’ll need fresh chilies, salt, and time – that’s it! The fermentation process develops complex, tangy notes that store-bought sauces simply can’t match. Choose your peppers based on your heat tolerance, from mild jalapeños to fiery habaneros, then chop them up with garlic and pack everything into a jar with salt water. The natural bacteria on the peppers do all the heavy lifting, creating probiotics and developing that signature funky depth.
After three to four weeks of bubbling away on your counter, you’ll have liquid gold ready to blend into the smoothest, most flavorful hot sauce you’ve ever tasted. The beauty of this project lies in its simplicity and endless customization options – add ginger for warmth, pineapple for sweetness, or experiment with different pepper combinations. Your homemade sauce will keep in the fridge for months, getting better with age. Friends and family will beg for bottles of your creation, and you’ll find yourself planning your next batch before the current one is even finished.
Cold Smoked Salmon

Making your own cold smoked salmon transforms your weekend into a gourmet experience that rivals any upscale restaurant. This DIY project requires patience and planning, but the results will leave you wondering why you ever bought store-bought versions. You’ll start by curing fresh salmon fillets with a simple mixture of salt, sugar, and your favorite herbs like dill or fennel. The curing process draws out moisture while infusing incredible flavor, creating the perfect foundation for smoking.
Cold smoking happens at temperatures below 80°F, which means you’re actually flavoring the cured fish rather than cooking it. You can set up a simple cold smoking system using a regular grill with wood chips, or invest in a dedicated cold smoker for consistent results. The salmon spends 12-24 hours in the smoker, slowly absorbing that distinctive smoky character. Once finished, you’ll have silky, flavorful salmon perfect for bagels, salads, or elegant appetizers. Store your homemade creation in the refrigerator for up to two weeks, though it rarely lasts that long once family and friends discover your new skill.
Kombucha Brewing

You know that tangy, fizzy drink that costs a fortune at the grocery store? Well, I’m here to tell you that brewing your own kombucha at home is surprisingly simple and incredibly rewarding! All you need is a SCOBY (that weird-looking symbiotic culture of bacteria and yeast), some sweet tea, and a bit of patience. The process starts with feeding your SCOBY sugared tea, then letting it work its magic for about 7-10 days. Your kitchen will smell slightly vinegary, but trust me – that’s exactly what you want.
Once you master the basic brew, the fun really begins with second fermentation. This is where you can get creative with flavors – think ginger-turmeric, berry-mint, or even tropical mango-pineapple combinations. Just add your chosen ingredients to individual bottles, seal them up, and let them sit for another 2-3 days to develop that perfect fizz. The best part? One SCOBY keeps growing and multiplying, so you’ll have an endless supply of this probiotic powerhouse. Plus, homemade kombucha costs pennies compared to store-bought versions, and you control every single ingredient that goes into your body.
Homemade Sourdough Starter and Bread
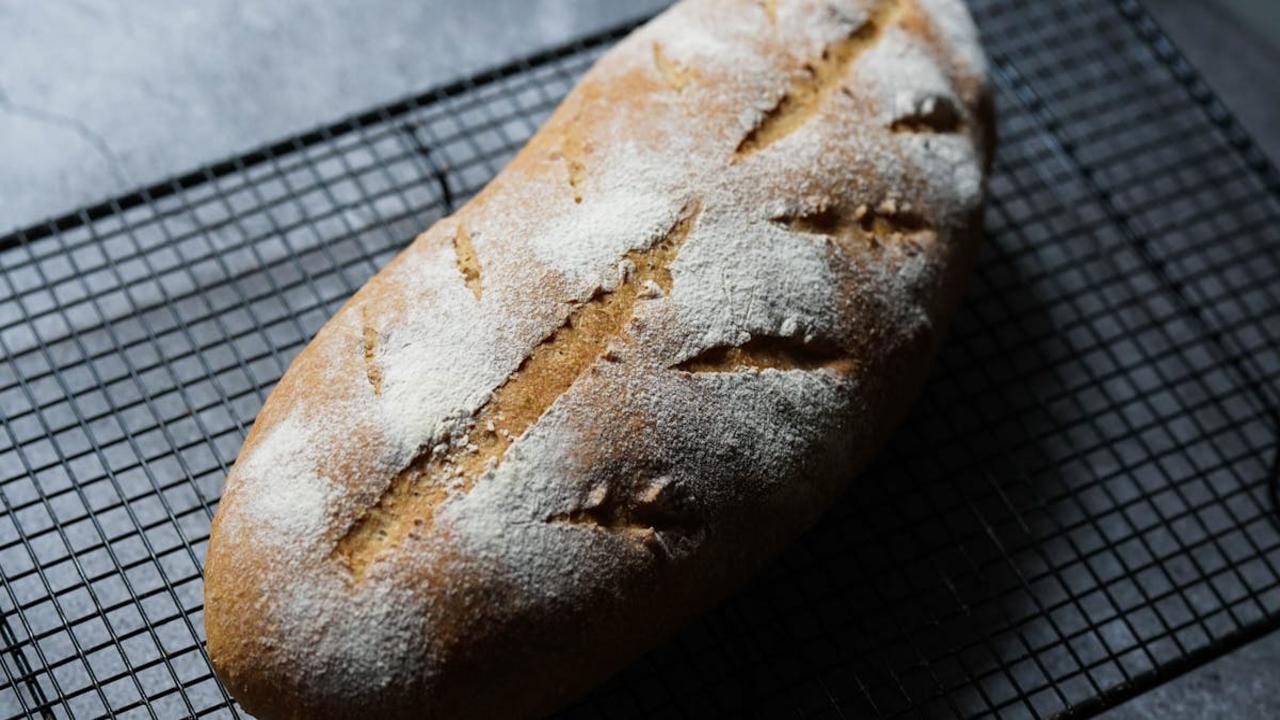
Creating your own sourdough starter from scratch feels like magic happening right in your kitchen! You’ll mix just flour and water, then watch wild yeasts from the environment work their wonders over about a week. Feed your starter daily with fresh flour and water, and soon you’ll have a bubbly, tangy mixture that’s ready to transform into the most incredible bread. The best part? Once you establish your starter, you can keep it alive for years – some families pass down starters through generations! I love how this connects you to ancient baking traditions while giving you complete control over what goes into your bread.
Your homemade sourdough bread will have that perfect chewy texture and complex flavor you simply can’t buy at the store. The natural fermentation process makes the bread easier to digest and adds beneficial probiotics to your diet. Start with a basic recipe and gradually experiment with whole wheat flour, seeds, or herbs to create your signature loaf. The kneading and shaping process becomes meditative, and there’s nothing quite like the aroma of fresh sourdough baking in your oven. Plus, you’ll save money compared to buying artisan bread, and you’ll know exactly what ingredients went into every single slice your family enjoys.