10 Retro Cooking Techniques Stealing the Spotlight in Today’s Food Scene
Our grandparents knew a thing or two about making incredible food without fancy gadgets. The simple, time-tested methods they used created deep flavors we just can’t replicate with modern shortcuts. Now, home cooks and chefs are bringing these old-school techniques back into their kitchens with amazing results.
From the rich complexity of fermented vegetables to the unmatched smokiness of wood-fired cooking, these traditional methods pack more flavor and nutrition into every bite. I’ve seen firsthand how these techniques transform basic ingredients into extraordinary dishes while keeping things natural and additive-free.
The beauty of these retro cooking methods lies in their simplicity – just basic tools and patience yield incredible results. Plus, they connect us to cooking traditions passed down through generations. Ready to discover how these timeless techniques can revolutionize your cooking? Let’s dive into my favorite old-school methods making a major comeback.
Dehydrating
I’ve rediscovered the incredible world of food dehydrating, and it’s bringing back memories of my grandmother’s sun-dried tomatoes on her porch. Today, I use an electric dehydrator to make everything from dried fruit leather to savory herb-seasoned vegetable chips. You’ll get intense flavors and natural sweetness while preserving nutrients – plus these treats can last for months in an airtight container. The slow drying process concentrates the natural sugars and compounds, creating complex flavor profiles you simply can’t achieve through other cooking methods.
Your kitchen will transform into a preservation station with endless possibilities. I love making my own backpacking snacks by dehydrating mushrooms, sweet potatoes, and apples – they’re lightweight and pack serious nutrition. You can also create your own seasonings by drying fresh herbs or make fruit powders for natural food coloring. The best part? You’ll know exactly what goes into your dried goods, avoiding the preservatives and added sugars found in store-bought versions. Just slice ingredients thinly, arrange them on trays, set the temperature, and let time work its magic.
Root cellaring

You know that incredible satisfaction of pulling out a perfectly crisp apple or firm potato months after harvest? That’s the magic of root cellaring – a time-tested food preservation method your great-grandparents likely swore by. I’ve found root cellaring transforms any cool, dark basement corner into a natural refrigerator, keeping vegetables and fruits fresh through winter without electricity. The consistent temperature and humidity levels help maintain the quality of root vegetables, apples, pears, cabbage, and other hardy produce far longer than modern refrigeration.
My own root cellar setup started simple: I cleared a basement corner, added some wooden shelves, and monitored temperature with a basic thermometer. Now I store onions, garlic, squash, and root vegetables there all winter long. The key lies in proper organization – keeping ethylene-producing fruits separate from vegetables, maintaining good air circulation, and regularly checking for any spoiled items. You’ll save money on groceries while reducing your environmental impact. Plus, there’s something deeply rewarding about preserving your garden harvest or farmers’ market finds using this traditional method.
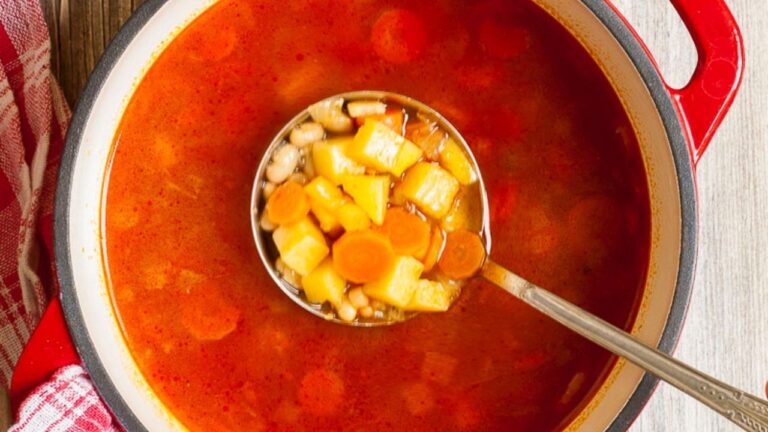
Dutch oven cooking
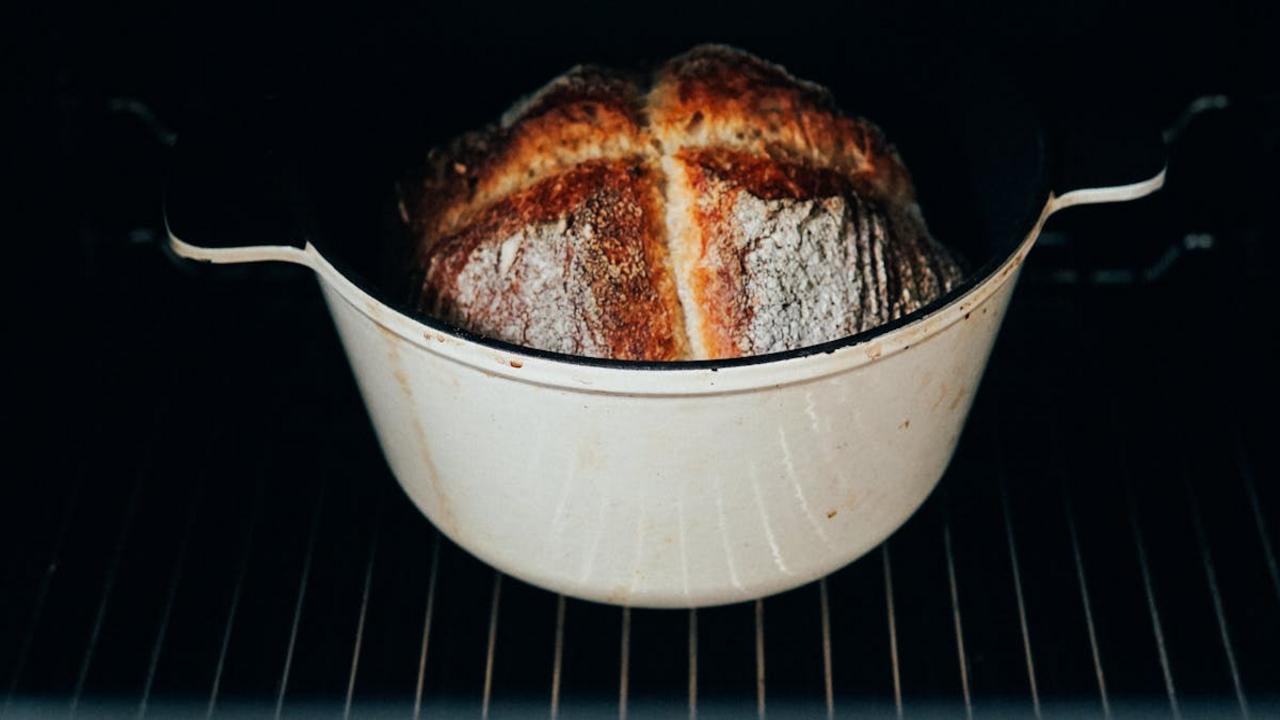
I’m obsessed with my enameled Dutch oven – it’s become my go-to pot for almost everything in my kitchen. This heavy-duty pot brings out incredible flavors through slow cooking and braising, making tough cuts of meat fall-apart tender. The thick walls and tight-fitting lid create a mini steam oven, perfect for baking crusty sourdough bread with that professional bakery texture. Plus, the pot goes straight from stovetop to oven, which means fewer dishes to wash (always a win in my book!).
What really makes Dutch oven cooking special is how it enhances simple ingredients. I love throwing in root vegetables, herbs, and a tough cut of meat with some broth in the morning. By dinner time, those basic ingredients transform into a rich, deeply flavored meal that tastes like it came from a fancy restaurant. The even heat distribution means no hot spots or burning, so you can focus on other tasks while your Dutch oven works its magic. My favorite weekend ritual involves baking no-knead bread – the steam trapped inside creates that perfect crispy crust with a soft, airy interior.
Curing and preserving
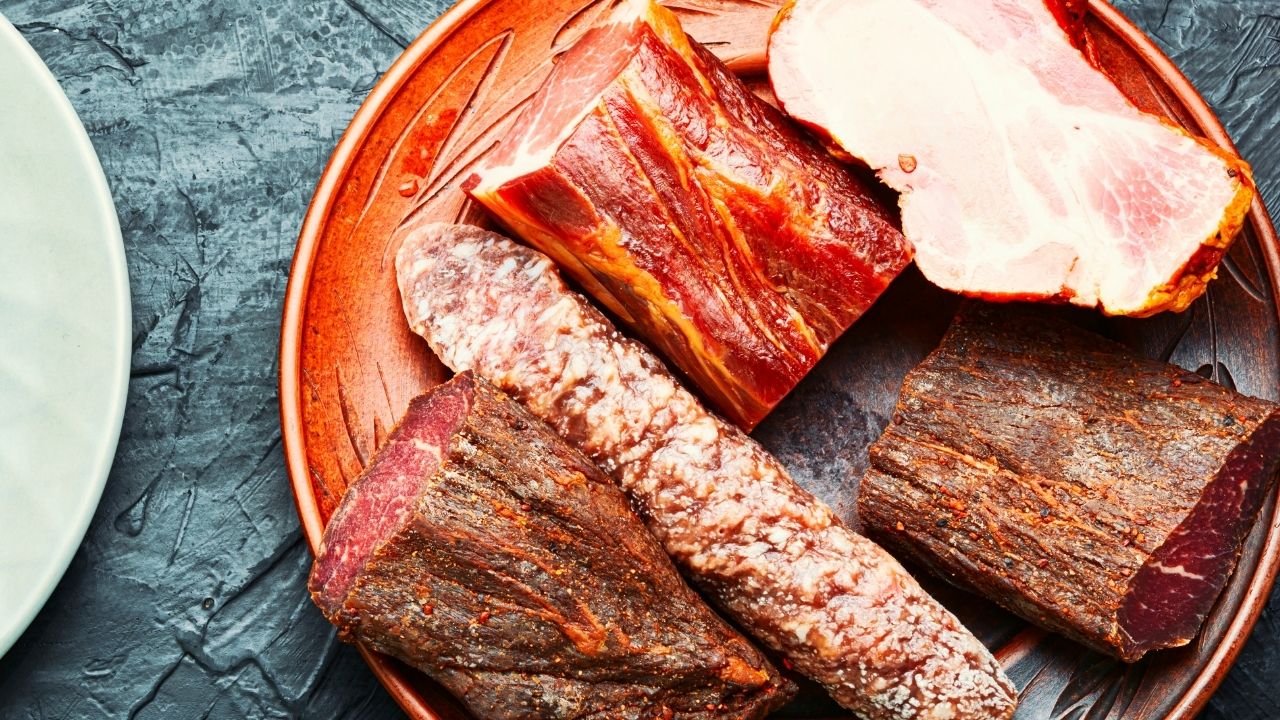
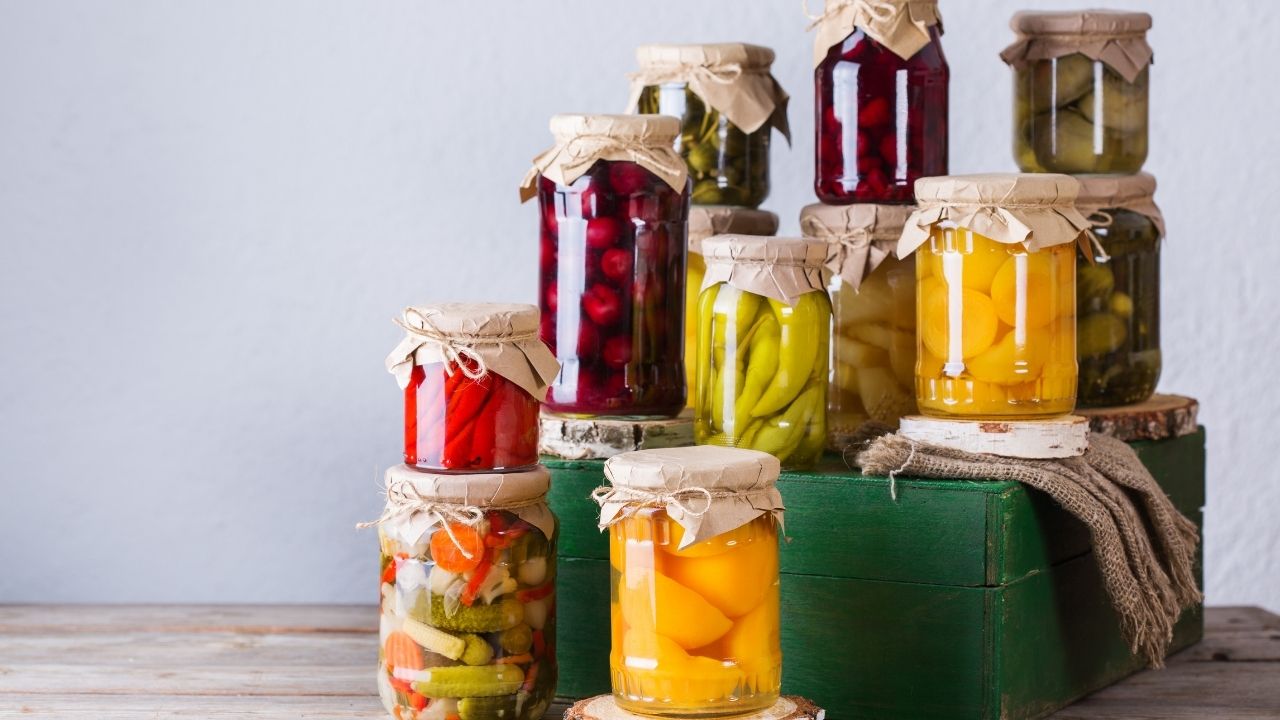
I’ve rediscovered the magic of curing and preserving in my kitchen, and wow – it’s completely transformed how I cook! From creating my own salt-cured egg yolks (which add incredible richness to pasta dishes) to experimenting with lacto-fermented vegetables, these age-old preservation methods bring such depth to everyday cooking. My grandmother taught me her kimchi recipe years ago, and now I’ve expanded into making my own preserved lemons, sauerkraut, and even home-cured bacon – each project adding layers of complex flavors you simply can’t buy at the store.
What draws me most to curing and preserving is how it connects me to seasonal cooking while reducing food waste. During summer’s abundance, I pickle fresh cucumbers and preserve ripe tomatoes, knowing they’ll brighten winter meals months later. The process itself feels meditative – packing vegetables with salt, monitoring fermentation bubbles, or waiting patiently as flavors develop over weeks. Plus, the probiotic benefits of fermented foods make my gut happy! If you’re new to preserving, start small with quick pickles or a simple sauerkraut – you’ll quickly understand why this traditional technique still captivates modern cooks.
Stone grinding
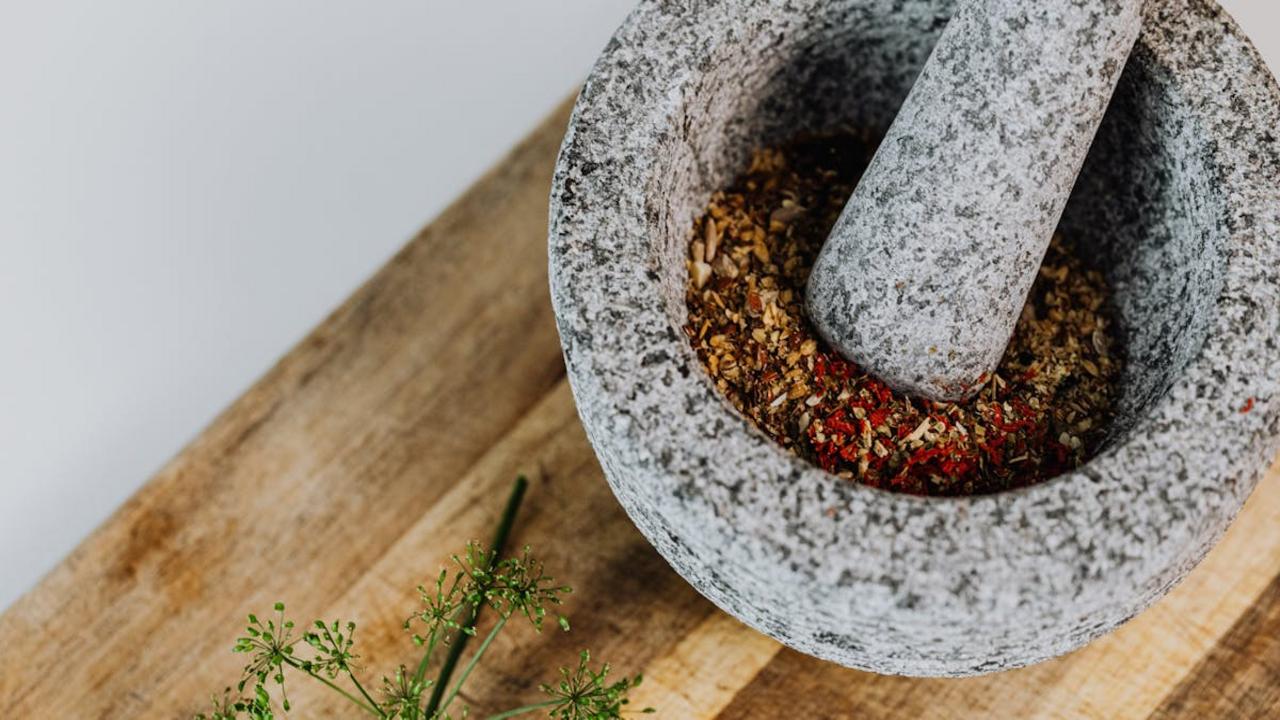
I’ve discovered something magical about using a traditional stone grinder in my kitchen – it brings out flavors and textures you simply can’t get from electric grinders. The slow, methodical process of grinding spices, grains, or nuts between two stones creates a more complex, nuanced result. The natural heat from friction releases essential oils gradually, preserving the ingredients’ natural properties and creating deeper, richer flavors in everything from fresh curry powders to homemade nut butters.
Your food will transform once you start stone grinding. The technique gives cornmeal an incomparable sweetness and produces smoother, more aromatic spice blends that electric grinders can’t match. I especially love using my stone grinder for making fresh tahini – the slow crushing of sesame seeds produces a silky-smooth paste with an intense, pure flavor. While it takes more time and effort than electric alternatives, the superior results make stone grinding worth every minute. The connection to ancient cooking methods adds an extra layer of meaning to your kitchen creations.
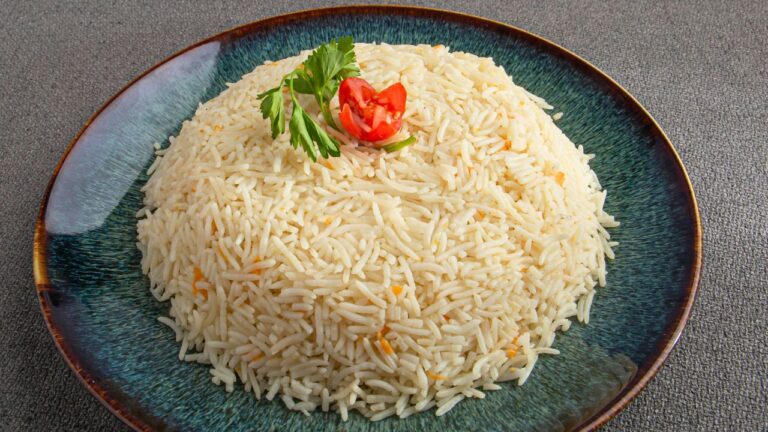
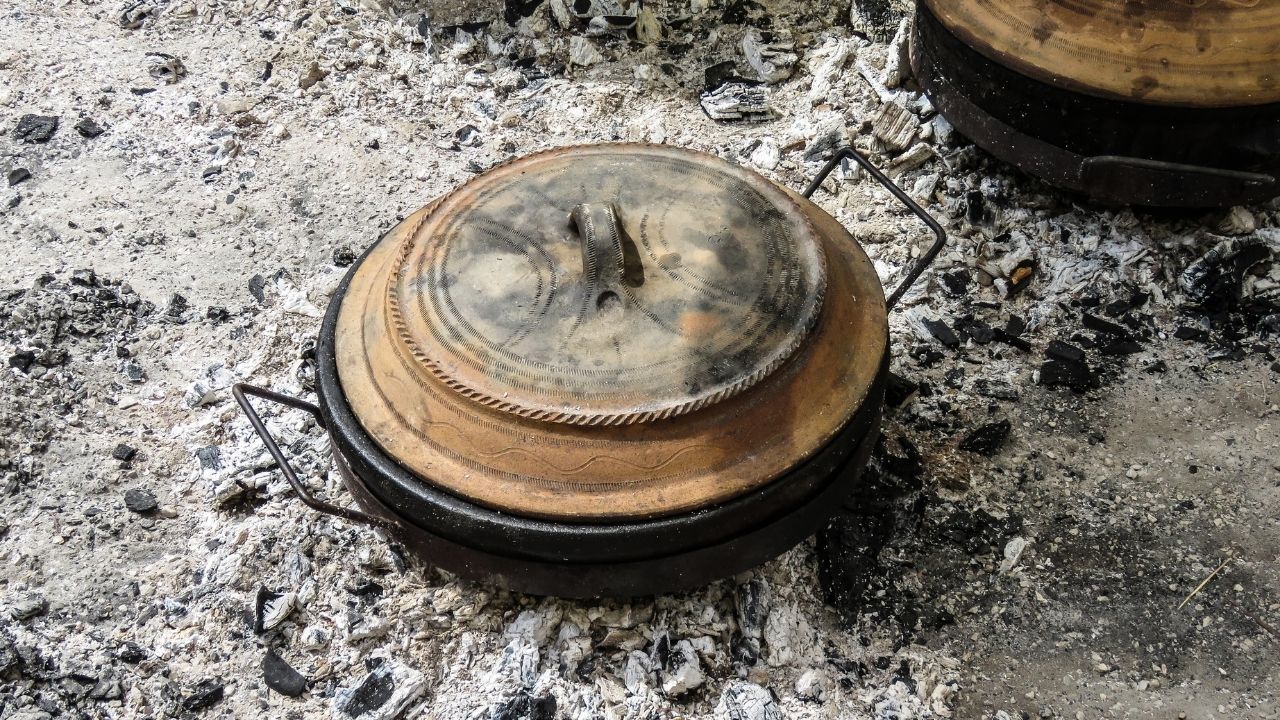
Clay pot cooking

I’ve rediscovered the magic of clay pot cooking in my kitchen, and it’s transformed how I prepare slow-cooked dishes. These unglazed earthenware pots create the perfect environment for everything from braised meats to hearty stews, adding an earthy depth you just can’t get from modern cookware. The porous clay gradually releases moisture throughout cooking, keeping food tender while concentrating flavors. Plus, the natural heat distribution means your food cooks evenly without hot spots that can burn or dry out ingredients.
My favorite clay pot recipe combines tender chicken with root vegetables and fresh herbs. The pot’s unique properties allow the ingredients to self-baste, creating incredibly moist meat and vegetables that retain their distinct flavors. You’ll notice how the clay imparts subtle mineral notes to your dishes – something my grandmother always praised about her traditional cooking methods. If you’re new to clay pot cooking, start by soaking your pot in water for 15 minutes before use, and never expose it to sudden temperature changes. Your patience will reward you with incredibly flavorful, tender dishes.
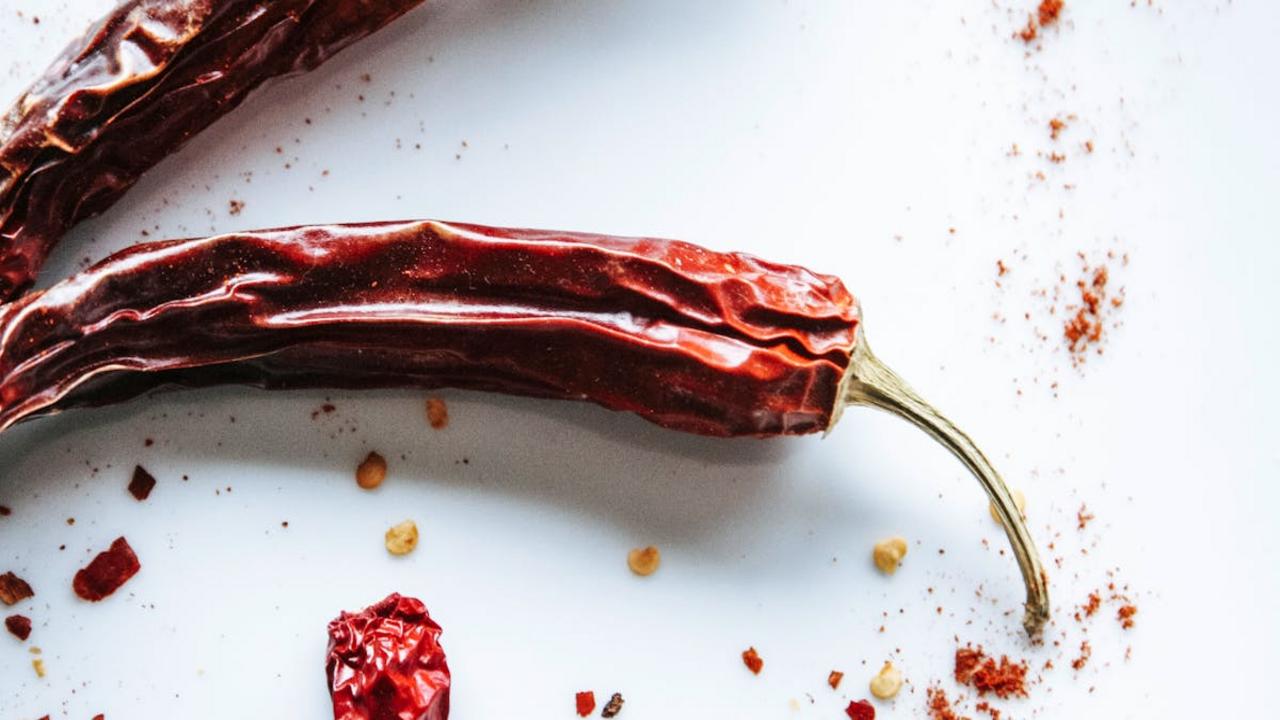
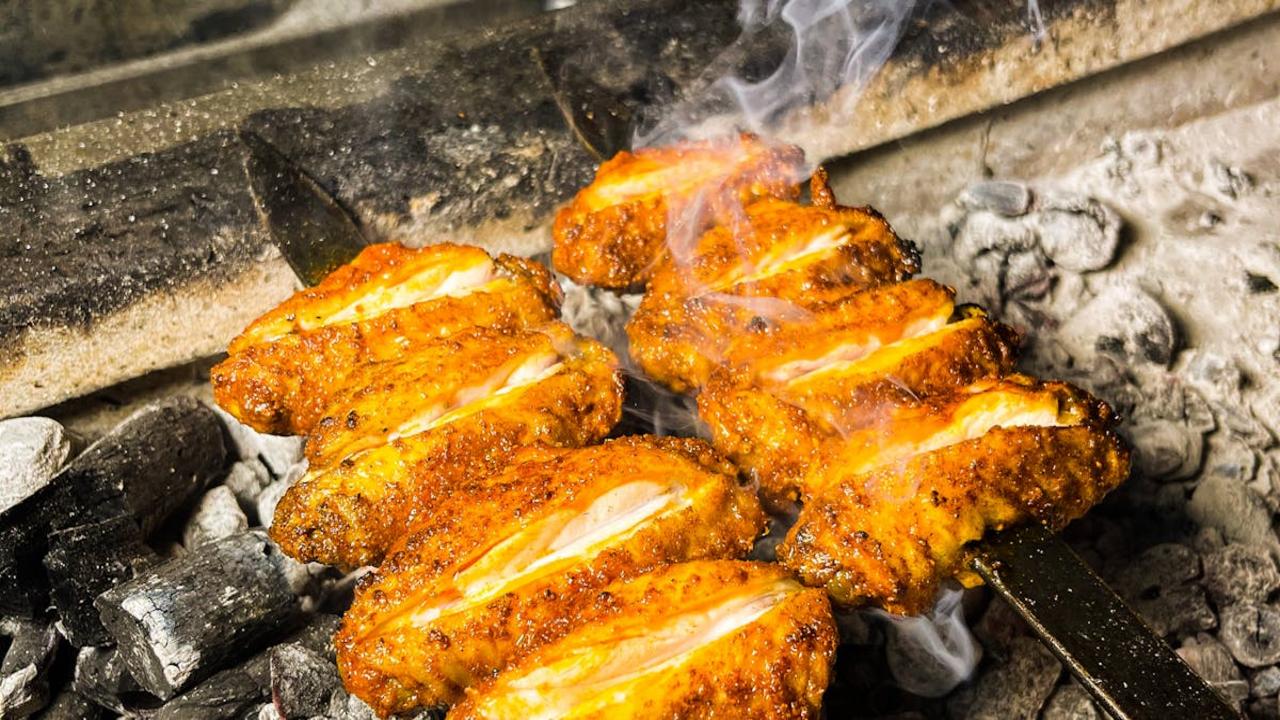
Smoking foods

My love for smoking foods runs deep, and I’ve noticed more home cooks rediscovering this ancient preservation method. You’ll find me experimenting with different woods – apple for a mild sweetness with chicken, hickory for bold flavors in brisket, and mesquite for that intense smokiness in ribs. The best part? You don’t need fancy equipment to start smoking at home. A basic charcoal grill with wood chips in a foil packet works perfectly for beginners. The slow cooking process infuses your food with complex flavors while keeping the moisture locked in.
I’ve been teaching my community to smoke everything from meats to vegetables, cheeses, and even salt. Just last week, I cold-smoked a batch of paprika using cherry wood, and the depth it added to my Hungarian goulash was incredible. If you’re worried about time, try hot smoking at higher temperatures – it’s quicker but still creates that beautiful smoky flavor. Remember to keep your smoker temperature steady and use fresh, high-quality wood for the cleanest taste. The revival of smoking techniques brings back memories of my grandmother’s smokehouse, where she’d preserve our fall harvest for winter months.
Earthen pit cooking
I’m seeing more home cooks rediscover earthen pit cooking, an ancient method where you dig a hole, line it with stones, build a fire, and cook food underground. The magic happens when you wrap your ingredients in banana leaves or foil, place them in the pit with hot coals, cover everything with soil, and wait patiently. Your reward? Incredibly tender meats that literally fall off the bone and vegetables that maintain their nutrients while developing deep, smoky flavors you simply can’t achieve in a regular oven.
This slow-cooking technique creates an earth oven that transforms tough cuts of meat into butter-soft delicacies through gentle, even heat distribution. I’ve found that adding aromatic herbs and spices to your wrappings infuses the food with complex layers of flavor during the hours-long cooking process. While it requires planning and patience, pit cooking brings people together – there’s something special about gathering around the pit, sharing stories while waiting for your feast to emerge from the earth. Plus, you’ll save energy since you won’t need electricity or gas to cook your meal.
Wood fire cooking
I’ve rediscovered the magic of wood fire cooking in my backyard, and the results go beyond what any modern kitchen appliance can achieve. The dancing flames infuse every ingredient with a distinctive smoky depth that transforms simple dishes into memorable meals. Your proteins develop a beautiful char while staying tender inside, and vegetables take on complex flavors impossible to replicate on a regular stovetop or grill.
The real beauty lies in how this ancient method connects you directly to your food and the cooking process. You’ll learn to read the fire, adjust the heat by moving ingredients closer or further from the flames, and work with the natural elements. I love throwing whole heads of garlic and onions into the coals until they turn sweet and jammy, or wrapping fish in banana leaves to steam in the ambient heat. The unpredictability keeps you present and engaged, making each meal feel like a small celebration of traditional cooking wisdom.
Fermentation
I rediscovered the magic of fermentation in my kitchen last year, and now I can’t stop experimenting with this ancient preservation method. My countertop has become a wonderland of bubbling jars filled with homemade kimchi, kombucha, and tangy sourdough starters. The best part? You’ll get incredible depth of flavor while boosting your gut health naturally. Plus, fermentation transforms simple ingredients like cabbage into complex, probiotic-rich foods that would cost a fortune at specialty stores.
Making your own fermented foods at home needs just salt, time, and basic ingredients. Start with a simple sauerkraut – just massage salt into shredded cabbage and pack it into a clean jar. Within days, you’ll notice the liquid rising and tiny bubbles forming as beneficial bacteria work their magic. My Korean grandmother taught me that the key to perfect fermentation lies in temperature control and patience. Keep your ferments at room temperature, away from direct sunlight, and resist the urge to open the jar too often. Your reward? Vibrant, living foods that pack both flavor and nutrition.