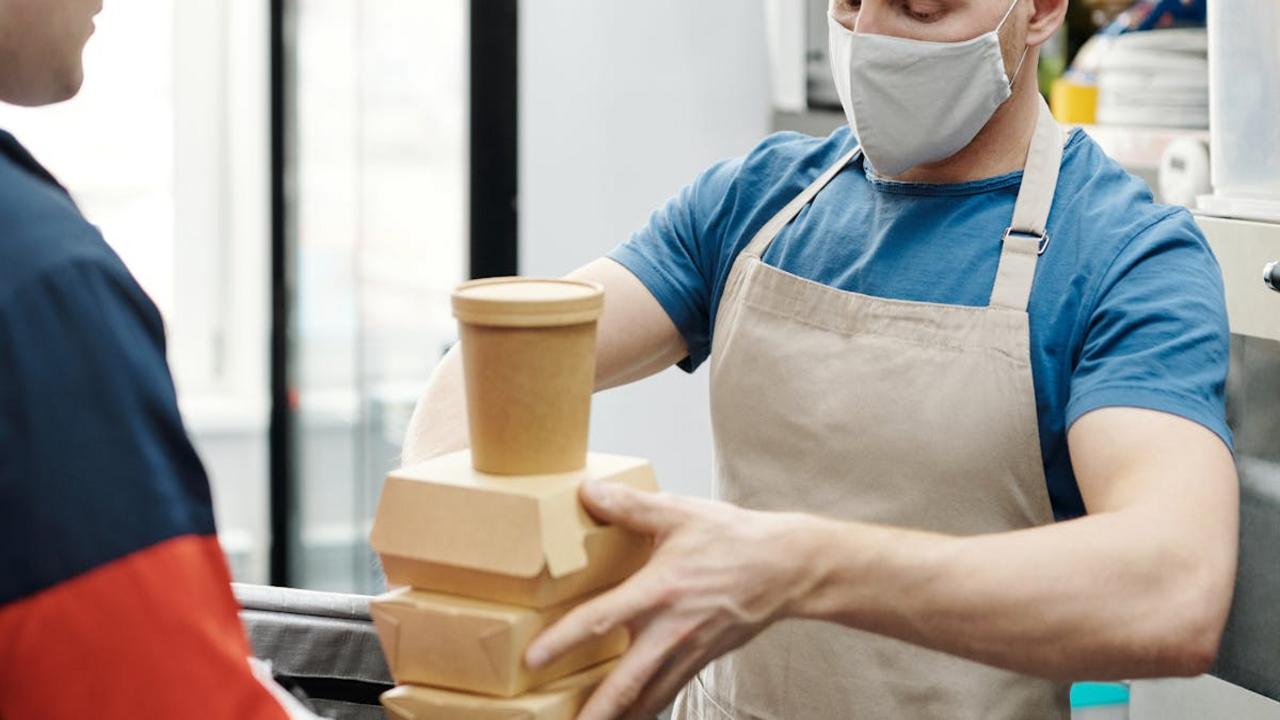
10 Freezer Tricks Chefs Swear By for Fresher Meals and Easier Weeknights
Your freezer can work much harder for you than just storing ice cream and forgotten leftovers! Professional chefs know that with a few smart techniques, your freezer becomes your secret weapon for fresh, flavorful meals on busy weeknights. I’ve gathered the top tricks that will transform how you prep, store, and enjoy frozen foods.
Many home cooks miss out on their freezer’s full potential, letting food waste pile up while still scrambling for dinner ideas. The right freezing methods lock in nutrients and flavors while saving you precious time and money. These chef-approved strategies will help you stock ready-to-go ingredients and complete meals that taste freshly made.
From proper temperature control to smart thawing techniques, these ten freezer hacks will revolutionize your meal planning. You’ll learn why blanching vegetables matters, how to prevent freezer burn, and the best packaging methods to maintain food quality. Master these chef-approved freezer tricks and you’ll enjoy homemade convenience without sacrificing flavor.
Food Safety Guidelines
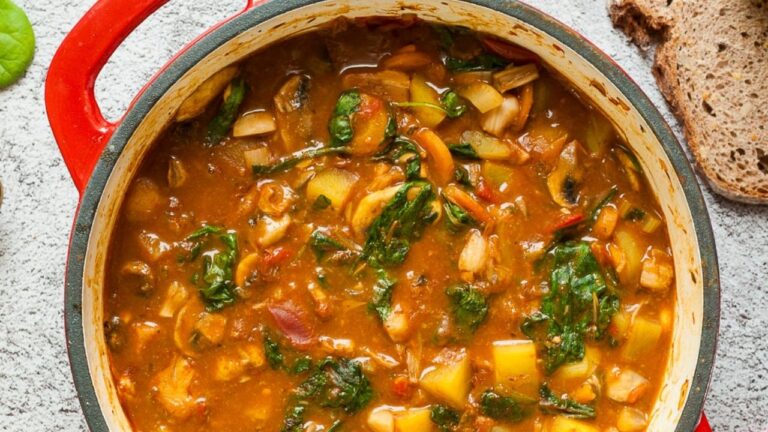
When you’re getting serious about freezer cooking, knowing the right food safety practices becomes your best friend in the kitchen! I always tell my readers that proper freezing temperatures and storage times aren’t just suggestions – they’re your ticket to keeping your family healthy and your meals delicious. Your freezer should stay at 0°F or below, and I recommend investing in a good freezer thermometer to double-check those settings. Raw meats can safely stay frozen for 4-12 months depending on the cut, while cooked dishes typically maintain their best quality for 2-3 months. Always label everything with dates, because trust me, that mystery container from six months ago isn’t worth the risk!
The golden rule I live by is “when in doubt, throw it out” – but you can avoid most doubts by following smart thawing practices. Never leave frozen foods on the counter to thaw at room temperature, as this creates a perfect breeding ground for bacteria. Instead, plan ahead and thaw items in your refrigerator overnight, or use your microwave’s defrost setting for quicker results. If you’re cooking directly from frozen, make sure your food reaches the proper internal temperatures: 165°F for poultry and leftovers, 145°F for whole cuts of beef and pork. Keep a digital thermometer handy – it’s one of the most important tools in your food safety toolkit and gives you confidence that every meal you serve is both tasty and safe.
Thawing Methods
You know how frustrating it feels when you forget to pull dinner from the freezer until 5 PM, right? I’ve been there more times than I care to admit! The good news is that professional chefs have mastered several safe and effective thawing techniques that won’t leave you scrambling for takeout menus. The refrigerator method remains the gold standard – simply move your frozen proteins to the fridge 24 hours before you plan to cook them. This slow, steady approach keeps bacteria at bay while maintaining the food’s texture and flavor integrity.
For those last-minute dinner situations, cold water thawing works like magic! Submerge your sealed frozen item in a bowl of cold water, changing the water every 30 minutes. A pound of chicken will typically thaw in about an hour using this method. Microwave thawing gets the job done quickly too, but cook the food immediately afterward since some areas may start cooking during the process. Never thaw at room temperature – I learned this lesson the hard way when I got food poisoning years ago! These chef-approved methods will save your weeknight dinners and keep your family safe and well-fed.
Preventing Freezer Burn
Nobody wants to open their freezer and find their beautiful ingredients covered in those unsightly ice crystals! Freezer burn happens when air reaches your food, causing moisture to evaporate and leaving behind dry, discolored patches that can ruin the texture and flavor of your meals. The good news? You can totally prevent this kitchen nightmare with a few smart storage techniques that professional chefs use every single day.
Your best defense against freezer burn starts with proper wrapping. Remove as much air as possible from storage bags by pressing gently or using a straw to suck out excess air before sealing. For extra protection, try the double-wrap method: first wrap your food tightly in plastic wrap, then place it in a freezer bag or container. This creates two barriers against air exposure. Professional chefs also swear by vacuum sealers for long-term storage, but you can achieve similar results at home by being thorough with your wrapping technique and making sure containers are completely airtight.
Smart Storage Organization
Your freezer becomes a powerhouse of efficiency when you organize it like a pro chef. I love using clear, stackable containers and freezer bags that you can see through – no more playing guessing games with mystery meals! Label everything with contents and dates using a permanent marker or freezer-safe labels. Create designated zones for different food categories: proteins in one section, prepared meals in another, and vegetables grouped together. This system saves you precious time during busy weeknights when you need to grab ingredients quickly.
Professional chefs swear by the “first in, first out” rotation method – place newer items behind older ones so you use foods in the right order. Keep frequently used items at eye level and within easy reach. Store similar-sized containers together to maximize space, and consider using freezer bins or baskets to corral smaller items like herbs, nuts, or individual portions. Your future self will thank you when you can locate that batch of homemade soup or those pre-prepped vegetables in seconds instead of digging through a chaotic frozen landscape!
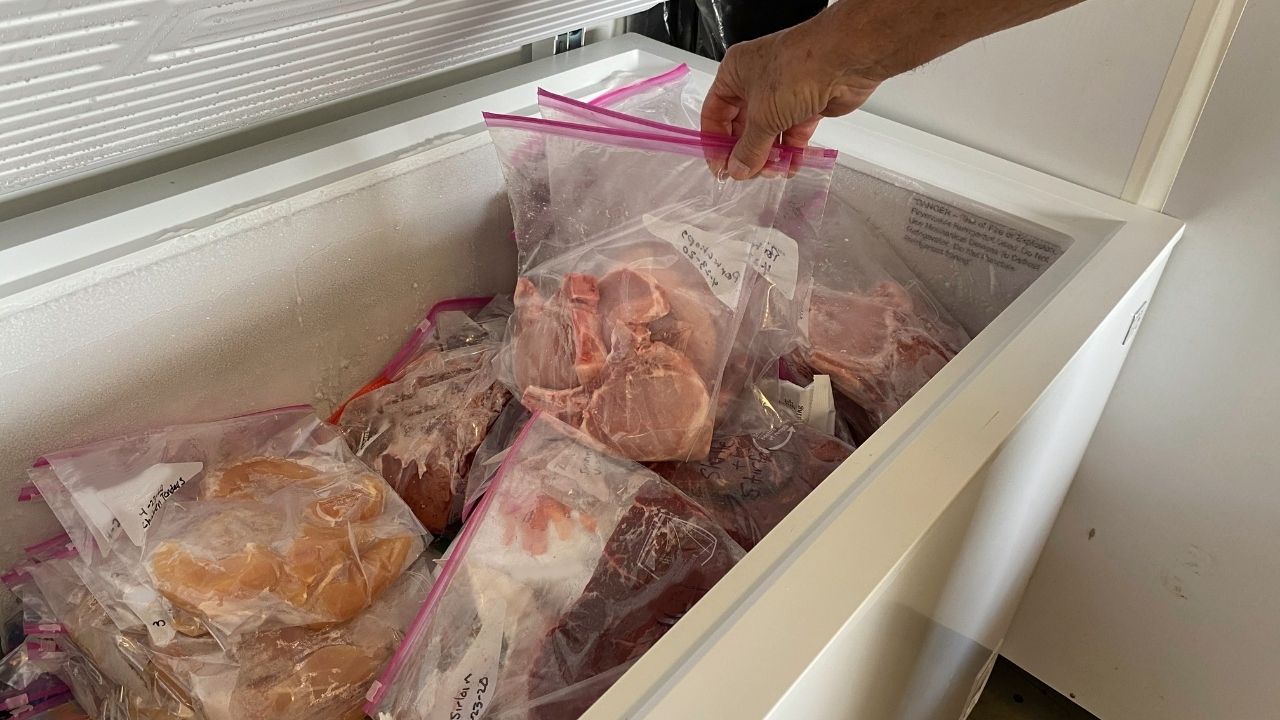
Removing Air from Containers

Air is the enemy when it comes to freezer storage, and I can’t stress enough how much difference proper air removal makes for your frozen foods! When you leave excess air in containers or bags, you’re basically inviting freezer burn to ruin your carefully prepared meals. That oxidation process turns your beautiful vegetables gray and gives your proteins that weird, papery texture nobody wants. Professional chefs know that getting rid of air extends storage life dramatically – we’re talking months instead of weeks for many foods.
For containers, fill them right to the top, leaving just enough space for expansion, then press plastic wrap directly onto the food surface before sealing with the lid. This creates a double barrier against air exposure. With freezer bags, try the water displacement method: partially seal the bag, then slowly lower it into a bowl of water, letting the pressure push out the air before sealing completely. You can also roll bags from the bottom up, pushing air out as you go. These simple techniques keep your frozen soups vibrant, your prepped vegetables crisp, and your batch-cooked proteins tasting fresh when you’re ready for those busy weeknight dinners!
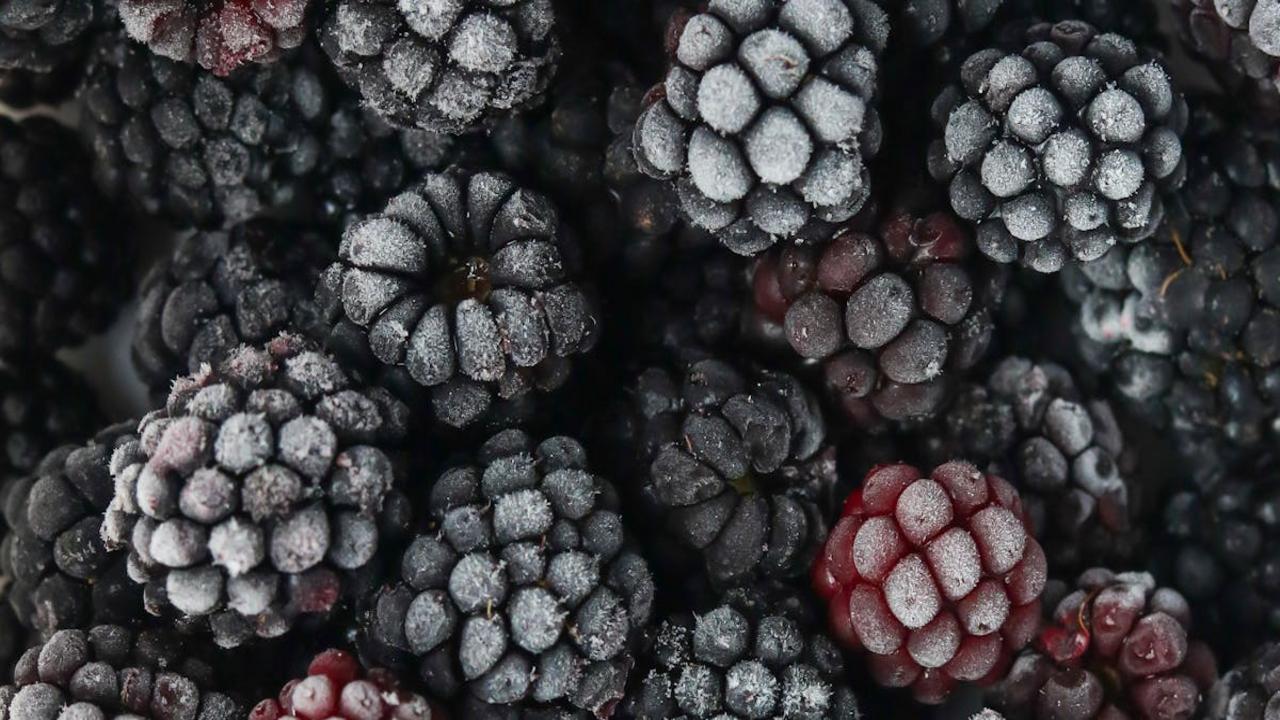
Blanching Vegetables
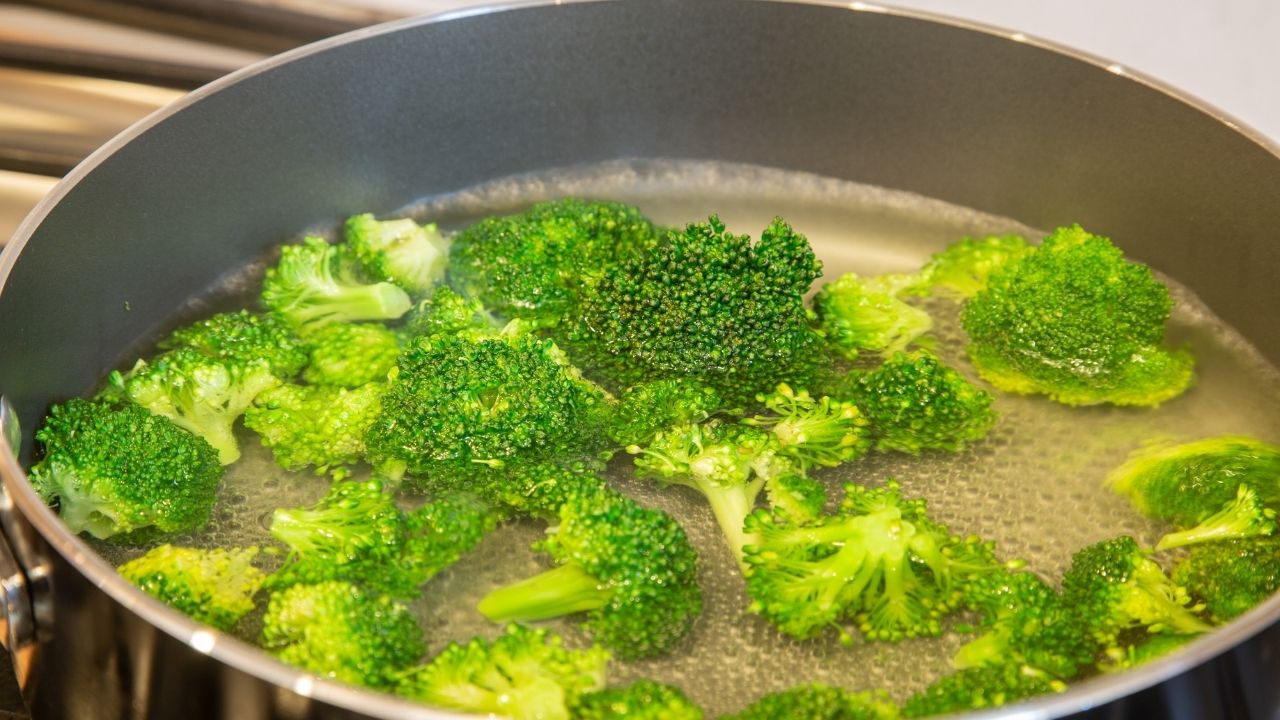
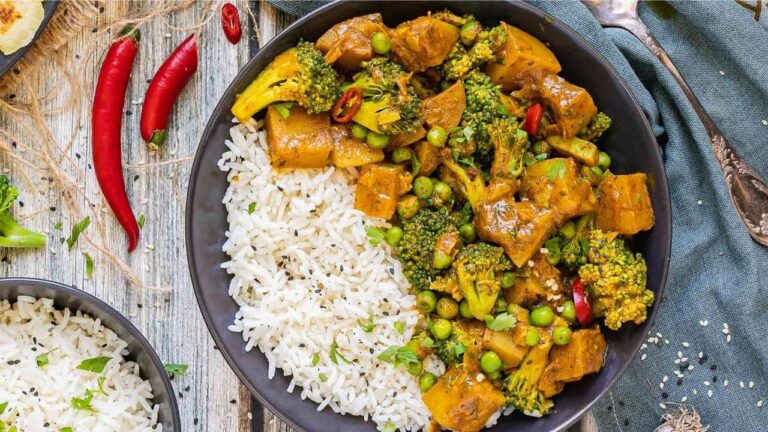
You know that sinking feeling when you open your freezer and find a bag of mushy, unappetizing vegetables? Professional chefs never deal with this problem because they blanch their vegetables before freezing them. This simple technique involves boiling vegetables for just a few minutes, then immediately plunging them into ice water to stop the cooking process. The quick heat treatment deactivates enzymes that cause vegetables to lose their color, texture, and nutritional value during freezing.
I promise you, blanching transforms your frozen vegetable game completely! Your broccoli will stay bright green and crisp, your carrots will maintain their sweet crunch, and your green beans will taste like they were just picked from the garden. The process takes only about 10 minutes for most vegetables, and you can blanch large batches at once. Once blanched and properly dried, your vegetables will keep their quality for 8-12 months in the freezer. This means you can stock up on seasonal produce when it’s at peak freshness and prices, then enjoy restaurant-quality vegetables in your weeknight stir-fries, soups, and side dishes all year long.
Labeling and Dating System
Your freezer transforms into a treasure trove of meal possibilities when you create a foolproof labeling and dating system that actually works. I grab a permanent marker and freezer labels every single time I prep food for freezing because trust me, that mysterious foil-wrapped package from three months ago could be anything from leftover lasagna to last week’s soup experiment. Write the contents, portion size, and freeze date clearly on each container or bag – your future self will thank you when you’re standing in front of an open freezer at 6 PM wondering what magic you can create for dinner.
Smart chefs take this system one step further by adding reheating instructions right on the label, turning each frozen meal into a complete roadmap for busy weeknights. I love using different colored labels for different food categories – proteins get blue, soups and stews get green, and prepared meals get yellow – making it super easy to spot exactly what you need at a glance. Keep a freezer inventory list on your phone or stuck to the freezer door, and you’ll never accidentally buy ingredients you already have frozen. This simple habit prevents food waste, saves money, and keeps your freezer organized like a professional kitchen where every item has its purpose and place.
Portioning Food Before Freezing
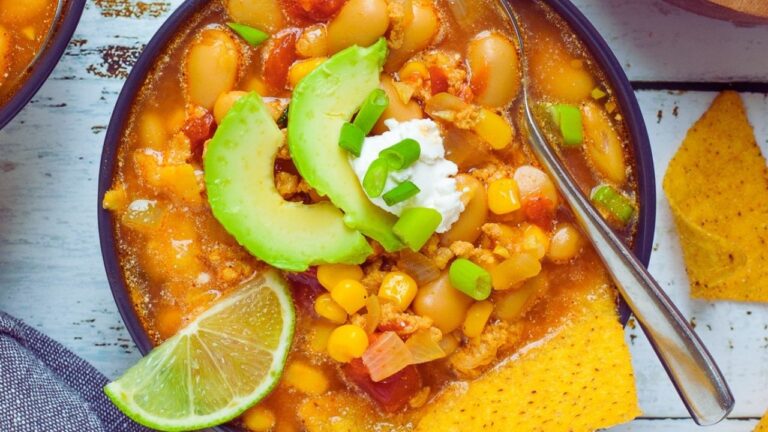
Smart chefs know that dividing meals into individual or family-sized portions before freezing transforms your weekly meal planning from chaotic to completely manageable. Instead of freezing an entire batch of chili or casserole in one massive container, break it down into single servings or portions that match your household size. This approach means you can grab exactly what you need for tonight’s dinner without having to thaw way too much food or commit to eating the same meal for three days straight.
The beauty of pre-portioning lies in how it speeds up your cooking process and reduces food waste dramatically. You can freeze individual chicken breasts, perfectly measured amounts of chopped vegetables, or single servings of homemade soup in freezer bags or containers. When Tuesday night rolls around and you need dinner fast, you’ll pull out exactly one portion of that amazing beef stew you made last month, and it’ll thaw quickly since it’s not trapped in a giant frozen block. Your future self will thank you every single time you open that organized freezer and see ready-to-cook portions waiting for you.
Airtight Packaging Materials
You know what separates the pros from the home cooks who end up tossing freezer-burned food? The right packaging materials! I cannot stress enough how much proper airtight containers and wrapping will transform your freezing game. Heavy-duty freezer bags, vacuum-sealed pouches, and glass containers with tight-fitting lids become your best friends here. These materials create that protective barrier against air exposure, which causes those dreaded ice crystals and off-flavors that make your once-delicious meals taste like cardboard.
My go-to setup includes different sizes of freezer-safe containers, high-quality freezer bags (double-bagging works wonders for longer storage), and my trusty vacuum sealer for meats and prepared dishes. Don’t forget to label everything with contents and date – trust me, that mystery container from three months ago isn’t worth the guessing game! Investing in quality packaging materials might cost a bit upfront, but you’ll save so much money by preventing food waste and keeping your meals tasting fresh for months. Plus, your future weeknight self will thank you when you pull out perfectly preserved homemade soup or marinated chicken that tastes just like you made it yesterday.
Proper Temperature Settings and Control
Your freezer’s temperature setting makes all the difference between perfectly preserved ingredients and disappointing freezer burn disasters. Most home cooks assume their freezer runs cold enough, but here’s what professional chefs know: your freezer should maintain a consistent 0°F (-18°C) or below. I recommend investing in a standalone freezer thermometer because built-in displays can be unreliable. Place it in the center of your freezer and check it weekly. You’ll discover that opening the door frequently, overloading shelves, or having a less-than-perfect seal can cause temperature fluctuations that compromise your food’s quality and safety.
Professional kitchens organize their freezers strategically, and you can apply this same logic at home. Keep your freezer about 75% full for optimal air circulation – too empty means the unit works harder, too full restricts airflow. Store your most frequently used items near the front to minimize door-open time, and rotate older items forward so nothing gets forgotten in the back. During power outages, resist the urge to check inside; a properly maintained freezer will keep food safely frozen for 24-48 hours if you keep the door closed. This temperature control strategy protects your investment in quality ingredients while ensuring every meal you pull from the freezer tastes fresh and delicious.