10 Burger Mistakes You’re Probably Making and How to Fix Them for Juicier, Tastier Patties
You’ve been massacring burgers your entire life, and I’m here to break the devastating news gently. That dry, flavorless hockey puck you call a patty? That soggy bun disaster? Those toppings sliding off like they’re fleeing a crime scene? Yeah, we need to talk.
Here’s the thing about burgers—they seem foolproof until you actually try making one that doesn’t require a gallon of ketchup to choke down. Most people treat burger-making like assembling IKEA furniture: slap it together, hope for the best, then wonder why everything falls apart.
But don’t panic! I’ve identified the ten most common burger blunders that turn your backyard barbecue into a culinary catastrophe. From meat selection mishaps to timing disasters, these fixes will transform your sad patties into juicy masterpieces that actually stay together long enough to reach your mouth.
Overlooking Resting Time
Picture this: you’ve just flipped your burger off the grill, and it’s sizzling like a tiny campfire on your plate. Your stomach growls impatiently, and every fiber of your being screams “EAT NOW!” But here’s where most burger enthusiasts commit the cardinal sin of impatience. You grab that beautiful patty and chomp down, only to watch precious juices cascade onto your plate like a meaty waterfall. Those aren’t tears of joy—that’s your burger crying because you didn’t give it the respect it deserved. Professional chefs know that meat continues cooking even after you remove it from heat, and those muscle fibers need time to relax and reabsorb their flavorful juices.
The magic number? Five minutes. That’s all your burger needs to transform from a potentially dry disappointment into a juicy masterpiece. During this brief intermission, the internal temperature evens out (a phenomenon scientists call carryover cooking), and the proteins literally chill out and stop squeezing out moisture. Think of it as your burger’s spa time—a moment of zen before the grand finale. Cover your patty loosely with foil to keep it warm, and use this time wisely: toast your buns, prep your toppings, or practice your victory dance. Trust me, those five minutes of restraint will reward you with a burger that stays juicy from first bite to last crumb. Your patience pays dividends in flavor!
Ignoring Cheese Melting Timing
You know that moment when you bite into what should be a perfect cheeseburger, only to discover a cold, rubbery slice of cheese sitting sadly on top of your hot patty? Yeah, that’s the burger equivalent of wearing socks with sandals – technically functional, but deeply disappointing. Most people slap cheese onto their burger at the very end, treating it like an afterthought instead of the star performer it deserves to be. Here’s the thing: cheese needs time to get cozy with your patty, and timing this romance correctly separates amateur grillers from burger legends.
The secret lies in adding your cheese during the final two minutes of cooking, then covering the burger with a lid or dome to create a mini melting chamber. This technique, borrowed from professional kitchens, traps heat and creates the perfect environment for cheese to transform from solid square to gooey perfection. American cheese melts fastest (about 30 seconds under cover), while cheddar needs a full minute, and Swiss requires patience – nearly two minutes to achieve that stretchy, Instagram-worthy pull. Pro tip: room temperature cheese melts more evenly than cold cheese straight from the fridge, so let it sit out for 10 minutes before your cooking session begins.
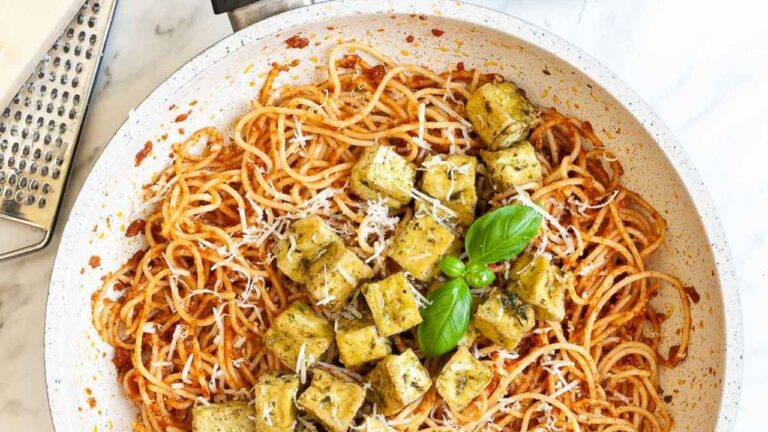
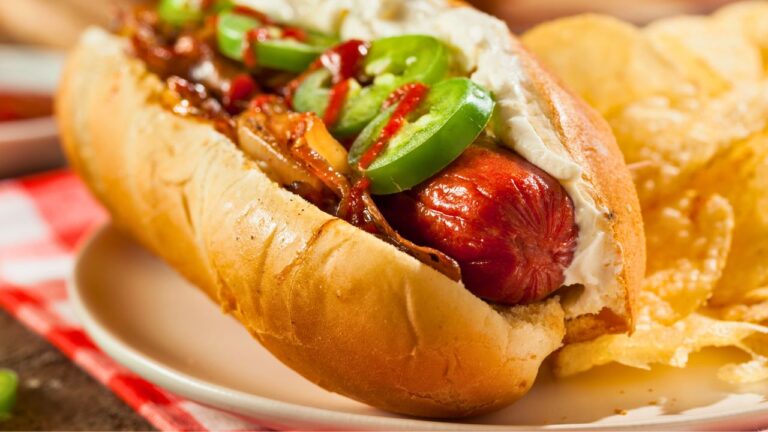
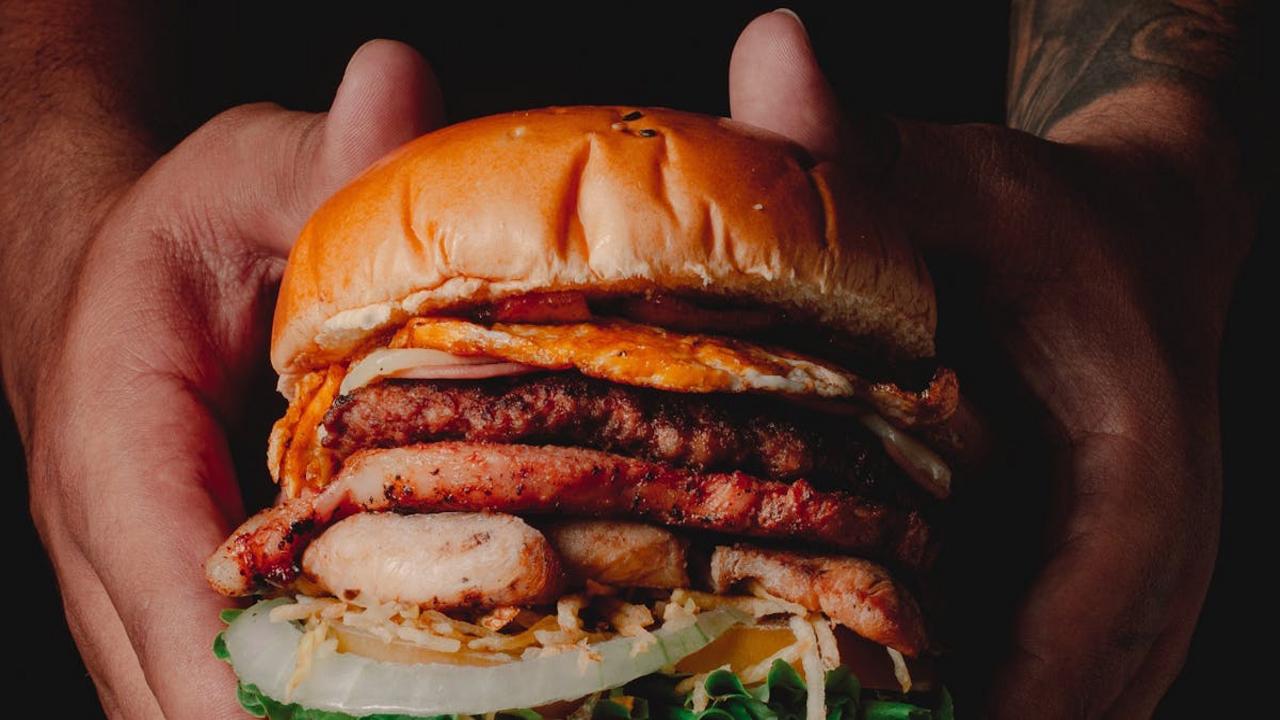
Overloading or Underloading Toppings
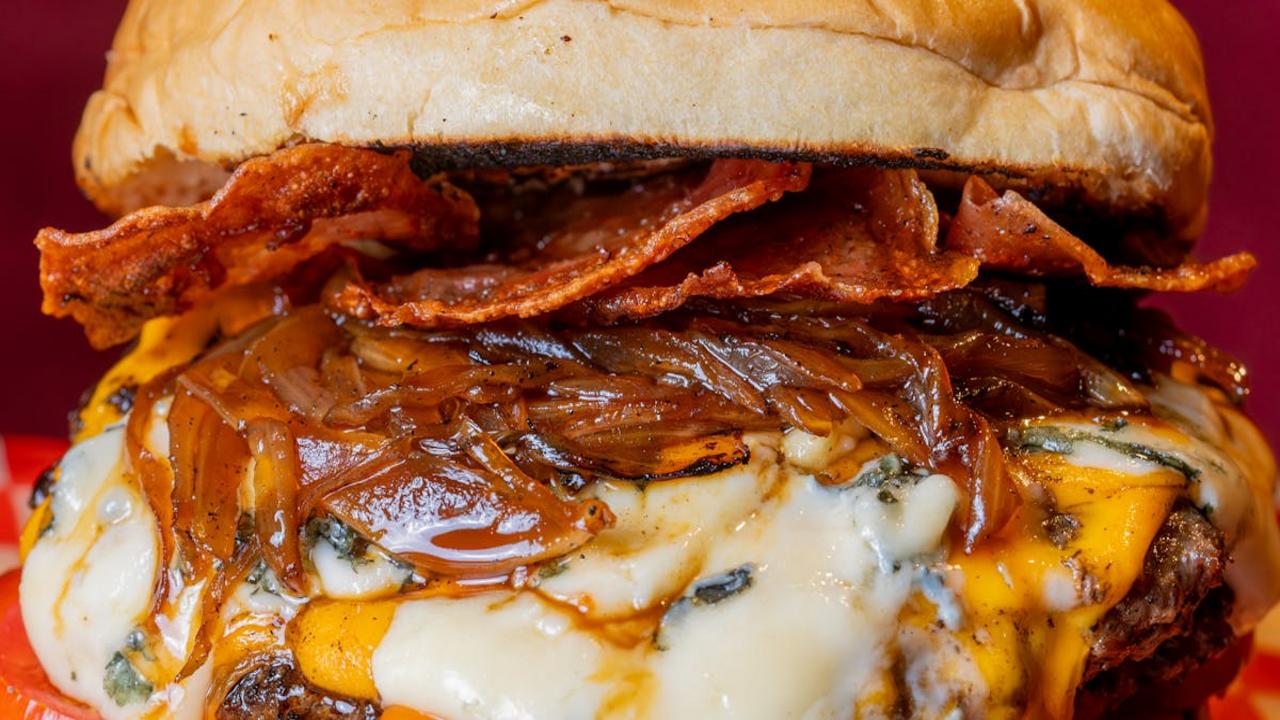
You know that friend who orders a burger so tall it requires engineering skills to eat? Or maybe you’re the minimalist who thinks lettuce and ketchup constitute a complete burger experience? Both approaches miss the sweet spot of burger perfection. The overloader creates a precarious tower that collapses faster than a house of cards in a windstorm, while the underloader ends up with what basically amounts to seasoned beef on bread. I once watched someone attempt to eat a burger stacked with seventeen different toppings – bacon, three types of cheese, onion rings, fried pickles, coleslaw, and enough sauce to drown a small village. The poor thing fell apart before it reached their mouth, creating what I can only describe as a deconstructed burger crime scene.
The secret lies in balance and strategic layering. Start with a sturdy foundation: place wet ingredients like tomatoes between barriers of lettuce or cheese to prevent soggy bun syndrome. Stick to three to five toppings maximum, choosing items that complement rather than compete with each other. Think about texture contrast – if you’ve got creamy avocado, add some crispy onions for crunch. And here’s a pro tip that changed my burger game forever: spread condiments on both bun halves to create moisture barriers that keep everything in place. Your burger should be substantial enough to satisfy but manageable enough that you don’t need a PhD in structural engineering to consume it. Remember, the patty should still be the star of this meaty show!
Miscalculating Patty Size
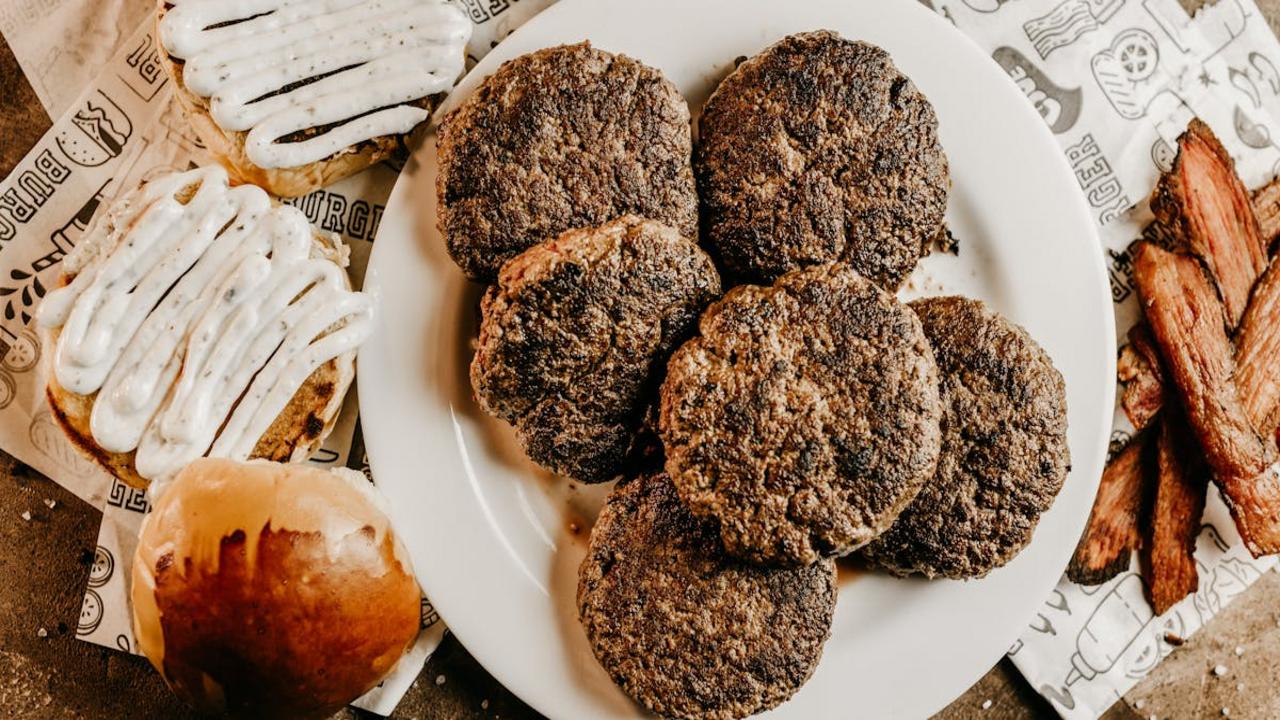
Your burger patty shrinks faster than your motivation on a Monday morning, and here’s the kicker – most people make their patties way too small to compensate. Here’s the deal: raw ground beef contains about 20-25% water, and that moisture evaporates during cooking, causing your perfectly sized raw patty to transform into what looks like a sad, tiny hockey puck. The golden rule? Make your raw patties about 20% larger than your bun diameter. So if you’ve got a 4-inch bun, shape that patty to 4.8 inches across. Your future self will thank you when you’re not staring at a burger that looks like it went on a crash diet.
But size isn’t just about width – thickness matters too, and this is where things get interesting. A patty that’s too thin cooks too fast and dries out, while one that’s too thick creates the dreaded “charred outside, raw inside” situation that nobody ordered. Aim for about ¾ inch thick, and here’s a pro tip that’ll change your burger game: create a slight indent in the center with your thumb before cooking. Ground beef has this annoying habit of puffing up in the middle due to protein contraction, turning your flat patty into a burger dome that makes toppings slide off like they’re on a playground slide. That little dimple keeps everything level and prevents the great topping avalanche of dinner time.
Forgetting to Toast the Bun
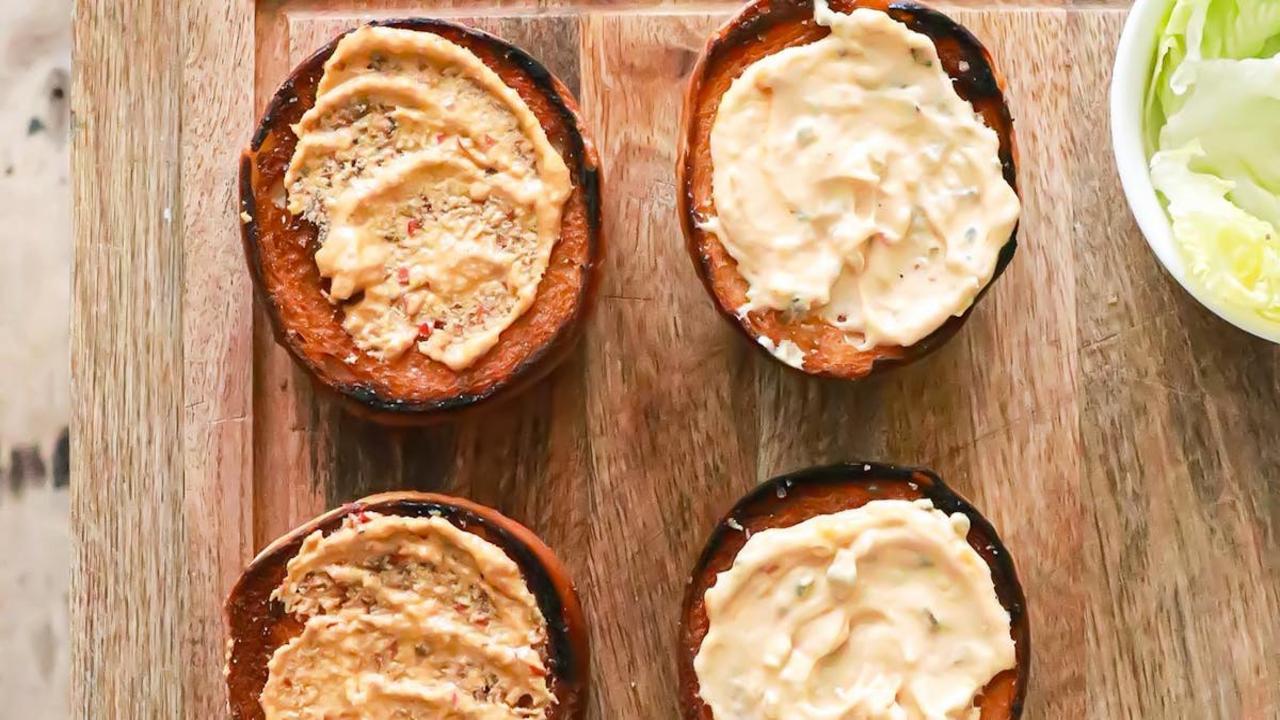
Listen, I get it—you’re focused on that perfect patty, sweating over grill marks and internal temperatures, and suddenly you realize you’ve committed the cardinal sin of burger construction: serving a sad, soggy bun that’s about as exciting as cardboard. Here’s a fun fact that’ll blow your mind: professional burger joints spend more time perfecting their bun-toasting technique than most home cooks spend on their entire burger prep. The difference between a toasted and untoasted bun isn’t just textural—it’s architectural. That golden, crispy surface creates a protective barrier against burger juices, preventing the dreaded soggy-bottom syndrome that turns your masterpiece into a structural disaster.
The fix is ridiculously simple, yet most people skip it entirely. Slice your buns in half, brush the cut sides with a little butter or mayo (trust me on the mayo—it browns beautifully), and give them 2-3 minutes on a hot skillet or grill until they’re golden and fragrant. You want them crispy on the outside but still soft enough inside that they won’t shatter your burger dreams with the first bite. This tiny step transforms your burger from amateur hour to restaurant-quality magnificence, creating that satisfying crunch that makes every bite a perfect balance of textures. Your future self will thank you when you’re not fishing soggy bread chunks out of your burger wrapper.
Using Inappropriate Bread
You know what breaks my heart faster than watching someone put ketchup on a perfectly good steak? Seeing a gorgeous, juicy burger suffocating between two slices of Wonder Bread. Listen, I get it – you’re standing in your kitchen at 7 PM, stomach growling, and you grab whatever’s in the bread drawer. But here’s the thing: your burger bun isn’t just a delivery system; it’s the foundation of your entire burger experience! A flimsy slice of sandwich bread will turn into burger soup the moment that beautiful beef juice hits it. Meanwhile, a rock-hard artisan roll will crack your jaw before you get to the good stuff.
The secret lies in finding that Goldilocks zone of burger buns – not too soft, not too hard, but just right. A good burger bun should have enough structure to hold everything together without requiring engineering skills to eat it. Look for brioche buns if you want buttery richness, or go classic with a sesame seed bun that has that perfect slightly sweet flavor. Here’s a pro tip that changed my burger game forever: lightly toast your buns! Those few minutes under the broiler create a protective barrier that keeps the bottom bun from turning into mush, plus it adds this incredible nutty flavor that makes your taste buds do a little happy dance.
Pressing Down on the Patty While Cooking
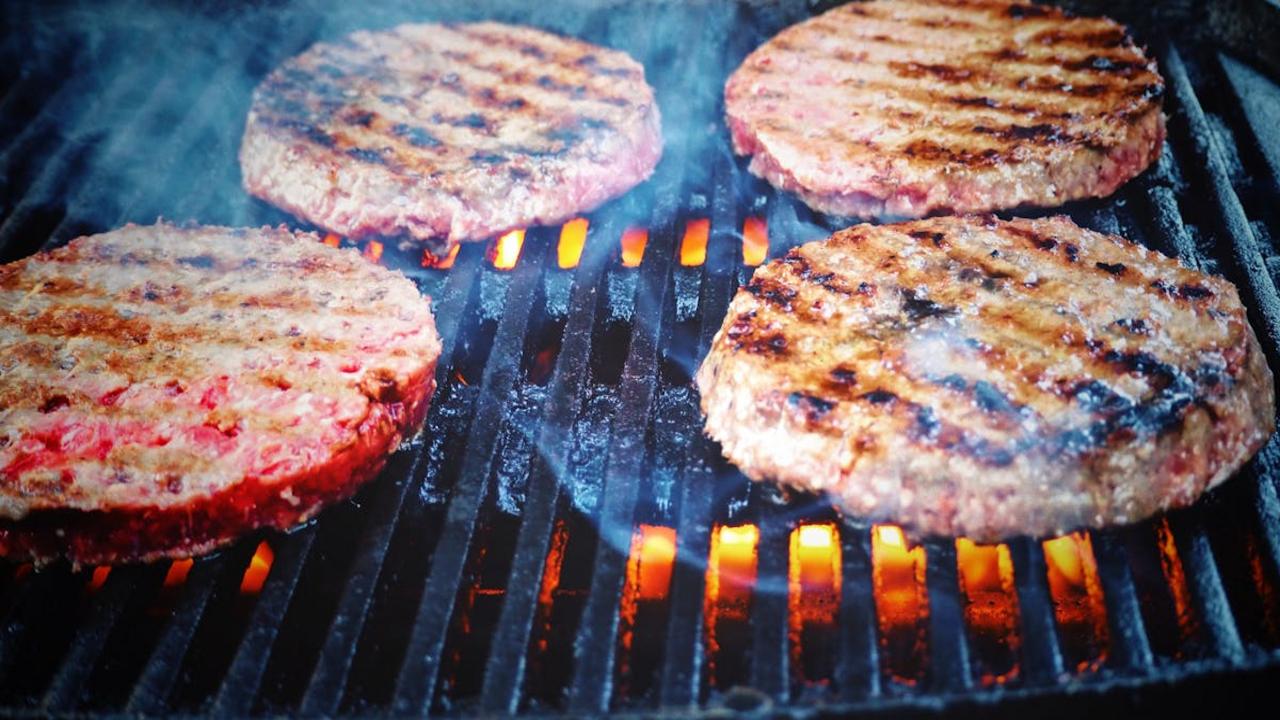
Picture this: you’re standing at your grill, spatula in hand, watching those beautiful patties sizzle away. Then suddenly, some primal urge takes over and WHAM – you smash that spatula down like you’re playing whack-a-mole at Chuck E. Cheese. Stop right there, burger destroyer! Every time you press down on your patty, you’re literally squeezing out all those precious juices that make your burger magnificent. Those sizzling sounds aren’t applause for your technique – they’re the cries of flavor escaping into the void. Think of your burger patty like a tiny, meaty sponge filled with delicious liquid gold. The moment you apply pressure, you’re wringing out all that goodness onto your cooking surface instead of keeping it where it belongs.
Here’s the thing about burgers: patience pays off in the most delicious way possible. Instead of channeling your inner caveman with that spatula, just let physics do its magic. A properly formed patty will cook evenly without your “help,” and those juices will redistribute throughout the meat as it rests. Professional chefs have a saying: “If you’re pressing, you’re stressing” – and stressed meat makes for sad sandwiches. Keep your hands busy by prepping your toppings or practicing your burger-flipping technique (just once per side, thank you very much). Your reward for this restraint? Burgers so juicy they’ll make you question every fast-food decision you’ve ever made.
Overhandling the Meat
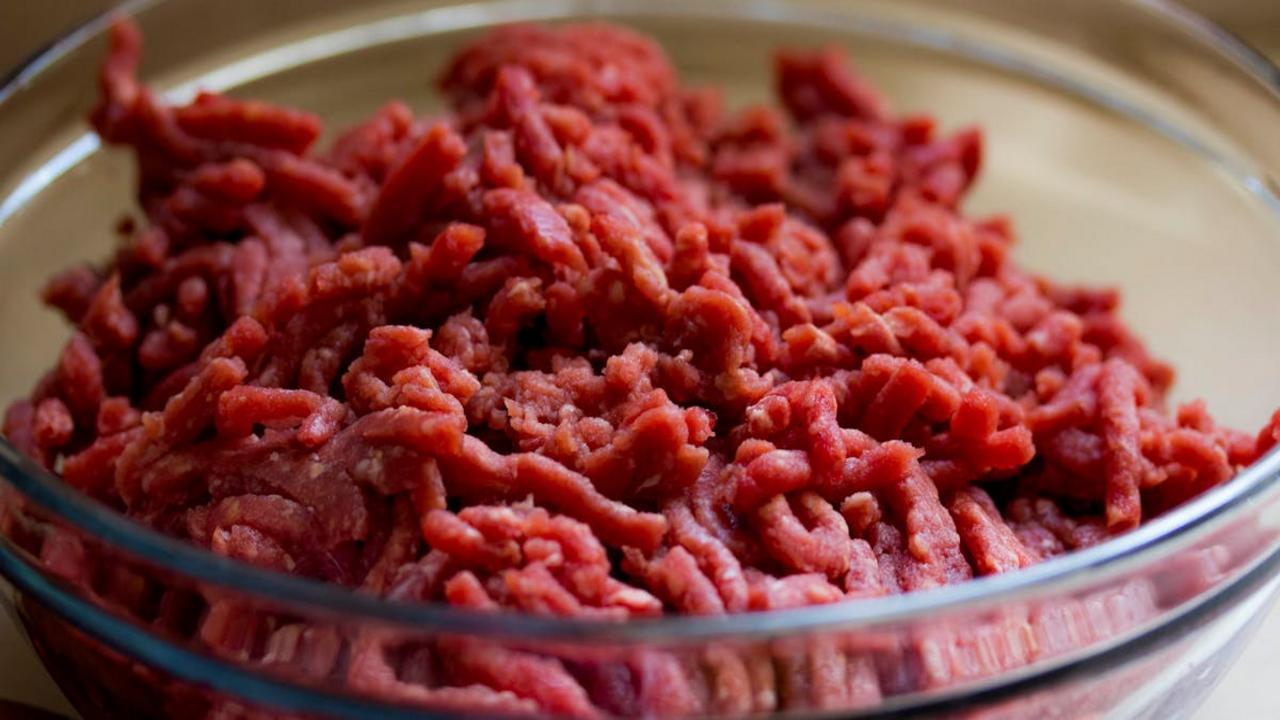
Listen, I get it – you want that perfect burger patty, so you knead and squeeze and massage that ground beef like you’re giving it a spa treatment. But here’s the thing: your burger isn’t asking for a deep tissue massage! Every time you work that meat with your hands, you’re breaking down the protein fibers and creating a dense, hockey puck situation that nobody signed up for. The more you handle it, the tougher your patty becomes, and suddenly you’re serving rubber discs instead of juicy masterpieces. Fun fact: butchers call this “overworked meat syndrome,” and yes, it’s a real thing that makes grown grill masters weep.
The secret to burger bliss? Treat that ground beef like it’s made of butterfly wings – gently form it into patties with the lightest touch possible, using just your fingertips to shape rather than your palms to compress. Mix any seasonings or additions with a fork instead of your hands, and only handle the meat for about 30 seconds total. Think of yourself as a burger whisperer, not a meat wrestler. Your patties should feel loose and slightly crumbly before they hit the heat – this creates those perfect little air pockets that hold onto all those magnificent juices, giving you that “wow, did I really make this?” moment when you take that first bite.
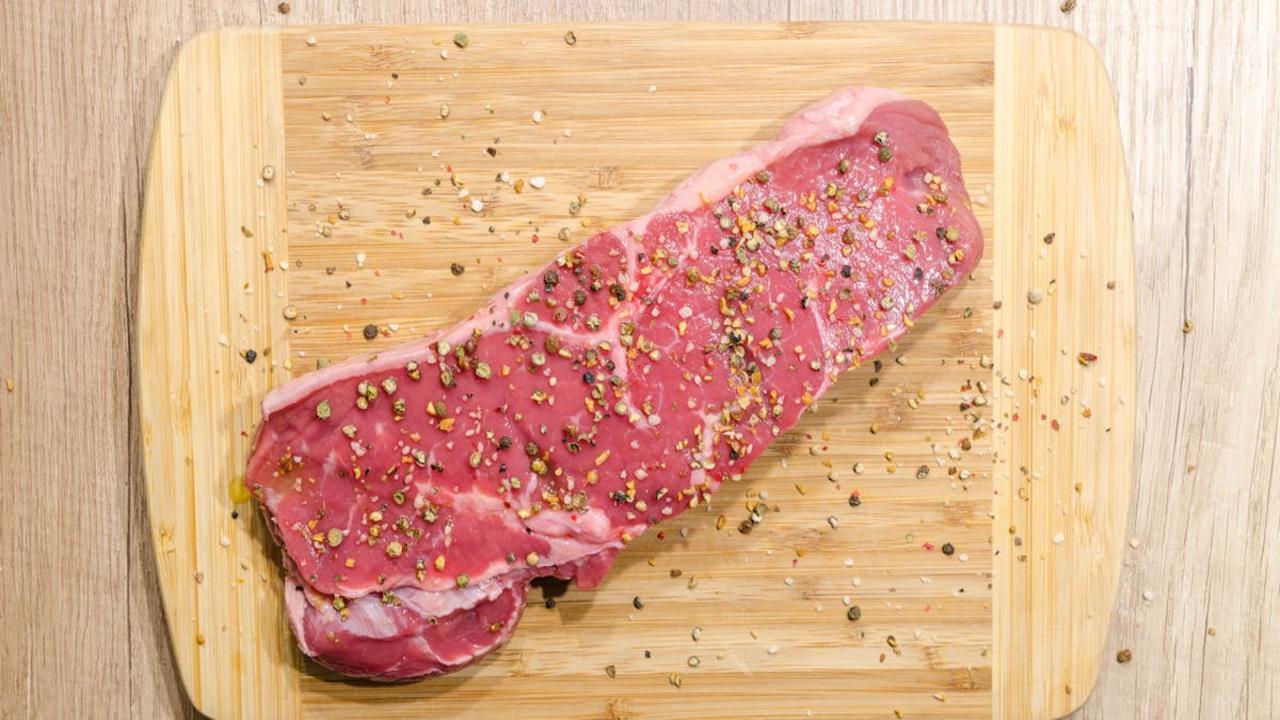
Neglecting to Season Properly
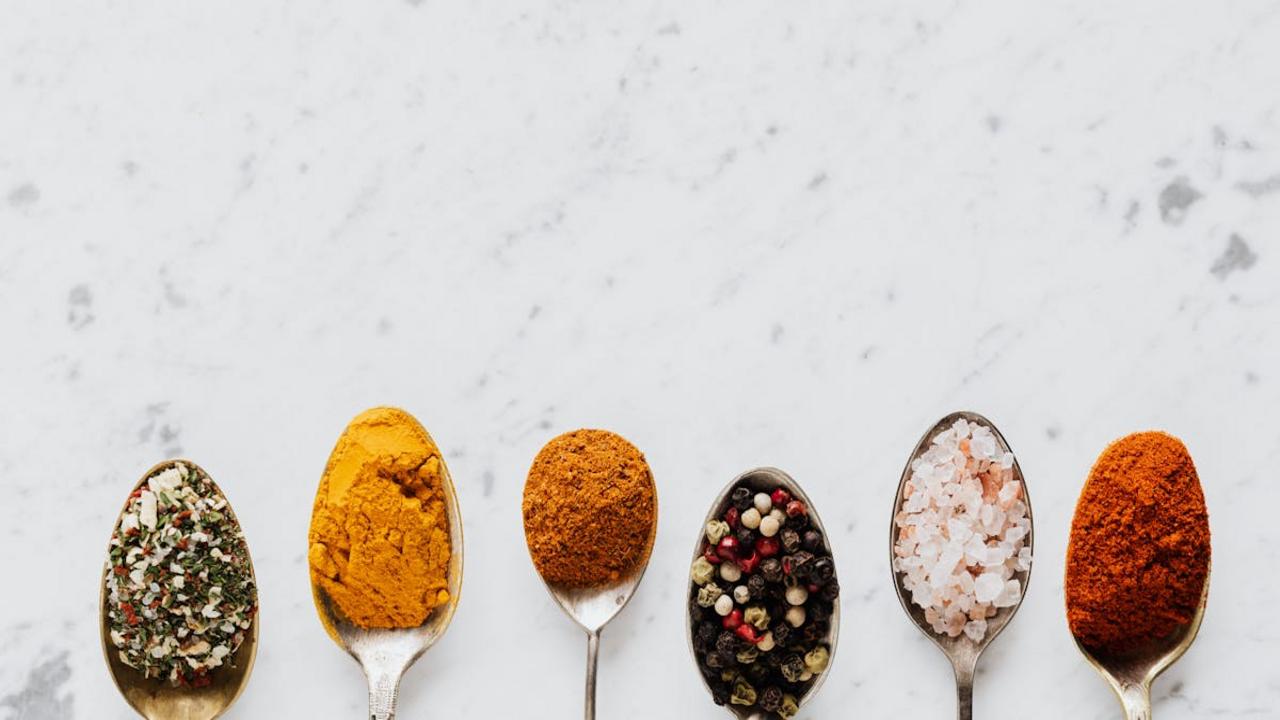
You know that friend who puts salt on everything before even tasting it? Well, they might be onto something when it comes to burger prep! Most home cooks treat their ground beef like a delicate flower, barely whispering seasoning suggestions instead of giving it the bold flavor foundation it desperately craves. Here’s the thing: unseasoned meat is basically edible cardboard with commitment issues. Your patty needs salt, pepper, and maybe some garlic powder or onion powder to transform from sad, gray disappointment into something worth firing up the grill for.
The magic happens about 15-20 minutes before cooking – that’s your seasoning sweet spot. Salt draws out moisture initially, then breaks down and gets reabsorbed, creating this incredible flavor distribution throughout the meat. Think of it as your burger getting a spa treatment that actually works. Don’t be shy with your seasonings either; remember, you’re flavoring the entire thickness of the patty, not just the surface. A good rule of thumb is about 3/4 teaspoon of salt per pound of meat, plus freshly cracked pepper and whatever other flavor friends you want to invite to the party. Your future self will thank you when that first bite delivers actual flavor instead of expensive pet food.
Choosing the Wrong Meat Blend
Your grocery store beef section might look like a simple decision, but trust me, you’re standing at a crossroads that will make or break your burger dreams! Most people grab whatever ground beef catches their eye first, but here’s the thing – that 93/7 lean ground beef you think is “healthy” will give you a burger drier than my uncle’s jokes at Thanksgiving. The magic happens with an 80/20 blend (that’s 80% meat, 20% fat, for those keeping score), which gives you just enough fat to keep things juicy without turning your patty into a greasy mess that slides off the bun like it’s trying to escape.
Now, if you really want to level up your burger game, try mixing different cuts yourself – I love combining chuck roast with a little short rib for that rich, beefy flavor that makes your neighbors peek over the fence wondering what smells so incredible. Some burger fanatics even throw in a bit of brisket, though I once met a guy who swore by adding ground bacon to his mix (which honestly sounds either genius or completely unhinged, depending on your perspective). The key is remembering that fat equals flavor, and a little marbling in your meat is like having tiny flavor bombs waiting to explode in your mouth with each bite.