10 Burger Mistakes Chefs Avoid and How to Fix Yours for Juicier Tastier Patties
You’ve flipped a thousand burgers, but somehow they still turn out dry, bland, or falling apart like a bad relationship. Meanwhile, chefs create juicy, flavor-packed masterpieces that make you question your entire grilling existence. The secret? They’ve cracked the code on what NOT to do, and honestly, most home cooks commit these burger crimes without even knowing it.
Think about it: a perfect burger should drip down your chin, explode with seasoning, and hold together through every messy, glorious bite. Yet somewhere between the meat aisle and your backyard grill, things go sideways. Maybe you’re squishing patties like they owe you money, or picking bread that turns soggy faster than a paper towel in a rainstorm.
Good news—fixing your burger game isn’t rocket science. With a few chef-approved tweaks, you’ll transform those hockey pucks into restaurant-quality beauties. Ready to stop making these mistakes and start flipping burgers that actually deserve those fancy toppings?
Overlooking Resting Time
Picture this: you’ve just pulled a gorgeous burger off the grill, the edges are perfectly charred, and you’re practically drooling. Your instinct screams to slap it on a bun immediately and take that first glorious bite. But here’s where most home cooks go catastrophically wrong—they skip the resting phase. When you cut into a burger (or even just bite into it) right after cooking, all those precious juices that make your patty tender and flavorful go running for the hills, straight onto your plate or worse, into your lap. Chefs know this cardinal rule: let your burger rest for 3-5 minutes after it comes off the heat. During cooking, the heat drives moisture toward the center of the meat. Resting allows those juices to redistribute throughout the entire patty, ensuring every bite is as juicy as the last.
Think of your burger like an athlete who just ran a marathon—it needs a cool-down period! While your patty sits there looking absolutely stunning (I know it’s hard to resist), cover it loosely with aluminum foil to keep it warm without steaming it. This brief intermission also gives you the perfect opportunity to toast your buns, slice tomatoes, or mix up a special sauce. The temperature will drop slightly, which some people worry about, but trust me on this one—a burger that’s a few degrees cooler but dripping with flavor beats a piping hot hockey puck any day of the week. Your patience will be rewarded with a burger that doesn’t leave a puddle of juice behind, but instead delivers maximum flavor in every single mouthful.
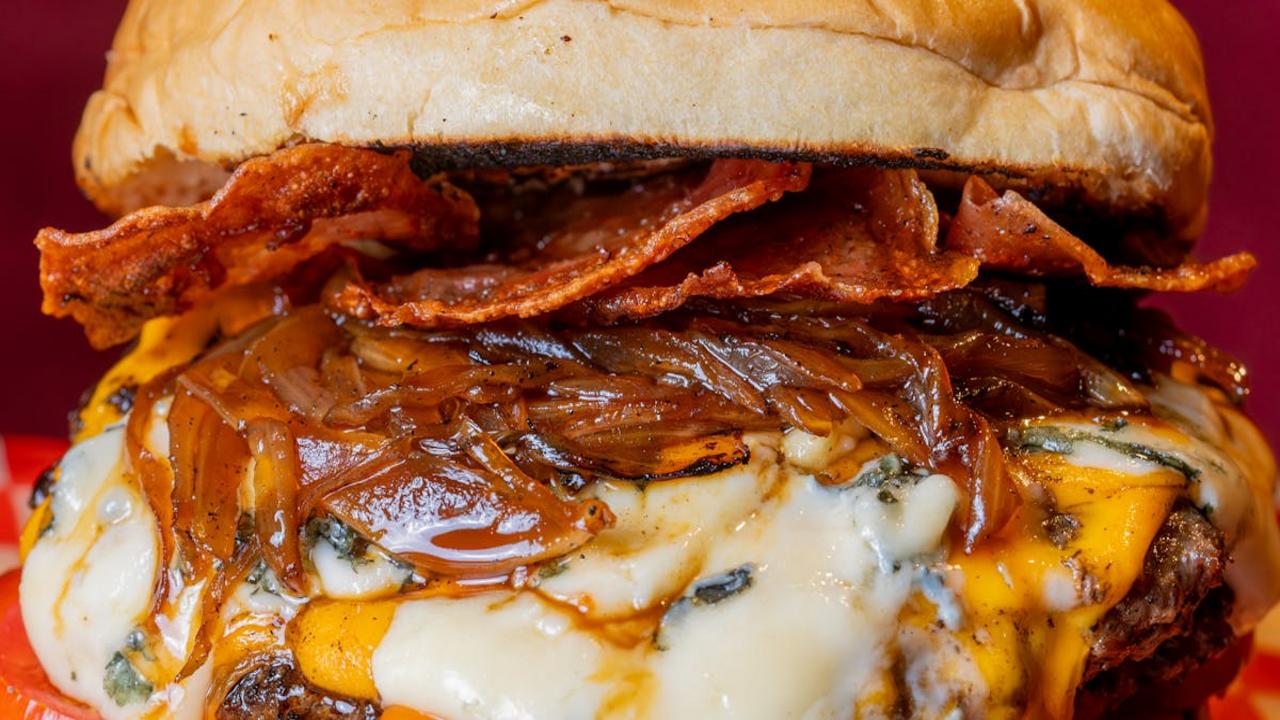
Ignoring Cheese Melting Timing
You slap that cheese on too early, and you’ll end up with a sad, burnt-edged square that looks like it went through a tanning bed mishap. Too late, and you’ve got an unmelted slice sitting on top like it’s just hitched a ride. The sweet spot? Add your cheese during the last minute of cooking, then cover the burger with a lid or dome. The trapped steam creates the perfect melting environment, giving you that glossy, gooey blanket of dairy goodness that cascades down the sides. Here’s something wild: Swiss cheese melts at around 130°F, while American cheese liquefies at a mere 150°F, making it the MVP of burger cheese. Cheddar sits somewhere in the middle at 180°F. Each variety has its own personality, so knowing your cheese’s melting point means you can time it perfectly.
The technique that changed my burger game forever was the “steam tent” method. Right after you add the cheese, splash a tablespoon of water into the pan (away from the burger) and immediately cover with a lid. The sudden burst of steam turns your pan into a cheese-melting sauna, creating that restaurant-quality stretch in about 30 seconds. Pro move: if you’re using thicker cheese like aged cheddar, give it an extra 15 seconds. Your patience will be rewarded with that picture-perfect cheese pull that makes everyone at the table pause mid-conversation. Skip this step, and you’re basically serving a burger with a cheese hat instead of a cheese hug.
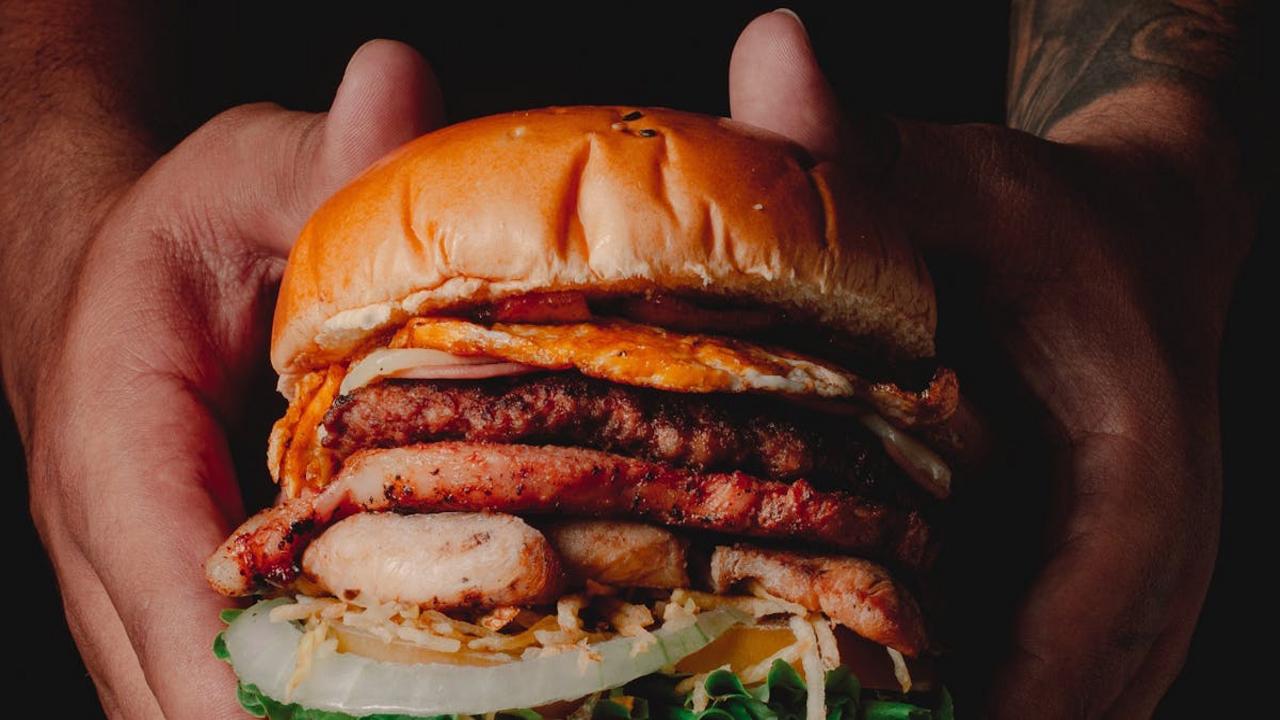
Overloading or Underloading Toppings
Picture this: you’ve got a gorgeous patty, perfectly cooked, sitting on a bun. Then you decide to pile on everything from pickles to three types of cheese, bacon, onion rings, jalapeños, and enough sauce to fill a swimming pool. Suddenly, your burger transforms into a structural engineering disaster waiting to collapse mid-bite. Here’s the thing—too many toppings don’t make a better burger; they make a mess that requires a fork and knife (the ultimate burger betrayal). Each ingredient should complement the beef, not compete with it. Chefs know that restraint is power. They select three to five quality toppings max, creating balance instead of chaos. Your burger shouldn’t need scaffolding to hold together.
On the flip side, underloading leaves you with a sad, dry patty sitting lonely on bread—basically a meat cracker with trust issues. A naked burger needs at least some sauce, a slice of cheese, and a vegetable or two to create moisture and texture contrast. Think of toppings as supporting actors in a blockbuster: they shouldn’t steal the show, but they definitely shouldn’t phone it in either. The perfect ratio means every bite delivers beef flavor with just enough extras to keep things interesting. Start simple—lettuce, tomato, cheese, and your favorite condiment—then add one signature element that makes it yours. Remember, you’re building a burger, not a tower challenge from a cooking competition show.
Miscalculating Patty Size
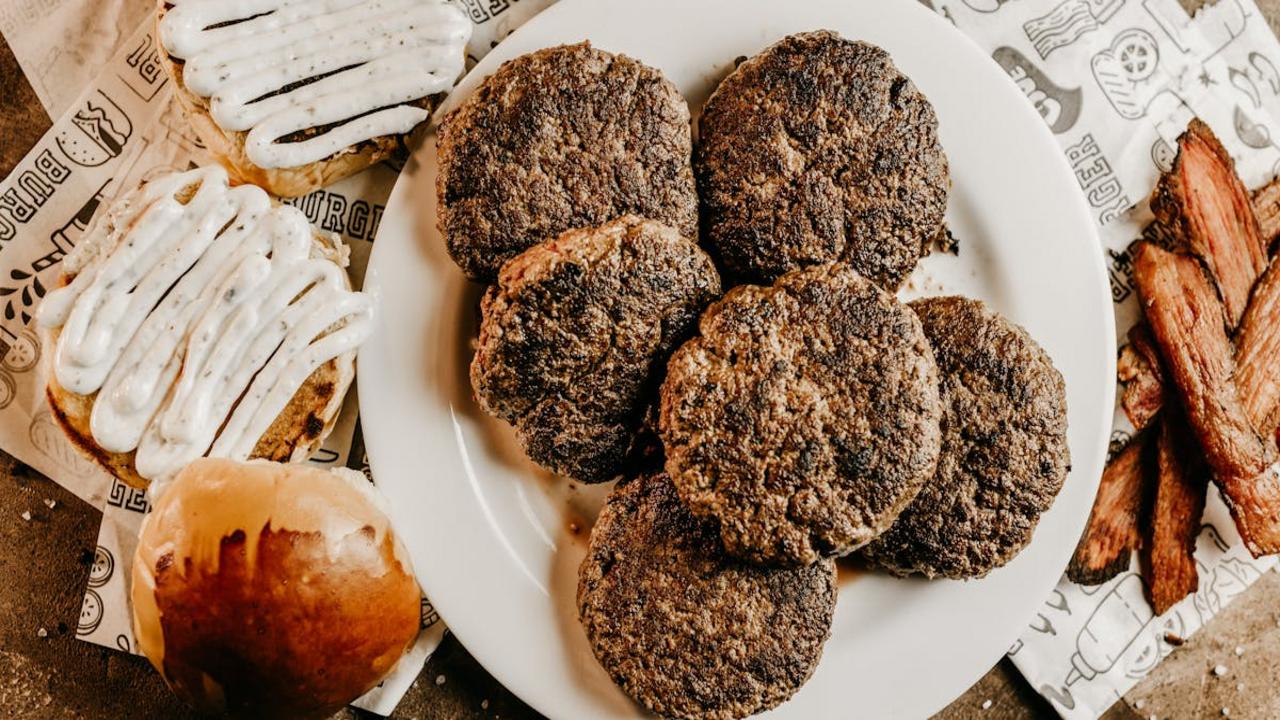
Ever noticed how your burger patty transforms into a sad, thick hockey puck or a paper-thin crispy frisbee after hitting the grill? That’s the classic miscalculation mistake right there. Most home cooks eyeball their patties without considering shrinkage—and no, that’s not just a cold water problem. Ground beef contains fat and moisture that evaporates during cooking, causing patties to shrink by roughly 25%. So that quarter-pound ball of meat you’re forming? It’s going to end up more like three ounces of cooked disappointment. The fix is simple: make your raw patties about one-third larger than you want them to end up, and slightly wider than your bun since they’ll contract inward as they cook.
Here’s another pro move that’ll change your burger game forever—use a kitchen scale and aim for six to eight ounces of raw meat per patty. This gives you that perfect substantial burger that doesn’t disappear into nothing or turn into an unwieldy monster that’s impossible to eat without dislocating your jaw. Shape them about three-quarters of an inch thick and make a shallow dimple in the center with your thumb. This dimple technique prevents the dreaded dome effect where the middle puffs up like a meatball while the edges get crispy. Get these measurements right, and suddenly your homemade burgers will actually fit the bun properly instead of looking like they belong in different zip codes.
Forgetting to Toast the Bun
Picture this: you’ve just pulled off the perfect burger—juicy patty, melted cheese, crispy bacon, all the fixings. Then you slap it onto a sad, soggy, straight-from-the-bag bun that immediately starts disintegrating in your hands like wet cardboard. What a tragedy! Toasting your bun isn’t just some fancy chef move—it’s the difference between a burger that holds together beautifully and one that falls apart halfway through your first bite. That golden, slightly crispy surface creates a protective barrier against all those delicious juices and condiments, plus it adds a buttery, toasted flavor that plain bread simply can’t match. Pop those buns cut-side down on a hot griddle with a little butter for about two minutes, and you’ll transform them from boring bread holders into crispy, flavorful foundations.
Here’s the thing nobody tells you: the moisture from your burger will always try to sabotage your bun. It’s basically a science experiment in structural failure waiting to happen. But a toasted bun? That’s your burger’s best friend. The heat caramelizes the sugars in the bread, giving you those gorgeous brown spots and a subtle sweetness that balances out savory toppings. Some people swear by oven-toasting, others prefer a grill, but honestly, a simple skillet does wonders. Just make sure your pan is hot enough—you want that satisfying sizzle when the bun hits the surface. And here’s a pro tip: if you’re feeling extra fancy, brush the cut sides with garlic butter or mayo before toasting. The fat helps create an even crispier barrier, and your burger will taste like it came from a restaurant that charges twenty bucks for basic ground beef.
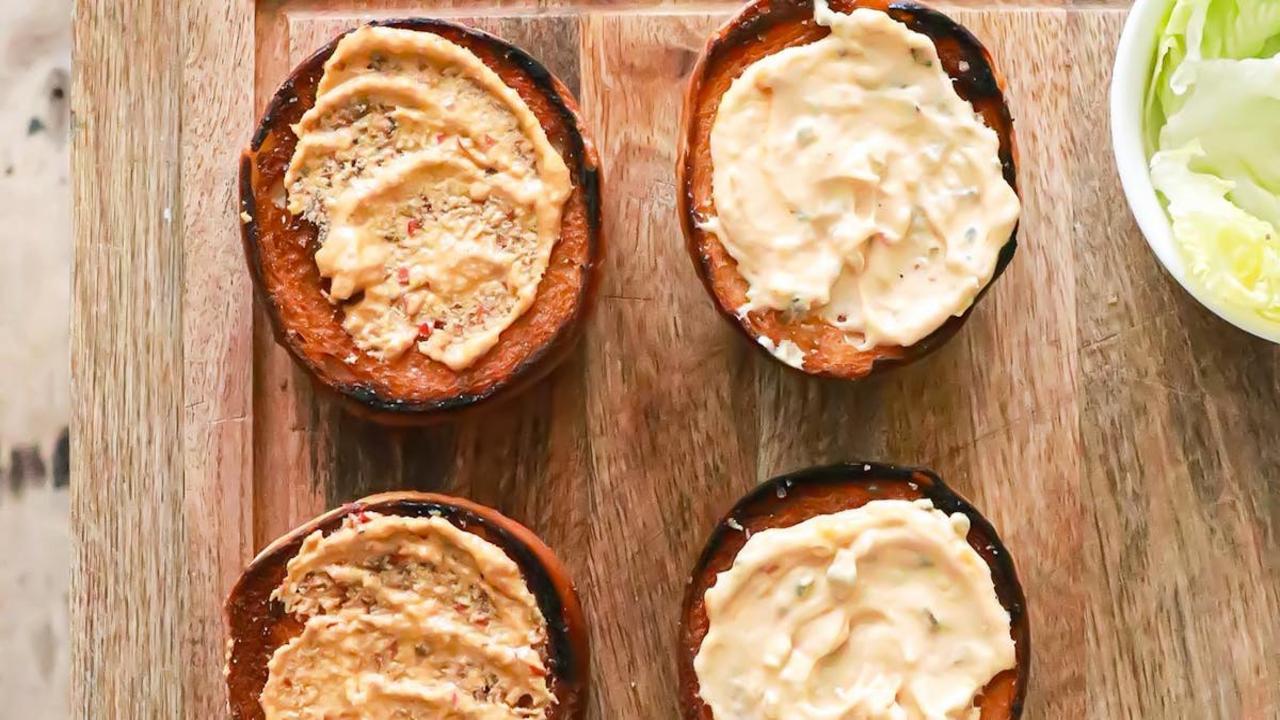
Using Inappropriate Bread
Look, I get it—bread is bread, right? Wrong! Your bun choice can make or break your burger faster than you can say “extra pickles.” Too many home cooks grab whatever’s sitting in the bread aisle without thinking about structure, and that’s where things go sideways. A flimsy, wimpy bun turns into a soggy disaster the second those juicy burger drippings hit it. Meanwhile, an overly dense bun becomes a jaw-workout that distracts from the star of the show—that perfectly seasoned patty. Chefs know that the ideal burger bun needs to be sturdy enough to hold everything together but soft enough to compress slightly with each bite. Brioche works beautifully because it’s rich and slightly sweet, balancing savory toppings while staying intact. Potato buns offer similar durability with a subtle flavor that won’t compete with your burger. The worst offender? Those pre-sliced sandwich breads that fall apart before you’ve even taken your first bite.
Here’s your fix: toast your buns lightly on the grill or in a pan with a bit of butter. This creates a protective barrier that keeps moisture from seeping through, plus it adds a satisfying crunch and nutty flavor. If you’re dealing with particularly juicy burgers, consider scooping out a bit of the excess bread from the top bun—this creates a little well that catches all those delicious drippings without making everything fall apart. Pro tip: match your bun size to your patty size. Nothing’s more frustrating than a tiny burger swimming in an ocean of bread or a massive patty with meat hanging over the edges. Balance is everything, and getting your bread-to-beef ratio right means every single bite delivers the perfect combination of textures and flavors, exactly as the burger gods intended.
Pressing Down on the Patty While Cooking
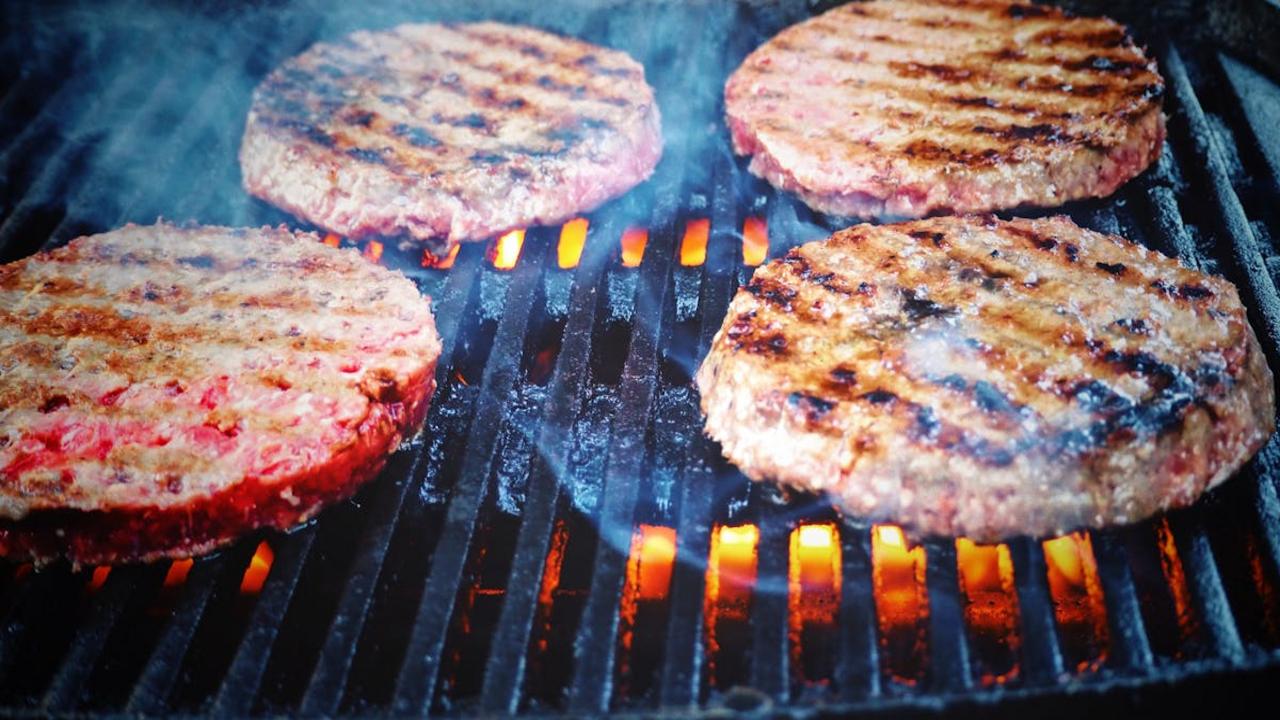
Picture this: you’re standing at the grill, spatula in hand, and you spot your burger sizzling away. Without thinking, you press down hard on that patty, listening to the satisfying hiss as juices stream onto the hot grates. Congratulations—you just squeezed out every ounce of moisture that makes a burger worth eating! That liquid gold dripping away? That’s not excess fat you’re eliminating; it’s the flavor, tenderness, and juiciness you worked so hard to build into your patty. Every time you press down, you’re basically wringing out a delicious sponge, leaving behind a dry, hockey-puck-like disc that even ketchup can’t save. Chefs never do this because they understand that those juices need to stay inside the meat, not evaporate into smoky oblivion.
The science behind this rookie mistake is straightforward but brutal: muscle fibers in ground beef hold onto moisture through a delicate balance of heat and structure. When you apply pressure, you physically force those juices out before they have a chance to redistribute throughout the patty during resting. Instead of pressing, simply flip your burger once—maybe twice if you’re feeling rebellious—and let heat do its job. Your patience will reward you with a burger that’s moist, flavorful, and doesn’t require drowning in condiments to mask its sad, dried-out texture. Keep your hands off, step away from the spatula, and trust the process!
Overhandling the Meat
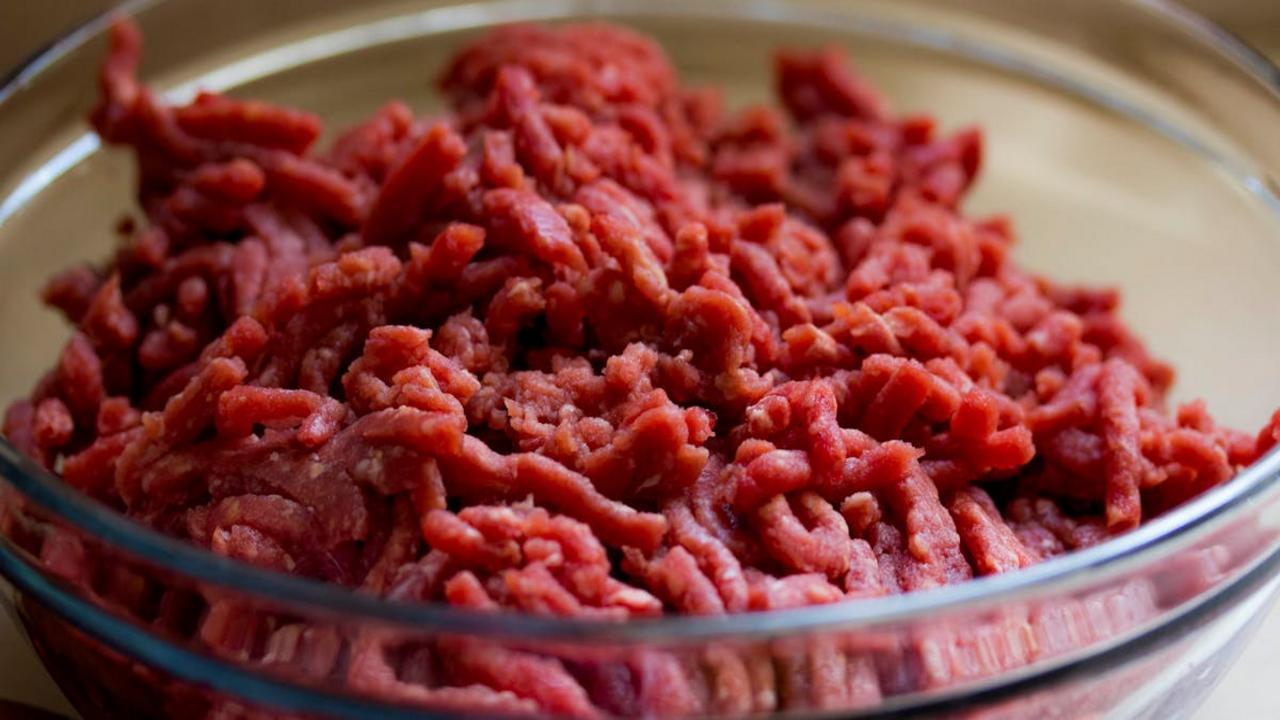
Here’s the thing about burger meat: it’s not PlayDoh, and you’re not sculpting the Sistine Chapel. The more you poke, prod, and knead that ground beef, the tougher your burger becomes. Every squeeze and compression activates proteins in the meat that bind together, creating a dense, rubbery texture that’ll have your jaw working overtime. Professional chefs know the secret is treating ground beef like a delicate flower—mix it gently, form it quickly, and get those hands out of there. When you overwork the meat, you’re basically creating a beef hockey puck instead of a juicy patty. The perfect burger should be loosely packed, with visible bits of fat that’ll melt during cooking and create those coveted juice pockets. Think of it this way: your burger patty should hold together just enough to make it from counter to grill without falling apart.
So how do you fix this common mistake? First, keep everything cold—meat, bowl, even your hands if possible. Cold fat doesn’t smear as easily, which means better texture. When mixing in seasonings, use a gentle folding motion instead of aggressive kneading. Form your patties with minimal pressure, making them about three-quarters of an inch thick with a slight dimple in the center to prevent bulging during cooking. Handle each patty no more than absolutely necessary—ideally, you should touch the meat for less than 30 seconds total. If you’re adding mix-ins like onions or cheese, distribute them quickly and move on. Your burger deserves better than being squeezed to death before it even hits the heat.
Neglecting to Season Properly
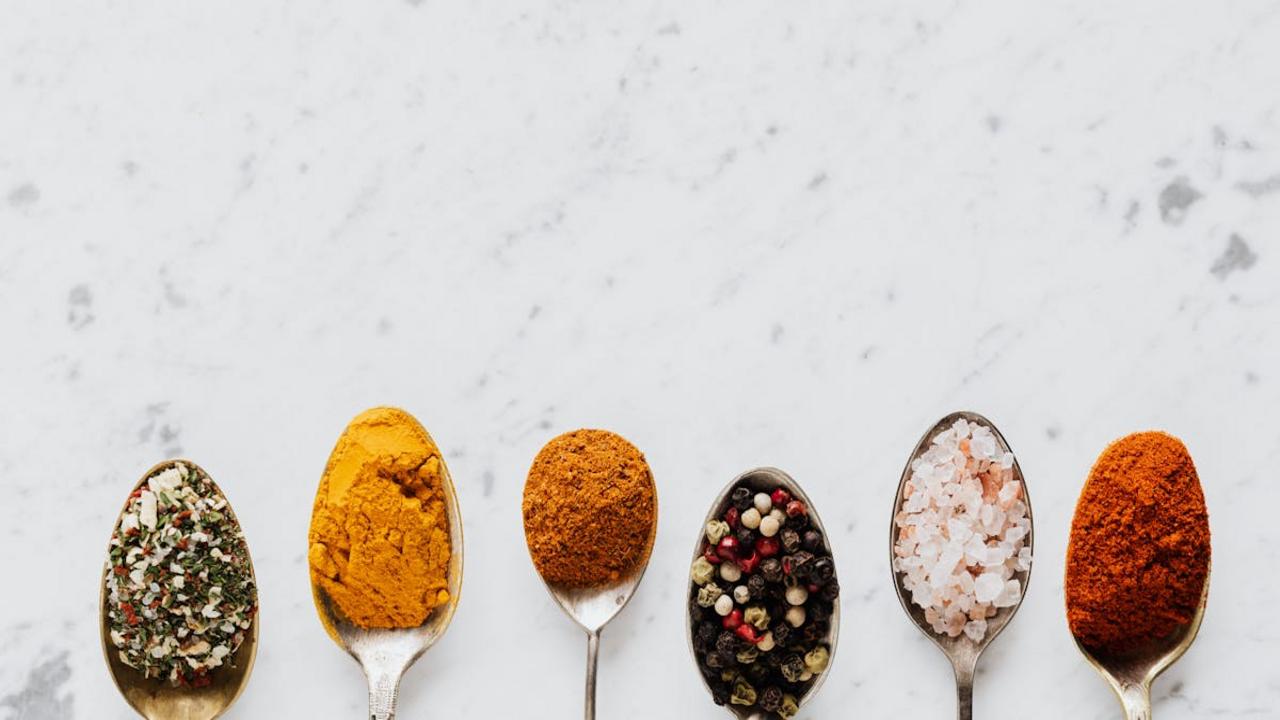
Here’s the thing about seasoning your burger: you can’t just sprinkle some salt on top and call it a day. That’s like putting on deodorant over yesterday’s workout shirt—sure, you tried, but nobody’s fooled. The biggest mistake amateur grill masters make is waiting until the patty hits the grill to season it. By then, you’re only flavoring the surface while the inside remains a bland, disappointing fortress of unseasoned meat. Professional chefs know the secret is mixing salt and pepper directly into the ground beef before forming your patties, ensuring every single bite delivers that savory punch your taste buds crave. And here’s a fun fact: salt actually helps the proteins in meat bind together, creating a better texture that holds up during cooking without falling apart like your New Year’s resolutions.
Now, don’t go crazy and turn your burger into a salt lick—about three-quarters of a teaspoon of kosher salt per pound of meat hits the sweet spot. Add freshly cracked black pepper to taste, and if you’re feeling adventurous, a pinch of garlic powder never hurt anyone. Mix these seasonings gently into your meat with your hands, being careful not to overwork it (we’ll get to that mistake later). The difference between a properly seasoned burger and an underseasoned one is like comparing a Broadway show to your cousin’s garage band—technically both are performances, but only one makes you want to stand up and cheer. Remember, you’re building flavor from the inside out, not just slapping a Band-Aid of seasoning on the surface and hoping for the best.
Choosing the Wrong Meat Blend
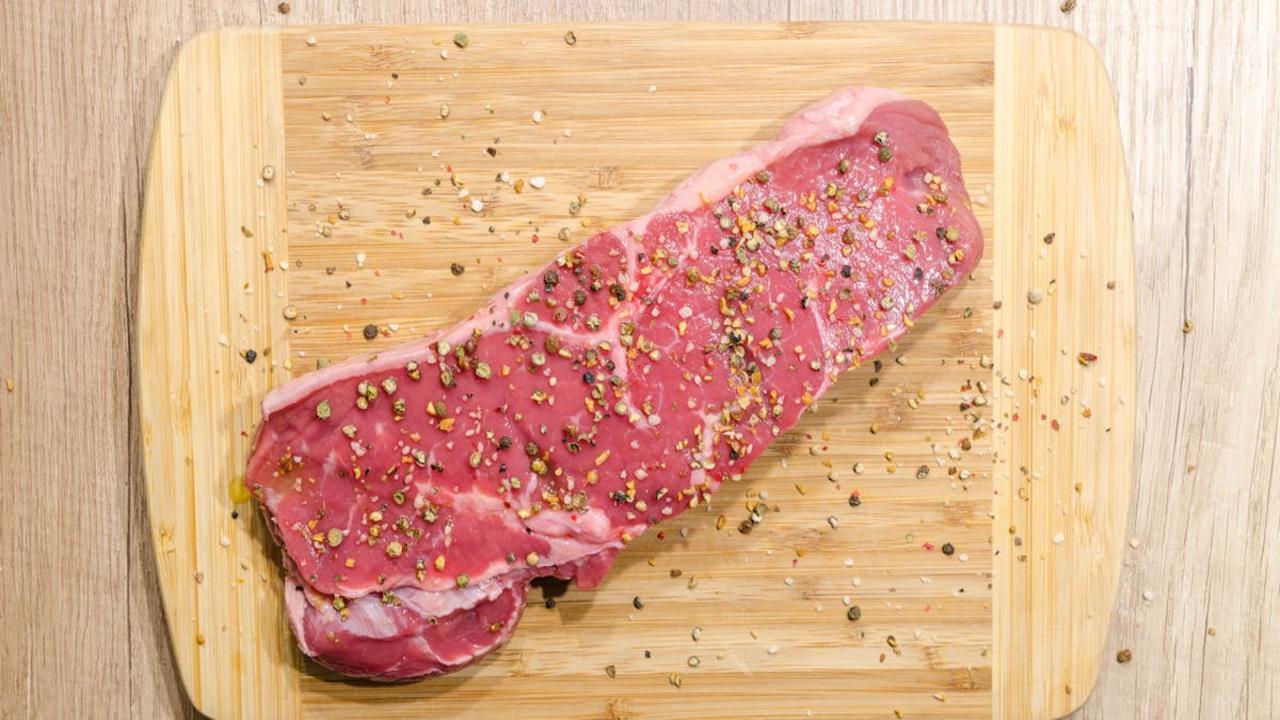
Here’s the truth that’ll save your next cookout: grabbing whatever ground beef is on sale might work for tacos, but for burgers, you need to get picky about your meat blend. The ideal burger patty contains 80% lean meat and 20% fat—this ratio isn’t some random number cooked up by beef scientists; it’s the perfect balance that keeps your burger juicy while still holding together on the grill. Go leaner than 80/20, and you’re basically making hockey pucks. Your burger needs that fat to self-baste as it cooks, creating those caramelized edges and that “oh wow” moment when you take your first bite. Some folks swear by mixing different meats—chuck for flavor, sirloin for texture, brisket for that extra richness—but honestly, a good 80/20 chuck will make you a hero at any backyard gathering.
Want to take things up a notch? Ask your butcher to grind the meat fresh, or better yet, grind it yourself if you’ve got the equipment. Pre-packaged ground beef gets compressed and handled more, which can make your burgers dense and tough. Freshly ground meat has a looser texture that translates to a more tender bite. And here’s something most home cooks don’t know: the temperature of your meat matters before it even hits the pan. Keep that beef cold—like, straight-from-the-fridge cold—right up until cooking time. Warm meat turns greasy and falls apart faster than your resolve at an all-you-can-eat buffet. Store your ground beef in the coldest part of your refrigerator, and if you’re grinding your own, pop those meat chunks in the freezer for about fifteen minutes beforehand.