15 Brilliant Frozen Food Hacks That Actually Work
Your freezer can do much more than store ice cream and frozen pizzas. I’ve discovered amazing tricks to save money, reduce food waste, and keep ingredients fresh longer through smart freezing techniques. From properly storing berries to creating ready-to-cook meal portions, these practical hacks will transform how you use your freezer.
After years of testing different freezing methods in my home kitchen, I’ve narrowed down the most effective strategies that actually deliver results. These aren’t just Pinterest-pretty ideas – they’re real solutions for busy home cooks who want to maximize their freezer space and preserve food quality.
The best part? These freezer hacks require minimal extra effort but make a huge difference in your daily cooking routine. Whether you’re meal prepping for the week or saving seasonal produce, you’ll find game-changing techniques to help you work smarter in the kitchen. Let me share my favorite tried-and-true freezer tricks.
Freezer Organization System
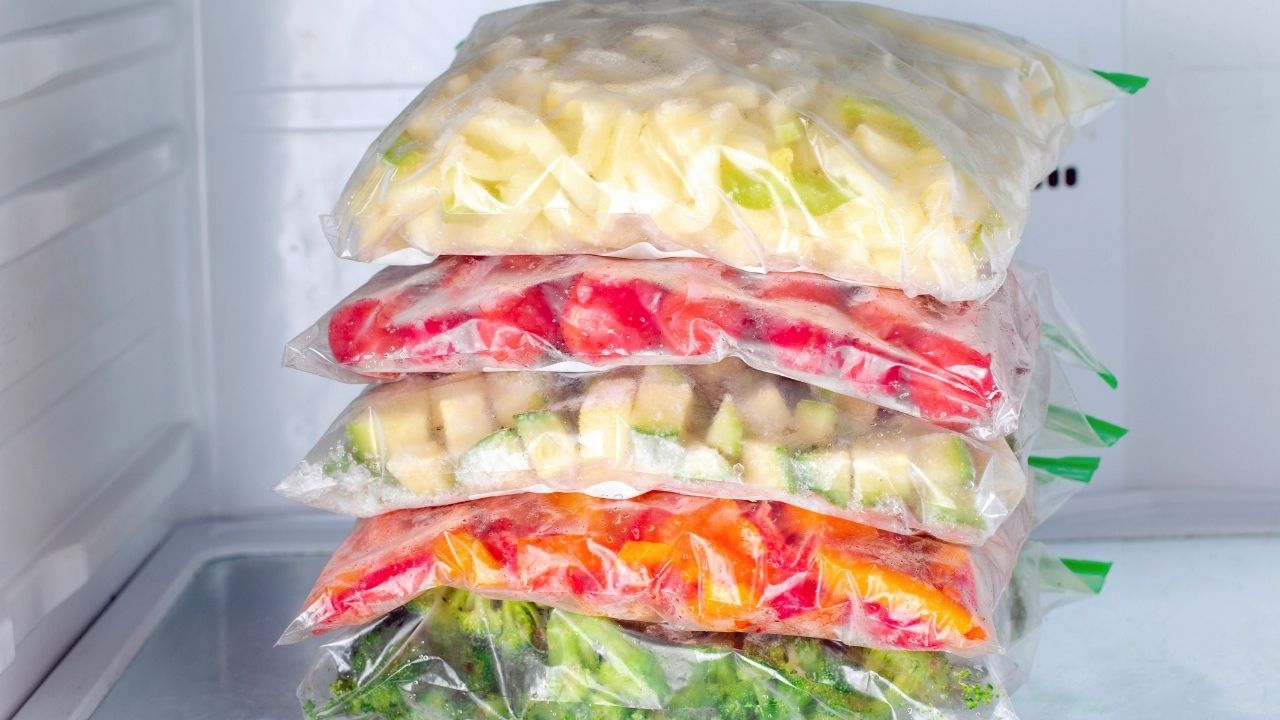
Your freezer doesn’t need to be a chaotic mess where food gets lost and forgotten! I’ve found that implementing a smart organization system transforms how you store and access frozen items. Start by grouping similar foods together – meats in one section, vegetables in another, prepared meals in their own zone. Use clear plastic bins or containers to keep categories separate and stack them neatly. Label everything with the contents and date using masking tape and a marker, so you’ll know exactly what you have and when you stored it.
Take your freezer organization to the next level by creating a simple inventory list on your phone or a magnetic notepad on the fridge. Every time you add or remove items, update your list accordingly. This prevents overbuying and helps you plan meals around what you already have. I recommend doing a monthly freezer clean-out where you move older items to the front and check for any freezer-burned foods that need to go. With this system in place, you’ll save money, reduce food waste, and always know what treasures await in your well-organized freezer.
Quick Thaw Safety Tips
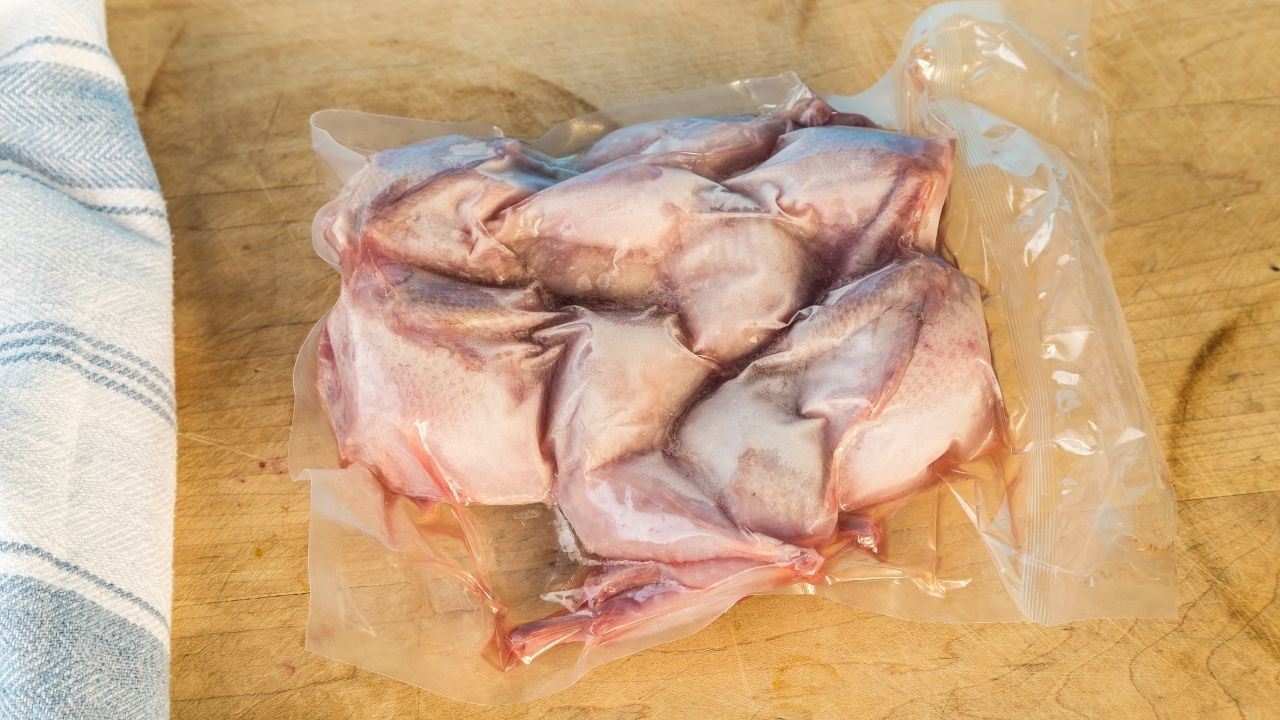
You need to thaw frozen foods safely to prevent harmful bacteria growth. I recommend planning ahead and thawing items in your refrigerator – this keeps food at a consistent safe temperature. Put frozen meats on a plate or in a container on the bottom shelf to catch any drips. Most items will need 24-48 hours to thaw completely. If you’re short on time, submerge sealed foods in cold water, changing it every 30 minutes. Never leave frozen food on the counter at room temperature.
For microwave thawing, remove all packaging and use the defrost setting in short bursts, rotating and flipping the food frequently. Cook thawed foods right away since microwaving can create warm spots where bacteria multiply. Raw meats should reach proper internal temperatures – 165°F for poultry, 145°F for fish and whole cuts of beef/pork, and 160°F for ground meats. Keep a food thermometer handy to check temperatures before serving. Following these safety guidelines will protect you and your family from foodborne illness.
Frozen Sauce Cubes

I absolutely swear by freezing leftover sauces in ice cube trays – it’s one of my go-to tricks that saves me so much time and money in the kitchen. Pour your homemade pesto, tomato sauce, curry paste, or any other sauce into standard ice cube trays, freeze until solid, then pop them out into freezer bags. Each cube equals about 2 tablespoons, making it super simple to grab exactly what you need for your recipes without thawing a huge batch.
This method works perfectly for those specialty sauces you don’t use daily but want to keep fresh, like chimichurri or romesco. I love making big batches of my mom’s secret tikka masala sauce and freezing it in cubes – whenever I want a quick curry, I just toss 4-5 cubes into a pan with some chicken and veggies. The sauce melts evenly and maintains its original flavor. Just remember to label your freezer bags with the sauce type and date – future you will thank you for staying organized!
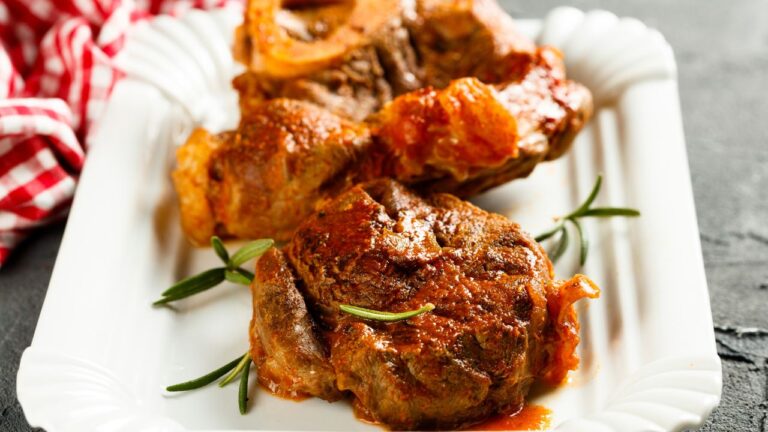
Meatball Portioning Tray
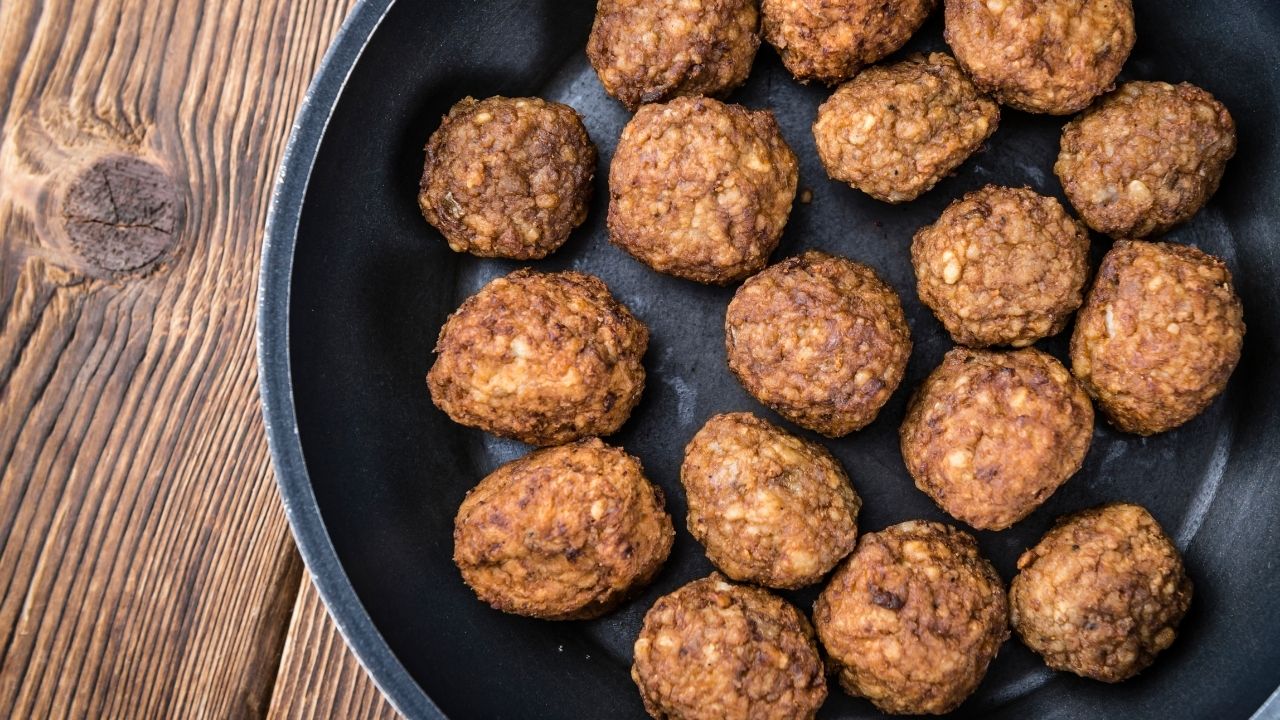
I stumbled upon this genius frozen food hack while making big batches of meatballs for my weekly meal prep. Instead of rolling meatballs one by one and placing them on a baking sheet, grab a silicone ice cube tray with larger compartments. Press your meatball mixture into each well, then pop the whole tray into the freezer. Once frozen solid, you’ll have perfectly portioned meatballs ready to transfer to freezer bags – each one exactly the same size!
This method saves so much time and keeps your hands clean compared to traditional rolling. The uniform portions cook more evenly too. I keep several trays going at once to stock up on meatballs for quick weeknight dinners. You can use this trick for any meatball recipe – from classic Italian to Swedish style to Asian-inspired versions with ginger and garlic. Just make sure to label your freezer bags with the date and type of meatball for easy reference later. The frozen meatballs will keep well for up to 3 months.
Shredded Cheese Quick Freeze
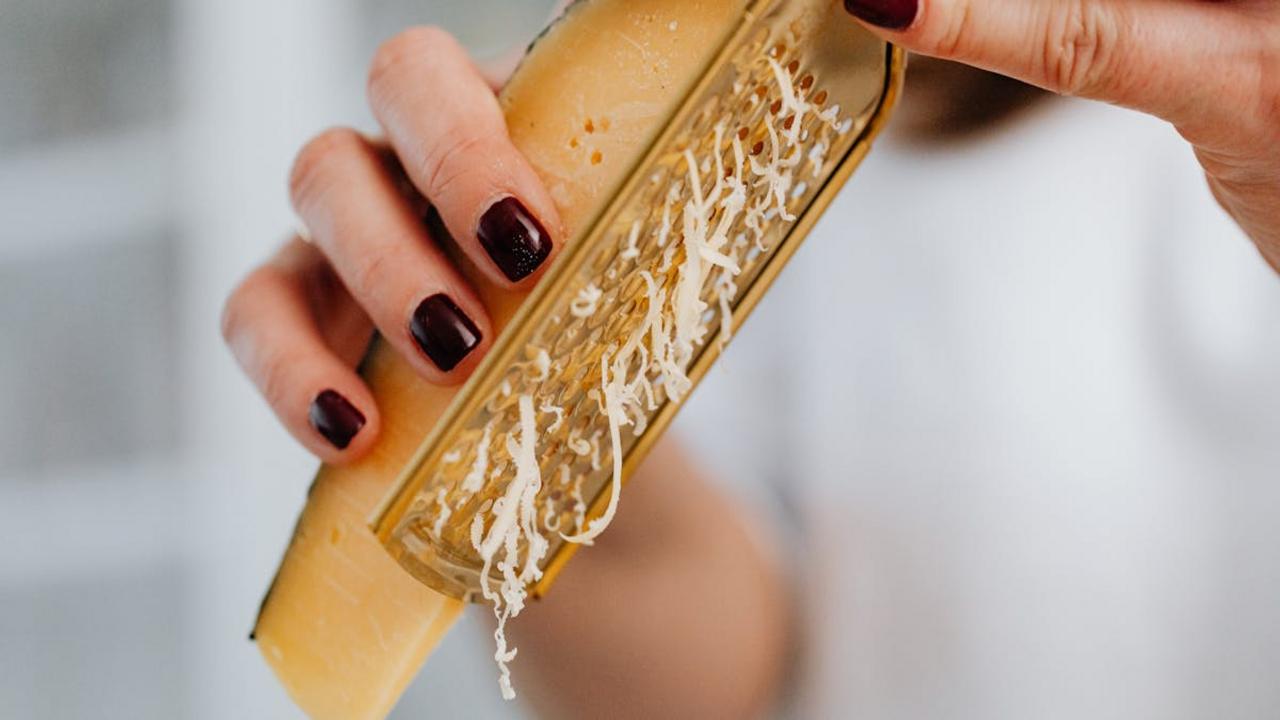
I discovered a brilliant way to prevent your shredded cheese from clumping together in the freezer – and it’ll save you time and money! Simply spread your freshly shredded cheese in a single layer on a parchment-lined baking sheet and pop it in the freezer for about 2 hours. Once the cheese pieces freeze individually, transfer them to a freezer-safe container or zip-top bag. This method works perfectly for cheddar, mozzarella, and other hard cheeses you regularly use in your cooking.
The quick-freeze technique keeps your cheese pieces separate and easy to measure, so you can grab exactly what you need without thawing the whole batch. I’ve found this especially helpful when making quick pizzas or adding cheese to casseroles – no more dealing with frozen cheese blocks! Your frozen shredded cheese will stay fresh for up to 6 months, making it a smart way to stock up during sales or preserve that block of cheese before it spoils. Just remember to squeeze out as much air as possible from your storage container to prevent freezer burn.
Soup Flat Pack Storage
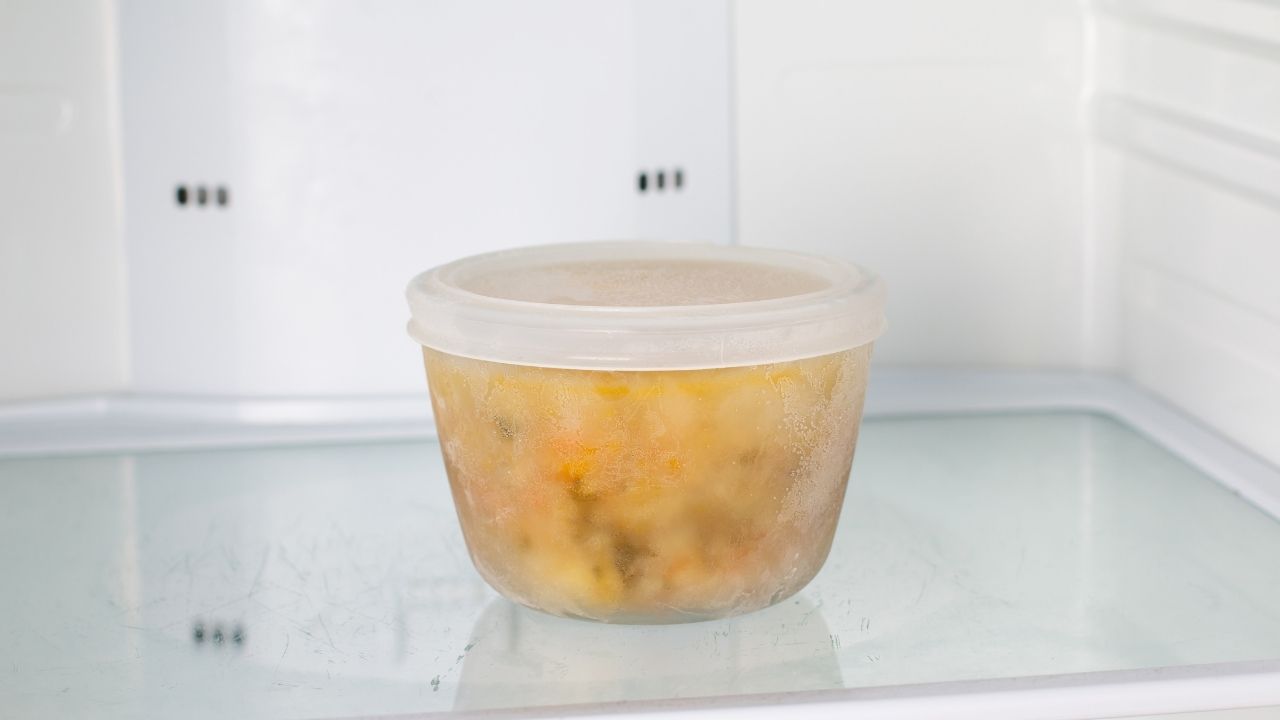
I learned this genius storage trick from my grandmother, who always made giant batches of homemade soups. Pour your cooled soup into large zip-top freezer bags, then lay them flat on a baking sheet. Push out any extra air and seal carefully. Pop the whole sheet in your freezer until the soup freezes solid. Once frozen, you can remove the baking sheet and stack the flat soup packs like books on their sides – this method saves so much space compared to bulky containers!
The flat storage method gives you another bonus: quick thawing. These thin, even layers of frozen soup defrost much faster than big frozen blocks. Just place a frozen pack in your sink with warm water for about 15-20 minutes. You can also break off portions easily if you need a smaller amount – just bang the frozen pack gently on your counter to break it into sections. I always label each bag with the soup type and date using a permanent marker before freezing.
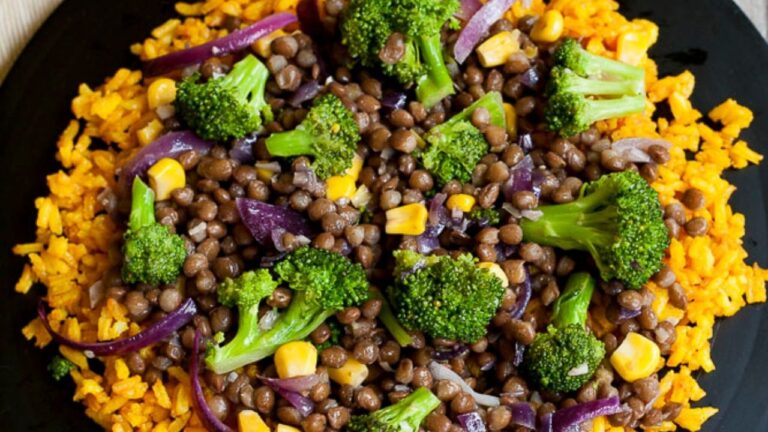
Frozen Rice Portions
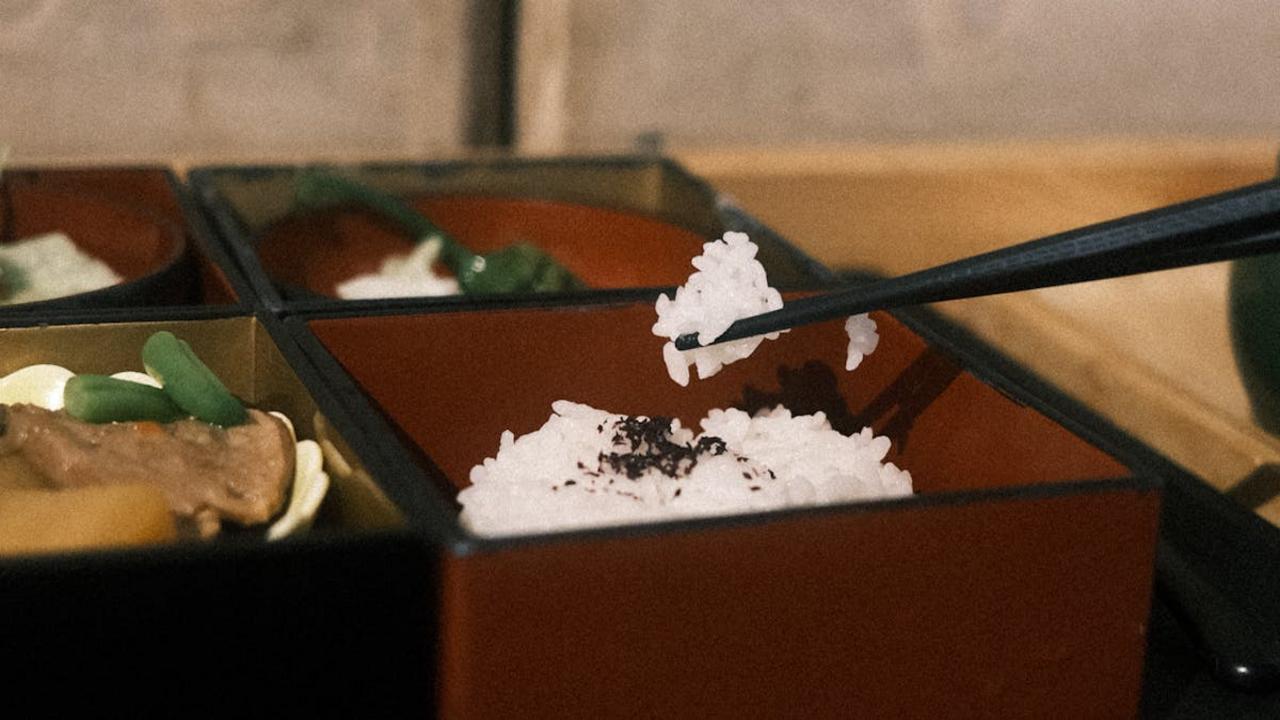
I discovered this genius frozen rice hack during my busy days working as a private chef. Instead of cooking rice every time I need it, I make a big batch, portion it into freezer bags or containers, and freeze it flat. This method works beautifully with white rice, brown rice, or any grain mix you love. Simply press out the excess air, smooth the rice into an even layer, and pop it in the freezer – you’ll have perfectly portioned rice ready to go whenever you need it.
To reheat your frozen rice, you have two quick options. You can microwave it with a splash of water for 2-3 minutes, stirring halfway through, or steam it in a covered pan on low heat. The rice maintains its texture and doesn’t turn mushy – you won’t even notice it was frozen! I keep different varieties labeled and dated, which makes meal prep so much faster. This hack saves me at least 30 minutes every time I cook stir-fries, curries, or rice bowls for my family.
Ice Cream Storage Trick
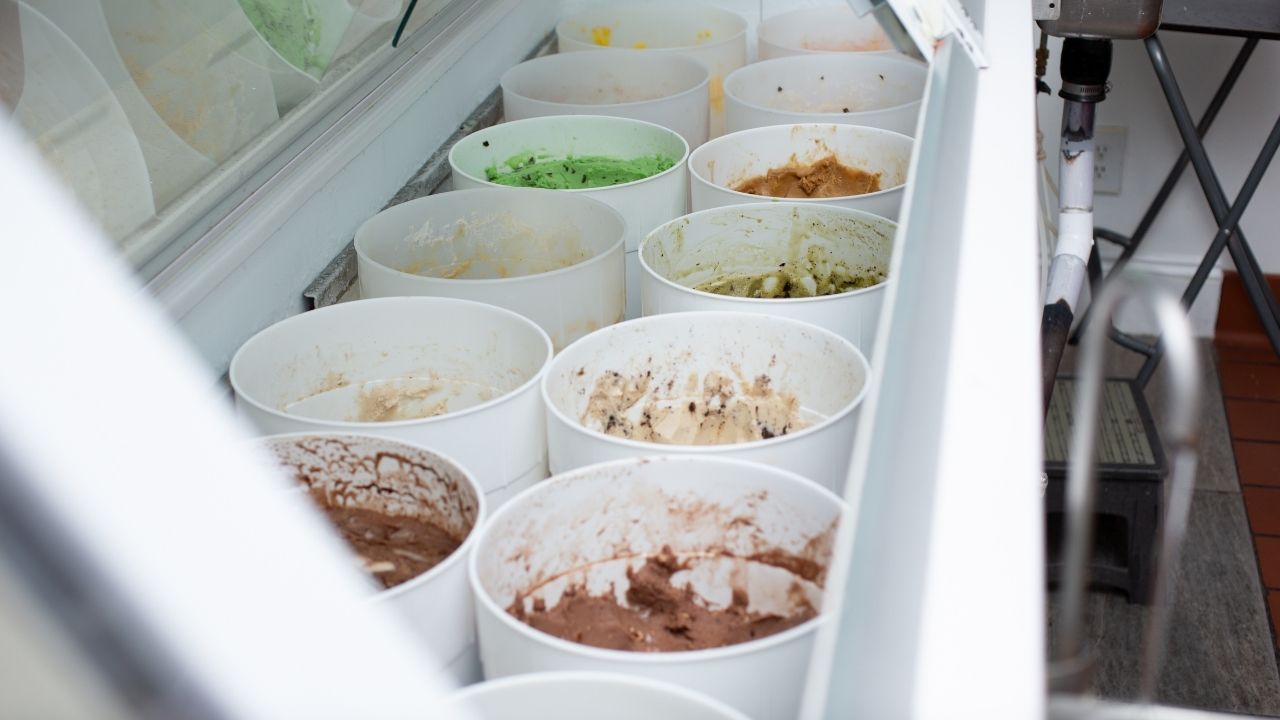
You know that frustrating moment when you open your ice cream and find it covered in icy crystals? I’ve discovered a brilliant way to prevent freezer burn and keep your ice cream smooth and creamy. Simply place the entire ice cream container in a large freezer bag before putting it back in the freezer. The airtight seal of the bag blocks out excess air and moisture that causes those unwanted ice crystals to form on your favorite frozen treat.
This simple storage method works wonders for maintaining the ideal texture of your ice cream for weeks. For extra protection, I recommend pressing out as much air as possible from the freezer bag before sealing it. You can also place a piece of plastic wrap directly on the ice cream’s surface before replacing the lid. These extra steps take just seconds but make a huge difference in preserving that fresh-from-the-store smoothness that makes ice cream so irresistible.
Frozen Veggie Steam Bags
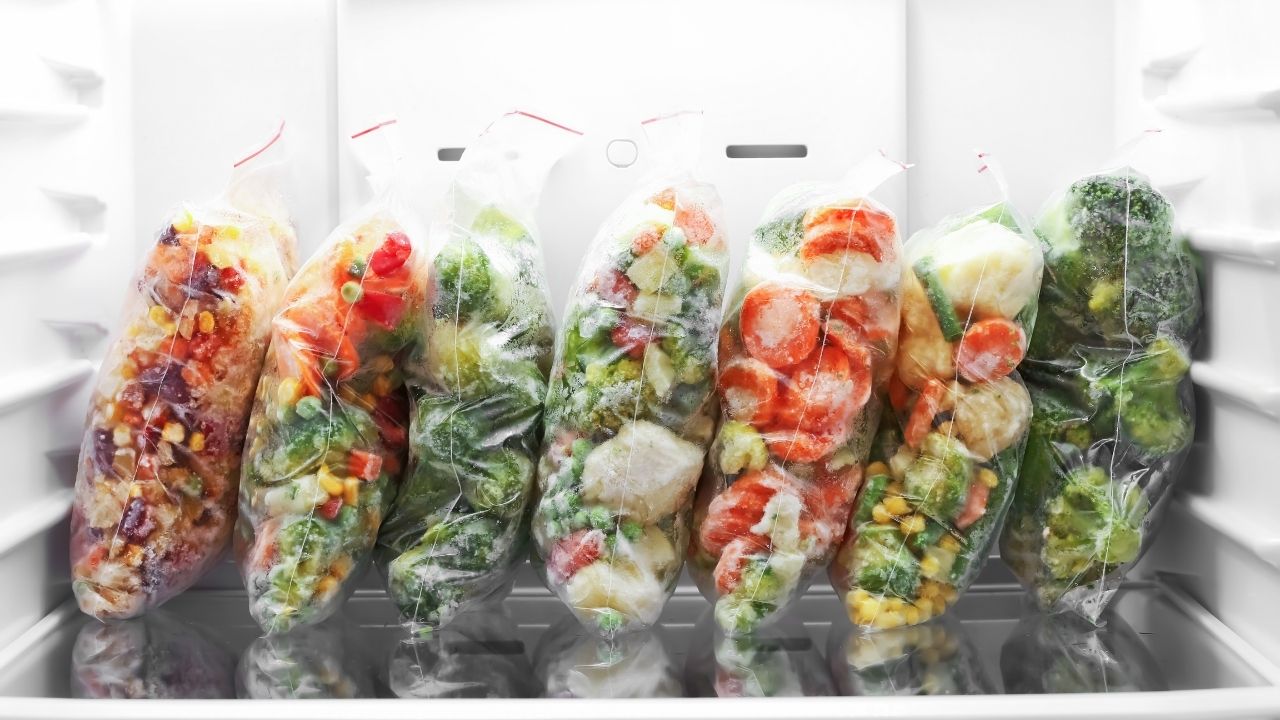
I’ve discovered a brilliant shortcut that makes weeknight dinners so much easier – frozen vegetable steam bags. You’ll find these ready-to-microwave pouches in your grocery store’s freezer section, packed with perfectly portioned broccoli, cauliflower, green beans, or mixed vegetables. The special bag design creates a steam chamber that cooks your vegetables quickly and evenly, maintaining their nutrients and fresh taste. Just pop them in the microwave for 4-5 minutes, and you’ll have perfectly steamed veggies without pulling out any pots or steamers.
Here’s my favorite trick: add extra flavor by opening the bag immediately after cooking and tossing the hot vegetables with olive oil, fresh garlic, lemon zest, or your preferred seasonings. The heat helps the flavors absorb better into the vegetables. You can also customize the cooking time – cook them a minute less for crisp-tender vegetables or add 30 seconds for softer results. Keep a few bags in your freezer for those busy nights when you need a quick, healthy side dish that requires zero prep work.
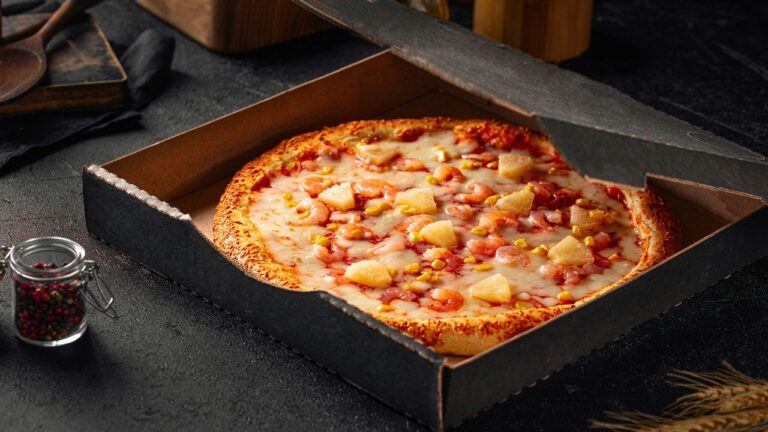
Pizza Roll Reheating Method
I’ve discovered the perfect way to bring those frozen pizza rolls back to their crispy, gooey glory! Skip the microwave – your air fryer or toaster oven will transform these bite-sized snacks into something that rivals fresh-from-the-oven perfection. Just spread them in a single layer, leaving space between each roll, and heat at 375°F for 6-8 minutes. You’ll get that ideal contrast between the crunchy exterior and molten cheese filling every time.
Want to take your pizza rolls to the next level? Brush them lightly with olive oil before reheating – this simple step adds an extra dimension of crispiness. I like to sprinkle some garlic powder and Italian seasoning on top too. Just keep a close eye during the last minute of cooking since the filling can bubble out if they get too hot. Once done, let them cool for 2-3 minutes before diving in – trust me, your tongue will thank you for avoiding those scalding hot first bites!
Banana Smoothie Packs

Make your morning routine faster and easier by creating banana smoothie packs! Simply slice ripe bananas, place them on a baking sheet lined with parchment paper, and freeze until solid. Once frozen, divide the banana slices into individual portions and combine them with your favorite mix-ins like berries, spinach, or mango chunks. Store each portion in labeled freezer bags or containers, removing as much air as possible to prevent freezer burn.
These ready-to-blend smoothie packs will save you precious minutes during busy mornings. Just dump the contents into your blender, add your liquid of choice (milk, yogurt, or juice), and blend until smooth. You’ll get perfectly portioned, frosty smoothies without the need to measure ingredients or chop fruit. I keep at least 10 packs in my freezer at all times, rotating flavors like chocolate-banana, mixed berry-banana, and tropical mango-banana to keep breakfast interesting.
Freezer Meal Prep Containers
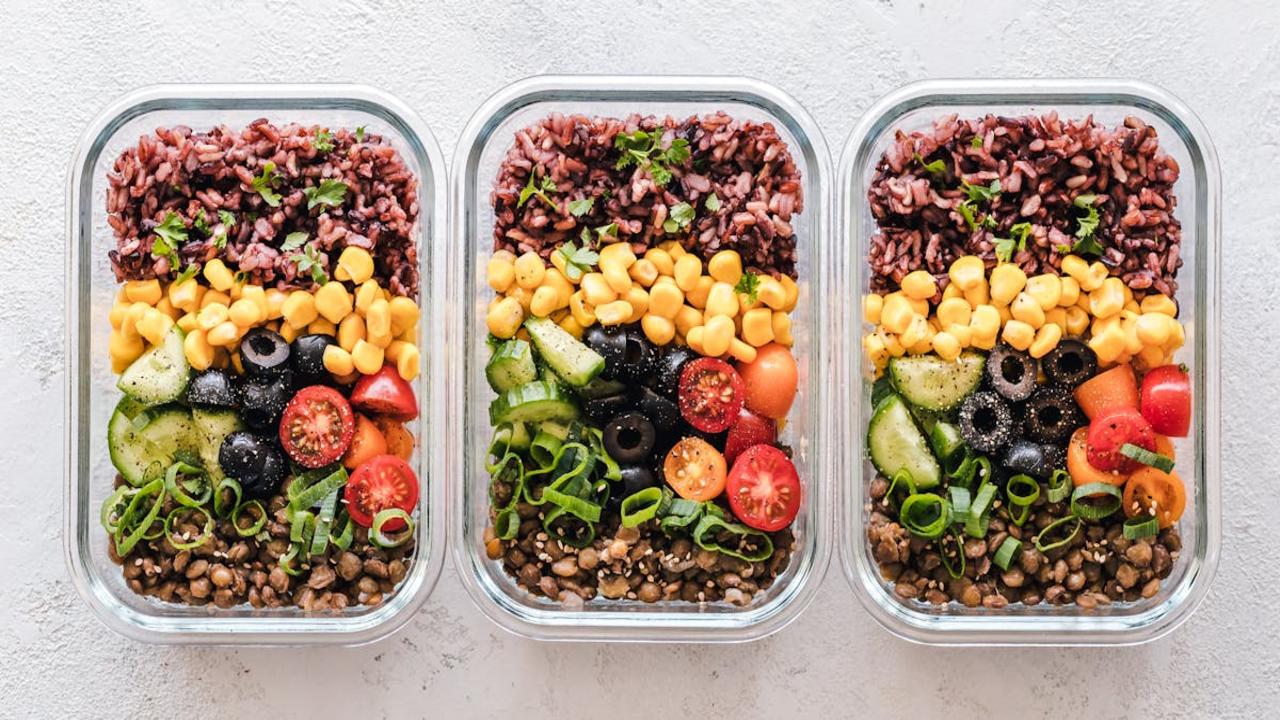
I always keep a stash of high-quality freezer meal prep containers ready to go in my kitchen – they’ve become my secret weapon for organized frozen food storage. After testing countless options, I’ve found that BPA-free plastic or glass containers with airtight, snap-on lids work best for preventing freezer burn and keeping your prepped meals fresh. The key is choosing stackable containers in uniform sizes that maximize your freezer space while making it super easy to grab what you need.
My top tip is to label each container clearly with the contents and date using freezer-safe tape or a permanent marker. You’ll want containers that can go straight from freezer to microwave or oven too – this flexibility makes reheating so much simpler. I recommend getting containers in both individual portion sizes for quick lunches and larger family-sized ones for big batch cooking. Just make sure to leave about an inch of headspace when filling them since liquids expand during freezing. These containers have saved me countless hours in the kitchen and helped reduce food waste significantly.
Ice Cube Herb Preservation

I’ve found the perfect way to save those beautiful fresh herbs from going bad – freeze them in ice cube trays! Fill each compartment with chopped herbs like basil, cilantro, parsley, or mint, then cover with olive oil or water before popping them in the freezer. Once frozen, transfer the cubes to a freezer bag and you’ll have fresh herb flavor ready to drop into soups, stews, and sauces for up to 6 months. This method keeps the bright colors and flavors intact while preventing waste.
You can get creative with herb combinations too – I love mixing basil with oregano for Italian dishes, or cilantro with mint for Thai-inspired meals. The oil-based cubes work wonderfully for sautéing or finishing dishes, while water-based ones dissolve seamlessly into soups and stews. One cube equals about 1 tablespoon of fresh herbs, making it super simple to measure for recipes. Just remember to label your bags with the herb type and date – your future self will thank you when reaching for that perfect flavor boost!
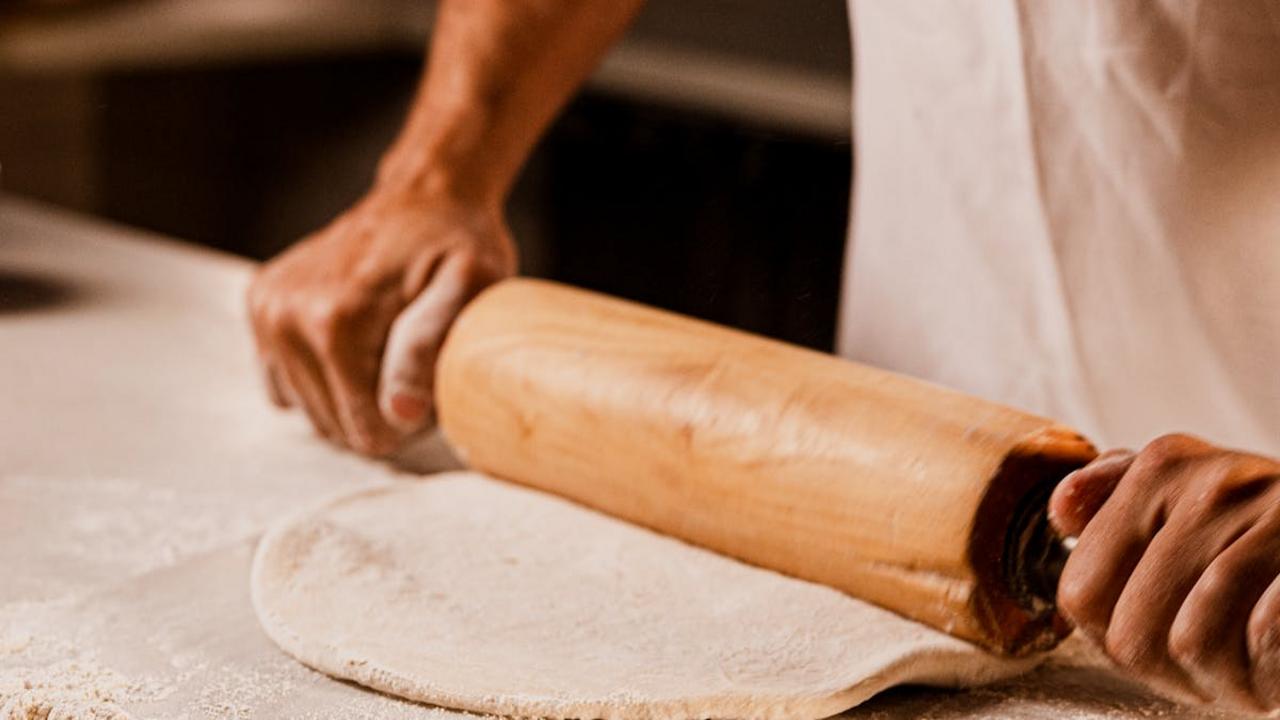
Cookie Dough Storage Balls

I always keep cookie dough balls ready in my freezer for those moments when I need a fresh-baked cookie fix. Just scoop your favorite homemade cookie dough into individual portions using an ice cream scoop or tablespoon, then place them on a parchment-lined baking sheet. Pop the sheet in the freezer for about 2 hours until the balls are frozen solid. Transfer your frozen dough balls to a freezer bag or container, and you’ll have perfectly portioned cookies ready to bake anytime.
This method saves so much time and gives you total control over portion sizes. You can bake just one or two cookies when you want them, instead of making a whole batch. The frozen dough balls stay fresh for up to 3 months, and you don’t need to thaw them before baking – just add 1-2 minutes to your regular baking time. I like to make double batches of different cookie doughs so I can mix and match flavors whenever the craving strikes. My kids especially love helping me portion out the dough and choosing which cookies to bake.
Flash Freezing Berries
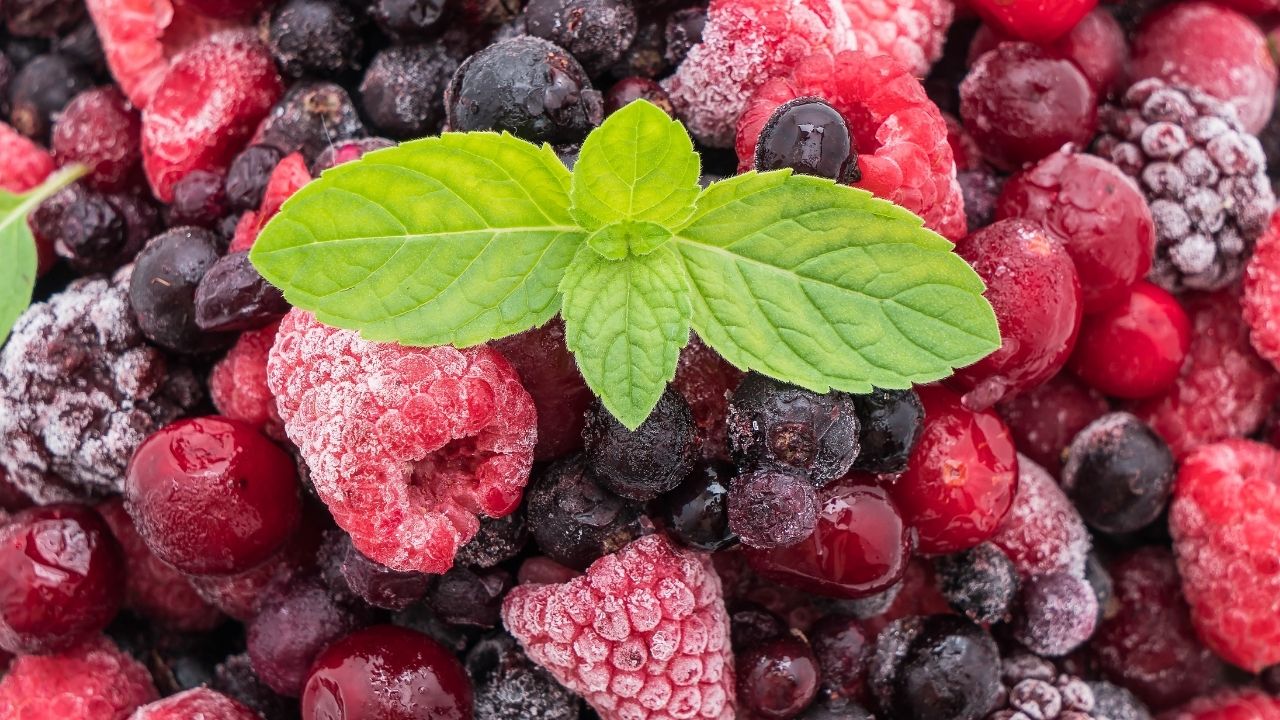
I love keeping fresh berries on hand year-round, and flash freezing them is my go-to method for preserving their shape and flavor. The trick is to spread your washed and completely dried berries in a single layer on a parchment-lined baking sheet – make sure they don’t touch each other. Pop the tray into your freezer for about 2-3 hours until the berries become solid. This method prevents them from clumping together, so you can grab exactly what you need later.
Once your berries are frozen solid, transfer them to freezer bags or containers. Push out as much air as possible before sealing to prevent freezer burn. With this technique, your berries will maintain their individual shapes and bright flavors for up to 6 months. I recommend using these frozen berries in smoothies, baked goods, or thawing them for toppings on yogurt and oatmeal. You’ll save money by buying berries in season and freezing them yourself instead of purchasing pre-frozen bags at the store.