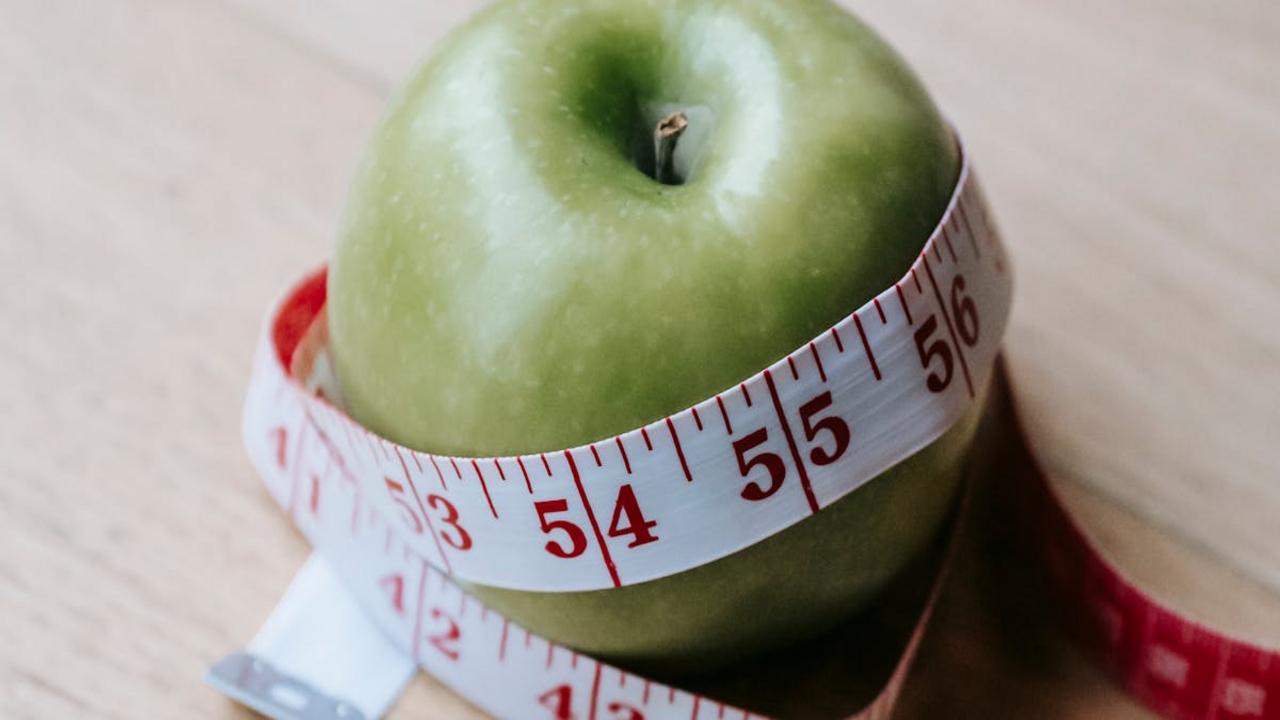
15 Tips for Navigating Food Labels and What They Really Mean
Food labels should be simple to understand, but manufacturers often make them confusing with clever marketing and technical jargon. As someone who cooks daily and reads countless ingredient lists, I know the frustration of trying to figure out what’s actually in our food. That’s why I want to share what I’ve learned about breaking down these mysterious labels into clear, actionable information.
The grocery store shelves are packed with products making bold health claims – “natural,” “organic,” “low fat,” “sugar-free.” But what do these terms mean legally? And more importantly, what do they mean for your health? Understanding food labels helps you make better choices about what goes into your cart and onto your family’s plates.
I’ve put together 15 practical tips to help you become a food label detective. From decoding ingredient lists to spotting sneaky marketing tricks, you’ll learn exactly what to look for and what to avoid. These strategies will save you time at the store while helping you choose foods that match your health goals and values.
Understanding ingredient lists

I get it – reading ingredient lists can feel like decoding a secret message! Here’s what I’ve learned from years of cooking and label reading: Companies must list ingredients by weight, with the heaviest items first. So if sugar appears as one of the first three ingredients, you know the product contains a significant amount of sweetener. Keep your eyes out for sneaky names too – manufacturers often split up sugar into multiple forms like corn syrup, dextrose, and cane juice to make it appear lower on the list.
My top tip? Stick to products with ingredients you can pronounce and recognize. If you spot unfamiliar chemical names or numbers, those are likely artificial additives, preservatives, or food coloring. I aim for foods with five ingredients or fewer – the shorter the list, the more likely it’s minimally processed. And watch for ingredients ending in “-ose” (like fructose) or “-ol” (like sorbitol) which usually indicate added sugars or sugar alcohols. Reading labels gets easier with practice, and it helps you make more informed choices about what goes into your body.
Serving size realities

You might think you’re eating a reasonable portion when you grab that bag of chips or bowl of cereal, but manufacturers often list unrealistic serving sizes on their packaging to make the calorie count look better. I learned this the hard way when I found myself mindlessly eating from a bag of trail mix – the label said one serving was just 2 tablespoons! Take cereal for example: most boxes show a serving size of 3/4 cup, but who really measures that out? Most people pour 2-3 times that amount, which means you need to multiply those nutrition facts accordingly.
Your best defense against misleading serving sizes? Keep measuring cups and spoons handy to check what a true portion looks like. I recommend measuring out the stated serving size once, then storing that amount in a clear container. This gives you a visual reference for future servings. For packaged snacks, immediately divide them into proper serving sizes using small containers or bags when you get home. This simple step prevents overeating and helps you track your actual nutrition intake more accurately. The FDA has updated some serving sizes to better match what people typically eat, but many products still use old standards.
Calorie counts explained
I want to demystify calorie counts on food labels since they often confuse many of my cooking students. The number you see actually represents the energy content in your food, measured in kilocalories (kcal). While a 2,000-calorie daily diet serves as the standard baseline on labels, your personal needs may differ based on factors like age, height, weight, and activity level. You’ll notice two columns on many labels – one showing calories “per serving” and another “per 100g” – which helps you make clearer comparisons between products.
Here’s a practical tip I’ve learned from years of label reading: always check the serving size first, since many packages contain multiple servings. For example, a bag of chips might show 150 calories per serving, but if you eat the whole bag containing 3 servings, you’ve consumed 450 calories. The calorie count breaks down into three main sources: carbohydrates (4 calories per gram), protein (4 calories per gram), and fats (9 calories per gram). Understanding these numbers helps you make more informed choices about your food intake and maintain better control over your nutrition goals.
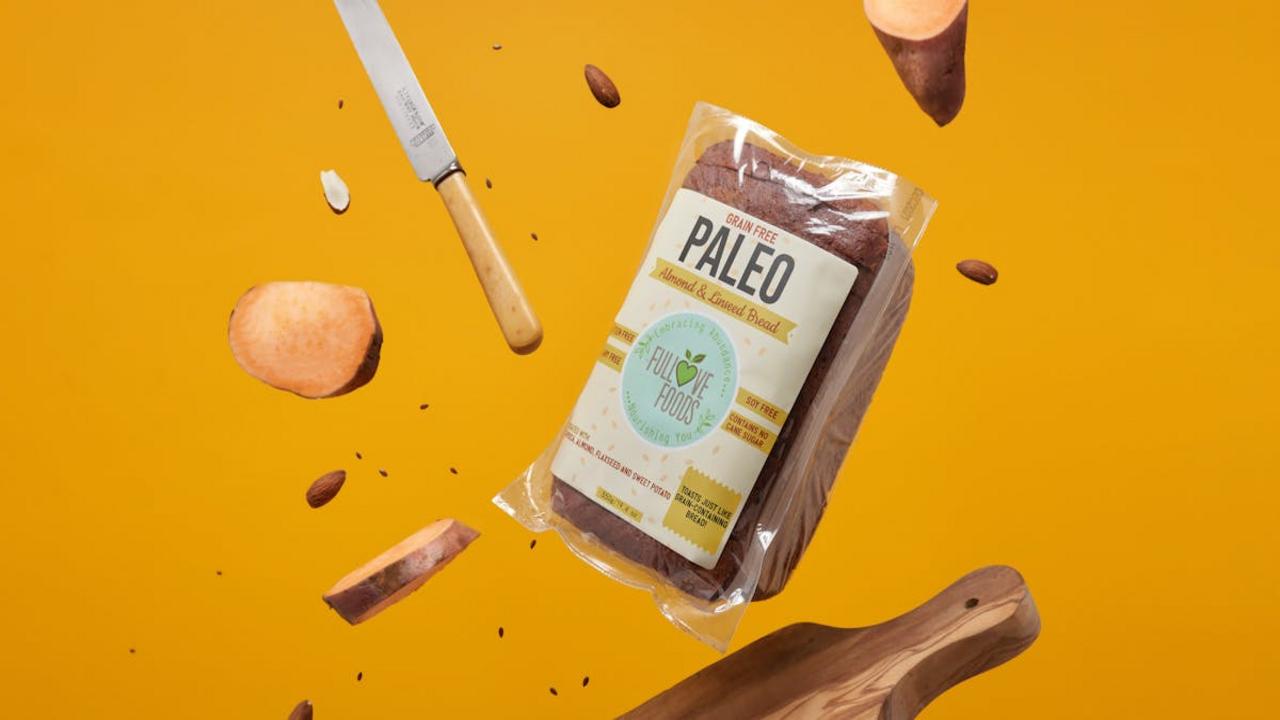
Natural versus organic claims

I get a lot of questions from my community about what “natural” and “organic” really mean on food labels. Here’s the truth: “natural” doesn’t have a strict definition from the FDA, so companies can use it pretty freely. A “natural” product might still contain preservatives, artificial ingredients, or GMOs – the term just means the food came from a plant or animal source. You’ll want to read the full ingredients list rather than trusting the “natural” claim alone.
On the flip side, “organic” has clear rules enforced by the USDA. Organic foods must be grown without synthetic pesticides, chemical fertilizers, or GMOs. The animals need access to the outdoors and can’t receive antibiotics or growth hormones. Look for the USDA Organic seal – it means at least 95% of ingredients meet these standards. “Made with organic ingredients” means 70% or more qualify. I recommend focusing on the organic seal and ingredient list over vague “natural” claims if you want to know exactly what’s in your food.
Health claims decoded

Food labels often shout enticing health claims like “low-fat,” “natural,” or “heart-healthy,” but these terms need careful interpretation. I’ve learned through years of cooking that many of these claims follow strict FDA guidelines, while others lack standardization. For example, “low-fat” products must contain 3 grams or less per serving, but “natural” has no official definition. You’ll spot terms like “good source of fiber” only on foods with 10-19% of your daily fiber needs.
Understanding these claims helps you make smarter food choices at the store. Watch out for marketing tricks – a “sugar-free” label might hide artificial sweeteners or sugar alcohols. “Light” products need 50% less fat than regular versions, but they often add extra salt or thickeners to maintain taste. I always check the ingredients list alongside any health claims – it tells the real story about what’s in your food. Remember, whole, unprocessed foods rarely need fancy health claims to prove their worth.
Whole grain labels
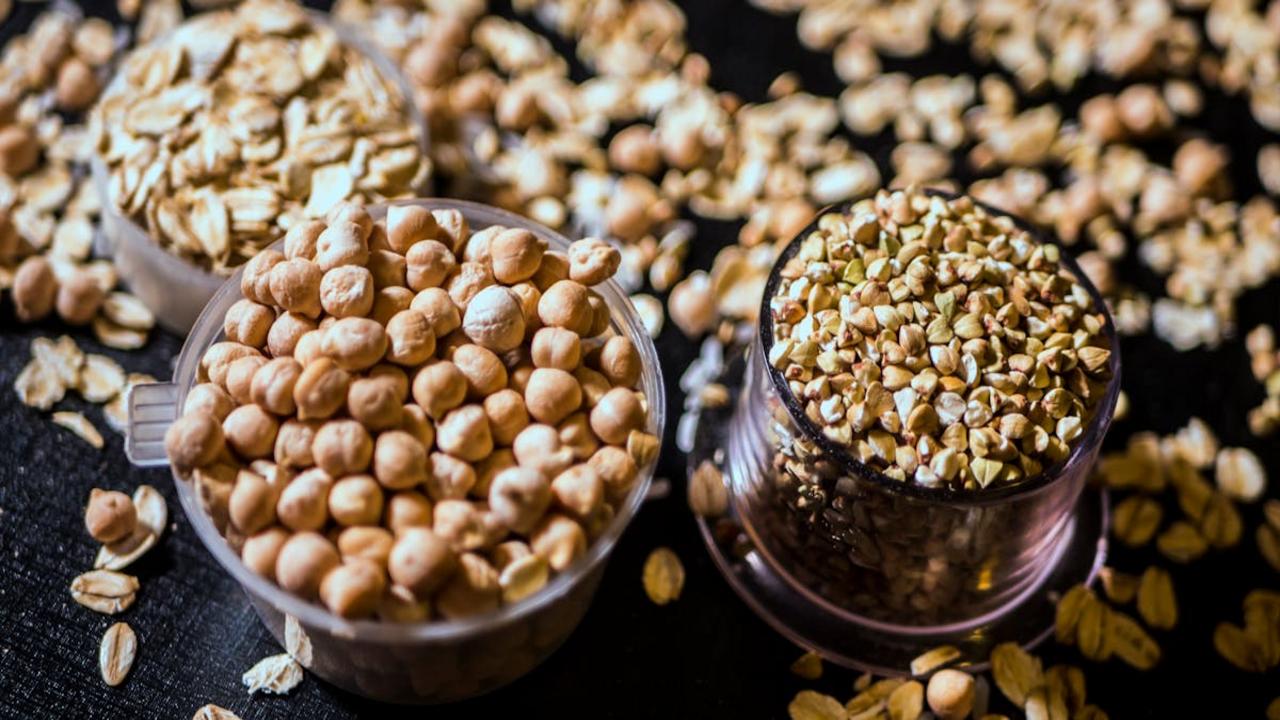
I’ve noticed many of my cooking students get confused by “whole grain” labels at the grocery store. Here’s what you need to know: true whole grain products should list a whole grain as the first ingredient, like “whole wheat flour” or “whole oats.” Don’t fall for marketing tricks with terms like “made with whole grains” or “multigrain” – these often contain mostly refined grains with just a small amount of whole grains added. Look specifically for the word “whole” before the grain name to make sure you’re getting the real deal with all three parts of the grain intact.
The Whole Grain Council’s stamp can help you identify genuine whole grain products, showing how many grams of whole grains you’ll get per serving. Products with the “100% Whole Grain” stamp contain only whole grains, while the basic stamp means the product has at least 8 grams of whole grains per serving but may also include refined grains. My go-to strategy? I check both the stamp and ingredients list to confirm I’m buying truly wholesome whole grain foods that will give my family the most nutritional benefits. This extra minute of label reading makes a big difference in getting the fiber, vitamins and minerals we need.
Added sugars identification
I want you to know about a sneaky ingredient that food companies often hide in plain sight – added sugars. You’ll find them listed under many different names on food labels, making it tricky to spot them all. Some common disguises include high fructose corn syrup, dextrose, cane juice, maltose, and anything ending in “-ose.” The FDA now requires companies to list “Added Sugars” separately from total sugars on the Nutrition Facts panel, which helps you make better choices about the sweet stuff you consume.
As someone who cooks most meals from scratch, I recommend scanning the ingredients list carefully, keeping in mind that ingredients appear in order by weight. If you see multiple forms of sugar listed, even if they’re not at the top, their combined amount could make sugar one of the main ingredients. A helpful rule of thumb: aim for products with less than 10g of added sugar per serving. For reference, that’s about 2.5 teaspoons – and those teaspoons add up fast throughout your day. Understanding these sugar aliases gives you more control over your daily sugar intake.
Sodium content warnings

I’ve learned through years of home cooking that sodium content warnings on food labels can tell you much more than just salt levels. When you see “sodium” listed, it includes both naturally occurring sodium and added salt during processing. The daily recommended limit sits at 2,300mg – about one teaspoon of table salt. Keep your eyes peeled for terms like “low sodium” (140mg or less per serving), “reduced sodium” (25% less than regular version), or “no salt added” (only natural sodium present).
You’ll want to pay extra attention to sodium content in packaged foods like bread, deli meats, canned soups, and frozen meals – these often pack more salt than you’d expect. I make it a habit to compare similar products’ sodium levels side by side. For example, two different brands of marinara sauce can have drastically different sodium amounts. If you find a high-sodium product you love, try mixing it with its unsalted counterpart to reduce overall salt intake while keeping the flavors you enjoy. This simple trick has helped me maintain better control over my daily sodium consumption without giving up convenience foods entirely.
Allergen labeling requirements

Food manufacturers must clearly list the top 9 major food allergens on their labels under FDA rules – milk, eggs, fish, shellfish, tree nuts, peanuts, wheat, soybeans, and sesame. I always check these labels carefully since even trace amounts can trigger severe reactions in sensitive people. You’ll find allergens either within the ingredients list or in a separate “Contains” statement right below it. This clear labeling helps you quickly spot potential allergens without having to decode complex ingredient names.
When you’re grocery shopping, look beyond just the allergen statements though. Cross-contamination warnings like “Made in a facility that also processes nuts” are voluntary but important if you have severe allergies. I recommend contacting the manufacturer directly if you need more details about their allergen controls. Some brands go above and beyond by highlighting allergens in bold text or using special symbols – these extra visual cues make it even easier to shop safely. Remember, ingredient lists can change without notice, so always check the label each time you buy, even for familiar products.
Gluten free certification
Finding truly gluten-free products can feel overwhelming with all the mixed messages on food labels. The good news is that a “Certified Gluten-Free” seal means the product has gone through strict third-party testing to confirm it contains less than 20 parts per million of gluten. This certification involves regular facility inspections, ingredient verification, and batch testing. Companies pay for this voluntary certification to give you extra confidence in their gluten-free claims, especially if you have celiac disease or gluten sensitivity.
Look for trusted certification symbols from organizations like the Gluten-Free Certification Organization (GFCO), Beyond Celiac, or the National Celiac Association. These independent groups hold manufacturers to standards above what the FDA requires. Keep in mind that while some products may be naturally gluten-free, cross-contamination during processing can occur. The certification seal gives you assurance that proper protocols are in place to prevent this. I recommend starting with certified products if you’re new to gluten-free eating or have a medical need to avoid gluten completely.
Non GMO verification

You’ll notice “Non-GMO Project Verified” seals on many food packages these days, marked by that distinctive butterfly logo. This independent verification means the product contains less than 1% genetically modified organisms (GMOs) throughout all ingredients. The certification involves regular testing and thorough supply chain reviews to confirm companies follow strict standards. I always look for this seal when buying packaged foods, especially items containing commonly modified crops like corn, soy, canola, and cotton derivatives.
While the Non-GMO verification adds cost for food producers, many consumers want clear information about GMO content in their food. The rigorous process requires manufacturers to prove their ingredients come from non-GMO sources through documentation and testing. Keep in mind that “Non-GMO” differs from “organic” – organic certification automatically means non-GMO, but non-GMO products don’t need to meet organic standards. I recommend checking for this seal particularly on processed foods with multiple ingredients where GMO components could sneak in.
Artificial ingredient spotting

I can’t stress enough how important it is to spot artificial ingredients on food labels! You’ll find these synthetic additives hiding under long, chemical-sounding names or simple codes like “Red 40” or “BHA.” My rule of thumb? If you can’t pronounce it or if it sounds like something from chemistry class, it’s likely artificial. Many manufacturers add these synthetic components to extend shelf life, enhance flavors, or create vibrant colors – but your body doesn’t need them. Watch out specifically for artificial sweeteners (aspartame, sucralose), synthetic preservatives (BHA, BHT), and artificial colors (Yellow 5, Blue 1).
Reading through ingredient lists might feel overwhelming at first, but you’ll quickly learn to identify these artificial additions. I recommend starting at the end of the ingredient list, where manufacturers often tuck away artificial preservatives and colors. Keep an eye out for words ending in “-ose” (like maltodextrose) or numbers (like FD&C Yellow No. 6) – these usually signal artificial sweeteners or colors. If you’re unsure about an ingredient, take a quick photo and look it up later. You’ll build your knowledge over time and make more informed choices about what goes into your body. Remember, the shorter and more recognizable the ingredient list, the better!
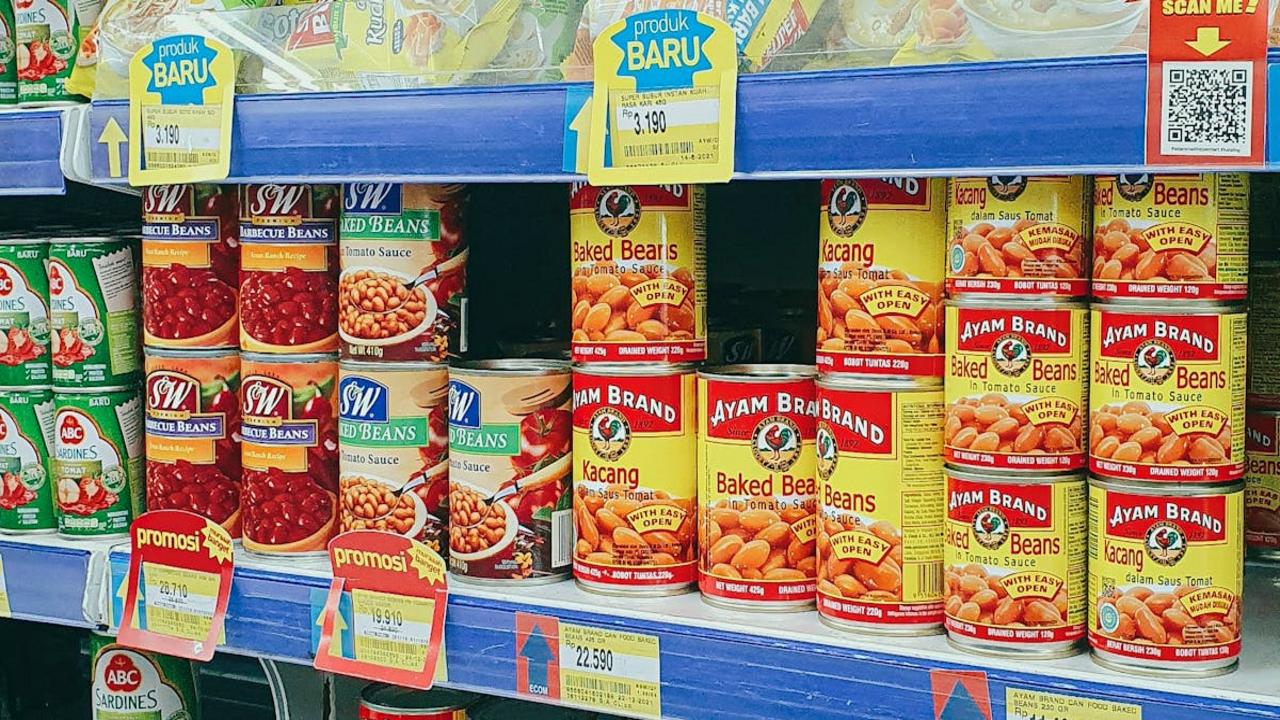
Front package marketing tactics
You’ll notice how food manufacturers use bright colors, bold claims, and catchy phrases on the front of packages to catch your eye and influence your buying decisions. These marketing tactics often highlight selected positive attributes while downplaying less appealing aspects. For example, a sugary cereal might prominently display “Good source of fiber!” on the front, while the high sugar content stays hidden in the nutrition facts panel. Other common tactics include using words like “natural,” “fresh,” or “pure” which sound healthy but don’t have strict legal definitions.
To make smart choices, look past the front package marketing and go straight to the ingredients list and nutrition facts. Remember that claims like “made with real fruit” could mean a tiny amount of fruit powder or concentrate, while “low fat” products often contain added sugars to improve taste. I recommend viewing front-of-package claims as advertising rather than factual nutrition information. Train yourself to flip the package over and examine the full ingredient list – that’s where you’ll find the real story about what’s inside. Your health will thank you for taking this extra step to see beyond the marketing hype.
Nutrition facts panel breakdown

I want you to think of the nutrition facts panel as your food decoder ring – it holds all the important details about what’s really in your food. The top section shows serving size and calories, which sets the foundation for everything else listed. You’ll find total fat, cholesterol, sodium, total carbs, protein and more broken down in clear amounts per serving. The percentage daily value (%DV) column on the right tells you if that nutrient amount is high or low relative to what you need each day – aim for under 5% for things like saturated fat and sodium, and over 20% for beneficial nutrients like fiber.
Learning to read this panel properly helps you make smarter food choices aligned with your health goals. I always check the serving size first since manufacturers sometimes list tiny portions to make calories appear lower. Pay attention to added sugars, which manufacturers must now list separately from natural sugars. The ingredient list below complements the nutrition panel – ingredients appear in order by weight from most to least. Together, these tools give you the full picture of what’s in your food and help you decide if it belongs in your cart. Remember, the nutrition facts panel is your friend in making informed decisions about the foods you buy.
Expiration date terminology

I know how confusing food label dates can feel – with “best by,” “sell by,” “use by,” and other terms making you question if your food is still good to eat. Here’s what you need to know: “Best if used by” dates suggest when the food will have its peak quality and flavor, but the food remains safe to eat after this date. “Use by” dates matter more for food safety, particularly on items like meat and dairy. “Sell by” dates help stores manage inventory and don’t necessarily mean the food has spoiled.
You’ll get the most value and reduce food waste by understanding these labels correctly. Keep your eggs up to 3-5 weeks past the carton date if stored properly in the fridge. Most shelf-stable foods stay good months beyond their “best by” dates – trust your senses and look for signs of spoilage like mold, off-odors, or texture changes. Dating terms vary between manufacturers since there’s no federal regulation except for infant formula. Your nose and eyes are often better judges than arbitrary dates. Store foods properly, keep your fridge at 40°F or below, and you’ll extend freshness naturally.