14 Flavor-Killing Cooking Mistakes We All Make and How to Fix Them
You know that moment when you smell something absolutely divine wafting from your kitchen, only to take a bite and wonder where all that promised flavor went? Yeah, we’ve all been there. Your gorgeous golden chicken breast tastes like cardboard, or that pasta dish you’ve made a hundred times suddenly falls flat. The truth is, most of us commit the same sneaky sabotage moves without even realizing it.
These aren’t dramatic kitchen disasters—no smoke alarms or charred pans here. Instead, they’re those subtle slip-ups that quietly steal the show from your food. Maybe you’re opening the oven door every five minutes like you’re checking on a newborn, or perhaps you’re crowding your pan tighter than commuters on a subway car.
The good news? Once you spot these flavor thieves, they’re surprisingly easy to fix. Small tweaks can transform your cooking from “meh” to “more, please!” faster than you can say sauté. Ready to catch these sneaky mistakes red-handed and reclaim your kitchen confidence?
Ignoring Oven Hot Spots
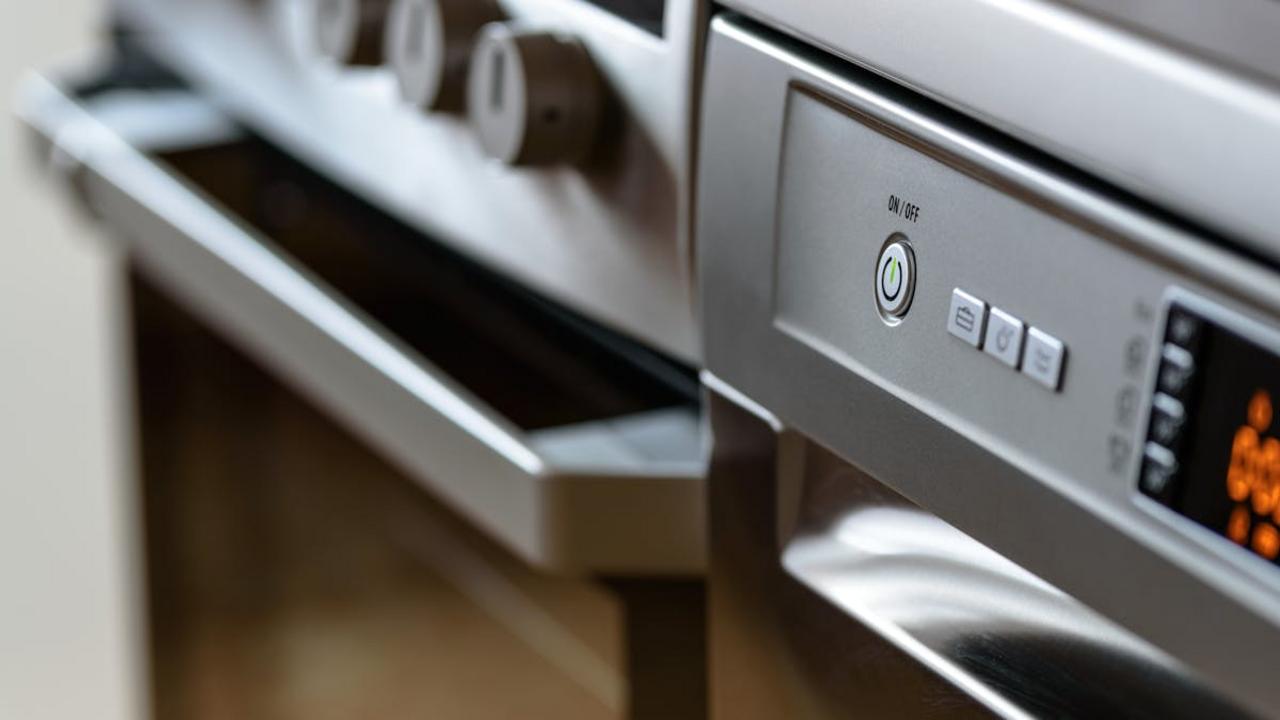
Your oven lies to you more than a politician during election season. While that trusty temperature dial claims everything’s peachy at 350°F, your poor cookies are getting the equivalent of a sunburn on one side while staying pasty white on the other. Every oven has personality quirks – some blast heat from the back like a dragon’s breath, others favor the left side like they’re politically biased. I learned this the hard way when my supposedly “perfectly baked” chocolate chip cookies came out looking like a checkerboard of golden perfection and sad, doughy disappointment.
Here’s your detective mission: grab a sheet pan, spread out some bread slices, and toast them at 350°F for about 10 minutes. The resulting toast map will reveal your oven’s secret hot zones faster than you can say “burnt offering.” Once you know where your oven throws its tantrums, you can rotate pans halfway through baking, move dishes to cooler spots, or invest in a pizza stone to even out the heat distribution. Pro tip: most ovens run about 25°F hotter than their settings, so grab an oven thermometer and discover just how much your kitchen appliance has been fibbing to you all these years.
Not Sifting Dry Ingredients for Baking
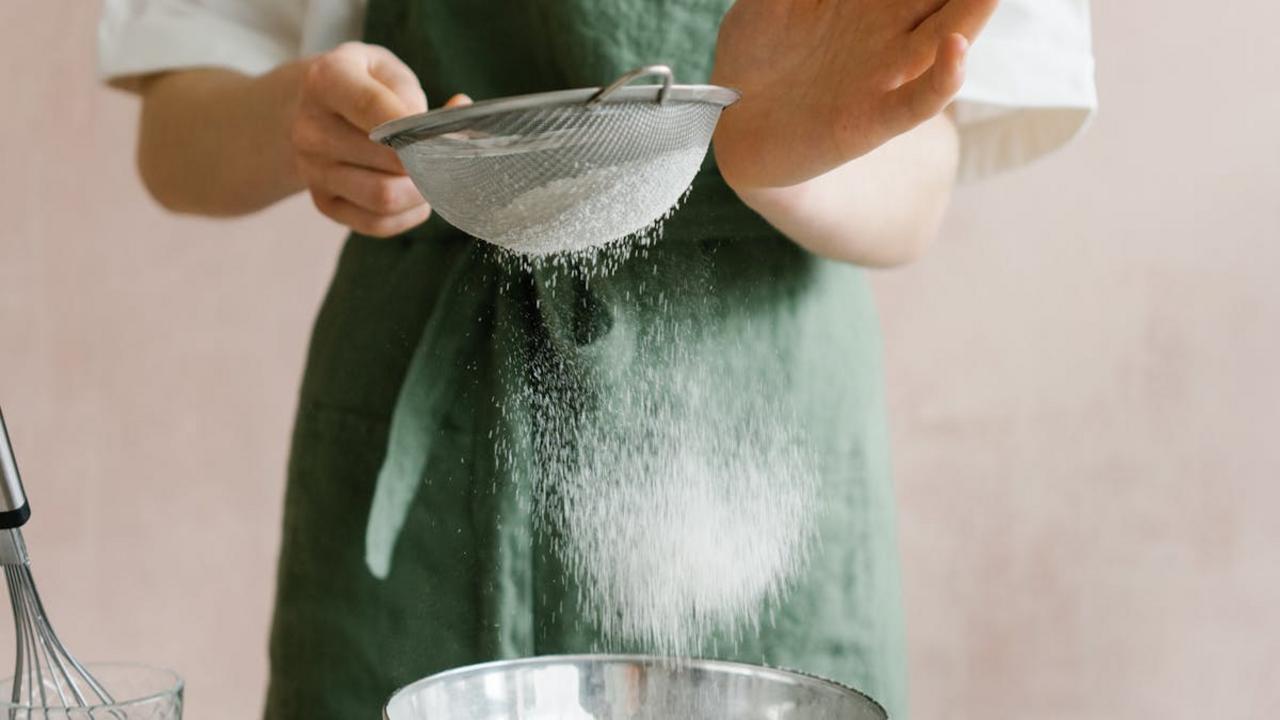
Picture this: you’re making your grandmother’s famous chocolate cake, measuring flour straight from the bag like you’re scooping sand at the beach. That flour has been sitting there, getting cozy and compacted, forming little lumpy neighborhoods that refuse to play nice with your other ingredients. When you skip sifting, you’re basically inviting dense, tough baked goods to crash your dessert party. Those flour clumps create pockets of concentrated starch that turn your fluffy dreams into hockey pucks faster than you can say “oops.”
Here’s something wild: sifting doesn’t just break up clumps – it actually adds air to your flour, making it lighter and easier to incorporate. Think of it like fluffing a pillow before you sleep on it. Professional bakers measure sifted flour differently than unsifted because the volume changes dramatically. A cup of sifted flour weighs about 20% less than unsifted, which means skipping this step throws off your entire recipe’s balance. Grab that mesh strainer (or invest in a proper sifter if you’re feeling fancy) and give your flour a good shake-through. Your cakes will thank you with the kind of tender crumb that makes people demand your secret recipe.
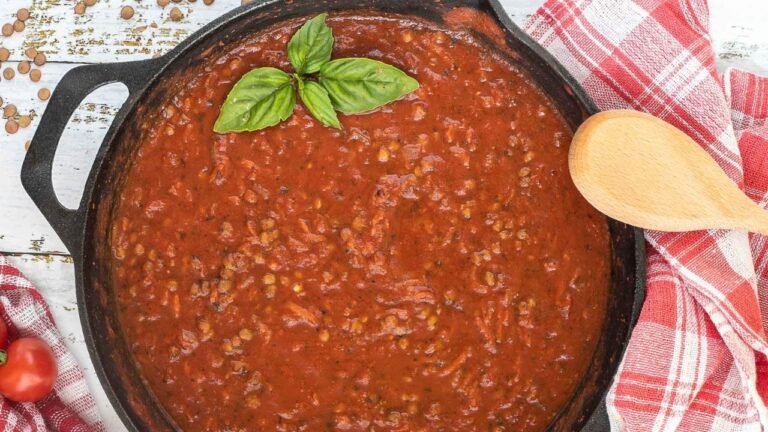
Panicking Over a Broken Sauce
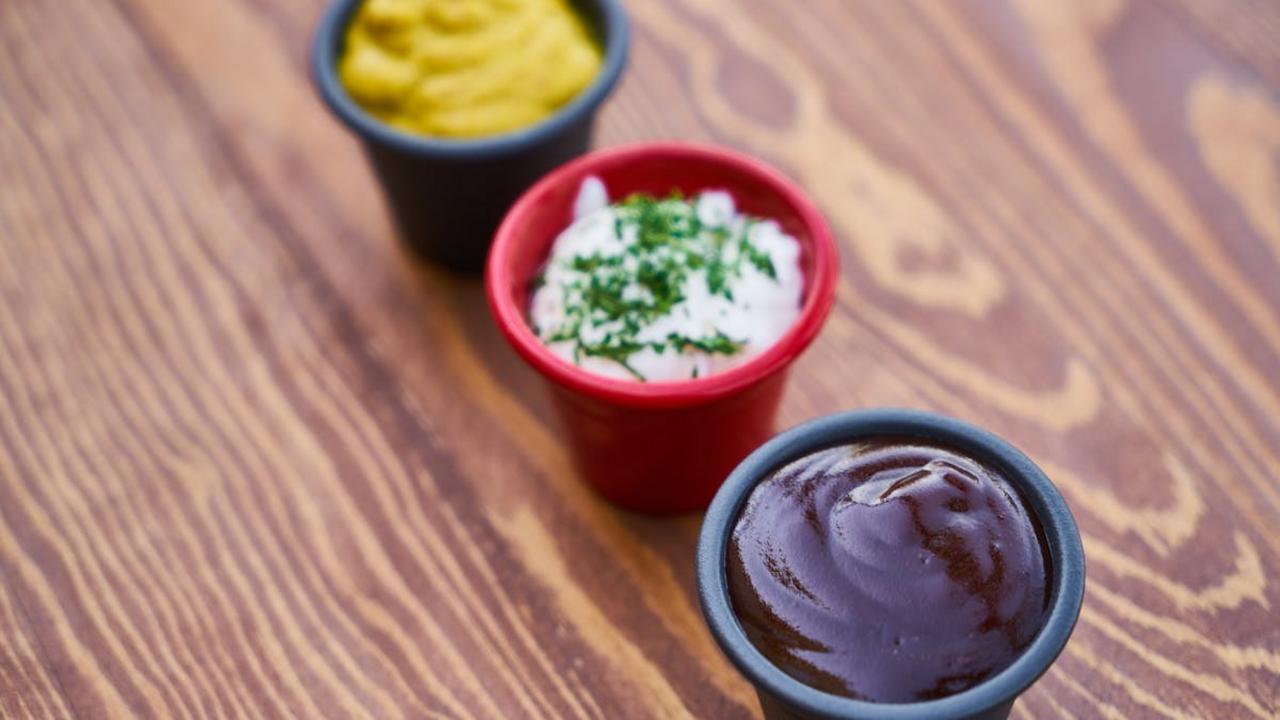
Picture this: you’re whisking your hollandaise with the confidence of a French chef, and suddenly it looks like scrambled eggs swimming in butter. Your heart drops faster than a soufflé in a thunderstorm, and you’re ready to order takeout. Stop right there! That “ruined” sauce isn’t dead – it’s just having a dramatic moment. Most broken sauces happen because of temperature shock or overzealous whisking, but here’s the secret every professional cook knows: almost every sauce can come back from the brink with a little TLC and the right technique.
For broken hollandaise or mayo, grab a fresh bowl and whisk one egg yolk with a tablespoon of warm water until creamy. Then slowly – and I mean glacially slow – whisk in your broken sauce bit by bit until it transforms back into silky perfection. Curdled cream sauces? Remove them from heat immediately and whisk in a splash of cold cream or an ice cube. Even seized chocolate can be saved with a spoonful of warm cream whisked in gradually. The funny thing is, these “disasters” often taste exactly the same as perfect sauces – they just look like they had a rough night. So next time your sauce throws a tantrum, take a deep breath and play sauce whisperer instead of sauce mourner.
Rinsing Pasta After Cooking
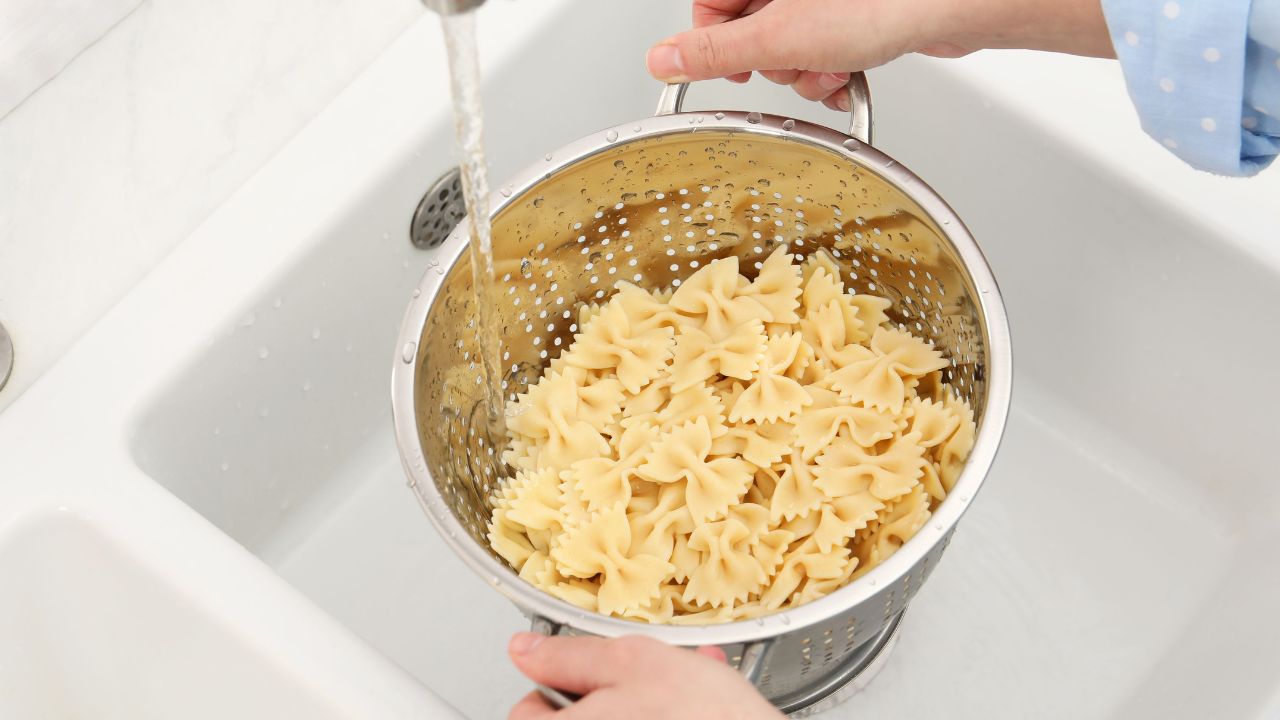
Picture this: you’ve just boiled the perfect al dente pasta, and your instinct screams “rinse it!” like you’re washing dirt off vegetables. Stop right there, friend! Rinsing pasta is basically giving your beautiful starch-coated noodles an ice-cold shower that strips away all their natural clinginess. Those tiny starch particles coating each strand? They’re your sauce’s best friend, acting like microscopic velcro that helps every drop of marinara, pesto, or carbonara stick like it’s supposed to. When you rinse pasta, you’re essentially telling your sauce to slide right off into the bottom of the bowl, leaving you with naked, sad noodles swimming in a puddle of flavor.
The only time you should rinse pasta is when you’re making cold pasta salad – and even then, you’re doing it to stop the cooking process, not because cleanliness is next to godliness. Here’s what really happens when you skip the rinse: that starchy coating creates a beautiful marriage between pasta and sauce that would make Italian grandmothers weep with joy. Plus, if you save a cup of that starchy pasta water before draining (liquid gold, I call it!), you can add it back to your pan to create the silkiest, most cohesive sauce that hugs every noodle like a warm blanket. Trust the process, keep those starches, and watch your pasta dishes transform from amateur hour to restaurant-quality magic.
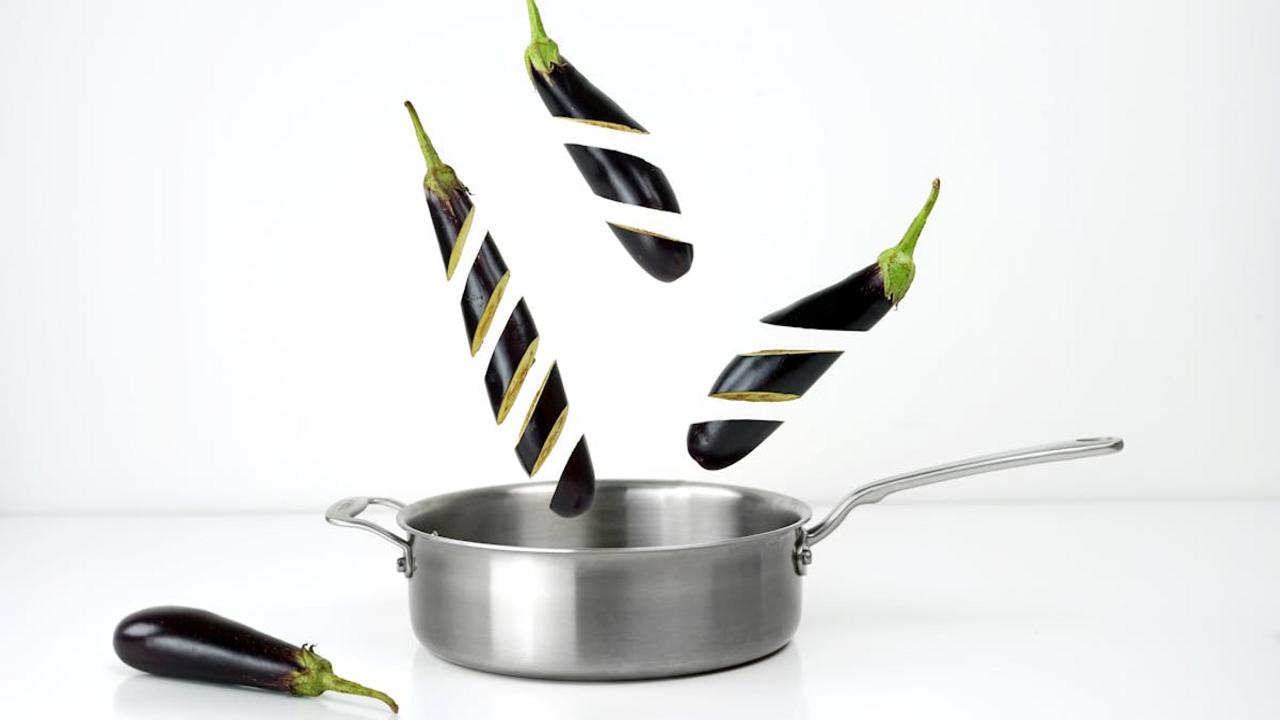
Ignoring the Importance of Knife Skills
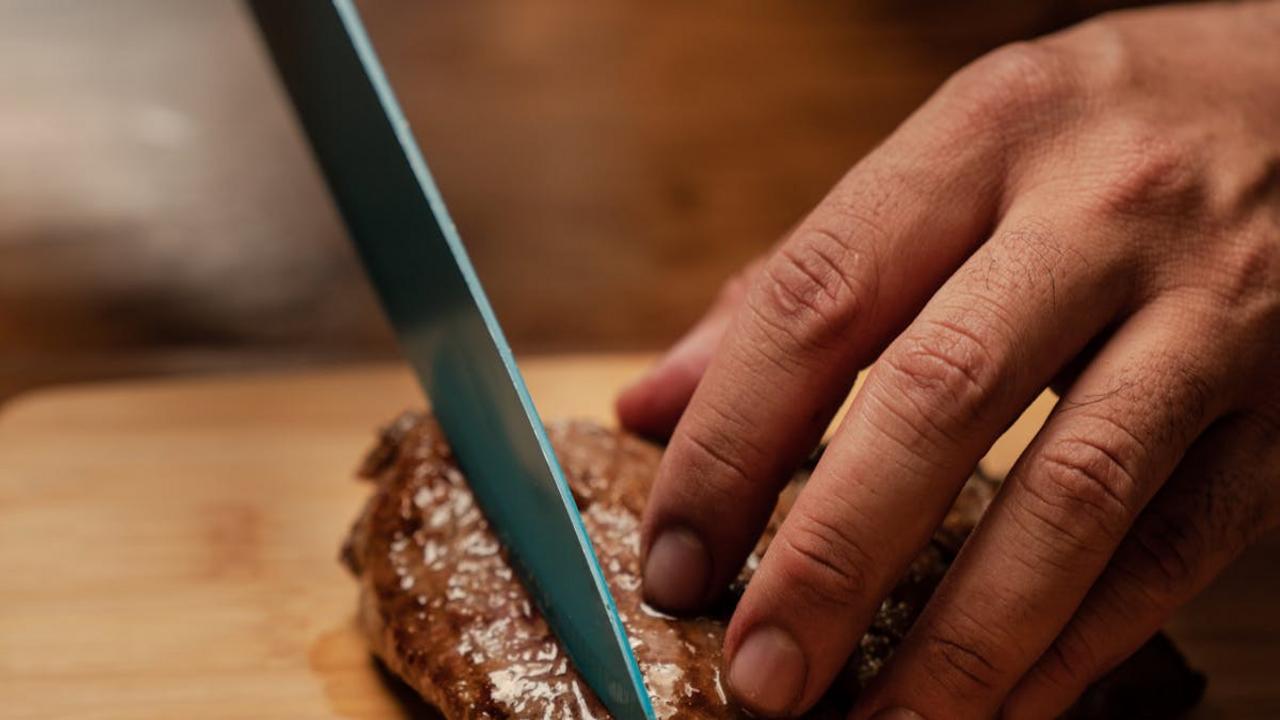
Picture this: you’re making a gorgeous ratatouille, and you’ve got these beautiful vegetables that deserve respect. But then you hack away at them like you’re chopping firewood, creating uneven chunks that cook at wildly different rates. Your poor eggplant ends up mushy while your carrots remain stubbornly crunchy. Here’s the thing – your knife technique directly impacts how your food cooks and tastes. When vegetables are cut unevenly, they release their flavors inconsistently, and your dish becomes a chaotic mess of textures instead of the harmonious symphony you intended.
Professional chefs don’t just show off with their lightning-fast knife work – they understand that uniform cuts mean uniform cooking times and better flavor distribution. A properly diced onion releases its sweetness more evenly than one that’s been massacred into random shapes. Start with the basics: learn to hold your knife properly (pinch grip, people!), keep your knuckles curved as a guide, and practice the rocking motion. Your julienned carrots will cook evenly, your minced garlic won’t burn in spots, and suddenly your home cooking will taste more restaurant-worthy. Trust me, your taste buds will thank you for taking the time to master this fundamental skill.
Not Reading the Recipe Through First
Picture this: You’re halfway through making what you thought would be a quick weeknight dinner when suddenly you discover the “simple” sauce needs to simmer for two hours, or worse yet, the meat should have been marinating since yesterday morning. You stand there, wooden spoon in hand, feeling like you’ve been pranked by your own cookbook. This scenario plays out in kitchens worldwide because we treat recipes like IKEA instructions – we dive right in and hope for the best. Professional chefs have a French term called “mise en place,” which basically means “get your act together before you start cooking.” They read every single word, twice, because they know that cooking disasters usually begin with overconfidence and end with takeout menus.
Here’s your foolproof fix: Read the entire recipe like you’re studying for a final exam, then read it again while mentally walking through each step. Check your pantry for all ingredients (including that weird spice you’re pretty sure expired during the Clinton administration), and note any prep work that needs advance planning. Time requirements hide in the most innocent-looking recipes – that “easy” bread might need three separate rises, and your “quick” pickle actually requires overnight brining. Smart cooks create a timeline working backward from when they want to eat, accounting for every marinating minute and cooling hour. Think of it as recipe reconnaissance: the five minutes you spend planning will save you from the heart-stopping moment when you realize your dinner guests arrive in twenty minutes and your roast needs another hour in the oven.
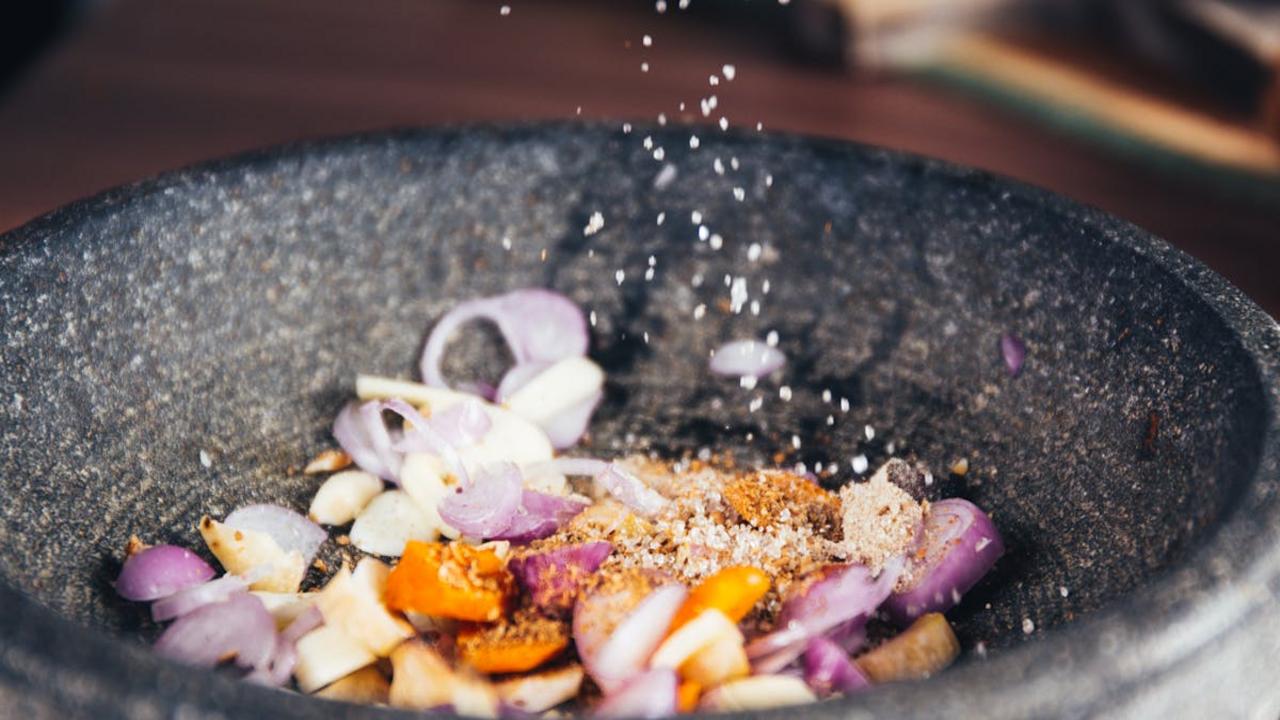
Neglecting to Taste As You Go

Picture this: you’re dancing around the kitchen, following a recipe like it’s gospel, measuring every ingredient down to the gram. But here’s the kicker – you never actually taste your food until you plop it on the plate. That’s like writing a love letter with your eyes closed! Your palate is your most reliable kitchen tool, yet so many home cooks treat it like an afterthought. I once watched my neighbor serve a soup so salty it could de-ice a driveway, all because she trusted the recipe blindly and never grabbed a spoon to check her work.
Think of tasting as your food’s personal trainer – constantly checking in, making adjustments, and pushing for peak performance. Every ingredient behaves differently depending on freshness, brand, and even the weather (yes, humidity affects flour!). That pinch of salt might need a friend, or those tomatoes might be sweeter than expected, requiring a splash more acid. Professional chefs taste their dishes dozens of times during cooking, and they’re not doing it for fun – they know that flavor builds in layers, and each layer needs attention. Grab a clean spoon every time (double-dipping is a kitchen sin!), and treat your tongue like the sophisticated flavor detector it truly is.
Using the Wrong Type of Oil for Cooking
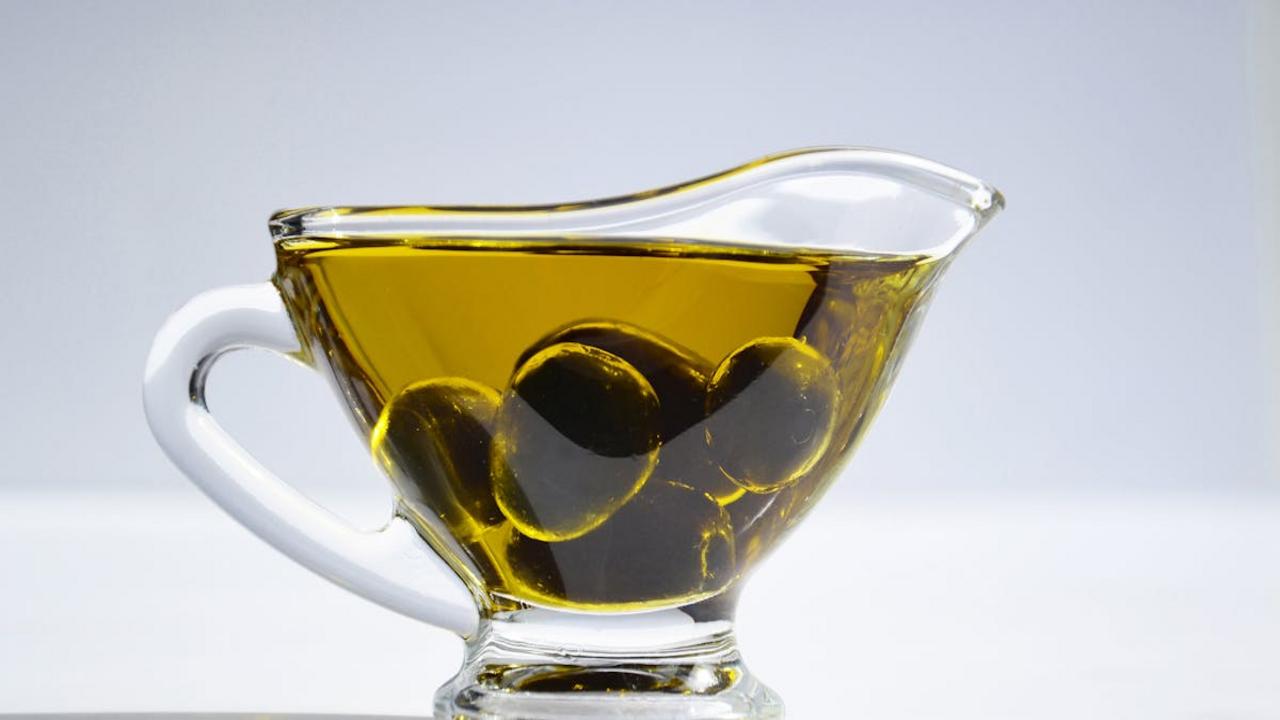
You grab that bottle of extra virgin olive oil like it’s your kitchen superhero, ready to save every dish from blandness. But here’s the plot twist: you’re actually murdering your food’s flavor potential! That gorgeous, peppery olive oil you splurged on at the farmer’s market? It has a smoke point around 375°F, which means the moment you crank up the heat for a good sear, you’re basically lighting money on fire. The oil breaks down, turns bitter, and fills your kitchen with that acrid smell that makes your smoke detector throw a tantrum.
Different oils have different personalities, just like your weird relatives at Thanksgiving dinner. Avocado oil is your cool uncle who can handle the heat (literally, up to 520°F), while sesame oil is your dramatic aunt who adds incredible flavor but can’t handle any pressure whatsoever. Want to nail that perfect stir-fry? Reach for neutral oils like canola or grapeseed that won’t compete with your ingredients. Save that fancy olive oil for finishing touches, salad dressings, or drizzling over warm bread where its fruity notes can actually shine instead of getting torched into oblivion.
Cooking Meat Straight from the Fridge

Picture this: you’re hangry, dinner needs to happen NOW, and that beautiful steak is calling your name from the fridge. You slap that cold chunk of protein straight onto your screaming-hot pan and wonder why the outside turns into charcoal while the inside stays stubbornly raw. Here’s the thing – meat needs a little prep time, just like you need your morning coffee before facing the world. Cold meat hitting hot heat creates an uneven cooking disaster that would make any chef weep into their apron.
The fix is stupidly simple: let your meat hang out at room temperature for 20-30 minutes before cooking. This little timeout allows the proteins to relax and cook more evenly, giving you that perfect edge-to-edge doneness instead of the dreaded “burnt outside, cold inside” situation. Fun fact: restaurants never cook cold meat – they always bring it to room temp first because they know this secret. Your steaks, chicken breasts, and pork chops will thank you with tender, juicy results that actually taste like the premium meat you paid for, not rubber with a side of disappointment.
Not Letting Meat Rest
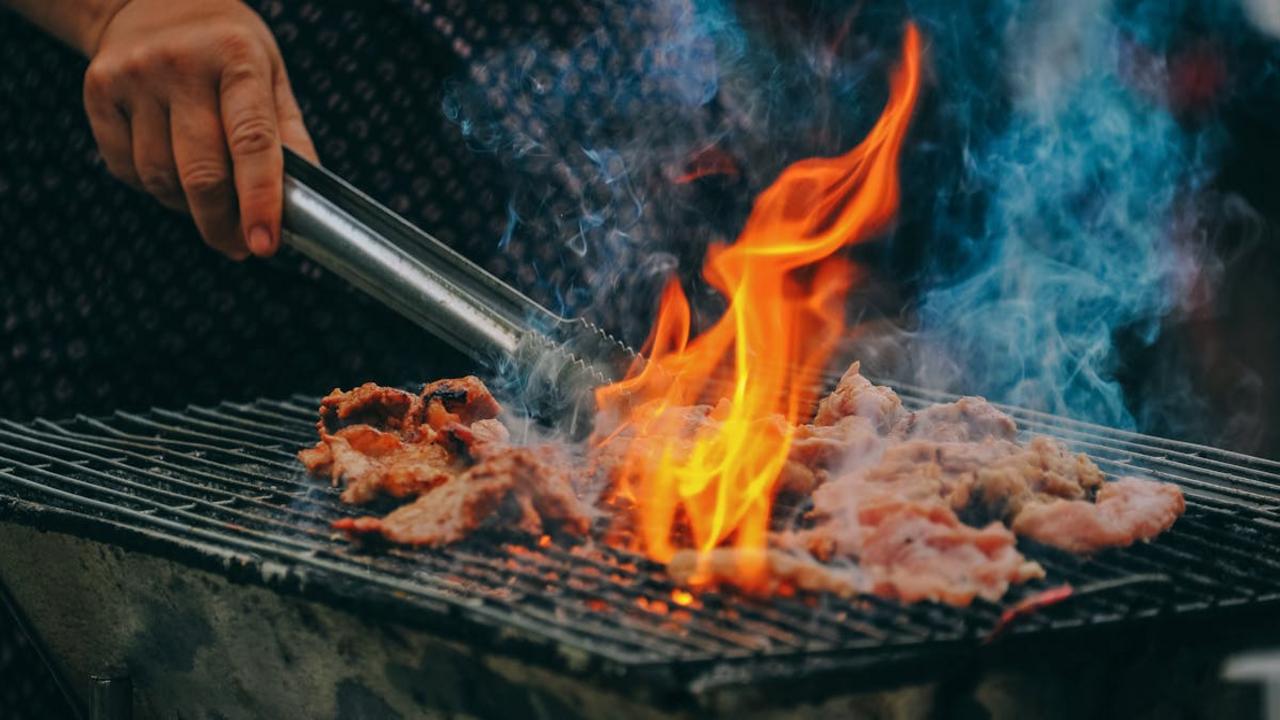
Picture this: you’ve just pulled the most gorgeous steak off the grill, and it’s practically calling your name with those perfect char marks. Your stomach growls louder than a hungry bear, and you grab that knife faster than a Wild West gunslinger. Stop right there, partner! You’re about to commit one of the biggest flavor crimes in the kitchen. When you slice into hot meat immediately, all those beautiful juices that took time to develop go streaming across your cutting board like they’re making a desperate escape. It’s like watching liquid gold pour down the drain, and your taste buds will never forgive you for this tragic waste.
Here’s what actually happens during those magical resting minutes: the muscle fibers relax and reabsorb their own juices, creating the tender, moist perfection you’ve been dreaming about. A thick steak needs about 10-15 minutes of patience, while smaller cuts can get away with 5 minutes of downtime. I like to tent my meat loosely with foil and pretend I’m tucking it in for a cozy nap. Fun fact: the internal temperature actually rises a few degrees during this rest period, so your medium-rare stays perfectly pink while becoming incredibly succulent. Trust me, those extra minutes of waiting will reward you with every single drop of flavor staying exactly where it belongs – in your mouth, not on your plate!
Using Non-Stick Spray on Non-Stick Pans

Oh honey, you’re committing pan murder and don’t even know it! That innocent-looking cooking spray you’ve been spritzing all over your beautiful non-stick pan? It’s basically like giving your cookware a slow death sentence. Here’s the tea: non-stick sprays contain lecithin, an emulsifier that loves to build up on your pan’s surface over time. This sticky residue creates an almost invisible layer that actually makes your “non-stick” pan more sticky than a toddler’s fingers after Halloween candy. The irony is so thick you could cut it with a butter knife – you’re using a product designed to prevent sticking on a surface already designed not to stick!
Your poor pan starts looking like it has some weird skin condition, with brown, crusty patches that refuse to come off no matter how much you scrub. The fix is surprisingly simple: ditch the spray and grab a paper towel with a tiny bit of oil or butter. Just a whisper of fat is all you need – we’re talking about barely enough to make the pan glisten, not enough to fry an egg. If you absolutely must use spray (maybe you’re really committed to that aerosol life), try spraying it on your food directly instead of the pan. Your non-stick surface will thank you by actually staying non-stick for years instead of turning into a sticky mess after six months.
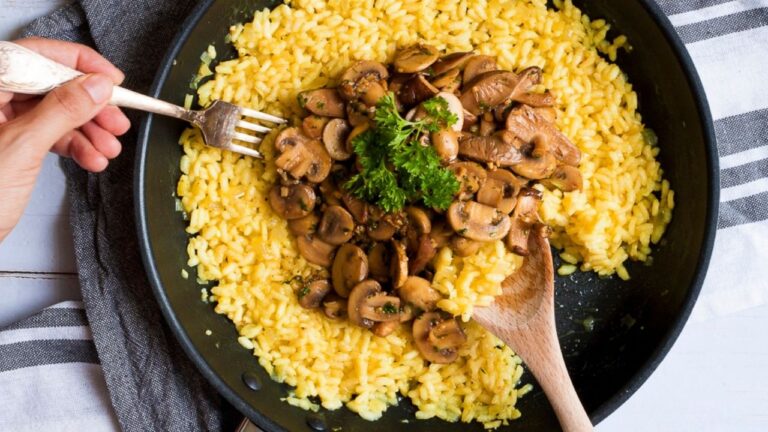
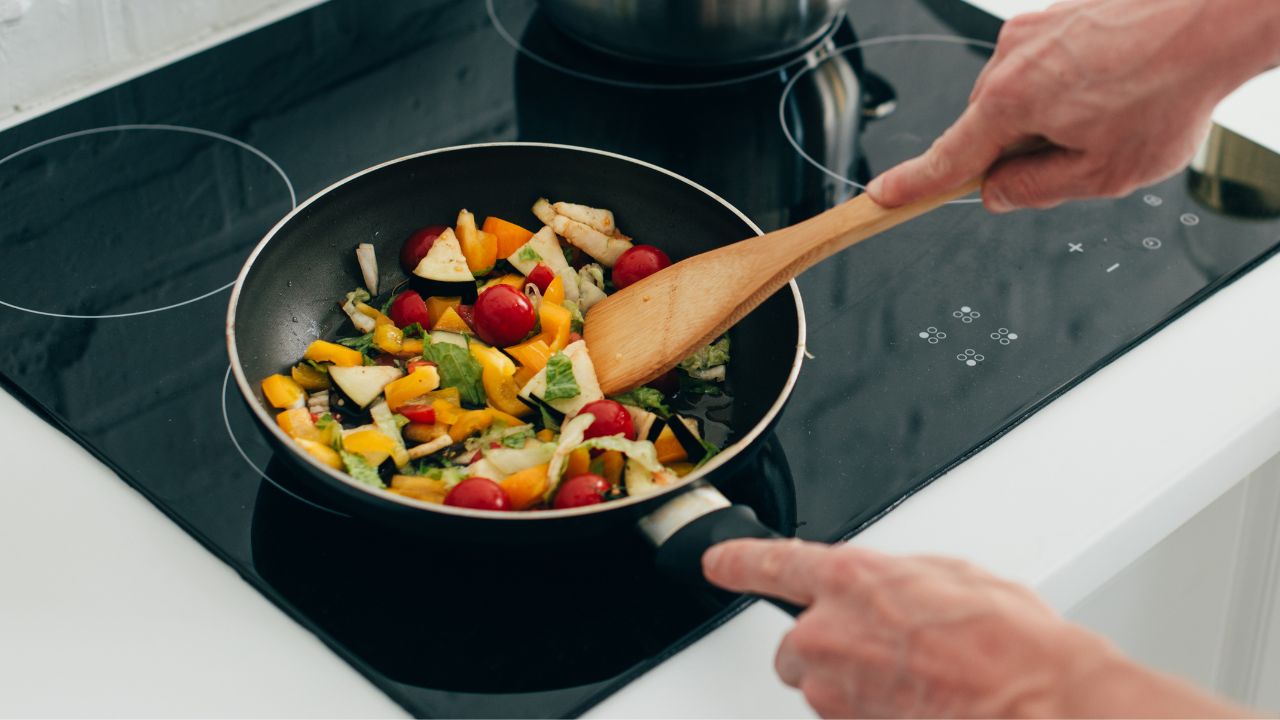
Crowding the Pan
Picture this: you’re making what should be perfectly golden mushrooms, but instead you’ve got a soggy, gray mess that looks like it escaped from a horror movie. Welcome to the tragic world of pan crowding! When you cram too many ingredients into your pan like rush-hour commuters in a subway car, they start steaming instead of searing. The trapped moisture turns your beautiful vegetables into limp disappointments that wouldn’t impress a toddler, let alone your dinner guests.
Here’s the science behind the sizzle: food releases water as it cooks, and if there’s no room for that steam to escape, everything just sits there having a sad little steam bath. Professional chefs live by the “one layer rule” – if you can’t see the bottom of your pan between pieces, you’re doing it wrong! Cook in batches, give each piece some personal space (about an inch apart), and crank up that heat. Yes, it takes longer, but trust me – the difference between properly browned food and steamed sadness is worth every extra minute you spend at the stove.
Forgetting to Preheat the Pan
Picture this: you’re standing in your kitchen, stomach growling like an angry bear, and you toss that gorgeous piece of salmon straight into a cold pan because patience is overrated, right? Wrong! Your poor fish sits there like it’s taking a lukewarm bath instead of getting that beautiful golden sear it deserves. Here’s the thing about cold pans – they’re basically food torture devices. When you don’t preheat, your protein sticks to the surface like glue, and instead of developing that gorgeous caramelized crust that makes your mouth water, you end up with sad, gray meat that tastes like disappointment.
The magic happens when your pan reaches the perfect temperature before your food even thinks about touching metal. Give your pan a solid 2-3 minutes to heat up over medium-high heat – you’ll know it’s ready when a drop of water dances across the surface like it’s auditioning for a cooking show. This simple step creates what chefs call the Maillard reaction, which sounds fancy but basically means “brown equals flavor.” Your steaks will develop that Instagram-worthy crust, your vegetables will get those beautiful char marks, and your eggs won’t turn into a scrambled mess stuck to the bottom. Trust me, your taste buds will thank you for those extra three minutes of waiting!
Leaving the Oven Door Open While Checking Food

Picture this: you’re making your grandmother’s famous roast chicken, and paranoia strikes. Is it burning? Is it done? You crack open that oven door like you’re peeking into Pandora’s box, letting all that precious heat whoosh out faster than gossip at a family reunion. Every time you open that door, your oven temperature drops by 25-50 degrees, and here’s the kicker – it takes about 10-15 minutes for most ovens to recover that lost heat. Your poor chicken goes from happily roasting at 375°F to suddenly shivering at 325°F, wondering what the heck just happened.
Instead of playing peek-a-boo with your dinner, trust your timer and use that little light inside your oven – yes, that bulb actually serves a purpose beyond making your kitchen look fancy! If you absolutely must check (and we’ve all been there), make it quick and decisive. Open, look, close within 5 seconds max. Better yet, invest in a probe thermometer that stays in your food and gives you real-time temperature readings without any door drama. Your food will cook more evenly, your energy bill will thank you, and you’ll stop accidentally turning your perfectly planned 45-minute roast into a hour-long adventure in culinary suspense.