13 Timeless Cooking Techniques Worth Bringing Back
Your grandparents knew what they were doing in the kitchen. Their time-tested cooking methods created rich, deep flavors and preserved food naturally – no chemicals or fancy gadgets needed. These 13 traditional techniques will transform your cooking while connecting you to generations of kitchen wisdom.
I’ve found myself returning to these heritage cooking methods more and more lately. From the gentle bubbling of a Dutch oven stew to the meditative rhythm of hand-kneading bread, these techniques bring both incredible results and a sense of connection to the food I make. They’ve helped me slow down and truly appreciate the cooking process.
Each method carries its own magic – the sweet smokiness of properly smoked meats, the bright tang of homemade pickles, the deep richness of long-simmered broths. By bringing these techniques back into our modern kitchens, we keep valuable cooking knowledge alive while creating wholesome, flavorful food that just tastes better.
Home Canning
I can’t imagine my kitchen without home canning – it brings back sweet memories of watching my grandmother preserve summer’s bounty for cold winter months. Through proper sterilization and processing, you’ll capture fresh produce at its peak ripeness, locking in nutrients and flavors that store-bought versions simply can’t match. The satisfaction of hearing those jar lids “pop” as they seal never gets old, and knowing exactly what goes into each jar gives you complete control over ingredients.
While it may seem intimidating at first, home canning follows straightforward rules that ensure food safety. You’ll need basic equipment like mason jars, lids, rings, and a large pot or pressure canner depending on what you’re preserving. Start with high-acid foods like jams, pickles, and tomatoes which need only water bath canning. Once you master those basics, move on to pressure canning low-acid vegetables, meats, and complete meals. The initial investment pays off quickly through money saved and the pure joy of opening summer-fresh food in winter.
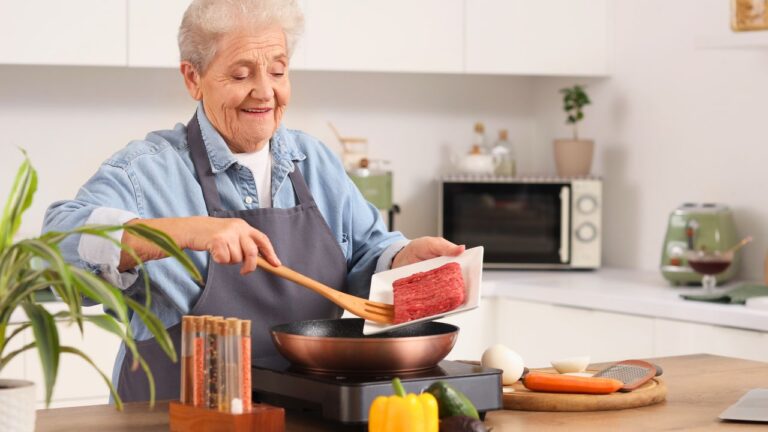
Slow Simmering
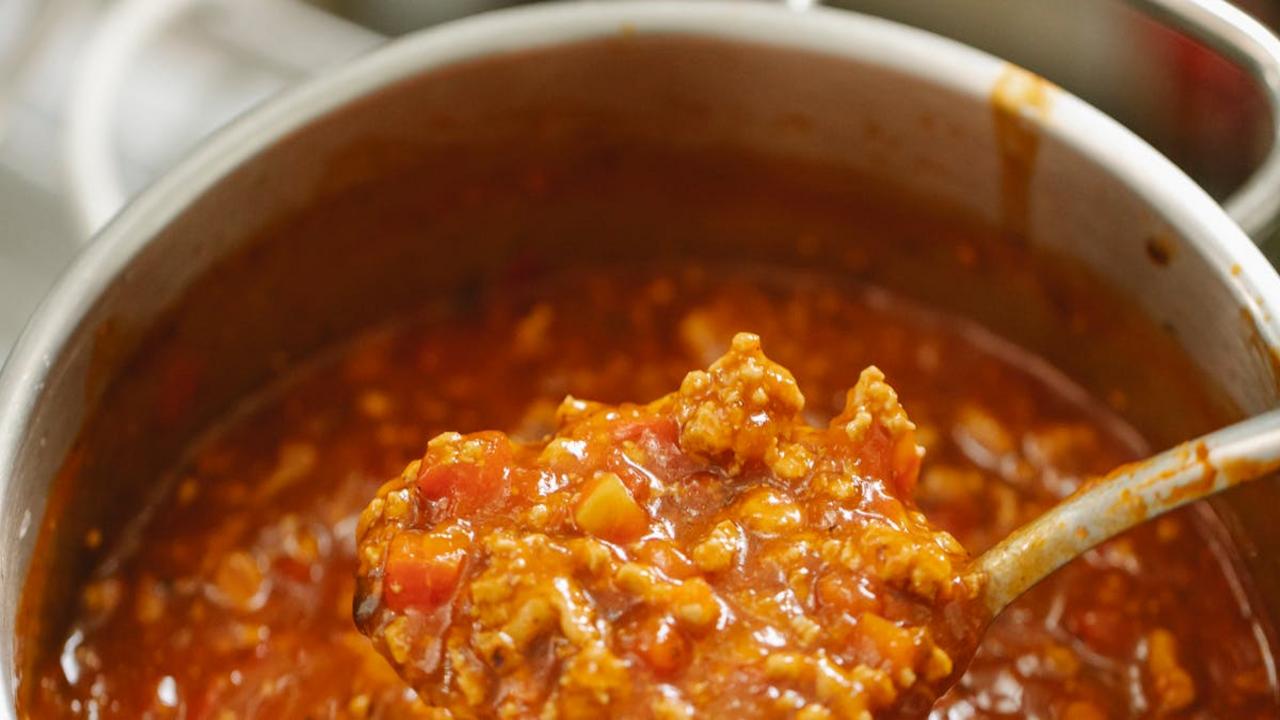
I’ve rediscovered the transformative power of slow simmering in my kitchen, and it’s become my go-to method for creating deeply flavorful dishes. By maintaining a gentle bubble just below boiling point, you’ll notice how tough cuts of meat gradually become tender and how vegetables release their natural sweetness into the broth. You can achieve this perfect simmer by keeping your heat low and watching for small bubbles that lazily rise to the surface – if you see rapid bubbling, simply lower the temperature.
My favorite slow-simmered dishes include hearty bean soups, rich bone broths, and traditional curry bases that develop incredible depth over time. The beauty of this technique lies in its simplicity – you don’t need fancy equipment or special skills. Just pick a heavy-bottomed pot, add your ingredients with enough liquid, and maintain that gentle simmer. This patient approach not only creates better-tasting food but also fills your home with amazing aromas. I recommend starting with a basic vegetable stock to practice your simmering technique before moving on to more complex dishes.
Hearth Cooking

The gentle crackle of a wood fire brings a magical quality to cooking that modern appliances simply can’t match. I rediscovered hearth cooking while staying at my grandmother’s farmhouse, where she taught me to slow-roast vegetables in cast iron pans nestled among the glowing embers. The smoky flavors and perfect caramelization you get from cooking over an open flame transform simple ingredients into extraordinary dishes. Plus, the radiant heat from all sides creates an even cooking environment that’s ideal for everything from crusty breads to tender meats.
You don’t need a huge stone fireplace to try hearth cooking – a basic fire pit or chiminea in your backyard works beautifully. Start with sturdy cast iron cookware and simple foods like root vegetables or thick cuts of meat. Keep your fire at a steady temperature by adding small pieces of hardwood gradually rather than large logs all at once. The key is patience – let the food cook slowly while absorbing those incredible wood-fired flavors. Your reward will be dishes with deep, complex tastes that connect you to generations of home cooks before us.
Hand Kneading Bread
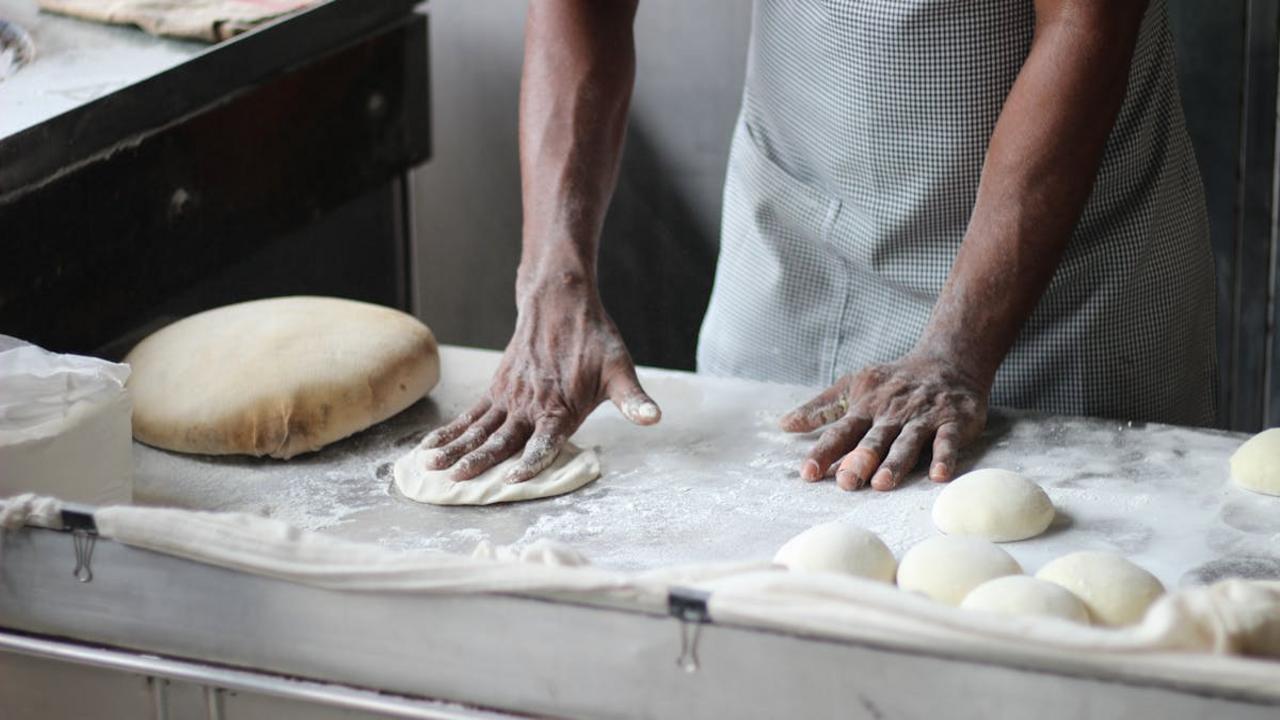
There’s something deeply satisfying about making bread with your own hands that no machine can match. I’ve found hand kneading creates a unique connection between you and your dough – you’ll learn to feel exactly when the gluten has developed properly through touch alone. The rhythmic pushing, folding and turning motions become almost meditative, and you’ll notice how the dough transforms from a shaggy mess into a smooth, elastic ball that’s ready to rise.
Hand kneading also gives you total control over the bread-making process. You can adjust your technique based on the dough’s moisture level and flour type, making subtle changes that machines simply can’t detect. I recommend starting with a basic white bread recipe to master the technique – press the heel of your hand into the dough, fold it over, give it a quarter turn, and repeat. After about 10 minutes of this motion, your dough should pass the windowpane test, stretching thin enough to see light through without tearing.
Fermentation
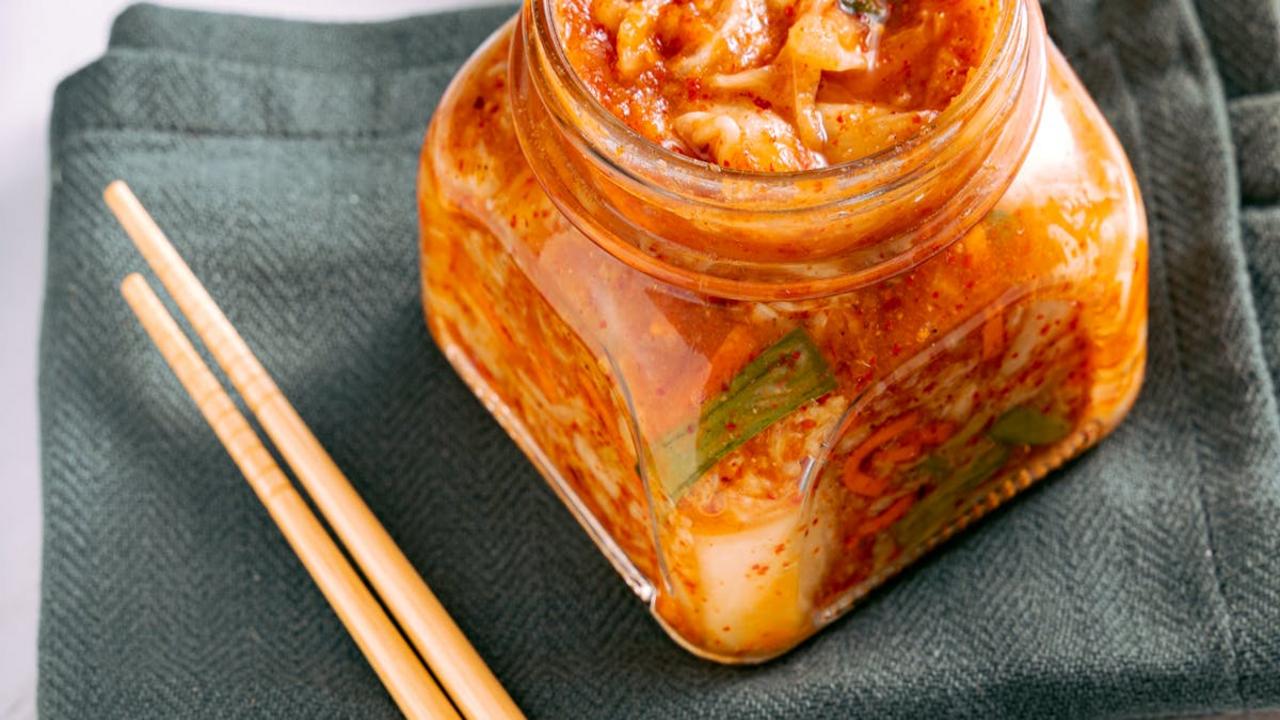
I’ve discovered that fermentation isn’t just a preservation method – it’s a magical transformation that creates bold, complex flavors while loading your food with good bacteria. From homemade kimchi to tangy sourdough bread, the simple combination of salt, time, and beneficial microorganisms can turn ordinary ingredients into nutrient-rich, probiotic-packed dishes. My Korean grandmother taught me that properly fermented foods should bubble with life and make your taste buds dance with their bright, acidic notes.
You’ll find fermentation surprisingly easy to start at home. Begin with basic sauerkraut by massaging shredded cabbage with salt until it releases its liquid, then pack it tightly in a clean jar. Leave it at room temperature for a few days, and you’ll watch the cabbage transform into a crunchy, tangy condiment that can boost your gut health. The fermentation process breaks down hard-to-digest compounds while creating new nutrients – making fermented foods both more nutritious and easier for your body to absorb. Once you master the basics, try fermenting different vegetables, grains, or even drinks like kombucha.
Root Cellaring
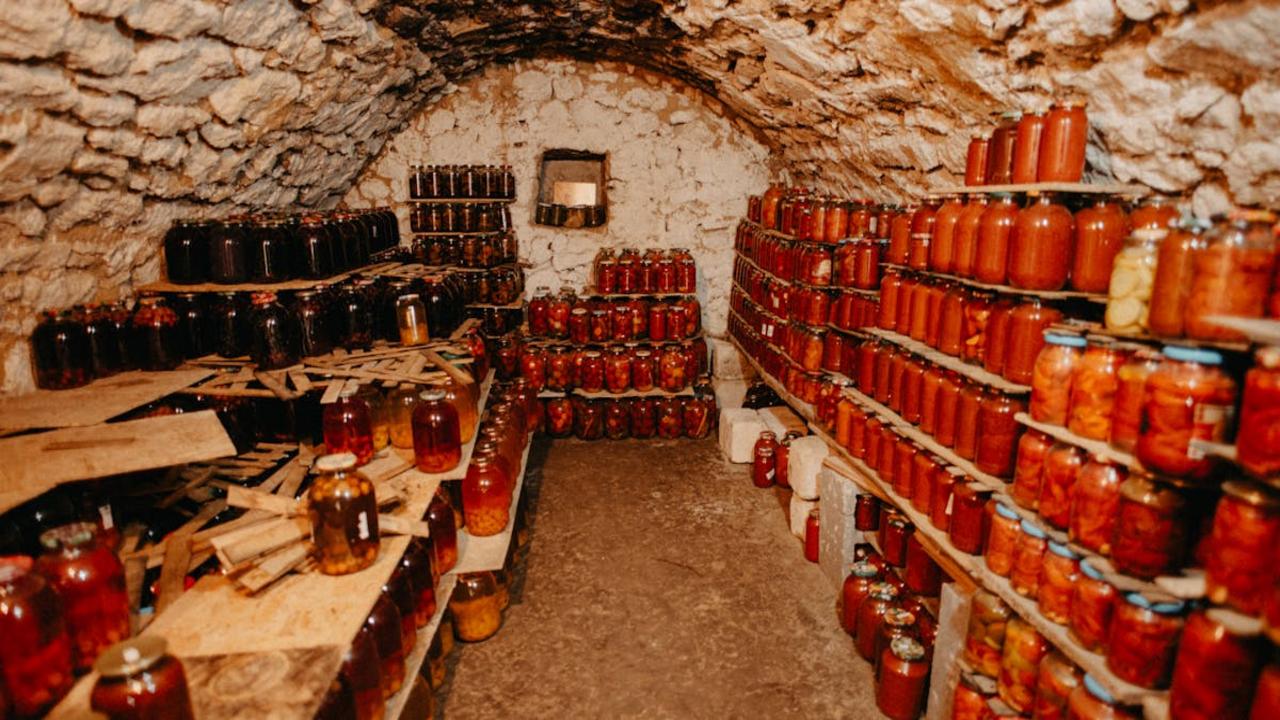
I adore how our ancestors kept their produce fresh without modern refrigeration through root cellaring – a natural storage method that works beautifully for potatoes, carrots, beets, and other root vegetables. By creating the right environment in a cool, dark basement or underground space with proper humidity levels between 85-95%, you can store your garden harvest or farmers market bounty for months. This traditional technique saves money while reducing food waste and preserving nutrients better than refrigeration.
You can start root cellaring today by finding a consistently cool spot around 32-40°F (0-4°C) in your home, like an unheated basement corner or garage. Pack clean, dry vegetables in boxes with slightly damp sand or sawdust, checking regularly for any signs of spoilage. Through my years of experimenting, I’ve found that different vegetables need slightly different conditions – carrots want very high humidity while onions prefer it drier. The satisfaction of pulling out perfectly crisp vegetables in the middle of winter makes the initial setup completely worth the effort.
Home Butter Making
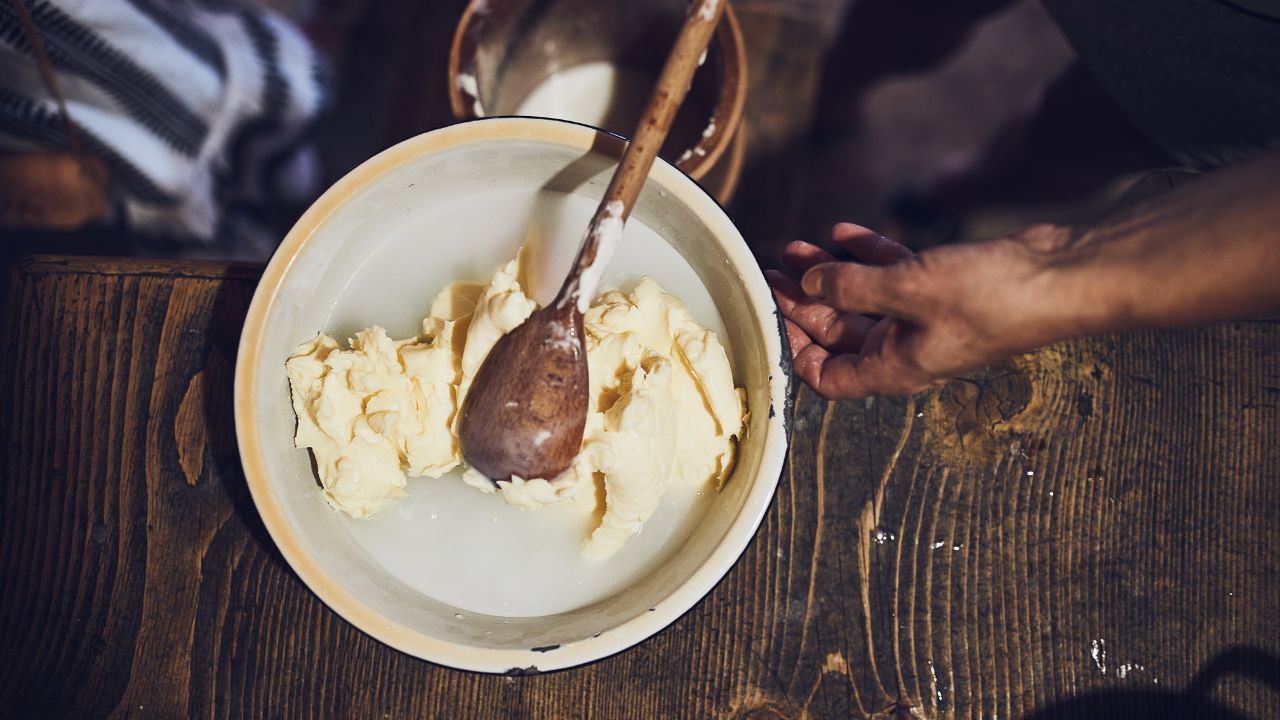
Making butter at home transforms ordinary heavy cream into rich, creamy gold through a simple yet rewarding process. You’ll need just fresh heavy cream and a pinch of salt – that’s it! Pour the cream into a stand mixer (or use a jar if you want an arm workout) and watch the magic happen. The cream will thicken to whipped cream first, then break into butter and buttermilk. Once separated, strain the butter, rinse with cold water, and knead out any remaining liquid.
Your homemade butter brings pure, natural flavor that store-bought versions can’t match. Add herbs, honey, or garlic for compound butters that elevate any dish. The leftover buttermilk makes fantastic pancakes and biscuits too – no waste! The whole process takes about 15-20 minutes and yields approximately 1/2 cup of butter from 1 cup of cream. Fresh butter keeps in the fridge for about 2 weeks, but trust me, it rarely lasts that long in my house. The satisfaction of spreading your own butter on warm bread makes the effort completely worth it.
Cast Iron Cooking
I cherish my grandmother’s cast iron skillet like a family heirloom – it carries decades of flavors and memories in its perfectly seasoned surface. This old-school cooking method creates an unmatched heat distribution that gives your food a beautiful brown crust while keeping the inside tender and juicy. The natural non-stick surface you build up over time means you’ll need less oil or butter in your cooking, making it a healthier choice for everyday meals.
Cast iron stays relevant because it moves seamlessly from stovetop to oven, making it perfect for dishes like cornbread, frittatas, or a whole roasted chicken. Beyond convenience, cooking with iron actually adds small amounts of dietary iron to your food – a bonus for anyone watching their iron intake. Give your cast iron pan proper care – clean it without soap, dry it thoroughly, and apply a light coat of oil after each use – and it will reward you with generations of delicious meals.
Stone Grinding
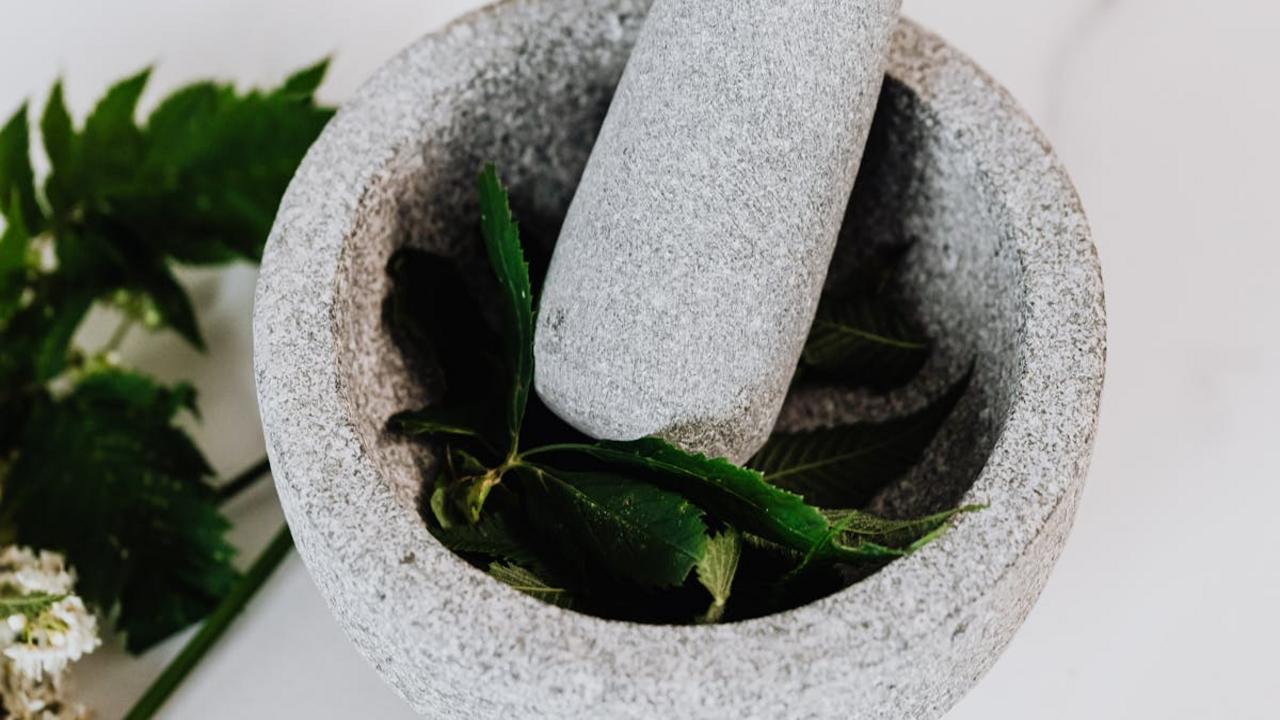
I absolutely adore stone grinding – it brings out incredible depth and richness in ingredients that electric grinders just can’t match. Through years of cooking, I’ve found that stone-ground spices, grains, and pastes carry deeper aromas and more complex flavors. My stone mortar and pestle stays busy crushing fresh peppercorns, making authentic Thai curry pastes, and grinding aromatic Indian spice blends. The manual process allows natural oils to release slowly, creating more intense, true-to-nature tastes.
You’ll notice the difference immediately when you stone grind your own spices versus using pre-ground versions. The fresh, vibrant scents fill your kitchen, and the textures range from silky-smooth to perfectly coarse depending on your grinding technique. Start with simple spices like cumin or coriander seeds – toast them lightly first, then grind away. Your curries, marinades, and spice rubs will transform with these freshly ground ingredients. Plus, the meditative nature of stone grinding connects you deeply to your food preparation, making cooking more mindful and rewarding.
Pickling
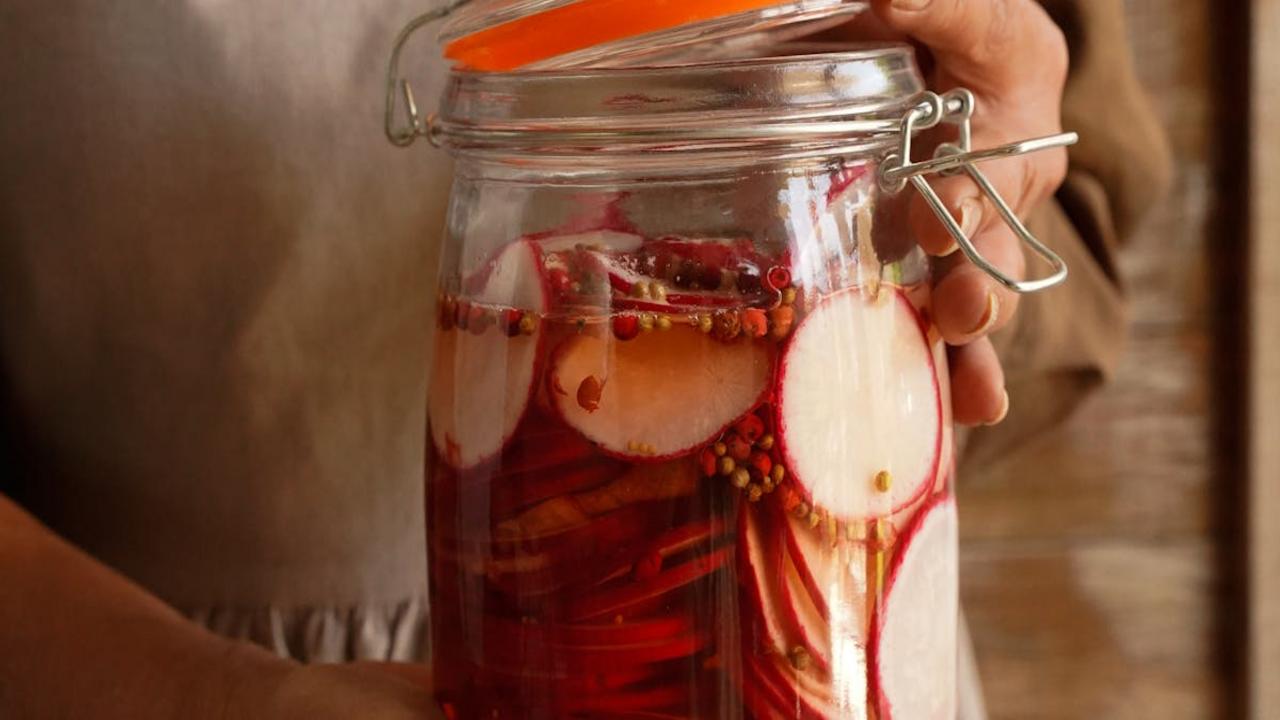
I absolutely adore pickling – it’s one of those classic preservation methods that brings bright, tangy flavors to your kitchen while helping you reduce food waste. You can pickle almost any vegetable, from cucumbers and carrots to cauliflower and green beans. The basic process involves submerging your vegetables in a brine of vinegar, water, salt, and spices, then letting time work its magic. The result? Crunchy, zesty additions that can transform an ordinary sandwich or salad into something extraordinary.
What makes pickling truly special is how it connects us to traditional food preservation while fitting perfectly into modern cooking. My grandmother taught me to pickle using just vinegar, salt, and whatever vegetables were abundant in her garden. Now, I experiment with different vinegars and spice combinations – rice vinegar with ginger for Asian-inspired pickles, or apple cider vinegar with dill for classic deli-style ones. Plus, homemade pickles don’t contain any artificial preservatives or excess sodium like many store-bought versions, making them a healthier choice for your family.
Food Drying
I rediscovered food drying last summer, and it’s become my go-to method for preserving nature’s bounty without artificial preservatives. By removing moisture from fruits, vegetables, herbs, and even meats, you create shelf-stable ingredients that maintain their nutritional value and intense flavors. The best part? You don’t need fancy equipment – while food dehydrators make the process easier, you can start with your regular oven on its lowest setting or traditional sun-drying methods.
My favorite dried foods include cherry tomatoes, which transform into sweet flavor bombs perfect for pasta dishes, and apple rings that make satisfying snacks. I keep dried herbs like basil, oregano, and thyme in my pantry year-round – they pack more punch than store-bought versions and cost a fraction of the price. The technique also works beautifully for making beef jerky, fruit leather, and mushrooms. Just remember to slice ingredients uniformly and store your dried goods in airtight containers away from light and moisture.
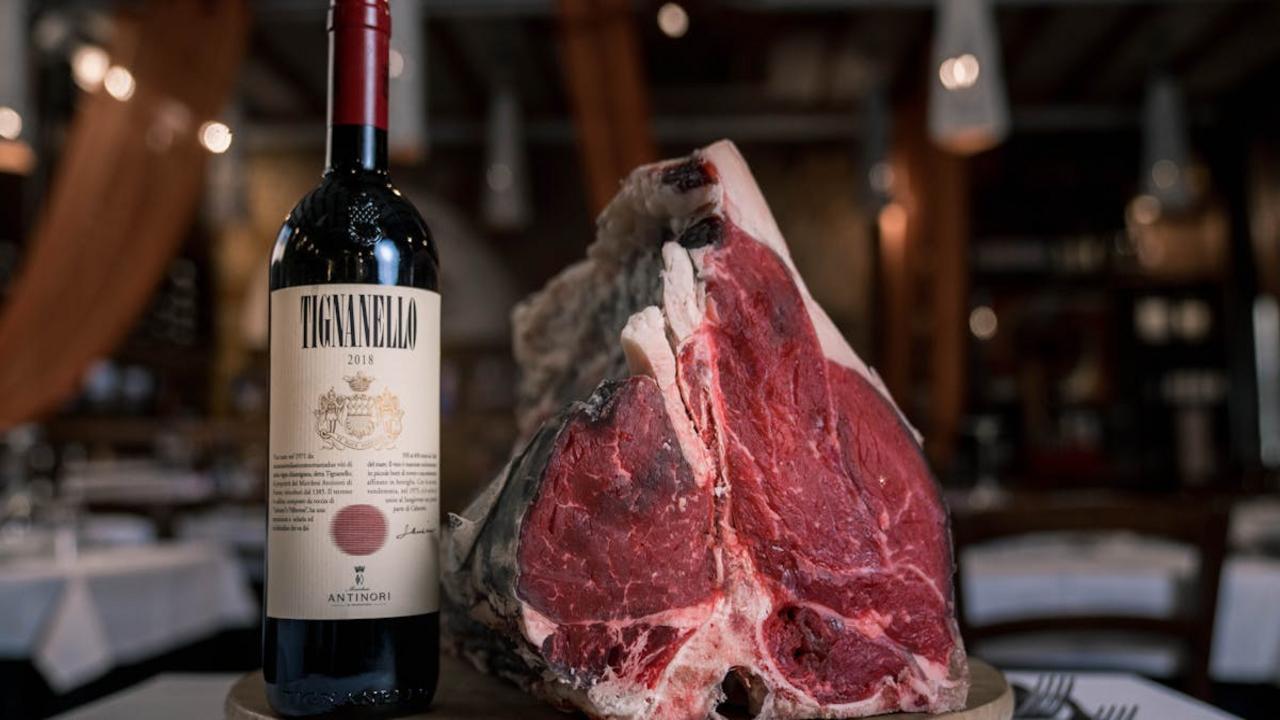
Meat Smoking
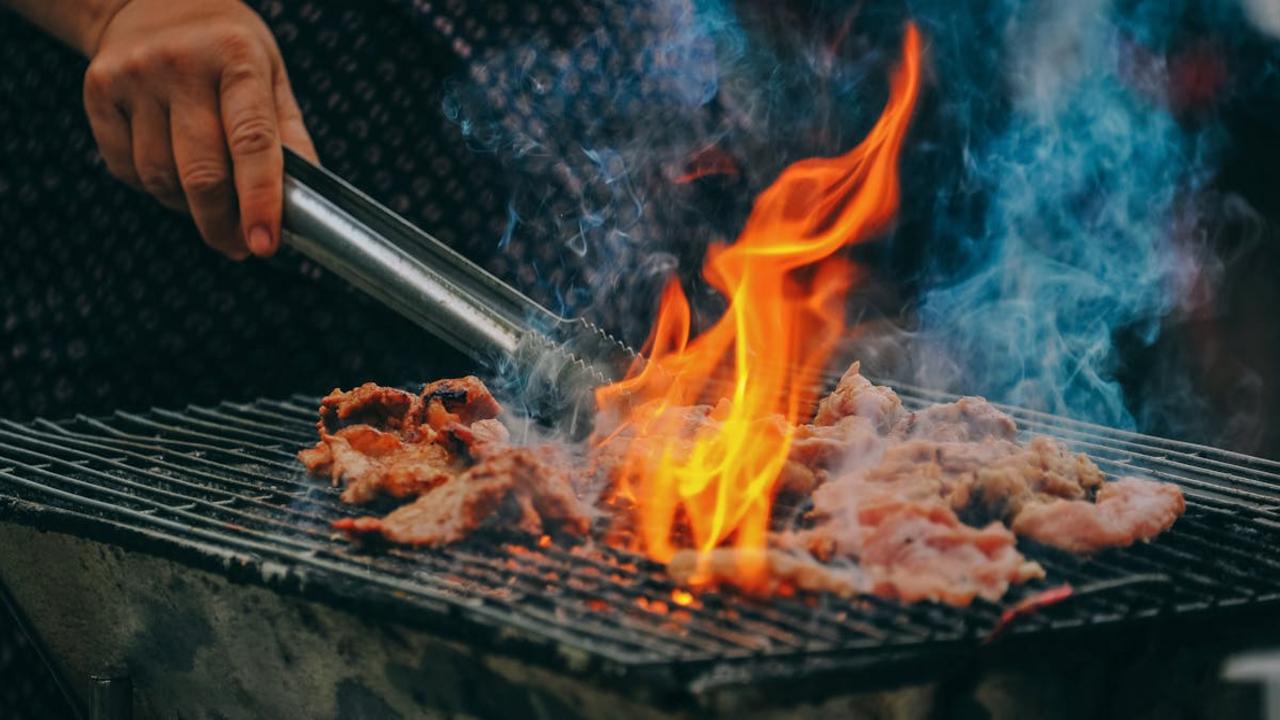
I love smoking meat because it brings out deep, complex flavors you just can’t replicate with other cooking methods. The slow process of exposing meat to aromatic wood smoke creates tender, juicy results while infusing that unmistakable smoky taste. You’ll find this ancient preservation technique adds incredible depth to everything from brisket and ribs to chicken and fish. My go-to woods include hickory for beef, applewood for pork and chicken, and mesquite for bold, intense flavor profiles.
Getting started with meat smoking doesn’t require fancy equipment – a basic charcoal grill with wood chips works great for beginners. The key lies in maintaining steady, low temperatures between 200-250°F and being patient through the long cooking time. I recommend starting with smaller cuts like chicken quarters or pork shoulder before tackling a whole brisket. Keep a spray bottle of apple juice or vinegar handy to spritz the meat occasionally, helping create that beautiful outer bark while keeping the inside moist. The results will transport you back to simpler times when food preservation meant connecting with fire, smoke, and time-honored wisdom.
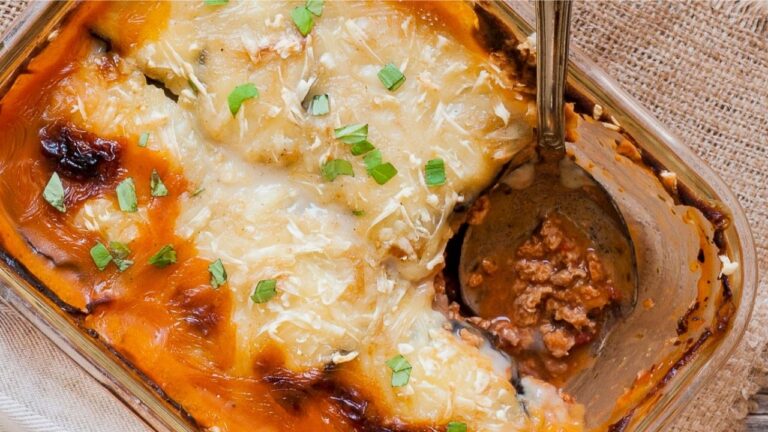
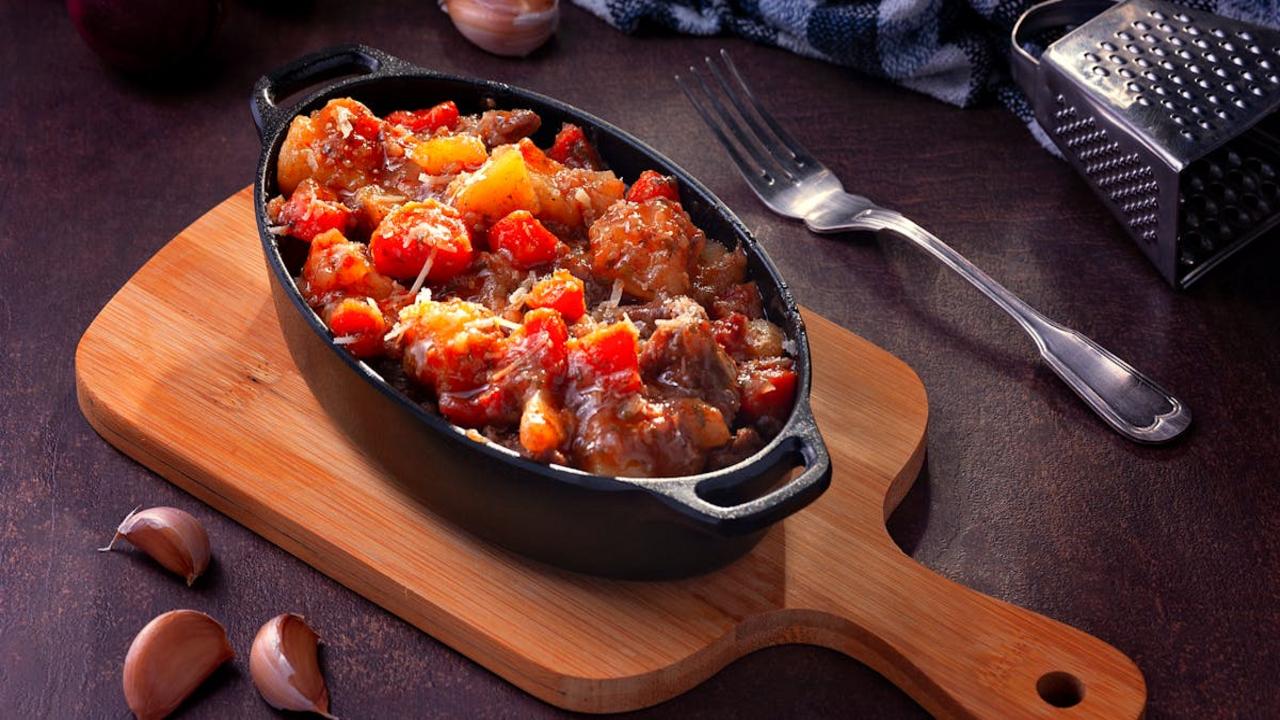
Dutch Oven Cooking
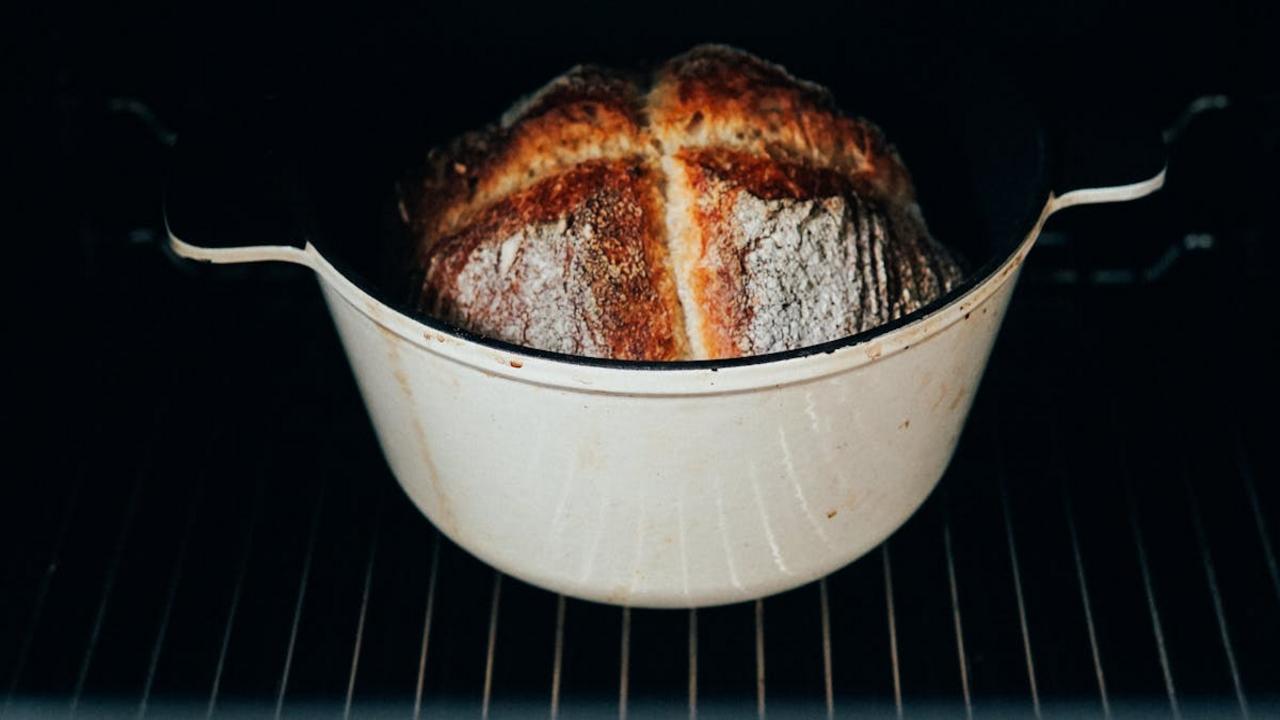
I rediscovered my grandmother’s cast iron Dutch oven last year, and it completely transformed my home cooking. This heavy-duty pot brings unmatched versatility to your kitchen – from slow-cooking hearty stews and braising tough cuts of meat to baking crusty sourdough bread. The thick walls distribute heat evenly, while the tight-fitting lid traps moisture, creating the perfect environment for developing rich, complex flavors in your dishes.
You’ll find so many practical uses for a Dutch oven beyond traditional recipes. I regularly use mine for deep frying (the depth and heat retention make it ideal), roasting whole chickens (the results rival any roasting pan), and even baking cakes outdoors over campfire coals. The enameled versions add a pop of color to your kitchen while making cleanup easier, though I still cherish my plain cast iron for its naturally non-stick surface and ability to build up seasoning over time. Start with simple one-pot meals and you’ll quickly understand why Dutch ovens have remained a kitchen staple for centuries.