13 Genius Cheese Tricks That Finally Won Over My Picky Eater Again
After months of watching my daughter push away plates and refuse meals, I discovered cheese became my secret weapon in winning back her appetite. Through creative experiments in my kitchen, I found 13 clever ways to transform ordinary dishes into exciting meals she actually wants to eat – all by reimagining how to serve cheese.
From hiding melted cheese in pasta sauces to crafting rainbow grilled cheese sandwiches, these tricks sparked joy at our dinner table again. The best part? These techniques work with any type of cheese, from mild cheddar to nutty parmesan, making them adaptable for different preferences and dietary needs.
What makes these methods special is how they turn cheese into an engaging element of the meal rather than just another ingredient. By presenting cheese in unexpected ways – like turning it into crispy vegetable crusts or fun plate decorations – I’ve made mealtimes something my daughter looks forward to instead of dreads.
Cheese art on plates
I discovered that transforming simple cheese slices into fun shapes and designs on my daughter’s plate made all the difference in getting her excited about meals again. You can create adorable animals, flowers, or even cartoon characters by cutting cheese into basic shapes with cookie cutters or a small knife. My go-to designs include mice made from string cheese with almond ears, butterflies from cheddar slices, and little rabbits from cream cheese – each one bringing pure delight to my formerly cheese-resistant kiddo.
The real magic happens when you combine different cheese types and colors to make your plate designs pop. Try mixing yellow cheddar with white mozzarella for contrast, or add natural food elements like carrot strips for whiskers or olive slices for eyes. I keep a set of small cookie cutters in my drawer specifically for cheese shaping, and I’ve found that taking an extra 2-3 minutes to arrange these designs makes mealtime so much more engaging. My daughter now asks for “cheese friends” at lunch and even helps me create new characters – turning what was once a food struggle into a fun bonding activity.
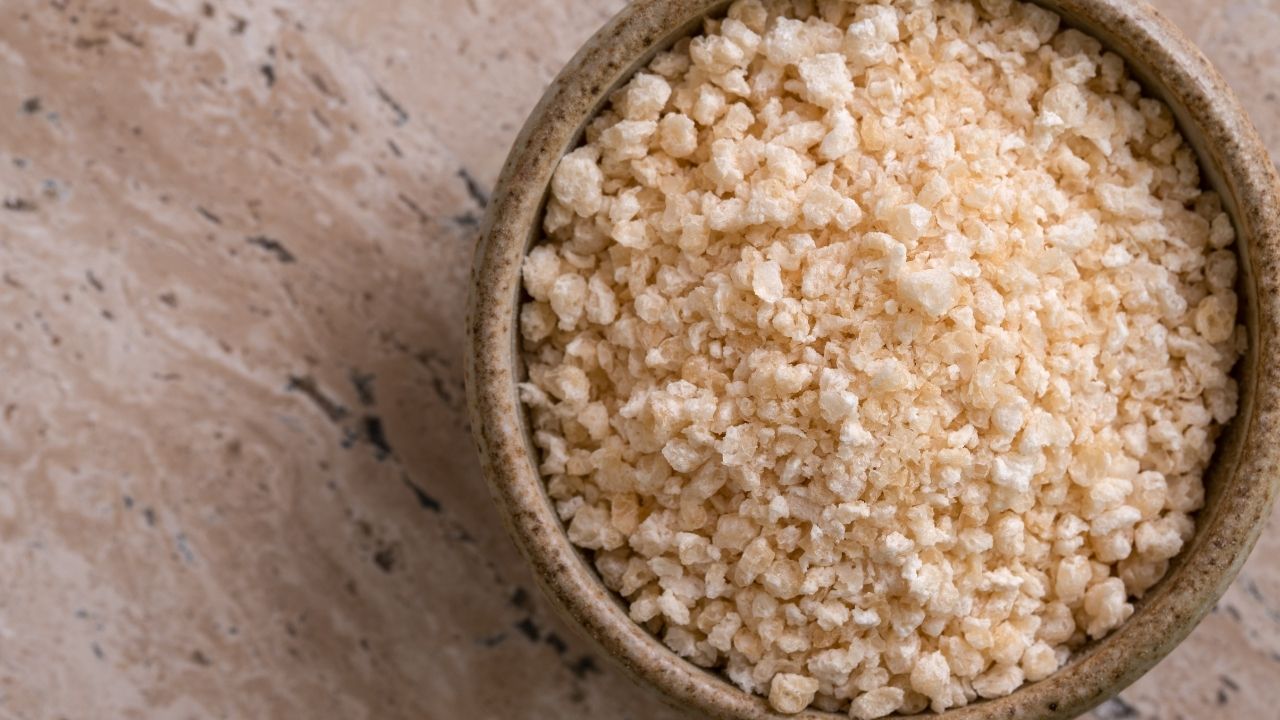
Cheese crystals as sprinkles
Here’s a brilliant trick that transformed my daughter’s relationship with cheese – using aged cheese crystals as fun sprinkles! You’ll find these crunchy, flavor-packed crystals in aged cheeses like Parmesan, aged Gouda, or aged cheddar. I grate them finely and let my daughter sprinkle them over her pasta, soups, or salads. The sparkly appearance makes the food more appealing, while the subtle crunch adds an exciting texture that kids love. Plus, these crystals pack a concentrated punch of calcium and protein.
My favorite way to create these “cheese sprinkles” is to grate a block of aged Parmesan using the finest side of your grater. Make sure to focus on the grainy, crystallized parts of the cheese – they’re usually scattered throughout but more concentrated near the rind. Store your cheese crystals in an airtight container in the fridge, and watch your little one get excited about adding their special “sparkles” to meals. This simple switch has made my daughter more open to trying new dishes, especially when she gets to participate in the sprinkling process herself.
Cheese-infused bread crumbs
I discovered the magic of cheese-infused breadcrumbs while trying to win over my son Tommy’s appetite. Simply mix grated Parmesan or aged cheddar with your regular breadcrumbs, and you’ll create a crispy, savory coating that makes any dish more appealing to selective kids. I now add these golden crumbs to baked chicken, roasted vegetables, and even mac and cheese for an extra layer of cheesy crunch. The best part? You can make a big batch and store it in an airtight container for quick weeknight meals.
The secret lies in toasting the breadcrumbs with the cheese in a dry skillet until they turn golden brown. This simple step brings out the nutty flavors of both ingredients and creates an irresistible aroma that draws my kids to the kitchen every time. My go-to ratio is 1 cup of breadcrumbs to 1/4 cup of finely grated cheese, but you can adjust this based on your family’s preferences. Try mixing different cheese varieties – my daughter particularly loves the combination of Parmesan and Romano for an extra bold flavor that makes even plain steamed broccoli disappear from her plate.
Cheese-based dips for fruits
I discovered an amazing way to get my son Tommy to eat more fruits – by pairing them with cheese-based dips! The combination of sweet fruits and creamy cheese creates a perfect balance that kids love. My go-to recipe mixes cream cheese with a touch of honey and vanilla extract, making it irresistible for dipping apple slices, strawberries, and grapes. You can also try mixing ricotta with a sprinkle of cinnamon and maple syrup for a protein-rich option that works great with pear slices and banana chunks.
The best part about cheese-based fruit dips is how quick and customizable they are. I often let my kids help pick which fruits to serve and what flavors to add to the cheese base. For a chocolatey twist, blend cream cheese with cocoa powder and a dash of maple syrup – this one’s amazing with fresh berries. You can make these dips ahead of time and store them in small containers, perfect for school lunches or afternoon snacks. My kids now regularly ask for fruit and cheese dip combos instead of processed snacks, which makes this mom very happy!
String cheese wrapped proteins
I discovered a fantastic way to make proteins more appealing to my son – wrapping them in string cheese! This simple trick works wonders with turkey, ham, or chicken slices. Just take a piece of string cheese and wrap your child’s favorite lunch meat around it. The combination creates a fun, handheld protein-packed snack that kids love to unravel and eat. My little one now asks for these regularly in his lunchbox, and I love knowing he’s getting both protein and calcium in one bite.
You can get creative with this idea too! Try different varieties of string cheese like mozzarella, cheddar, or even pepper jack for older kids who enjoy more flavor. I sometimes add an extra element of fun by cutting the wrapped rolls into bite-sized “sushi” pieces or securing them with a pretzel stick through the middle. The best part? This protein-cheese combo keeps well in the fridge, so you can prep several at once for quick snacks throughout the week. My son now proudly shows his friends at school his “cheese roll-ups” and has even taught them how to make their own.
Cheesy smoothie tricks
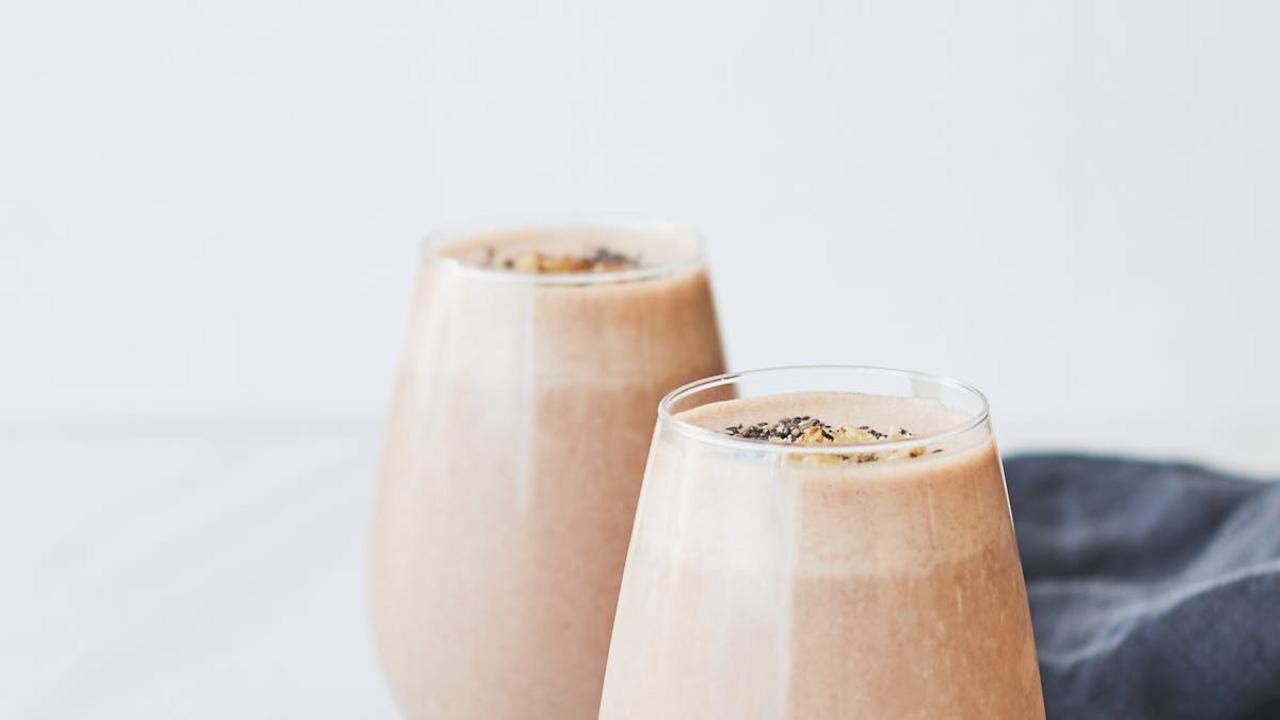
I discovered a game-changing way to sneak extra nutrition into my daughter’s diet through cheese-enhanced smoothies! By adding a small amount of mild cream cheese or ricotta to fruit smoothies, you’ll create a rich, creamy texture while boosting protein and calcium content. The key is starting with just 1-2 tablespoons per serving and pairing it with naturally sweet fruits like strawberries, mangoes, or bananas that mask the cheese flavor. My go-to combination includes frozen peaches, vanilla yogurt, a splash of honey, and 2 tablespoons of cream cheese.
The best part? These cheese-enhanced smoothies make excellent frozen pops too! Pour your blended creation into popsicle molds and freeze for 4-6 hours. Kids love the creamy, ice cream-like texture, and you’ll feel good knowing they’re getting extra nutrients. You can even make fun patterns by layering different fruit and cheese combinations. My daughter now requests her “special smoothie” every morning, completely unaware that she’s drinking something so nutritious. Start with milder cheeses and gradually experiment with different varieties as your child’s palate grows.
Cheese wafers as cookies
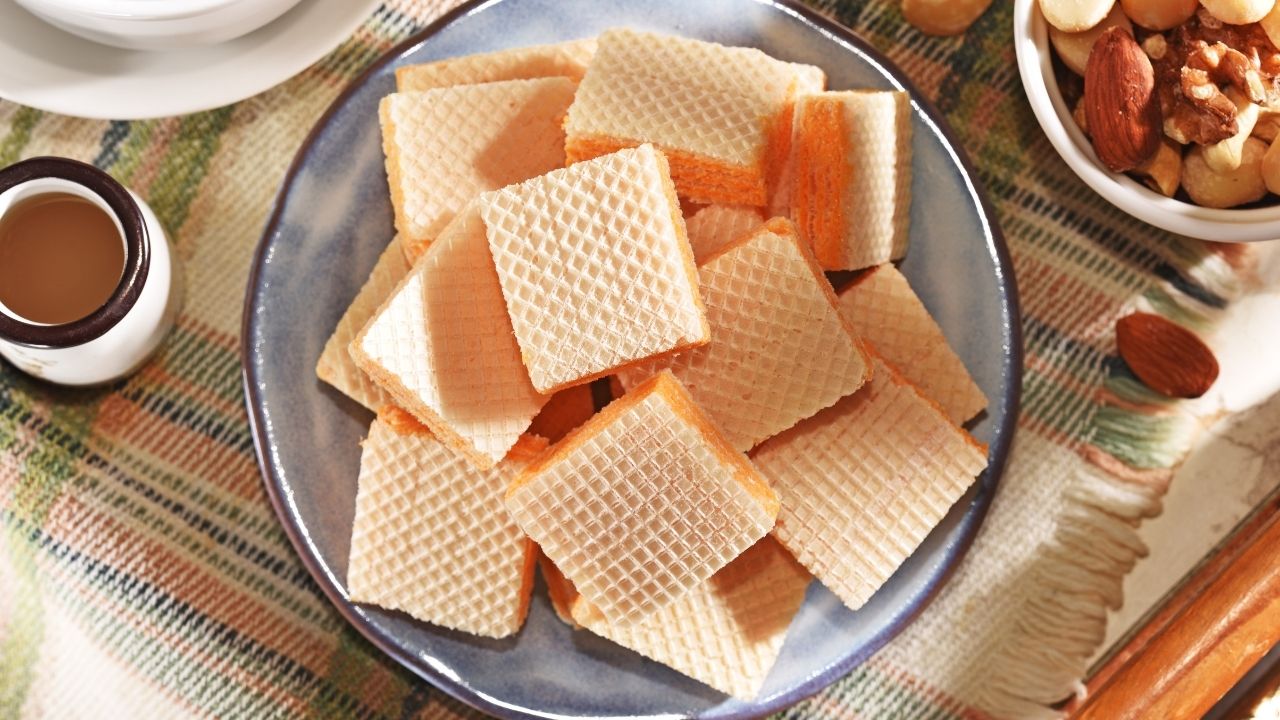
I discovered a brilliant way to sneak cheese into my daughter’s diet by making crispy cheese wafers that look just like cookies! You’ll need only three ingredients: shredded cheddar cheese, all-purpose flour, and a pinch of paprika. Mix them together, shape small portions into rounds on a baking sheet, and bake until golden brown. The result? Delicious, crunchy wafers that your kids will grab thinking they’re getting a sweet treat. My little one now asks for these “cheese cookies” daily!
The best part about these wafers is how you can customize them based on your child’s preferences. Try different cheese combinations like mozzarella and parmesan, or add herbs like rosemary or thyme for extra flavor. I make a big batch every weekend and pack them in my daughter’s lunchbox – they stay fresh in an airtight container for up to five days. Other parents at school have started requesting the recipe after their kids tried these at lunch trades. Now that’s what I call a successful cheese trick!
Cheese powder on popcorn

You’ll transform regular popcorn into an irresistible snack by adding cheese powder! I discovered this trick when my daughter wouldn’t touch plain popcorn anymore. The fine, savory coating of cheese powder adds just the right amount of flavor that kids love. You can find cheese powder in most grocery stores, or make your own by grinding hard cheese in a food processor with a bit of cornstarch. My daughter now begs for this cheesy treat during movie nights.
The best part? You can control the ingredients and make it healthier than store-bought cheese popcorn. Mix different cheese powders like cheddar and parmesan for more complex flavors. Sprinkle the powder while the popcorn is still warm so it sticks better. Add a tiny pinch of garlic powder or dried herbs to create your own signature blend. This simple cheese hack turned my daughter from a popcorn skeptic into a devoted fan, and now she helps me create new flavor combinations in the kitchen.
Cheese-filled fruit rolls
I discovered a fun way to sneak extra protein and calcium into my daughter’s lunchbox with these cheese-filled fruit rolls! Simply spread a thin layer of cream cheese on your child’s favorite fruit leather or roll-up, then gently re-roll it into a spiral. The combination of sweet fruit and creamy cheese creates an exciting twist that makes snack time more engaging. My daughter now asks for these treats daily, and I love knowing she’s getting good nutrition while enjoying her food.
You can mix things up by using different cheese varieties and fruit roll flavors. We enjoy strawberry fruit leather with honey-flavored cream cheese, or tropical punch rolls with vanilla-scented cream cheese. For extra fun, cut the rolls into bite-sized pinwheels – this makes them perfect for little hands and adds a playful element to snacking. I’ve shared this idea with other parents at school, and now it’s become a popular lunch box addition in many households.
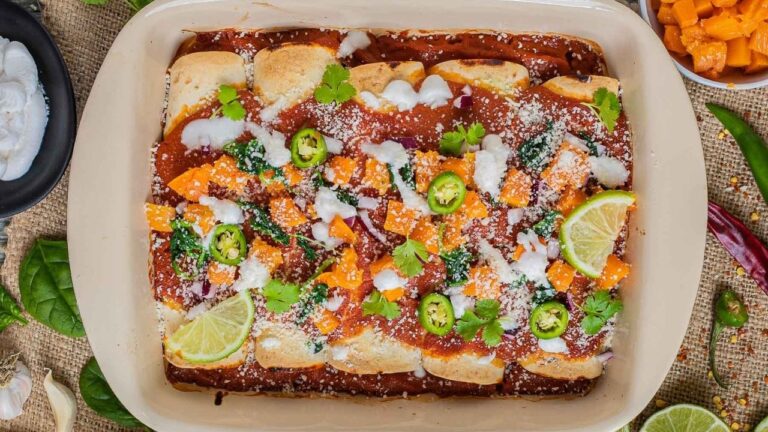
Cheese-crusted vegetables
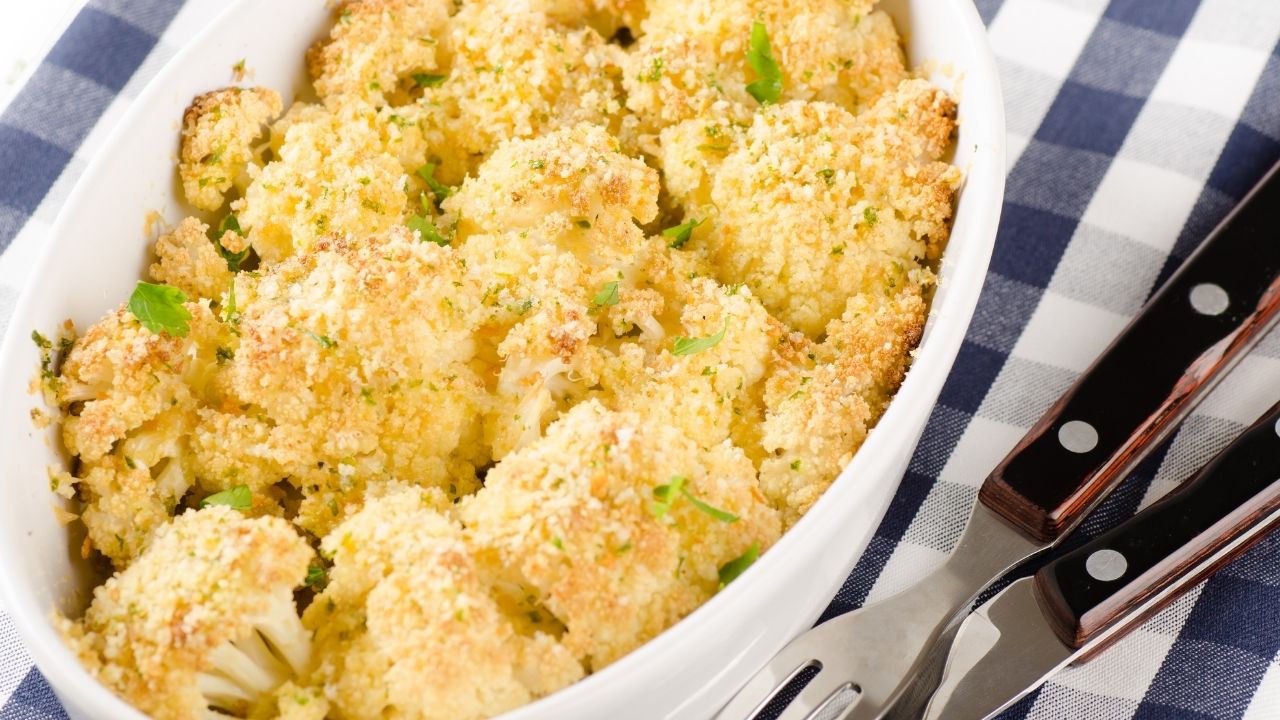
Want to turn boring vegetables into an irresistible dish your picky eater will devour? I discovered that adding a golden, crispy cheese crust to roasted vegetables makes them instantly more appealing to selective kids. Simply sprinkle a mix of grated Parmesan and mozzarella over your veggies during the last few minutes of roasting, then broil until the cheese forms a beautiful, bubbly crust. My daughter, who once pushed broccoli around her plate, now requests “cheesy trees” at dinner time!
You can apply this cheese-crusting technique to almost any vegetable – from cauliflower and Brussels sprouts to zucchini and carrots. The key is to roast your vegetables until they’re nearly done, then add the cheese layer for that final wow factor. I like to mix herbs like oregano or thyme into the cheese before sprinkling it on. The herbs add extra flavor while the melted cheese creates an irresistible texture that makes vegetables feel more like a treat than a obligation. This simple trick has turned our family dinners from battlegrounds into peaceful, enjoyable meals.
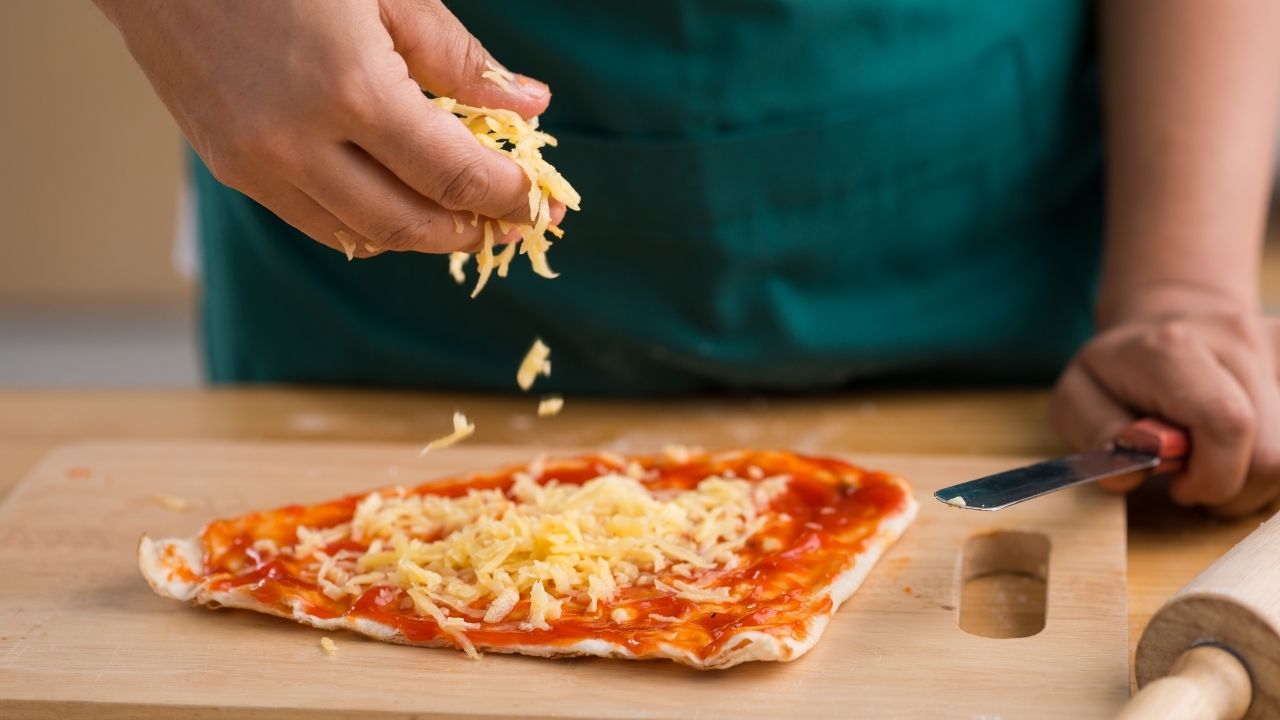
Rainbow grilled cheese sandwiches
I discovered the magic of rainbow grilled cheese sandwiches while trying to win over my 6-year-old niece who refused to eat anything but plain pasta. By adding natural food coloring to different portions of shredded mozzarella cheese, I created vibrant strips of red, yellow, green, and purple cheese that melted into a stunning rainbow pattern. The key is to arrange the colored cheese carefully in strips on the bread before grilling – this creates that perfect Instagram-worthy pull-apart effect that kids go crazy for.
The best part? You can make this fun sandwich healthier by sneaking in natural food colorings from vegetable powders like beet, turmeric, spinach, and purple carrot. Just mix a tiny pinch of powder into each portion of shredded cheese before assembling. My niece now begs for these “unicorn sandwiches” at least twice a week, and I’ve even started adding thin slices of vegetables between the cheese layers. Who knew a simple grilled cheese could bring such excitement to the lunch table? The smile on her face when she pulls apart those colorful, stretchy cheese strands makes all the extra effort worth it.
Cheese-stuffed meatballs

I discovered a game-winning dinner solution that makes my picky eater run to the table – cheese-stuffed meatballs! I mix ground beef with Italian seasoning, garlic, and breadcrumbs, then wrap the meat around small cubes of mozzarella cheese. The result? Golden-brown meatballs with an irresistible melty center that oozes with every bite. My daughter now begs for these weekly, and I love that she gets protein and calcium in one delicious package.
The trick lies in the cheese selection and temperature control. I’ve found that using cold cheese cubes and chilled meat mixture prevents the cheese from leaking during cooking. You can also experiment with different cheese varieties – we’ve tried cheddar, provolone, and even pepper jack for extra kick. These meatballs work great with pasta, on sandwiches, or simply served with marinara sauce for dipping. Plus, you can make a big batch and freeze them for busy weeknights when you need a quick dinner win.
Hidden cheese sauce in pasta
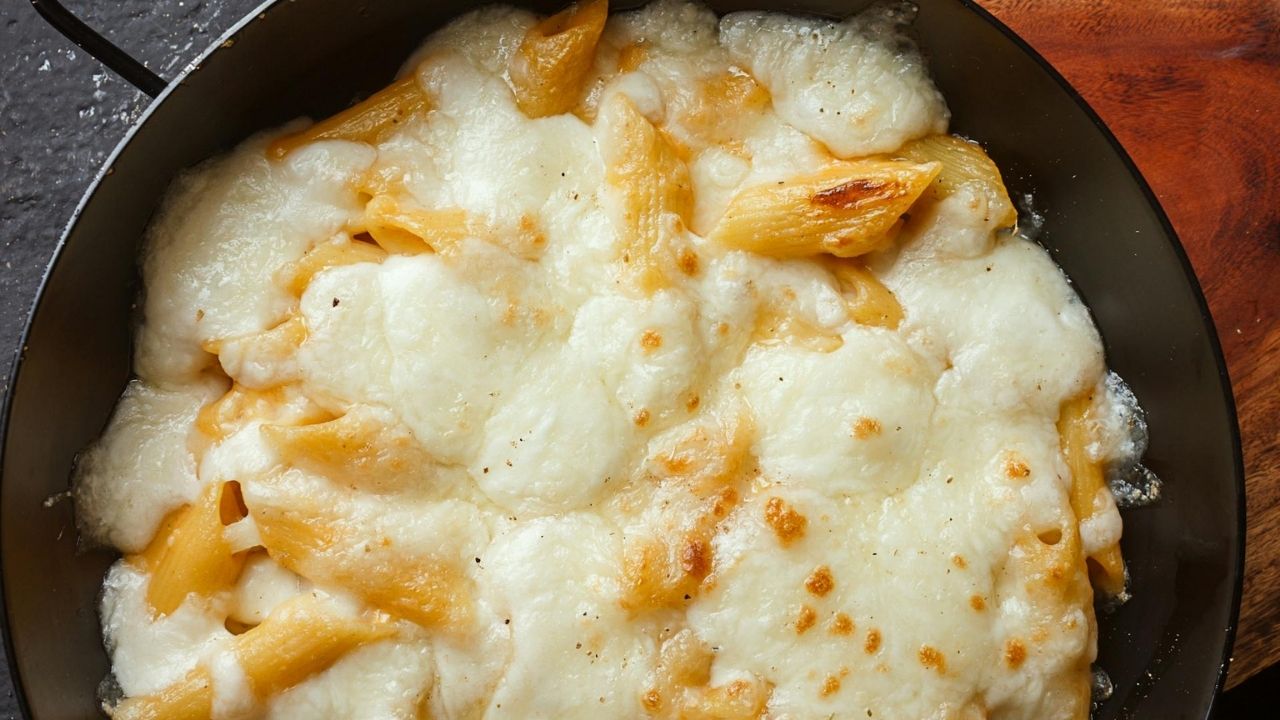
I discovered a genius way to sneak extra nutrition into my daughter’s pasta by creating a velvety cheese sauce packed with hidden vegetables. By blending cooked butternut squash or cauliflower with sharp cheddar cheese, milk, and a touch of nutmeg, I make a rich, creamy sauce that coats every pasta strand perfectly. The vegetables add a natural sweetness and smooth texture while boosting the nutritional value – and my daughter never suspects she’s eating her veggies!
The key to this trick lies in getting the consistency just right. I cook the vegetables until they’re very tender, then blend them until completely smooth before mixing with melted cheese. This creates a sauce that mimics the texture of traditional mac and cheese perfectly. You can experiment with different cheese combinations – try mixing mild mozzarella with parmesan, or go bold with smoked gouda. My daughter now requests this “special cheesy pasta” regularly, making dinner time much more enjoyable for everyone.