12 Surprising Kitchen Tricks Chefs Swear By
Professional chefs guard their secrets like treasure maps, but I’ve cracked the code on twelve mind-blowing techniques that’ll transform your cooking game forever. These aren’t your grandmother’s tips—we’re talking about using dental floss as a precision cutting tool and melting chocolate with a hair dryer like some kind of culinary wizard.
From freezing herbs in olive oil ice cubes to brining meat in coffee (yes, coffee!), these tricks sound absolutely bonkers until you try them. Picture this: microwaving lemons to squeeze out every last drop of juice, or adding mayonnaise to grilled cheese for the crispiest crust imaginable.
These genius hacks prove that sometimes the most brilliant solutions hide in the most unexpected places. Who knew vodka belonged in pie crust or that a simple spoon beats any fancy peeler for ginger? Get ready to shock your dinner guests with restaurant-quality results using household items you never imagined belonged in the kitchen.
Ripening avocados in flour for even softening
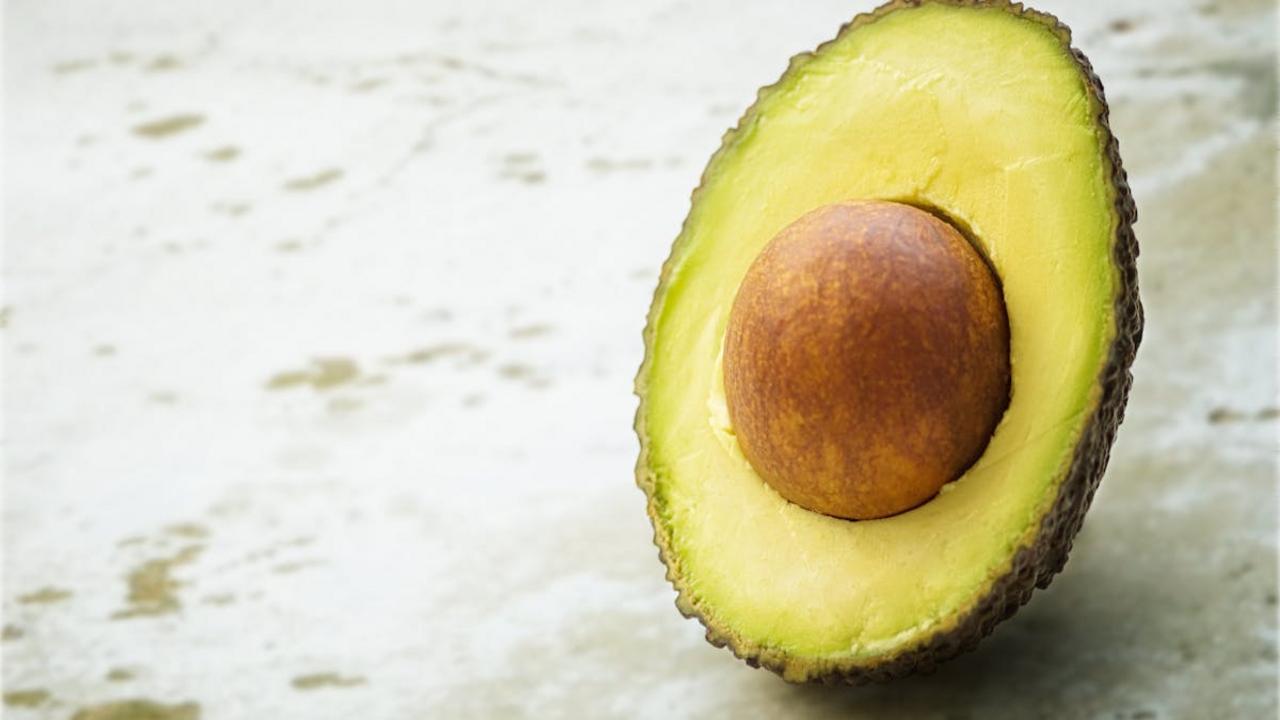
You know that heartbreaking moment when you slice open an avocado only to find it’s harder than your last relationship? Professional chefs have been quietly using this flour trick for years, and honestly, it’s borderline magical. Bury your rock-hard avocados completely in all-purpose flour for 24-48 hours, and watch them transform into creamy perfection. The flour creates a gentle, consistent environment that helps the fruit ripen evenly from all sides, preventing those annoying hard spots that make your guacamole look like chunky peanut butter.
This method works because flour acts like a cozy blanket, maintaining steady temperature and humidity around the avocado while absorbing excess moisture that could cause uneven ripening. Unlike the paper bag trick that can leave you with mushy exteriors and firm centers, flour gives you that perfect, uniform texture chefs demand. Just brush off the flour residue before slicing, and you’ll have avocados so consistently creamy, your brunch guests will think you have some sort of supernatural produce-picking powers. Pro tip: save that flour afterward for baking – it picks up a subtle, nutty flavor that adds unexpected depth to your next batch of cookies.
Melting chocolate with a hair dryer for tempered results
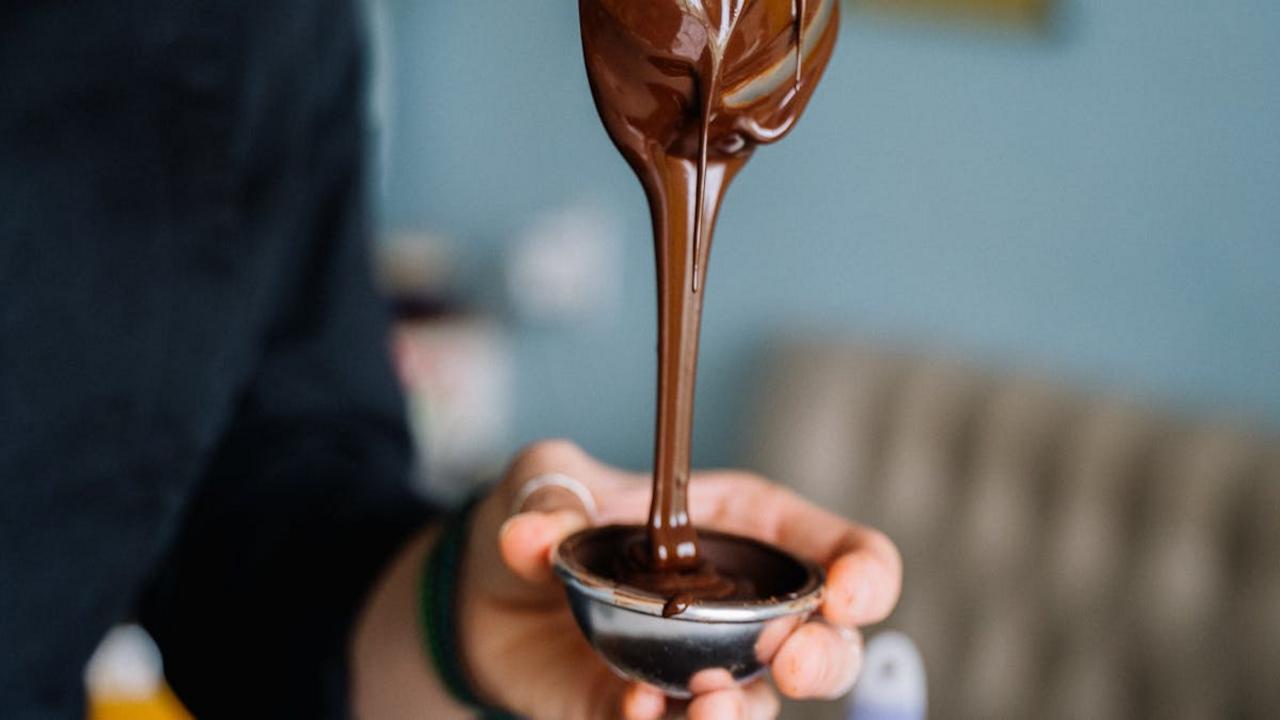
Your hair dryer just became your secret weapon for chocolate perfection! Professional pastry chefs have been quietly using this bathroom appliance to achieve flawless tempering without the fuss of traditional methods. The gentle, controlled heat from a hair dryer mimics the precise temperature control that expensive tempering machines provide. You simply melt your chocolate in a bowl, then use the hair dryer on its lowest setting to maintain that sweet spot between 84-88°F for dark chocolate. The constant airflow prevents hot spots while keeping the cocoa butter crystals perfectly aligned.
This technique works because tempering chocolate requires maintaining specific temperature ranges rather than applying intense heat. Your hair dryer gives you the control that stovetops simply can’t match – no more seized chocolate disasters or grainy textures that make you want to throw your whisk across the kitchen! The best part? You can direct the heat exactly where you need it while stirring with your other hand. Professional chocolatiers swear by this method for coating truffles, dipping strawberries, or creating those Instagram-worthy chocolate drips on cakes. Just remember to clean your hair dryer first – nobody wants chocolate that tastes like hairspray!
Brining meat in coffee for enhanced flavor
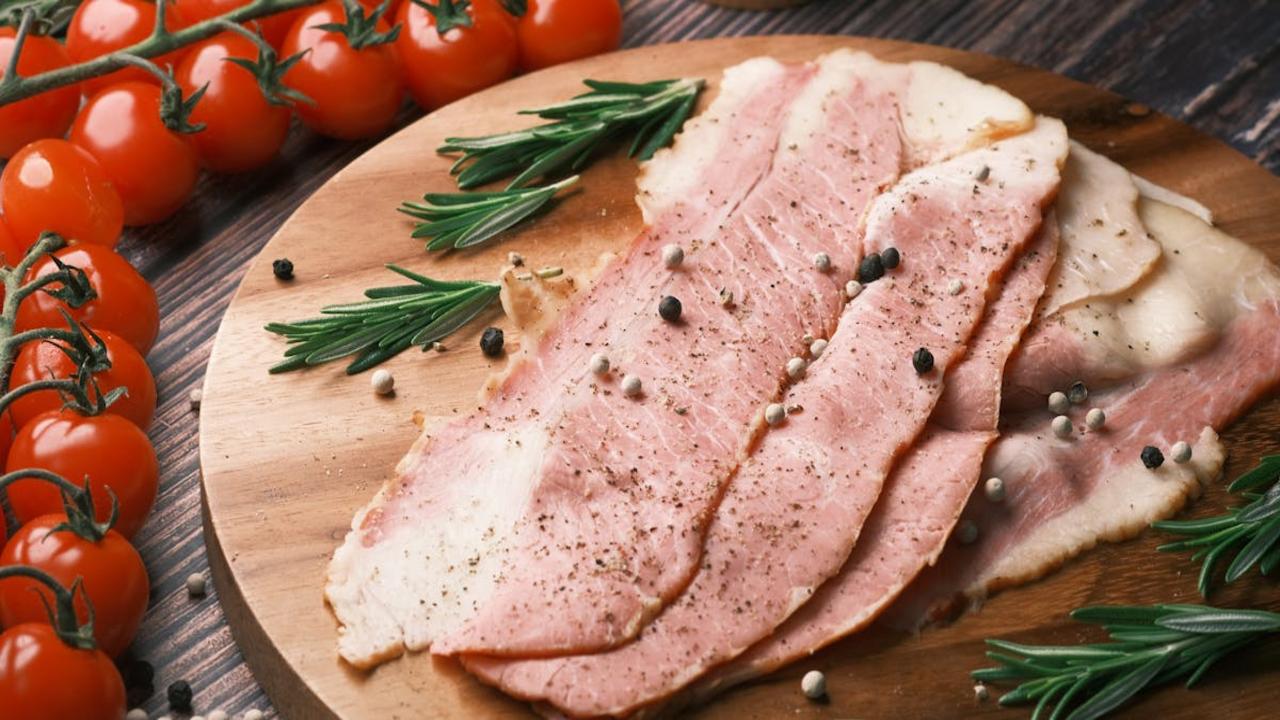
Picture this: you’re standing in your kitchen at 6 AM, clutching your morning coffee, when inspiration strikes like caffeinated lightning. What if that magical brown elixir could work its charm on more than just your sleepy brain? Professional chefs have discovered that coffee makes an absolutely brilliant brine for meat, creating layers of flavor that’ll make your neighbors peek over the fence wondering what sorcery you’re practicing. The natural acids in coffee break down tough muscle fibers while the complex flavor compounds – we’re talking about over 800 different aromatic compounds in a single cup – penetrate deep into the meat.
Coffee brining works particularly well with pork shoulder, beef brisket, and even chicken thighs. Mix strong cold brew with salt, brown sugar, and your favorite spices, then let your meat take a luxurious coffee bath for 4-24 hours. The result? Meat that’s incredibly tender with a subtle smoky, earthy undertone that pairs beautifully with barbecue rubs or simple seasonings. Don’t worry about your steak tasting like your morning joe – the coffee flavor becomes this gorgeous background note that amplifies the meat’s natural richness rather than overpowering it. Plus, you get the added bonus of looking like a total kitchen genius when guests ask about your secret ingredient.
Using vodka in pie crust for extra flakiness
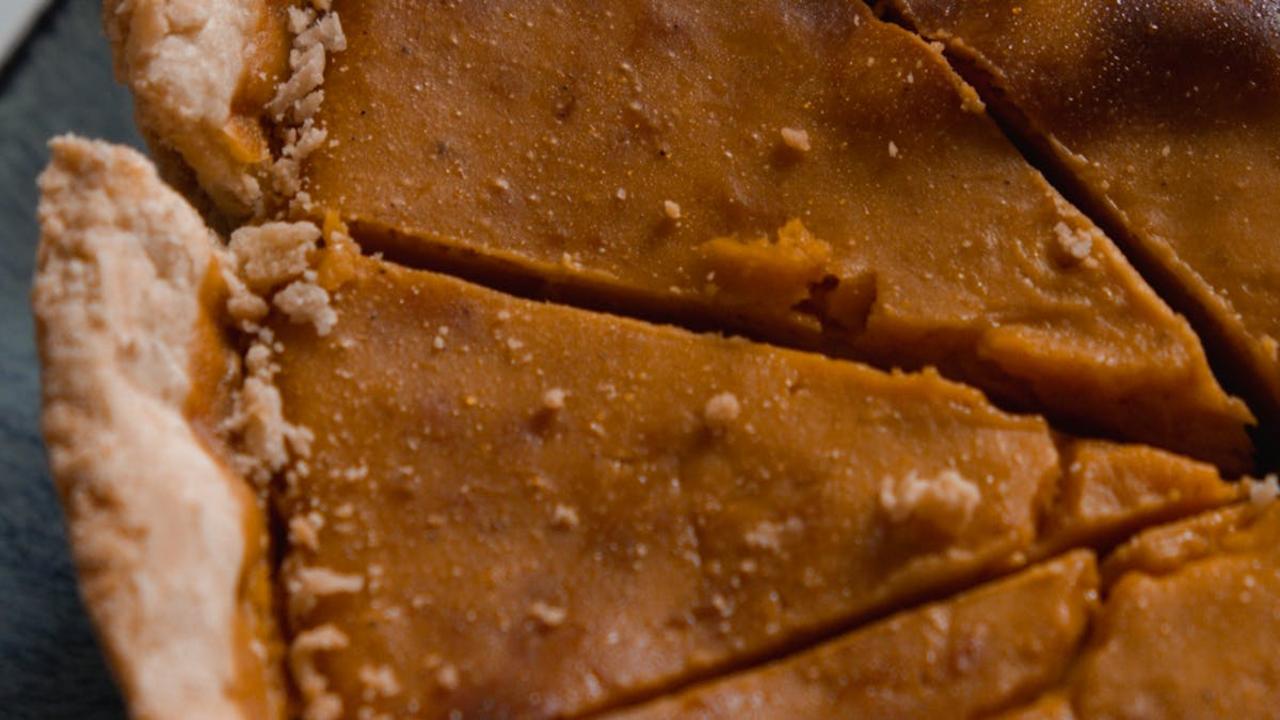
Picture this: you’re standing in your kitchen, staring down a stubborn pie crust that refuses to cooperate, when suddenly you remember that bottle of vodka tucked away in your freezer. Before you pour yourself a consolatory shot, consider this genius move that professional bakers have been quietly practicing for years. Adding a splash of vodka to your pie dough creates the most impossibly flaky, tender crust you’ve ever experienced. The science behind this magic trick lies in vodka’s unique properties – unlike water, alcohol doesn’t activate gluten development, which means your crust stays delicate rather than tough and chewy.
Here’s where things get wonderfully weird: the alcohol completely evaporates during baking, leaving behind zero boozy flavor but maximum flakiness. You can replace up to half the water in your recipe with vodka, and your guests will never guess your secret ingredient unless you spill the beans. Professional pastry chefs swear by this technique for competition-worthy pies, and some even keep a dedicated “baking vodka” bottle just for this purpose. The best part? Any cheap, bottom-shelf vodka works perfectly fine since you’re not drinking it – save the premium stuff for your victory cocktail after you pull that picture-perfect pie from the oven!
Cooking rice with coconut oil to reduce calories
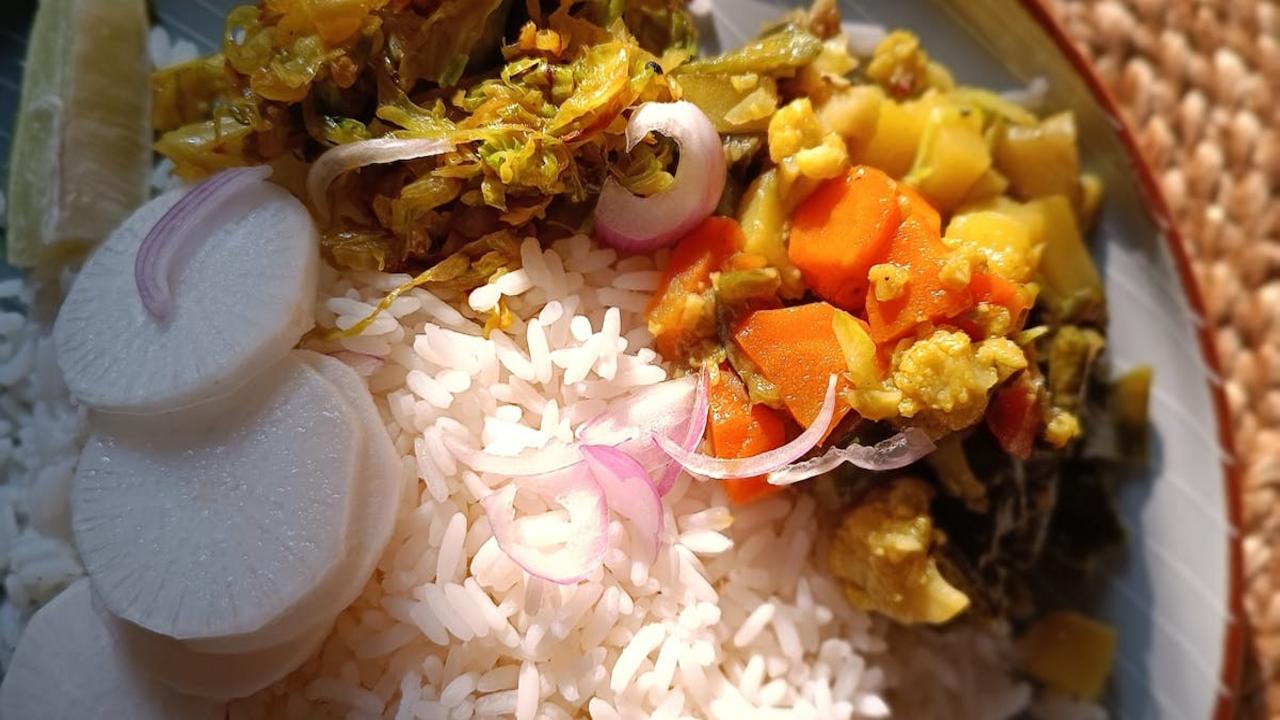
Picture this: you’re staring at a pot of rice, wondering if there’s a way to make this carb-heavy comfort food a little less guilt-inducing. Well, buckle up, because Sri Lankan scientists discovered something that sounds like kitchen wizardry but actually works! When you add just one teaspoon of coconut oil to your boiling water before tossing in the rice, then let it cool in the fridge for 12 hours, you create what food scientists call “resistant starch.” This magical transformation can reduce the calories in your rice by up to 50 percent. I know, I know – it sounds too good to be true, like someone promising you can eat cake for breakfast and call it health food.
Here’s what happens during this coconut oil rice makeover: the oil forms a protective barrier around the starch molecules, making them harder for your body to digest and absorb. When you reheat the rice later, those stubborn starches remain resistant, meaning they pass through your system without contributing their full caloric load. The best part? Your rice tastes exactly the same – no weird coconut flavor taking over your stir-fry or curry. Just remember to cook it normally, refrigerate overnight, then reheat before serving. It’s like giving your rice a spa treatment that happens to make it better for your waistline!
Adding cornstarch to scrambled eggs for restaurant style fluff

You know that moment when you bite into scrambled eggs at a fancy brunch spot and wonder why yours at home taste like sad, rubbery disappointments? The secret weapon hiding in professional kitchens isn’t some exotic ingredient or thousand-dollar equipment—it’s humble cornstarch sitting right there in your pantry. Just half a teaspoon of cornstarch per three eggs creates those impossibly fluffy, cloud-like curds that make you question everything you thought you knew about breakfast. The starch acts like tiny moisture-trapping sponges, creating steam pockets that puff up your eggs while preventing them from weeping that gross watery liquid all over your plate.
Here’s the magic formula: whisk your cornstarch with a tablespoon of cold milk or cream until smooth (no lumps allowed—they’re the enemy of perfection), then beat this mixture into your eggs before they hit the pan. Cook them low and slow, stirring constantly, and watch as they transform into the fluffiest, most restaurant-worthy scrambled eggs you’ve ever made. Professional chefs have been guarding this trick like state secrets, probably laughing at all of us home cooks struggling with dense, flat eggs while they effortlessly create breakfast masterpieces. The best part? Your guests will think you’ve suddenly become a morning wizard, when really you just added something you probably use to thicken gravy.
Using mayonnaise for better grilled cheese crust
You know that moment when someone tells you they spread mayonnaise on the outside of their grilled cheese bread instead of butter, and your first instinct is to question their life choices? Well, prepare to eat your words along with the most gloriously golden sandwich you’ve ever encountered. Mayo contains eggs and oil, which create an incredibly even browning surface that butter simply can’t match. While butter has water content that can cause uneven heating and potential sogginess, mayonnaise delivers pure fat and protein that transforms into a crispy, restaurant-quality crust that’ll make you wonder why you ever doubted this genius hack.
The science behind this magic trick is actually pretty straightforward – mayonnaise has a higher smoke point than butter, meaning it won’t burn as easily while still achieving that perfect caramelization. Plus, it spreads like a dream without tearing your bread, something anyone who’s ever wrestled with cold butter straight from the fridge can appreciate. Professional chefs have been quietly using this trick for years, laughing at the rest of us peasants struggling with our butter knives. Try it once with your favorite cheese combination, and you’ll join the secret society of mayo-converts who smugly watch their friends fumble with butter while producing sandwiches that look like they belong in a food magazine.
Peeling ginger with a spoon

Forget everything you think you know about peeling ginger! While you’ve probably been wrestling with a vegetable peeler or knife, cursing those knobby little fingers that seem designed to torture home cooks, professional chefs have been laughing quietly in their whites. They grab a simple teaspoon and scrape that papery skin right off like they’re some kind of ginger-whispering magicians. The spoon’s curved edge follows every contour perfectly, getting into those tricky crevices without wasting precious flesh or taking off your fingertips in the process.
Here’s the beautiful part: you literally just hold the ginger firmly and scrape with the edge of the spoon, moving in short strokes along the root’s natural lines. No special technique required, no years of training needed. The thin skin practically falls away, leaving you with perfectly peeled ginger that’s ready for whatever spicy adventure awaits. Plus, you’ll waste maybe 10% of what you’d normally lose with traditional peeling methods. Your wallet will thank you, your fingers will thank you, and that gorgeous fresh ginger will shine in your stir-fries and marinades like the golden treasure it truly is.
Adding baking soda to caramelize onions faster

You know that moment when a recipe calls for caramelized onions and casually mentions it takes “about 45 minutes”? Yeah, that’s when I usually order pizza instead. But here’s the secret weapon professional chefs have been hiding in their back pockets: a tiny pinch of baking soda transforms your onion-caramelizing game from marathon to sprint. Just a quarter teaspoon per pound of onions raises the pH level, breaking down the onion’s natural structure faster and coaxing out those gorgeous golden-brown colors in about 15-20 minutes instead of nearly an hour.
The science behind this magic trick is actually pretty fascinating – baking soda accelerates the Maillard reaction, which is responsible for all those deep, complex flavors we crave in caramelized onions. Your kitchen will smell like heaven, and you’ll feel like a wizard watching those translucent slices transform into jammy, sweet perfection. Just don’t go overboard with the baking soda (we’re talking a light sprinkle, not a snowstorm), or you’ll end up with mushy onions that taste slightly soapy. Trust me, I learned this the hard way during what I now call “The Great Onion Disaster of 2019.”
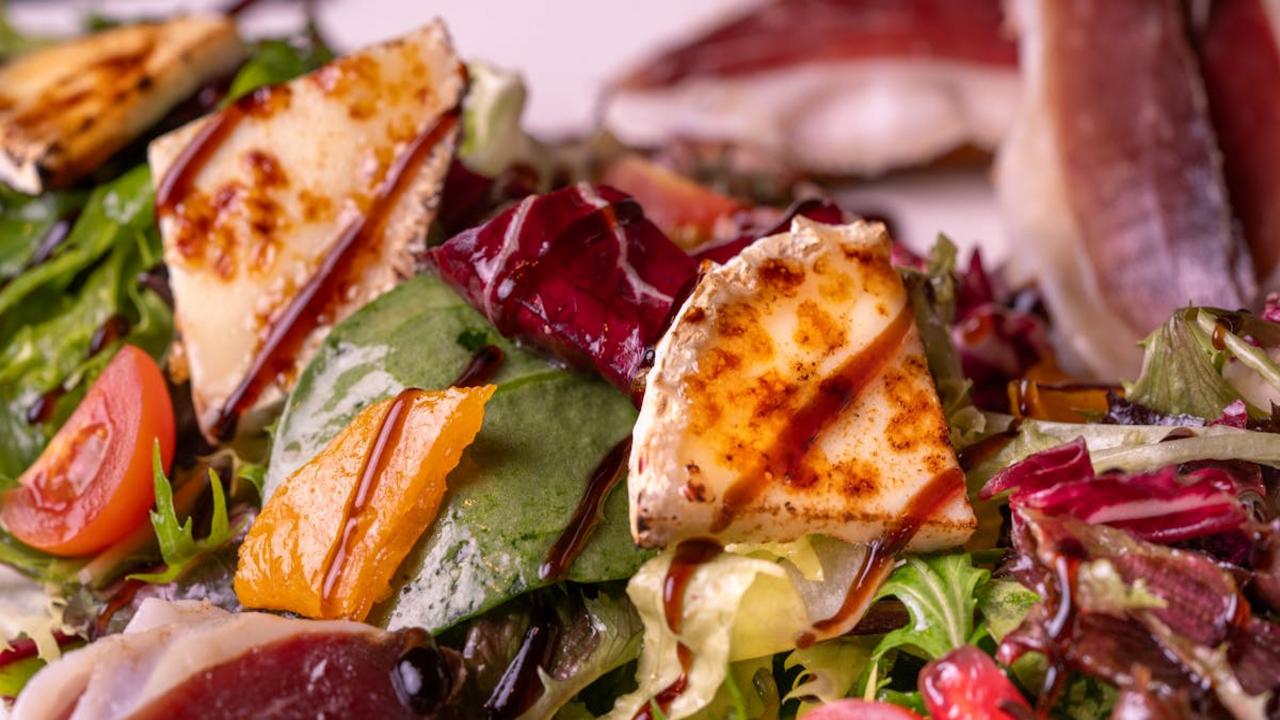
Using dental floss to cut soft cheeses and cakes

Picture this: you’re standing in your kitchen, staring down a gorgeous wheel of brie that’s threatening to turn into abstract art the moment your knife touches it. Your cake layers look like they’ve been through a blender instead of cleanly sliced. Here’s where your bathroom cabinet becomes your secret weapon! Unflavored dental floss works like magic on soft cheeses, delicate cakes, and even cinnamon roll dough. The thin string slices through without dragging or smooshing, giving you those Instagram-worthy clean cuts that make you look like you actually know what you’re doing in the kitchen.
I discovered this trick during a particularly disastrous cheesecake incident where my knife kept sticking and creating jagged, embarrassing wedges. Now I keep a container of unflavored floss right in my kitchen drawer – yes, the same stuff your dentist keeps nagging you about! Just wrap about 12 inches around your fingers, pull it taut, and glide it through your soft cheese or cake like you’re playing an invisible violin. Pro tip: warm the floss slightly under running water for even smoother cuts through chocolate ganache or cream cheese frosting. Your guests will wonder how you managed such perfect slices, and you can smugly smile while keeping your dental hygiene secret safe.
Microwaving lemons for maximum juice extraction
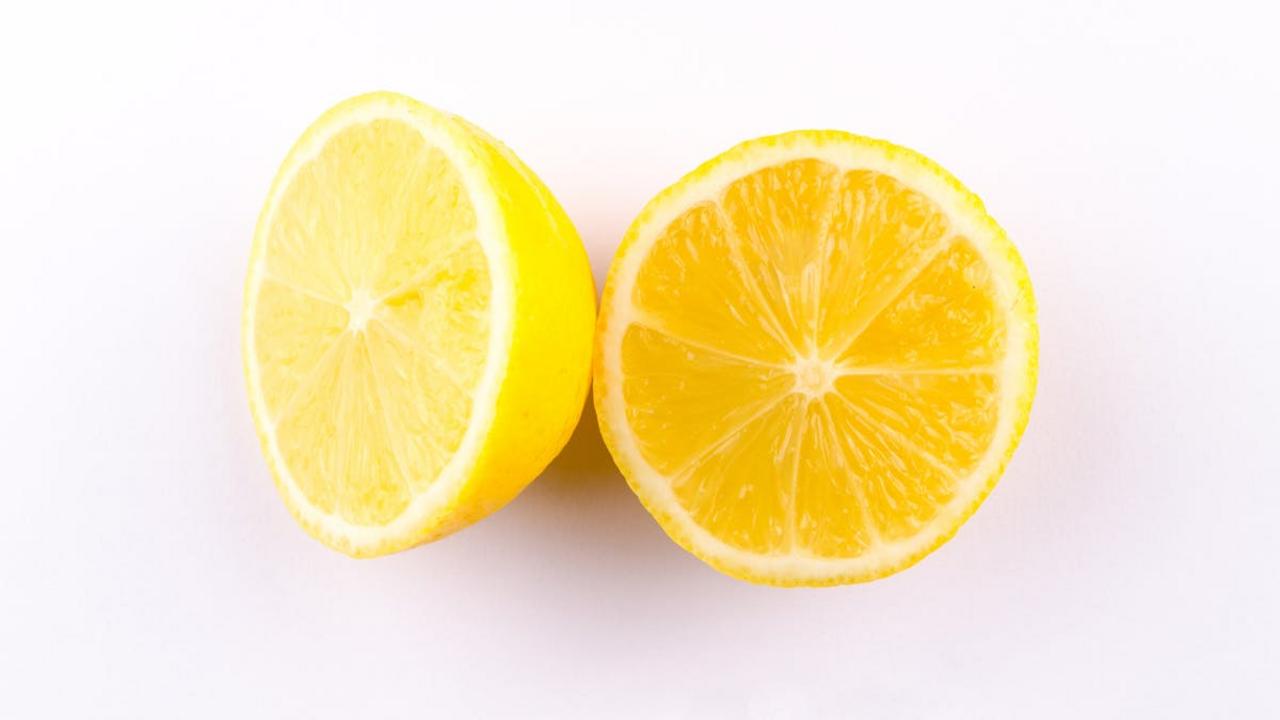
Picture this: you’re making fresh lemonade for a summer barbecue, and those gorgeous yellow orbs sitting on your counter are being stubborn little citrus divas, refusing to give up their liquid gold. Before you start wrestling with a fork or resorting to aggressive squeezing that leaves your hands cramped and your kitchen looking like a crime scene, try this chef’s secret weapon – your microwave! Pop those lemons in for just 10-15 seconds, and watch the magic happen. The gentle heat softens the cell walls inside the fruit, making them practically burst with juice when you give them a good squeeze.
Professional chefs have been using this trick for years because it can double or even triple your juice yield compared to room-temperature lemons. The science is beautifully simple: heat makes the membranes more pliable, so instead of fighting against tough, resistant pulp, you’re working with cooperative citrus that wants to share its bounty. Just remember to roll the warmed lemon on your counter before cutting – this extra step breaks down even more of those stubborn internal barriers. Your cocktails will thank you, your salad dressings will sing with brightness, and you’ll never again stare sadly at a pathetic tablespoon of juice from what should have been a juicy lemon!
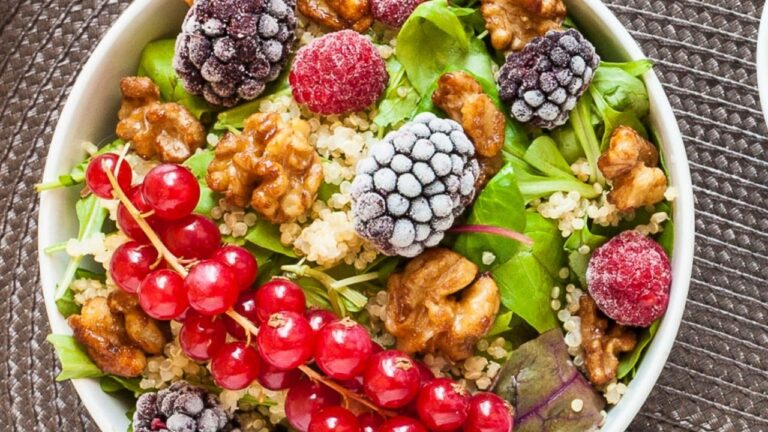
Freezing fresh herbs in olive oil cubes
Picture this: you’re standing in your kitchen at 9 PM, staring at that beautiful bunch of basil you bought three days ago, and it’s already looking like it’s auditioning for a zombie movie. We’ve all been there! But here’s where the magic happens – instead of letting those gorgeous herbs turn into expensive compost, you can transform them into little flavor bombs that’ll make your future self do a happy dance. Simply chop your fresh herbs (basil, parsley, thyme, whatever makes your heart sing), stuff them into ice cube trays, drizzle with olive oil, and pop them in the freezer. Each cube becomes a perfectly portioned flavor powerhouse that’s ready to jump into your pan whenever inspiration strikes.
These little green gems are basically time travel for your kitchen – you get to enjoy peak-season herbs months later without any of the guilt or waste. When you’re ready to cook, just toss a cube or two directly into your hot pan and watch the magic unfold as the oil melts and releases those concentrated herby flavors. Professional chefs have been doing this trick for years because it saves them precious prep time during busy service, and honestly, it makes you feel incredibly organized and professional (even if you’re just making scrambled eggs in your pajamas). Pro tip: label your trays because frozen herb cubes all look suspiciously similar, and nobody wants to accidentally add mint to their marinara sauce!