12 Surprising Flavor Secrets That Instantly Turn Any Burger Into A Gourmet Sensation
Making an incredible burger at home doesn’t need fancy equipment or professional training – just a few secret ingredients and techniques that will transform your patties from basic to brilliant. I’ve spent years experimenting with different flavor combinations in my home kitchen, and these 12 additions have consistently created the most mouthwatering results.
From sweet caramelized onions to umami-rich mushrooms, each ingredient brings its own magic to your burger. The best part? You probably already have many of these items in your pantry. My goal is to help you create restaurant-quality burgers that will make your friends beg for the recipe.
These flavor enhancers work their magic by adding layers of complexity – sweet, savory, tangy, and rich notes that complement the beef perfectly. Whether you use one or combine several, these ingredients will elevate your next backyard barbecue into something truly special.
Brioche Buns
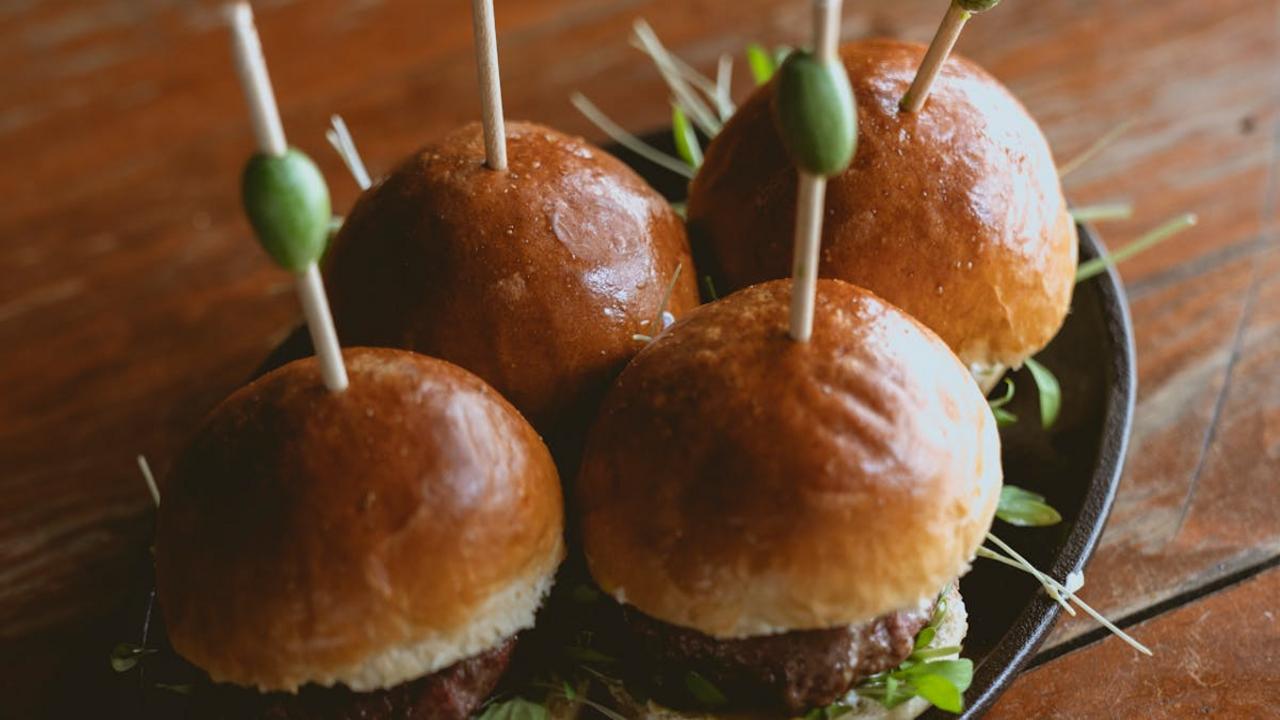
I totally transformed my burger game when I switched from regular buns to soft, buttery brioche. The enriched dough, made with eggs, butter, and a touch of sugar, brings a subtle sweetness and luxurious texture that makes your burger feel like a restaurant-worthy creation. You’ll notice how the pillowy-soft interior soaks up all those amazing meat juices without getting soggy, while the golden-brown exterior adds a beautiful contrast in both look and texture.
Here’s my favorite trick – warm your brioche buns in the oven for 2-3 minutes before serving. The gentle heat wakes up the buttery notes and makes the buns extra tender. You can also brush them with melted butter and give them a quick toast on the grill for added crunch. The richness of brioche pairs beautifully with both classic beef patties and alternative proteins like portobello mushrooms or black bean burgers. Trust me, once you go brioche, regular burger buns just won’t hit the same spot anymore.
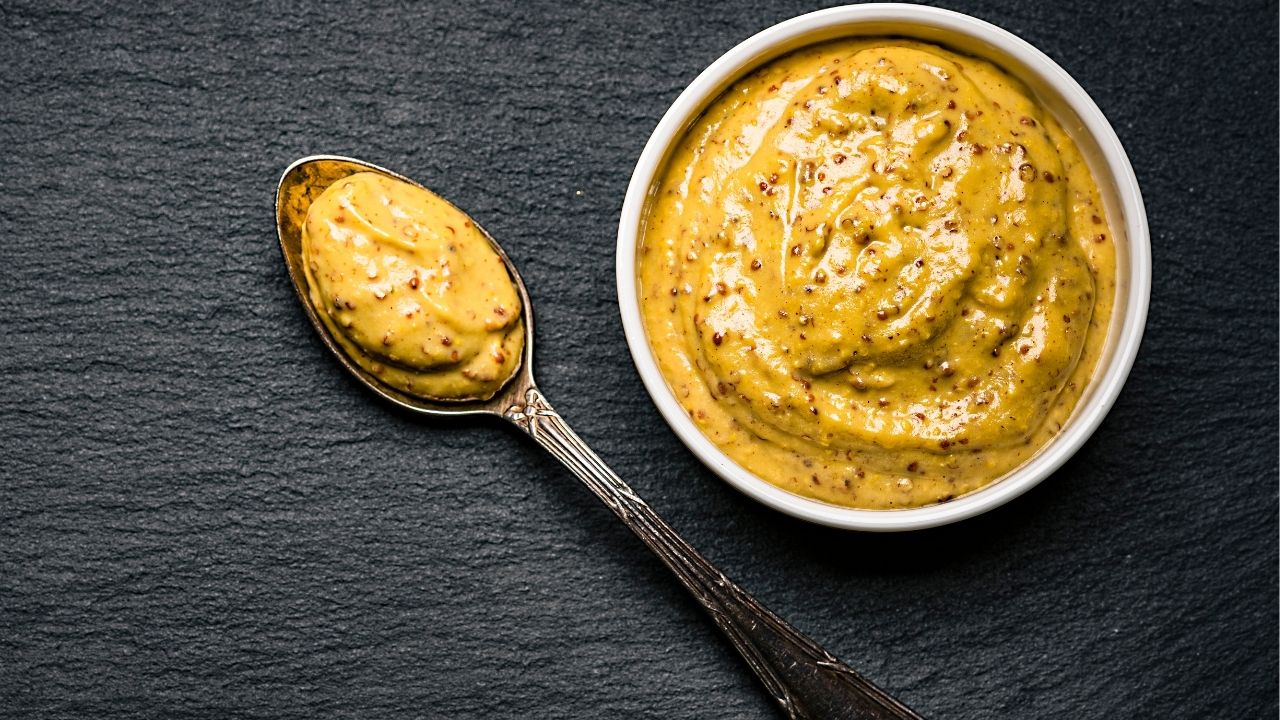
Dijon Mustard
Root cellaring brings back the wisdom of our grandparents who kept their produce fresh through winter without refrigeration. You can transform any cool, dark basement corner into a natural storage space for root vegetables, apples, and hardy greens. The ideal conditions include temperatures between 32-40°F (0-4°C) and 85-95% humidity. I keep my potatoes, carrots, beets, and onions in separate ventilated boxes with layers of clean sand or sawdust – this prevents them from touching while maintaining the right moisture level.
Beyond saving money on groceries, root cellaring connects you to natural food preservation cycles. Your vegetables stay crisp and flavorful for months without using electricity. Start small with a few wooden crates in your basement, and monitor temperature and humidity with basic tools. Layer root vegetables carefully, check them weekly for any soft spots, and remove anything that shows signs of decay. The satisfaction of pulling out fresh carrots or firm potatoes in the middle of winter makes the effort worthwhile, and your cooking maintains that garden-fresh quality long after harvest season ends.
Butter

Making your own butter at home will transform how you think about this kitchen staple. With just heavy cream and a stand mixer (or mason jar if you want an arm workout!), you can create fresh, rich butter in under 15 minutes. The process is simple – whip cold cream until it separates into butter and buttermilk. Once the solids form, strain the buttermilk, rinse the butter in cold water, and knead out any remaining liquid. You’ll end up with pure, additive-free butter that puts store-bought versions to shame.
The real magic happens when you start experimenting with flavored compound butters. Mix in fresh herbs, roasted garlic, honey, or even citrus zest to create custom blends for different dishes. I love adding crushed black pepper and thyme to slather on steaks, or mixing in finely chopped fresh basil and sun-dried tomatoes for an Italian-inspired spread. The buttermilk byproduct is also perfect for pancakes, biscuits, or marinades. Once you master basic butter-making, you’ll never want to go back to the commercially produced stuff.
Fresh Herbs
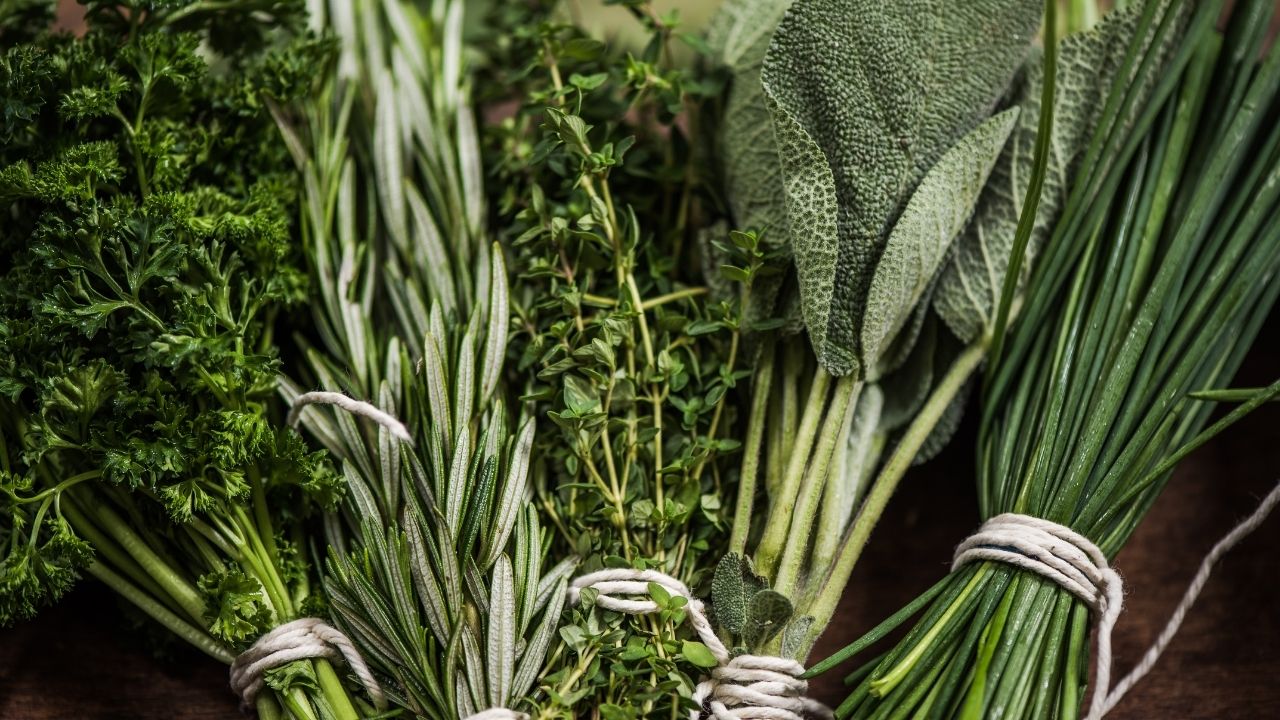
I absolutely adore my cast iron skillet – it’s the workhorse of my kitchen that just keeps getting better with time. The magic of cast iron lies in its natural non-stick surface that builds up through regular cooking, known as seasoning. This remarkable cooking surface adds deep, rich flavors to everything from perfectly seared steaks to golden cornbread. Your cast iron will become more non-stick with each use, making it an investment that pays delicious dividends for generations.
The key to cast iron success starts with proper care. After cooking, clean your pan with hot water (no soap needed), dry it thoroughly, and apply a thin coat of oil. Heat it briefly on the stove or in the oven to lock in the seasoning. Store it in a dry place, and you’ll have a reliable cooking companion that handles high heat beautifully, moves seamlessly from stovetop to oven, and adds a wonderful depth of flavor to your dishes. I recommend starting with simple recipes like skillet cornbread or pan-seared chicken to build your confidence with this incredible tool.
Worcestershire Sauce
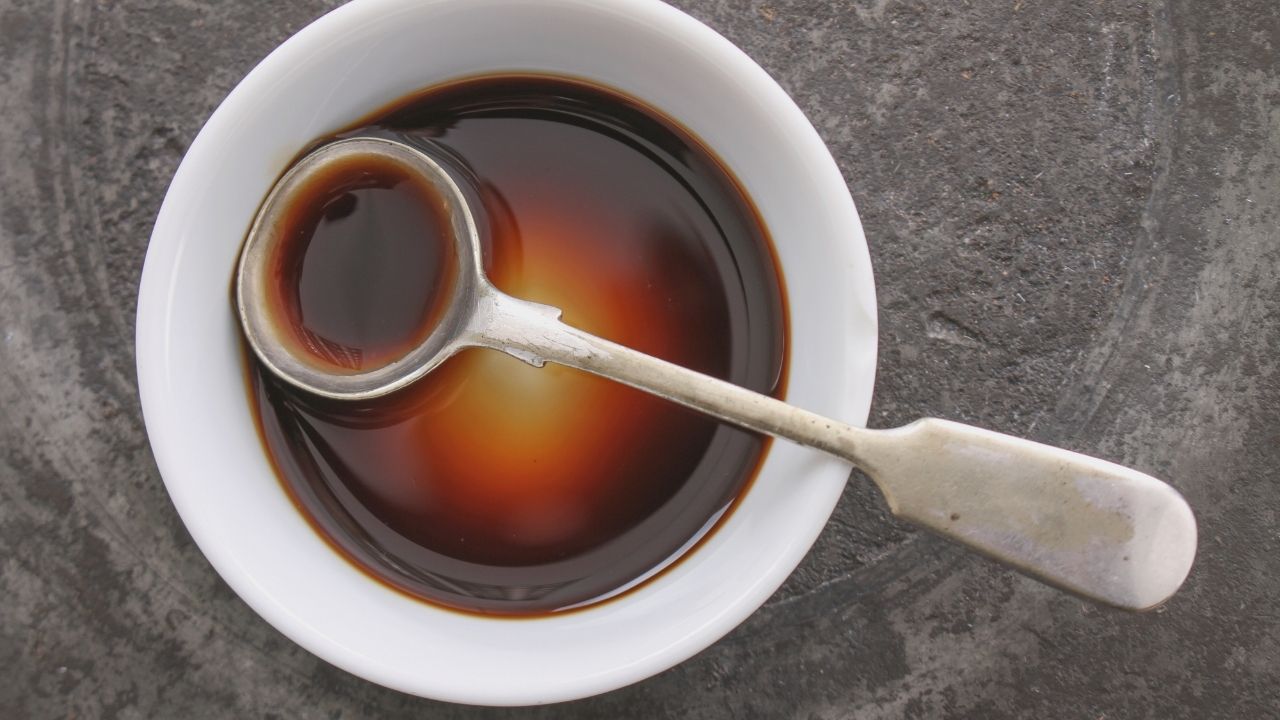
I’ll never forget the first time I used a stone grinder in my kitchen – the aroma of freshly ground spices filled the air and transformed my cooking completely. Stone grinding allows you to extract deeper, more complex flavors from whole spices compared to pre-ground versions. This ancient technique breaks down ingredients slowly, preserving natural oils and preventing heat damage that can occur with electric grinders. You’ll notice the difference immediately in dishes like curry pastes, chutneys, and traditional Mexican moles.
Getting started with stone grinding requires just two basic tools: a grinding stone (metate) and a hand stone (mano). While it takes a bit more physical effort than electric alternatives, the control and connection to ingredients make it worthwhile. I recommend starting with smaller batches of dry spices like cumin or coriander seeds. Once comfortable, move on to wet ingredients for pastes and sauces. The texture and depth of flavor you’ll achieve will make you wonder why you ever relied on pre-ground spices before.
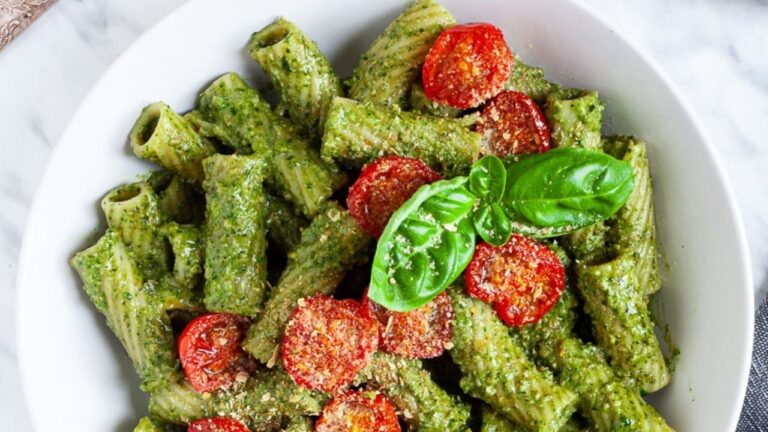
Sautéed Mushrooms
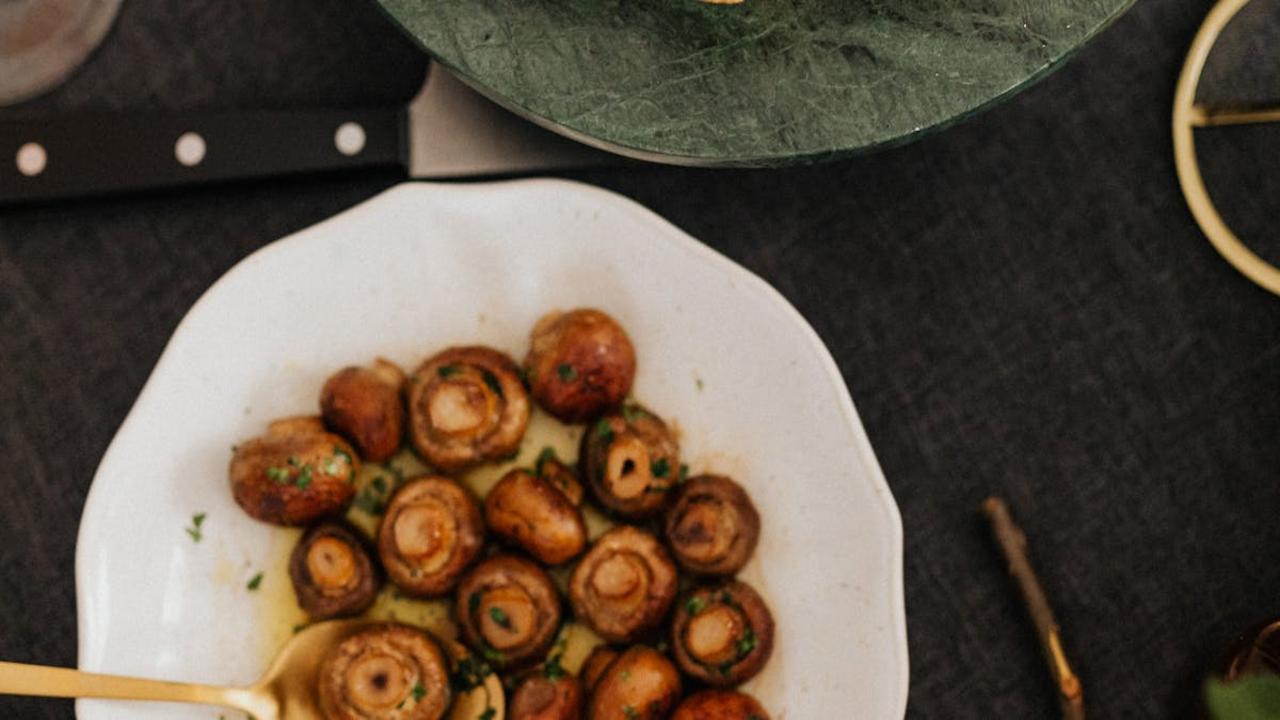
I’ll never forget the first time I watched my grandmother transform a basket of fresh cucumbers into crispy dill pickles that lasted us through winter. Pickling gives you the power to preserve vegetables and fruits while creating bold, tangy flavors through fermentation. You’ll need just a few basic ingredients: vinegar, salt, sugar, and your choice of spices like dill, garlic, or peppercorns. The technique works on almost anything – from classic cucumber pickles to creative combinations like pickled watermelon rind or spicy carrots.
The magic of pickling lies in understanding the right ratios of vinegar to water and getting your brine temperature just right. Start with thoroughly cleaned jars and fresh produce, then mix your pickling liquid according to your recipe. For quick pickles, you can enjoy them within 24 hours, while traditional fermented pickles need several weeks to develop complex flavors. I recommend beginning with small batches of quick pickles to learn the basics before moving onto long-term preservation methods. Once you master this technique, you’ll have delicious pickled vegetables ready to brighten up sandwiches, salads, and charcuterie boards year-round.
Crispy Bacon Jam
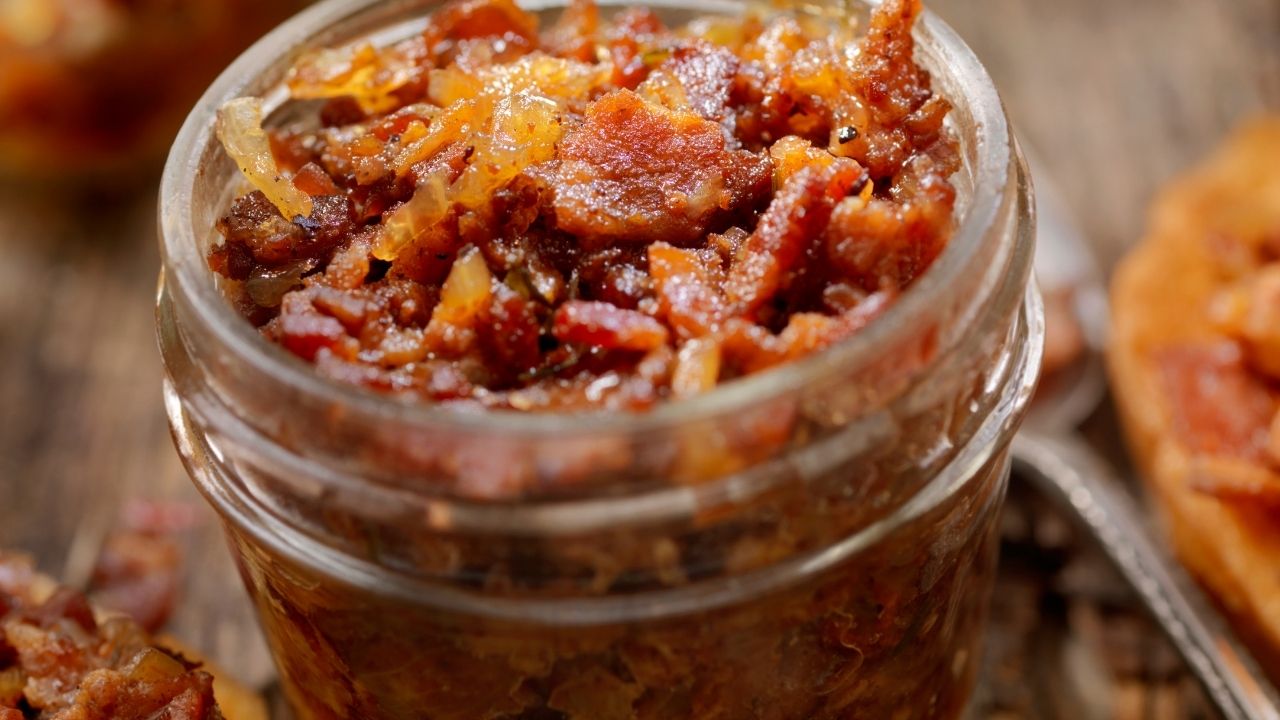
I learned food drying from my grandmother, who preserved summer’s bounty without refrigeration. You can dry fruits, vegetables, herbs, and even meats to create shelf-stable ingredients that pack intense flavors. Start with clean, ripe produce sliced uniformly thin. Remove any blemishes or bruised parts. You’ll want good air circulation, low humidity, and temperatures between 130-140°F for most foods. A food dehydrator gives you the most control, but you can also use your oven on its lowest setting with the door cracked open.
Think beyond basic dried apples or beef jerky! I love making dried tomatoes packed with umami for winter sauces, mushroom powder to add depth to soups, and fruit leather from seasonal berries. The key is removing enough moisture to prevent spoilage while retaining nutrients and flavor compounds. Check your food periodically – it should feel leathery and dry but still slightly pliable, not brittle. Store your dried goods in airtight containers away from light and heat. With proper drying and storage, these preserved ingredients will keep for months while adding concentrated flavor to your cooking.
Garlic Aioli
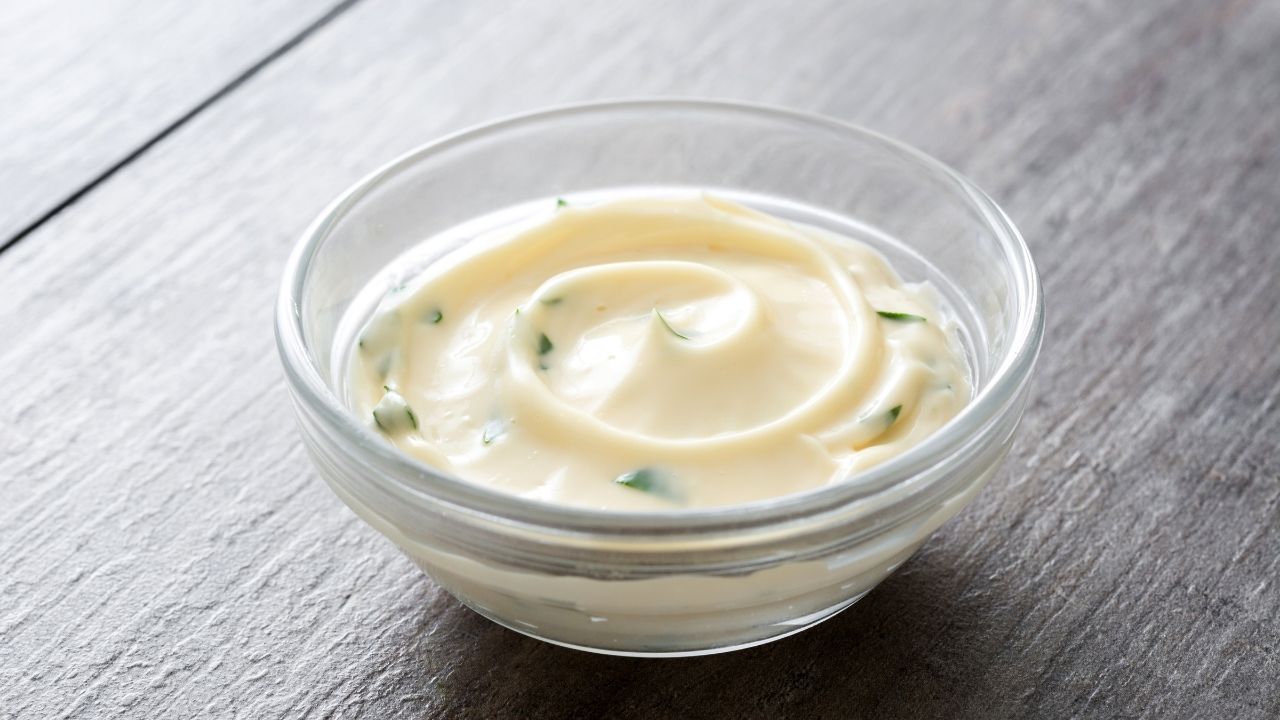
I’ll never forget the first time I made homemade garlic aioli – it completely transformed my burger game! By blending fresh garlic, high-quality mayonnaise, a splash of lemon juice, and a pinch of sea salt, you’ll create a smooth, rich sauce that adds layers of flavor to any burger. The key is using fresh garlic cloves instead of pre-minced garlic, which gives your aioli that bold, authentic taste that makes your guests wonder if you secretly trained at a French culinary school.
Mix your aioli at least an hour before serving to let the flavors meld together. I love adding extra depth by incorporating fresh herbs like thyme or rosemary, or kicking up the heat with a dash of cayenne pepper. Spread it generously on both sides of your toasted bun – trust me, this isn’t the time to be stingy! The garlicky creaminess pairs perfectly with beef, chicken, or veggie patties, making every bite memorable. Your homemade garlic aioli will become your signature burger sauce that friends and family request at every cookout.
Smoked Paprika
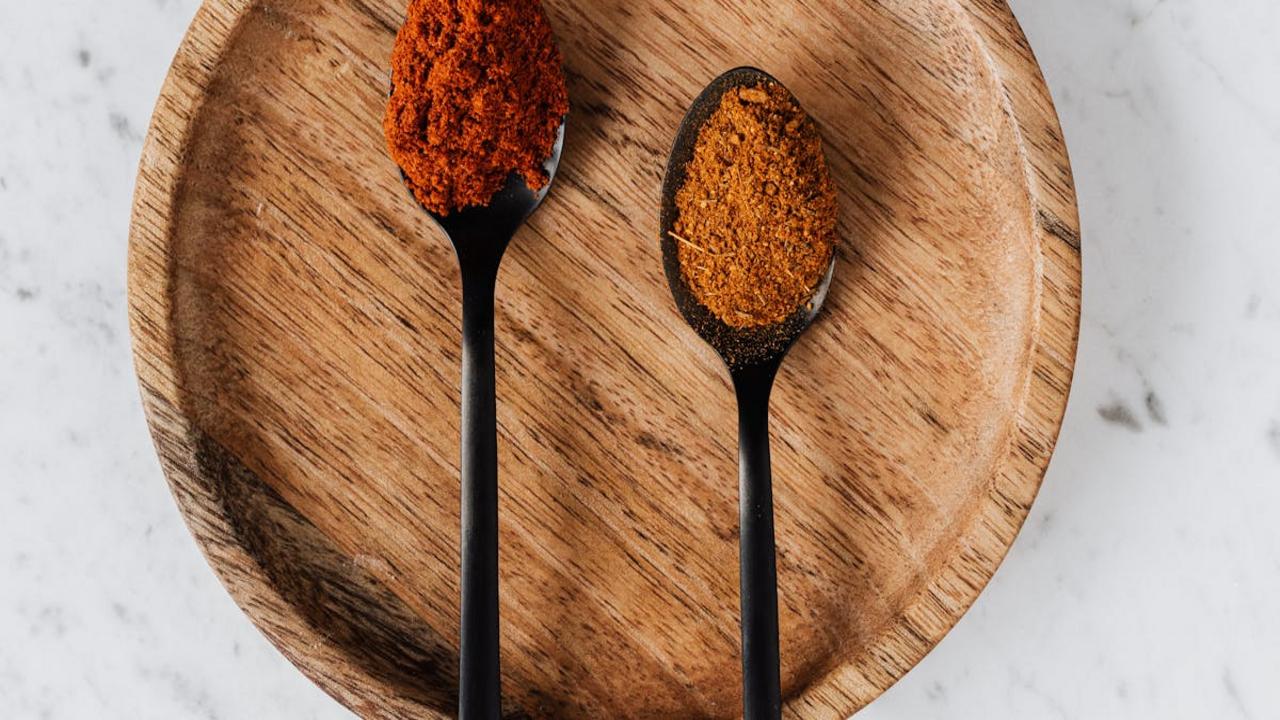
I discovered smoked paprika while cooking with my Spanish neighbor Maria, and it completely transformed how I make burgers. This deep red spice adds an incredible smoky depth that’ll make your guests wonder if you’ve been grilling outdoors all day. Just mix 1-2 teaspoons into your ground meat before forming patties, and you’ll get that authentic wood-fired flavor without needing a smoker. The natural oils in smoked paprika also help keep your burgers juicy while cooking.
Beyond the smoky notes, smoked paprika brings a subtle sweetness and complexity that regular paprika just can’t match. I love combining it with minced garlic and black pepper for an extra flavor boost. Pro tip: keep your smoked paprika fresh by storing it in an airtight container away from heat and light. And remember – a little goes a long way! Too much can overpower your burger’s natural flavors, so start with a small amount and adjust to your preference. You’ll know you’ve hit the sweet spot when your burger has that perfect reddish tint and irresistible aroma.
Aged Sharp Cheddar

I always recommend aged sharp cheddar as my go-to burger cheese – it brings an unmistakable depth and richness that basic American cheese simply can’t match. The aging process concentrates the flavors, creating bold notes of butter, nuts, and subtle crystallization that adds both complexity and texture. Unlike mild cheddars that just melt away, aged sharp cheddar stands up beautifully to a juicy beef patty and maintains its distinct character even after melting.
The key to getting the most from aged cheddar lies in proper melting technique. Add your thick-cut slice during the last 2 minutes of cooking and cover your burger with a metal bowl or lid. This creates a mini steam chamber that helps the cheese melt evenly without burning. Look for cheddar aged at least 12-24 months – you’ll notice tiny white crystals throughout the cheese, which are amino acid clusters that develop during aging and signal intense flavor development. These crystallized bits create little pops of concentrated umami that make each bite more memorable.
Truffle Oil
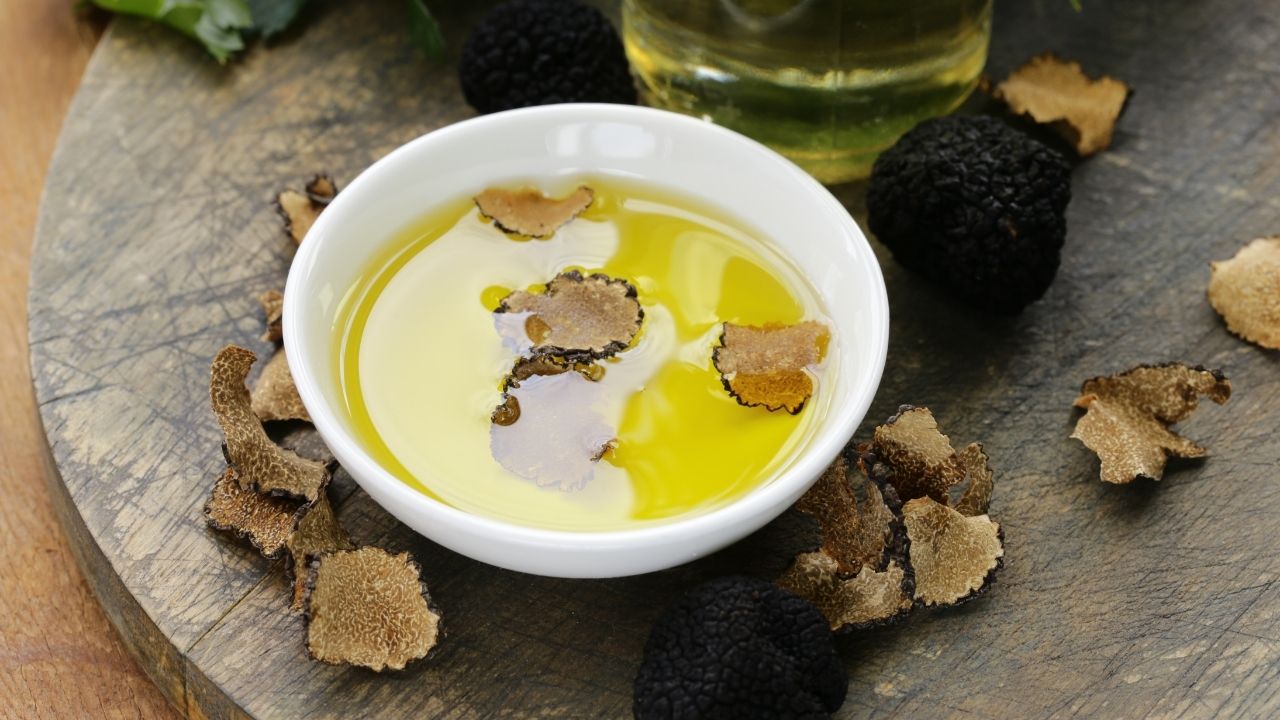
Adding a few drops of truffle oil to your burger will transform an ordinary patty into something extraordinary that belongs in a high-end restaurant. The rich, earthy aroma of truffle oil adds depth and sophistication to every bite. I recommend mixing just 3-4 drops into your ground meat before forming the patties, or drizzling a tiny amount over your finished burger. The key is moderation – too much can overpower other flavors, but the right amount creates an irresistible umami bomb that’ll make your guests wonder what your secret ingredient is.
For an ultra-luxurious burger experience, pair truffle oil with complementary toppings like sautéed mushrooms, caramelized onions, and melted Gruyère cheese. The earthiness of the mushrooms amplifies the truffle notes while the sweet onions and nutty cheese create a perfect balance. Make sure to use real truffle oil made with actual truffles rather than synthetic versions – the authentic stuff costs more but delivers genuine flavor that makes the investment worthwhile. Your burger will have that distinct truffle fragrance that instantly signals “gourmet” to anyone within smelling distance.
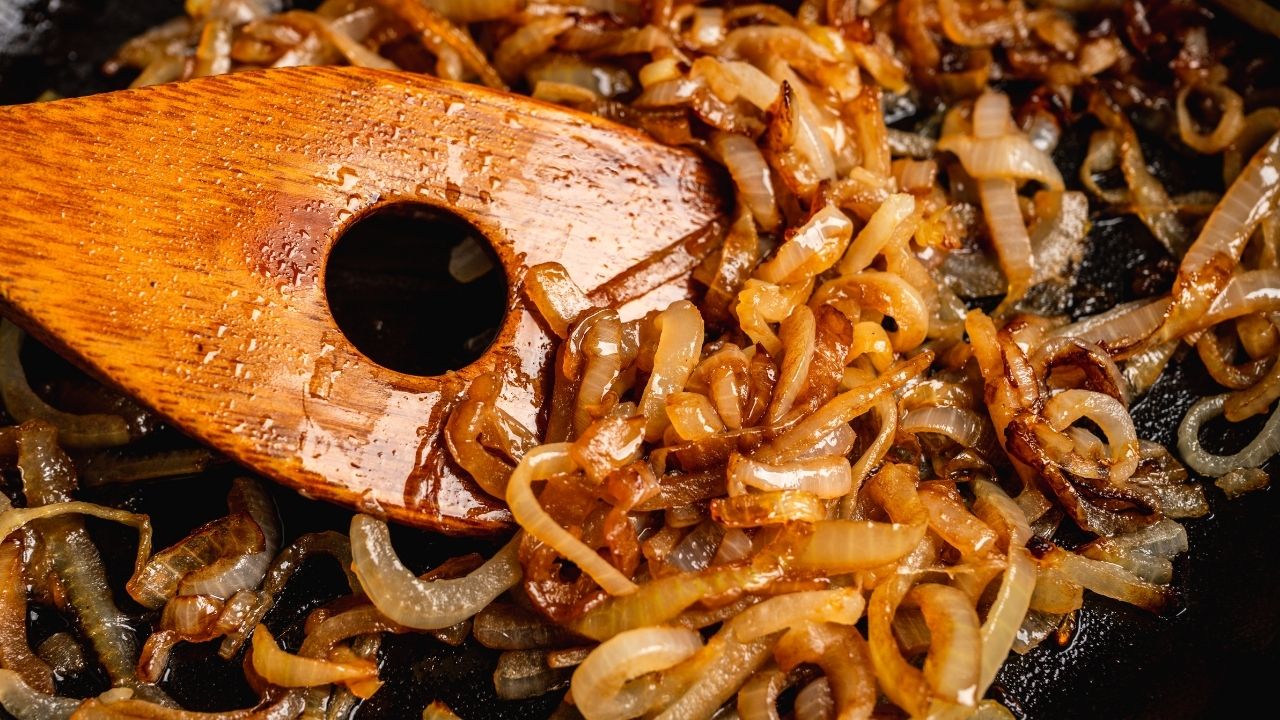
Caramelized Onions
3