12 Genius Kitchen Hacks You Can’t Live Without
Ever wondered why professional chefs make cooking look so effortless? The secret lies in clever shortcuts and brilliant tricks that transform ordinary kitchen tasks into pure magic. These genius hacks will revolutionize your cooking game and save you precious time and energy.
From turning humble lemons into juice fountains to creating the flakiest pie crust with an unexpected ingredient (spoiler: it’s vodka!), these 12 kitchen tricks pack serious punch. You’ll discover how a simple hair dryer can perfect your chocolate work and why dental floss belongs in your kitchen drawer.
Get ready to upgrade your kitchen skills with these game-changing techniques. Whether you’re a seasoned home cook or just starting out, these smart shortcuts will make you feel like a culinary wizard. Your friends will beg to know how you achieved such professional results with such little effort.
Ripening avocados in flour for even softening
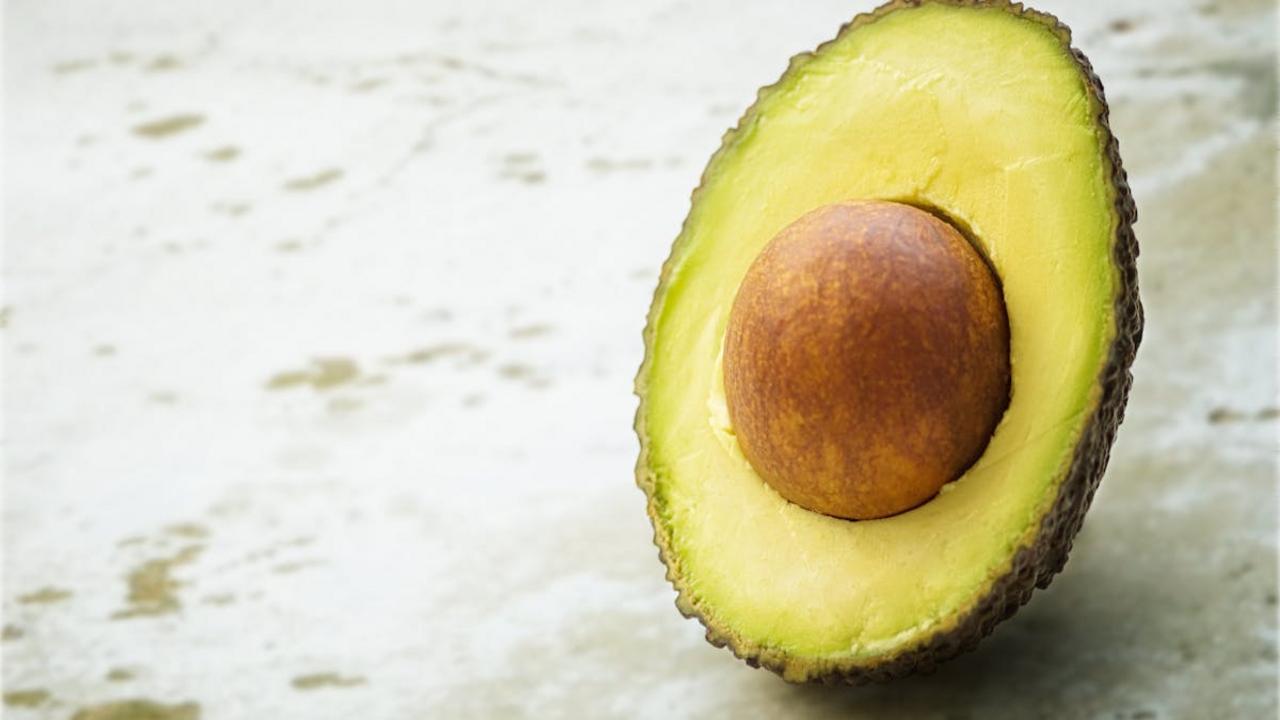
Want to turn those rock-hard avocados into creamy perfection? I discovered this weird but wonderful trick: bury them in flour! Yes, you read that right. Just grab a paper bag, add a cup of all-purpose flour, pop in your avocados, and fold the top closed. The flour creates the perfect environment by trapping ethylene gas (the natural ripening compound) while absorbing excess moisture. Your avocados will ripen evenly without those annoying brown spots or mushy patches that make your guacamole look sad.
This method beats the banana-in-a-bag trick because flour keeps a more consistent temperature and humidity level. I’ve tested this on countless avocados (my toast-topping addiction is real), and it works like magic every time. Give your avocados 2-3 days in their flour spa treatment, and they’ll transform into that perfect, butter-soft consistency. Just remember to check them daily – nobody wants an overripe avocado turning into green mush in their flour bag! And bonus tip: once they reach ideal ripeness, stick them in the fridge to pause the process.
Melting chocolate with a hair dryer for tempered results
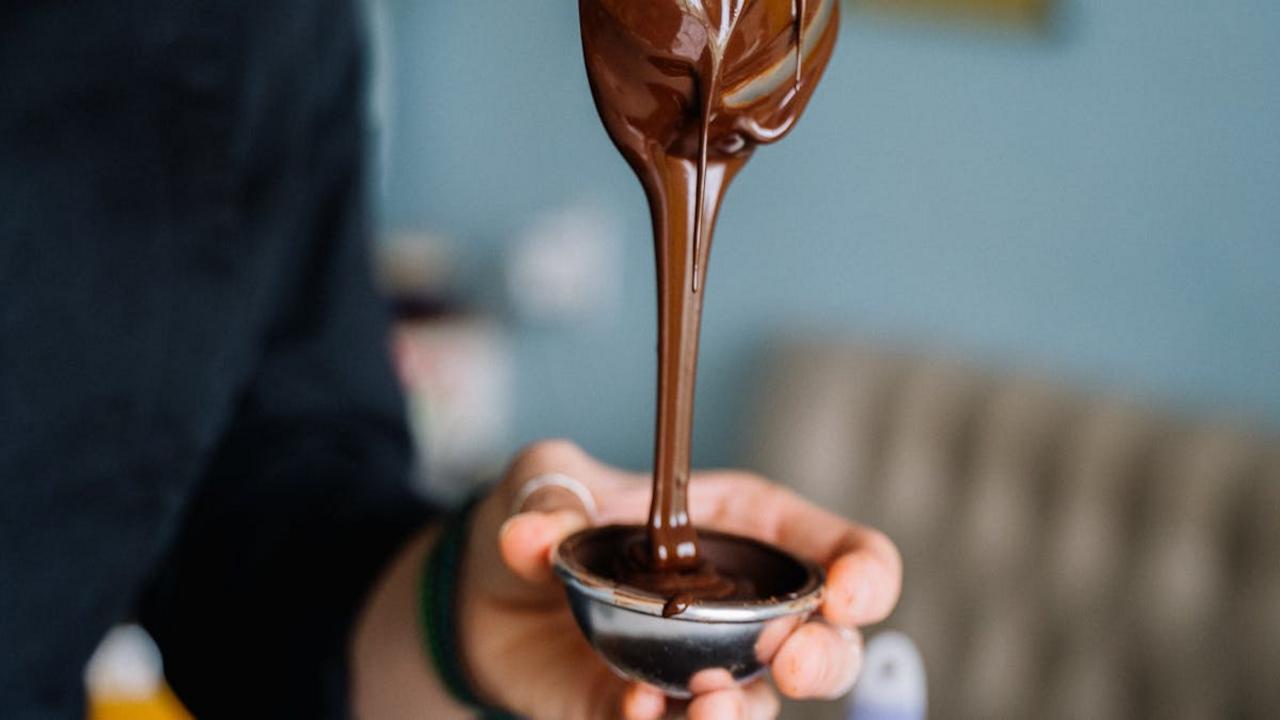
Want to skip the fancy double-boiler setup and still get perfectly melted chocolate? Grab your trusty hair dryer! I discovered this genius hack during a late-night chocolate emergency (yes, those exist), and it’s now my go-to method. Just break your chocolate into small pieces in a bowl, aim your hair dryer at it on medium heat, and watch the magic happen. Keep the dryer moving in circular motions about 6 inches away from the chocolate – you’ll see those chunks transform into glossy, smooth perfection in minutes.
The best part? This method gives you more control over the temperature than traditional melting methods. You can stop heating the moment your chocolate reaches the right consistency, preventing that dreaded overheating that turns your silky chocolate into a grainy mess. Plus, you can target specific areas that need more heat, making it perfect for fixing chocolate that’s starting to set too quickly. Pro tip: keep a kitchen thermometer handy and stop heating around 88-90°F (31-32°C) for dark chocolate or 86-88°F (30-31°C) for milk chocolate to maintain that perfect temper.
Brining meat in coffee for enhanced flavor
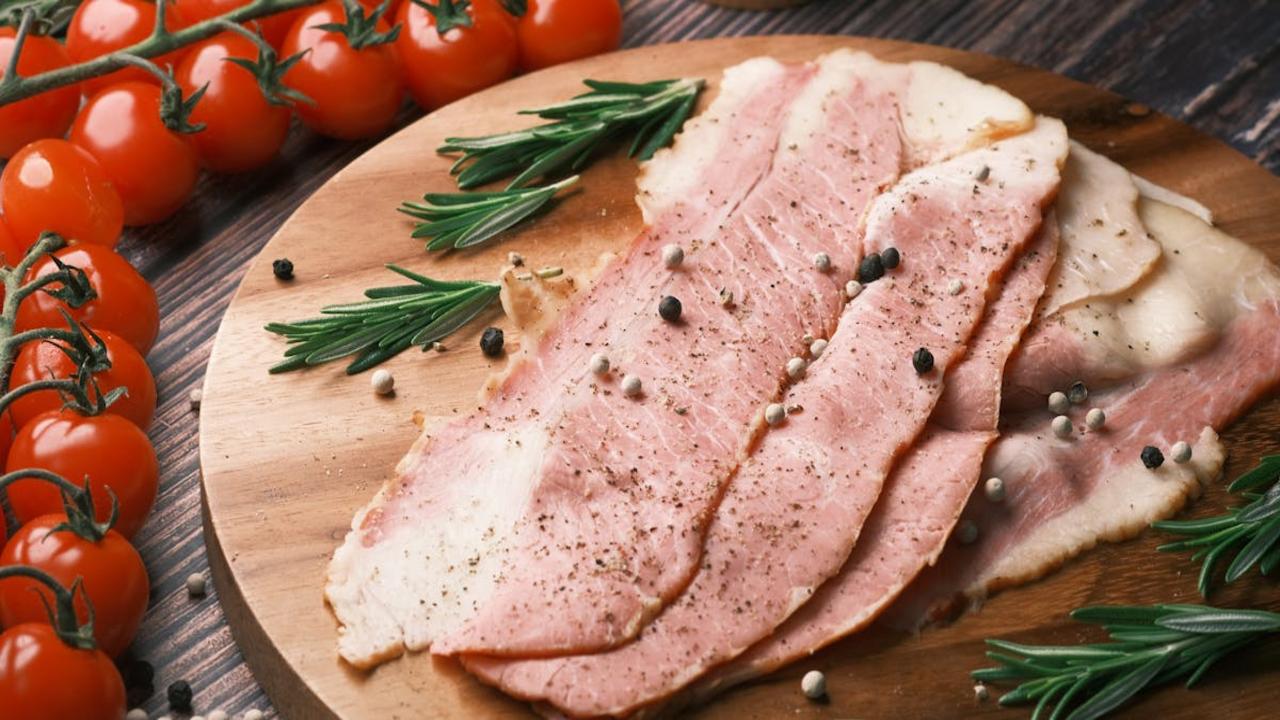
Want to make your next steak or pork roast unforgettably good? Skip the plain salt brine and grab your coffee beans! I discovered this game-changing trick during a late-night cooking experiment, and now I can’t imagine marinating meat any other way. The coffee’s natural acids and compounds break down the muscle fibers while adding a rich, complex flavor that’ll make your dinner guests beg for your secret. Just mix strong brewed coffee (cold or room temperature) with salt and sugar, then let your meat take a coffee bath for 4-12 hours.
Here’s the science behind the magic: Coffee contains tannins and other flavor molecules that penetrate deep into the meat, creating a beautiful brown crust when cooked and adding subtle earthy notes that complement the natural flavors. Don’t worry – your meat won’t end up tasting like your morning cup of joe! Instead, you’ll get incredibly tender, juicy results with a deeper umami flavor. My favorite ratio is 4 cups of strong coffee, 1/4 cup of salt, and 2 tablespoons of brown sugar. This combo works wonders on everything from turkey breasts to beef brisket.
Using vodka in pie crust for extra flakiness
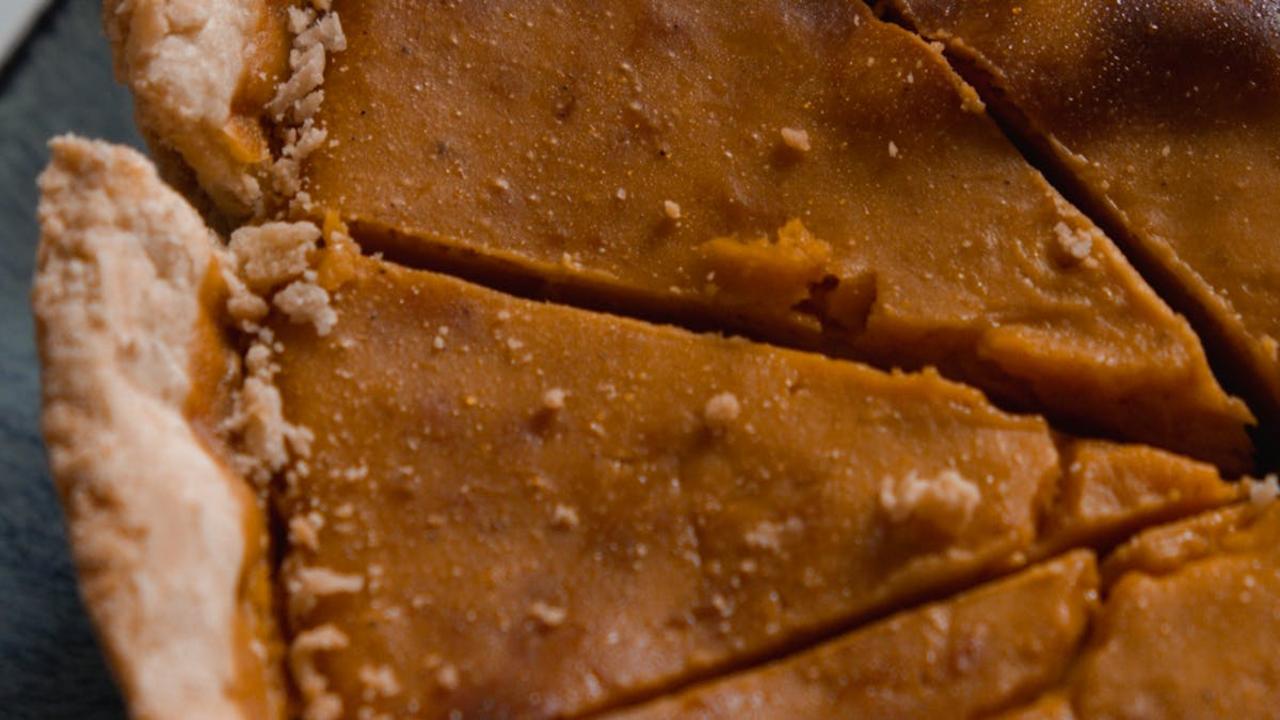
I discovered this wild secret at a baking workshop last year, and now I can’t make pie crust without vodka! Here’s the genius behind it: vodka adds moisture to help you work the dough, but since alcohol evaporates faster than water during baking, it creates these amazing little pockets of air. The result? A pie crust so flaky, it’ll make your grandma’s recipe look like a rookie attempt. Just swap out half the water in your recipe with ice-cold vodka, and watch the magic happen. Don’t worry – the alcohol cooks off completely, so your dessert won’t give anyone a buzz!
The science behind this trick makes perfect sense – vodka prevents gluten formation, which means your crust won’t turn tough and chewy. Mix 1/4 cup of vodka with 1/4 cup of ice water for a standard double-crust pie recipe. Keep both liquids super cold, and work quickly to maintain those lovely butter chunks that create the layers. My friends now beg me to bring pies to every gathering, and I just smile, knowing my boozy little secret makes all the difference. Plus, you’ll have the rest of the vodka bottle for a celebratory cocktail while your pie bakes!
Cooking rice with coconut oil to reduce calories
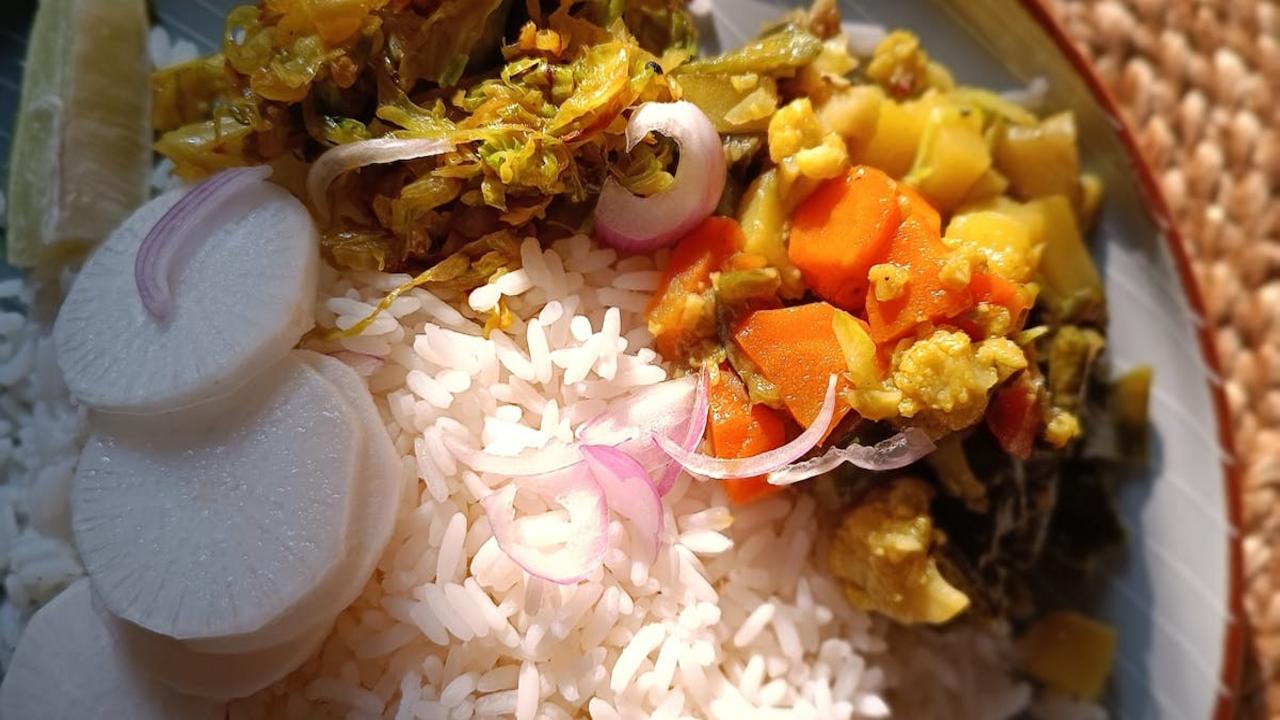
Want to slash the calories in your rice without sacrificing flavor? I discovered this mind-blowing trick that will change how you cook rice forever! Add a teaspoon of coconut oil to your pot while cooking white rice, then cool it in the refrigerator for 12 hours before eating. This simple method turns some of the digestible starch into resistant starch, which your body can’t break down into glucose. The result? Your rice will have up to 60% fewer calories than traditionally cooked rice.
Here’s the science behind the magic: the coconut oil interacts with the rice molecules during cooking, while the cooling process alters the structure of the starch. Think of it like building a fortress around some of those carbs – your body just can’t break through! I’ve been using this trick for months, and my rice dishes still maintain their fluffy texture and awesome flavor. Plus, resistant starch acts like fiber in your gut, feeding the good bacteria and supporting your digestive health. Now you can enjoy your favorite curry with rice or stir-fry without the guilt!
Adding cornstarch to scrambled eggs for restaurant style fluff

Want to know why your local diner’s scrambled eggs taste so much better than the ones you make at home? The secret lies in a humble pantry staple – cornstarch! Just mix 1 teaspoon of cornstarch with every 3 eggs before scrambling, and you’ll create the fluffiest, cloud-like eggs that would make any breakfast chef proud. The cornstarch works by preventing the proteins in the eggs from binding too tightly, resulting in tender curds instead of rubbery, overcooked ones. And here’s a fun fact: this technique has been a closely guarded secret in Chinese restaurants for generations!
The magic happens because cornstarch creates tiny barriers between the egg proteins as they cook, trapping more air and moisture in the process. Think of it like adding tiny pillows throughout your eggs! Mix your cornstarch with a splash of milk or water first to prevent any lumps, then whisk it into your eggs along with a pinch of salt and pepper. Cook them low and slow in a buttered pan, folding gently with a spatula until they form soft, billowy mounds. Your breakfast guests will swear you switched careers and became a professional chef overnight!
Using mayonnaise for better grilled cheese crust
You might think I’ve lost my mind, but trust me – spreading mayonnaise instead of butter on the outside of your grilled cheese will change your sandwich game forever! The combo of oil and egg in mayo creates this absolutely perfect golden-brown crust that’ll make your teeth do a happy dance. I discovered this trick during a late-night cooking experiment, and now I can’t imagine making grilled cheese any other way. The mayo spreads like a dream (even straight from the fridge), and it won’t tear up your bread like cold butter does.
The science behind this magic lies in mayo’s higher smoke point compared to butter, which means you can crank up the heat for faster cooking without burning. Plus, the proteins in the egg content give you that incredible Maillard reaction – that’s the fancy name for the chemical process that creates that beautiful brown color and rich flavor. Just remember to spread it thin – about the same amount you’d use for butter. Your sandwich will emerge with a crispy, perfectly browned exterior while keeping that gooey cheese center we all crave. Consider this your official permission to raid the condiment shelf for your next grilled cheese adventure!
Peeling ginger with a spoon
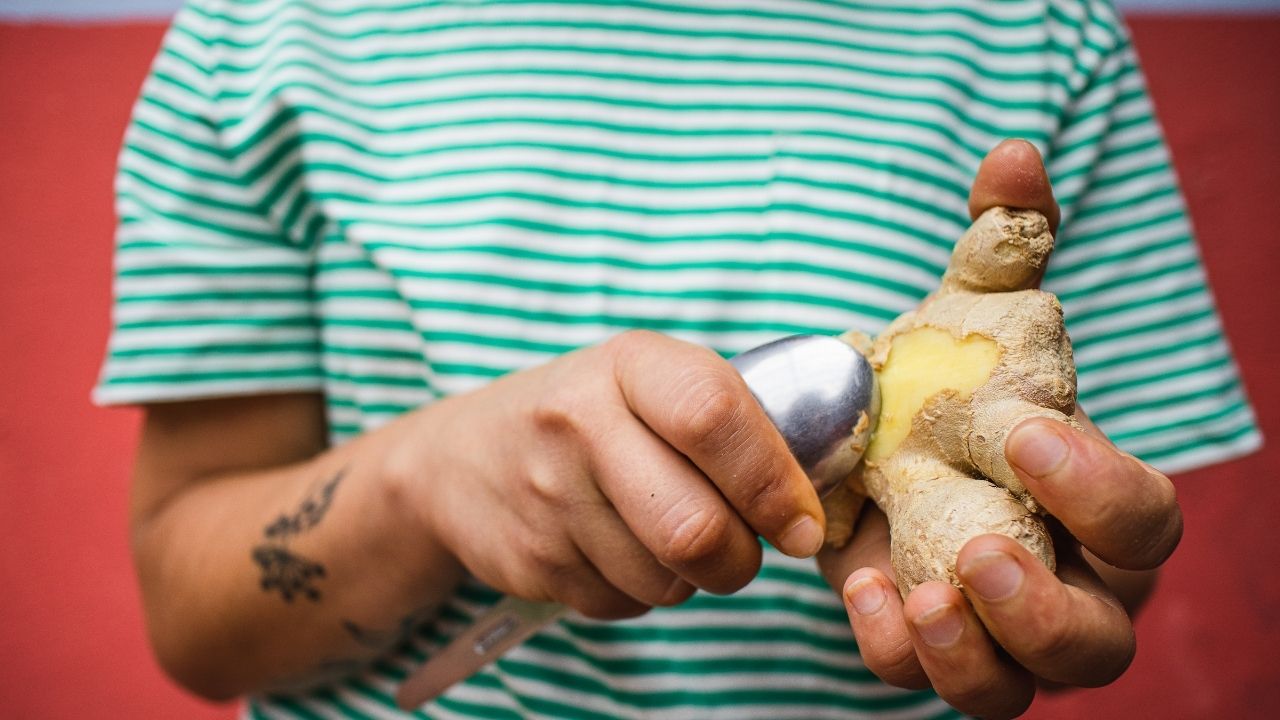
Have you ever wrestled with a gnarly piece of ginger, trying to peel it with a knife while watching precious chunks of the good stuff go flying across your kitchen? Oh honey, put that knife down! I discovered this genius hack at a cooking class in Bangkok, and it changed my ginger game forever. Just grab any regular spoon from your drawer, hold your ginger firmly, and scrape the edge of the spoon against the skin. The papery exterior slides right off, leaving you with pristine ginger and all its aromatic glory intact.
What makes this trick so brilliant is how the curved edge of the spoon follows ginger’s bumpy surface perfectly, getting into all those nooks and crannies a knife can’t reach. Plus, you’ll waste practically zero ginger flesh – your wallet and your recipes will thank you. I’ve converted countless friends to this method, and their reactions are always priceless. My favorite was my mom, who called me at midnight just to say she’d spent 15 minutes gleefully peeling every bit of ginger in her fridge with her trusty soup spoon.
Adding baking soda to caramelize onions faster

Hey there, fellow kitchen warriors! Want to know my favorite trick for transforming those stubborn onions into golden-brown magic in half the time? Just add a tiny pinch of baking soda! This little superhero ingredient bumps up the pH level of your onions, which speeds up the Maillard reaction (that’s the fancy science term for browning). I discovered this hack during a dinner party crisis when my guests were already arriving and my French onion soup was nowhere near ready – talk about a game-saving moment!
Here’s the magic formula: for every 3 medium onions, add just 1/8 teaspoon of baking soda while cooking. Keep your heat at medium and stir occasionally – you’ll notice the onions turning that beautiful caramel color in about 15-20 minutes instead of the usual 45-60. But remember, my kitchen companions, don’t go overboard with the baking soda or you’ll end up with mushy onions that taste like soap! This trick works perfectly for French onion soup, onion jam, or any dish where you need those sweet, caramelized onions in a hurry.
Using dental floss to cut soft cheeses and cakes

I discovered this genius trick at my friend Sarah’s dinner party last month – she whipped out a string of unflavored dental floss to slice through her homemade cheesecake, and my jaw dropped! Unlike a knife that can squish your delicate desserts, dental floss glides through soft cheeses and cakes with the precision of a surgeon. Just hold the floss taut between your hands, press down gently, and watch it create perfect, clean slices without any mess or crumbs sticking to the blade.
You can apply this nifty technique to everything from goat cheese logs and mozzarella balls to layer cakes and cinnamon roll dough. The only rule? Skip the mint-flavored floss unless you want your brie tasting like toothpaste! I keep a dedicated box of unflavored floss in my kitchen drawer now, right next to my measuring spoons. My friends laugh when they see it, but once I demonstrate this trick, they’re running to the store to grab their own “cheese and cake floss” stash. Trust me, you’ll never go back to struggling with sticky knife blades again!
Microwaving lemons for maximum juice extraction
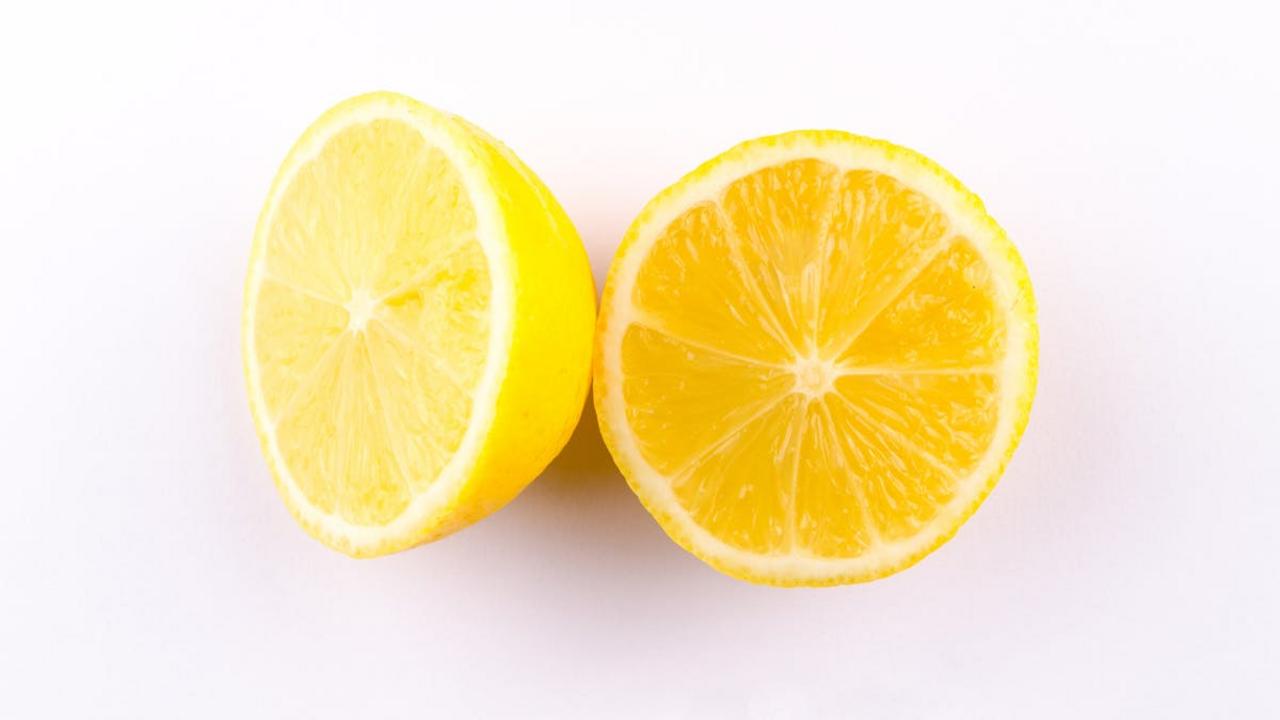
Want to squeeze every last drop from your lemons? Pop them in the microwave for 20-30 seconds before juicing, and you’ll get nearly double the amount of juice! The heat breaks down the cell walls inside the fruit, making it softer and easier to extract all that tangy goodness. I discovered this trick during a late-night lemon meringue pie emergency (we’ve all been there, right?), and it saved my dessert from becoming a bland disappointment. Now I wouldn’t dream of juicing a cold lemon!
The microwave method works best if you roll your warm lemon on the counter first, applying gentle pressure to further break down those stubborn membranes. Just remember to let it cool for a few seconds before cutting – nobody wants citrus burns! This hack transforms even those slightly older lemons lurking in your fridge into juice machines. Pro tip: if you need loads of juice for a recipe, microwave several lemons at once on a plate. You’ll have enough fresh lemon juice for anything from homemade lemonade to zingy marinades in no time.
Freezing fresh herbs in olive oil cubes
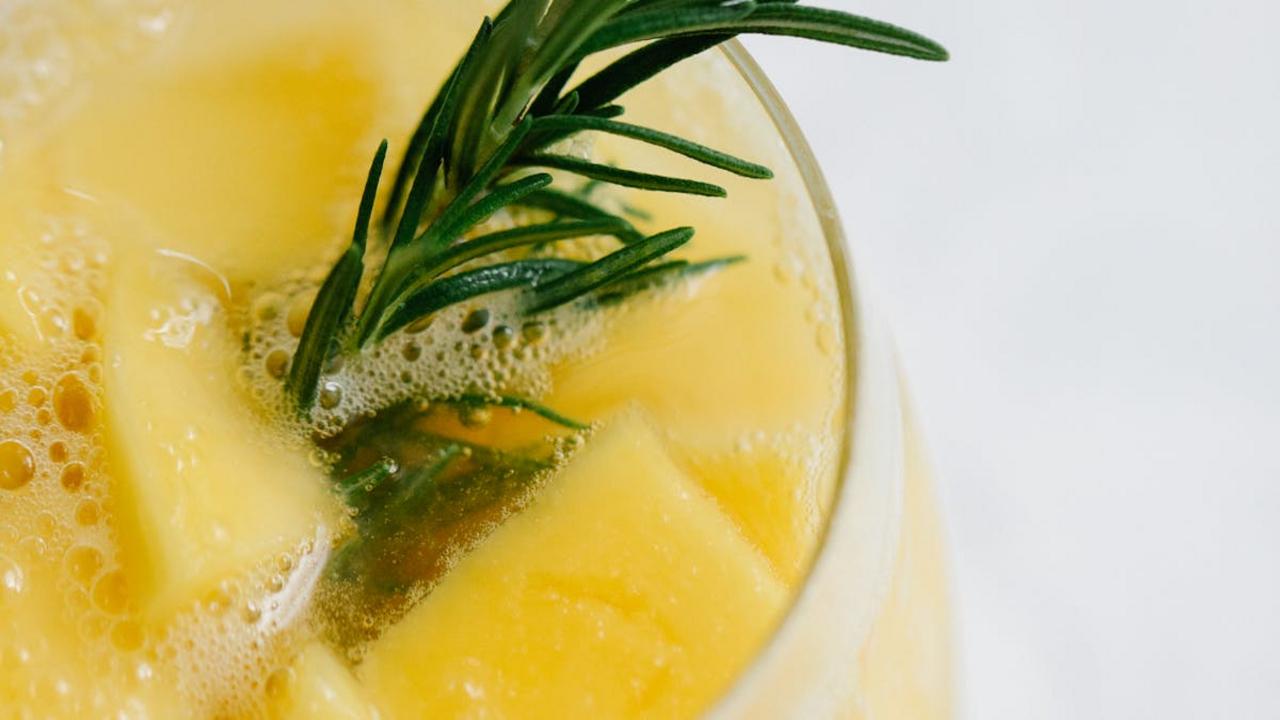
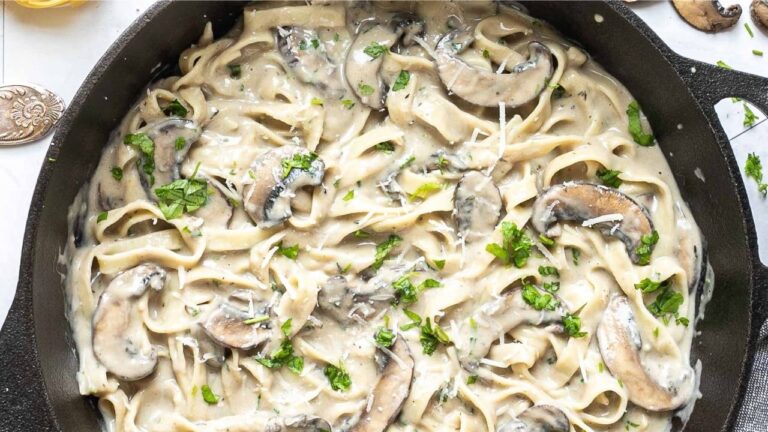
Say goodbye to throwing out wilted herbs! I learned this genius trick from my Italian grandmother, who’d freeze fresh basil and oregano in olive oil ice cube trays. Just chop your herbs finely, pop them into each compartment of an ice cube tray, fill with good quality olive oil, and freeze. You’ll get perfect portions of herb-infused oil that’ll melt right into your pan – no more sad, brown herbs languishing in your crisper drawer. Plus, these little flavor bombs stay fresh for up to six months in the freezer.
Here’s a pro tip I discovered after many messy attempts: fill the trays only about ¾ full since oil expands when frozen. I keep separate trays for different herbs – rosemary in one, sage in another – which makes it super simple to grab exactly what I need for any recipe. Drop a cube into soups, stews, or pasta sauces for an instant burst of fresh herb flavor. My personal favorite? Tossing a thyme-infused cube into mushrooms while they’re sautéing. The kitchen smells incredible, and the mushrooms turn out perfect every time.