10 Vintage Cooking Techniques Back in Vogue
The old ways of cooking hold wisdom we’ve nearly forgotten in our microwave-centric world. From my grandmother’s fermented kimchi to the smoky flavors of backyard barbecues, these time-tested methods bring depth and character to our food that modern shortcuts just can’t match.
I’ve noticed more home cooks returning to these traditional techniques, seeking connections to their heritage and wanting to create more nourishing meals. The satisfaction of grinding your own spices or slowly smoking meat over wood chips creates an intimacy with food that transforms everyday cooking into something meaningful.
Your kitchen can become a place of discovery where ancient methods meet modern meals. These 10 vintage cooking techniques will add new dimensions to your cooking while honoring the time-tested wisdom of generations past. Each method offers unique flavors and textures you simply can’t get from conventional cooking.
Dehydrating
My pantry has completely transformed since I rediscovered food dehydrating. This ancient preservation method removes moisture from fruits, vegetables, and herbs to extend their shelf life while concentrating flavors. I’ve found myself making crispy apple chips, chewy dried mango slices, and intensely flavorful dried tomatoes that pack a punch in winter pasta dishes. Your own dehydrator can run overnight while you sleep, slowly drawing out moisture at low temperatures to maintain nutrients and create perfectly preserved ingredients.
You’ll notice how dehydrating brings out natural sweetness in fruits and deepens the umami in vegetables – it’s pure kitchen magic without additives. I keep dried mushrooms ready for rich broths, fruit leather for healthy snacks, and dried herbs that hold their flavor better than store-bought options. The technique works wonderfully for making camping meals, creating your own seasoning blends, or preserving summer’s bounty for year-round cooking. With just basic equipment and patience, you can build an impressive collection of shelf-stable ingredients to enhance your cooking.
Root cellaring

Did you know your grandparents kept their produce fresh without electricity? Root cellaring, a traditional food storage method, makes a strong comeback as more people seek sustainable ways to store their garden bounty. I’ve turned my basement corner into a root cellar, maintaining specific temperature and humidity levels to keep carrots, potatoes, beets, and apples crisp for months. The natural coolness of underground spaces creates perfect conditions – between 32-40°F with high humidity – making it an energy-free refrigerator.
You can start small with this method too! Find a cool, dark spot in your basement or garage and monitor its temperature. Pack your root vegetables in boxes with slightly damp sand or sawdust, keeping them clean and separated. My favorite trick? Store apples separately since they release ethylene gas that can make other produce ripen faster. Through root cellaring, I’ve saved money on groceries and reduced food waste while connecting with this time-tested preservation technique that worked for generations before modern refrigeration.
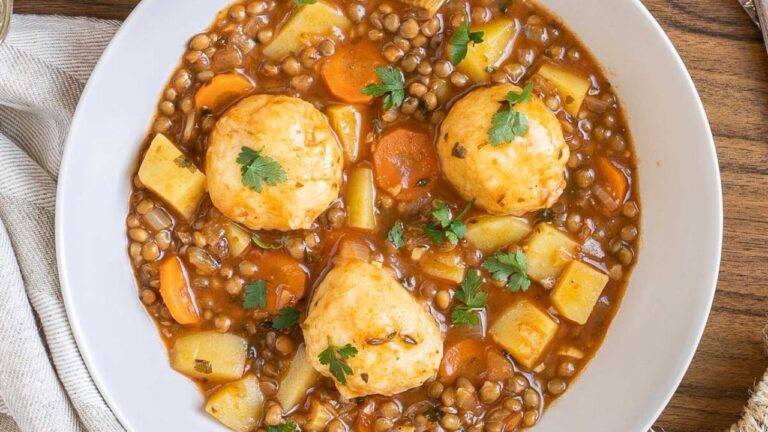
Dutch oven cooking
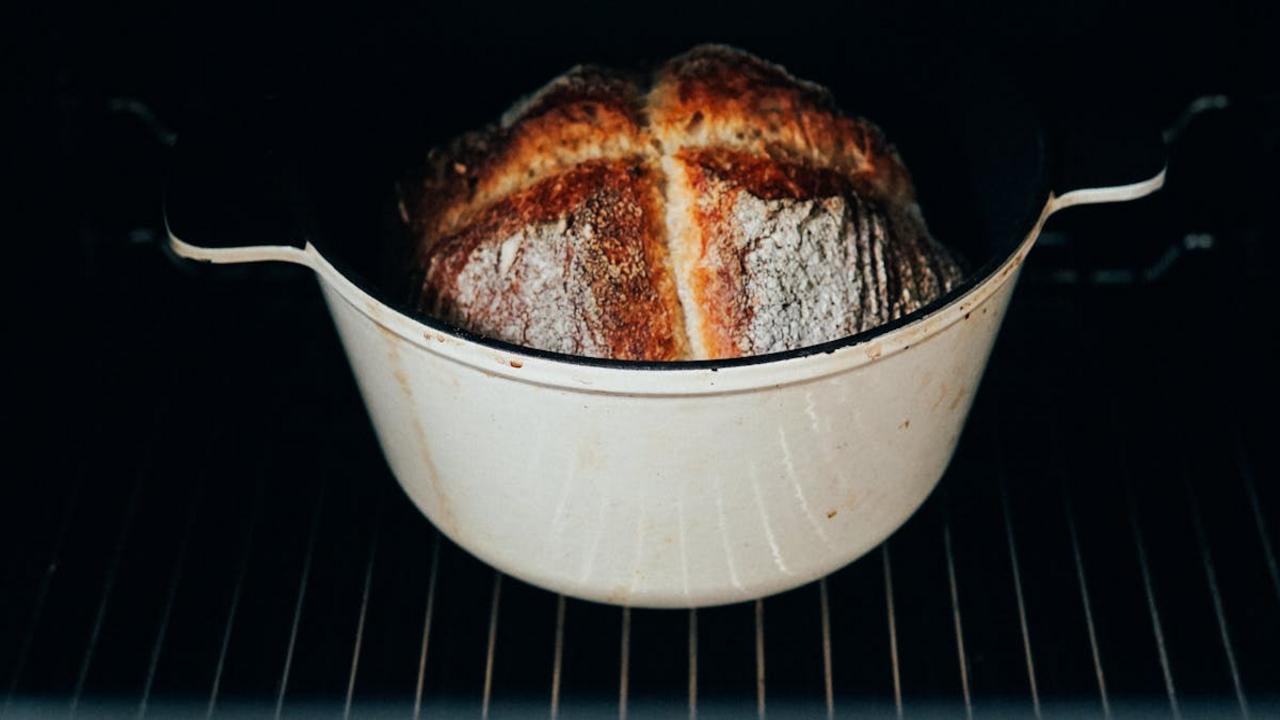
I’ve rediscovered my grandmother’s Dutch oven, and wow – what a difference it makes in my everyday cooking! This heavy-duty pot with its tight-fitting lid creates the perfect environment for slow-cooking meats, simmering stews, and baking crusty sourdough bread. The thick walls hold heat evenly, while the lid traps moisture inside, making tough cuts of meat tender and developing rich flavors. You’ll notice how ingredients transform through low-and-slow cooking, especially in dishes like braised short ribs or chicken cacciatore.
Your Dutch oven can become your most versatile kitchen companion. I use mine for everything from deep-frying to baking no-knead bread – the heavy bottom prevents burning while the enameled surface stops food from sticking. The pot moves seamlessly from stovetop to oven, making one-pot meals a breeze. Plus, the durability means you’ll pass this cookware down through generations. Try starting with a simple beef stew or whole roasted chicken – you’ll quickly understand why home cooks have relied on Dutch ovens for centuries.
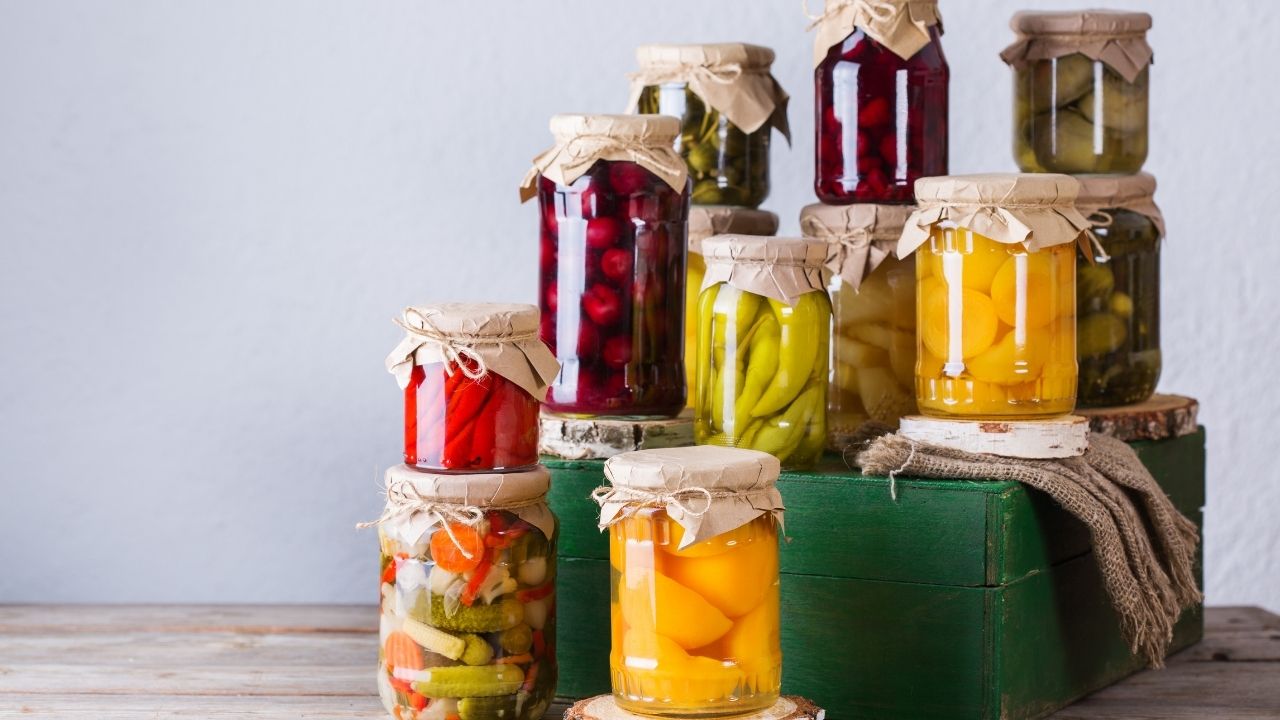
Curing and preserving
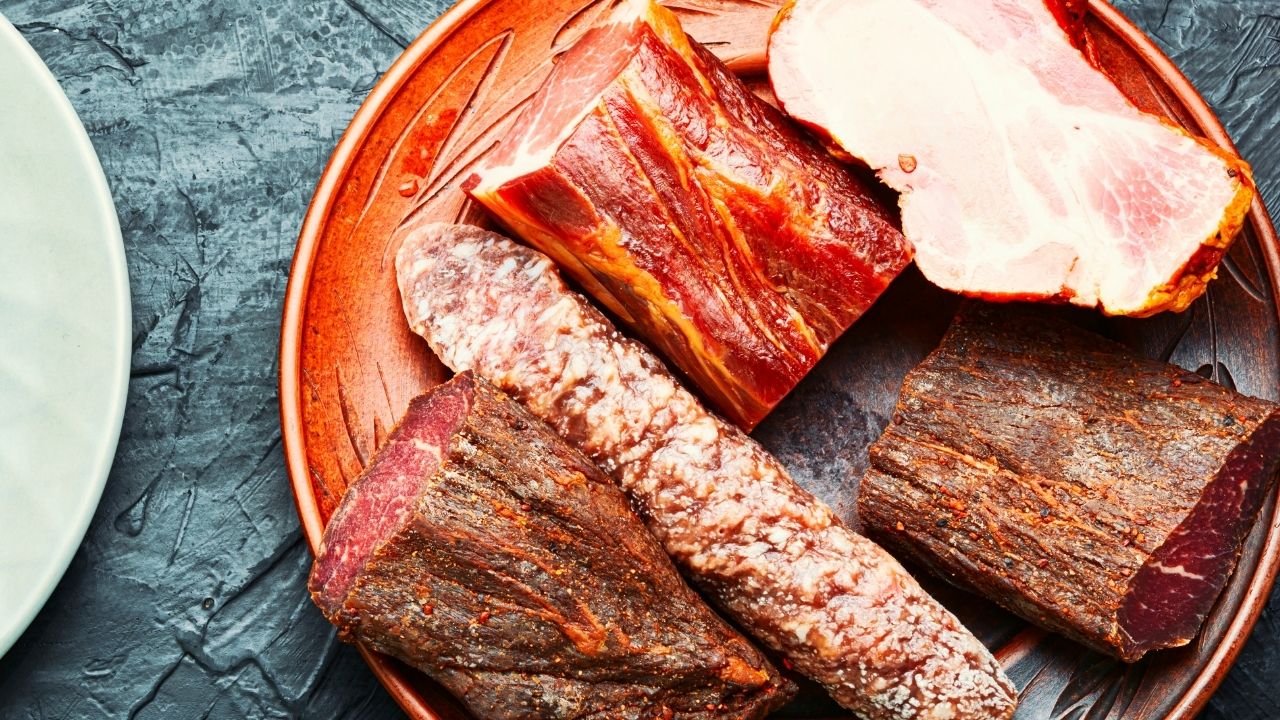
With grocery prices climbing, I’ve found myself going back to my grandma’s ways of keeping food longer through curing and preserving. You’ll be amazed how much money you can save by buying fresh produce in bulk during peak season and preserving it yourself at home. From making your own corned beef to crafting homemade gravlax or duck prosciutto, curing meats brings deep, complex flavors you just can’t get from store-bought versions. The process needs only salt, sugar, and time – yet transforms ordinary ingredients into something extraordinary.
My kitchen counter now holds rows of jewel-toned jams, pickles, and preserves that I make throughout the year. Each jar captures summer strawberries, autumn apples, or winter citrus at their peak ripeness. The satisfaction of opening a jar of home-preserved food months later is unmatched. Beyond saving money, preserving connects me to traditional food preparation methods that worked perfectly for generations. I love teaching these techniques to others – showing how simple ingredients and patient waiting create incredible flavors and textures through natural fermentation and preservation.
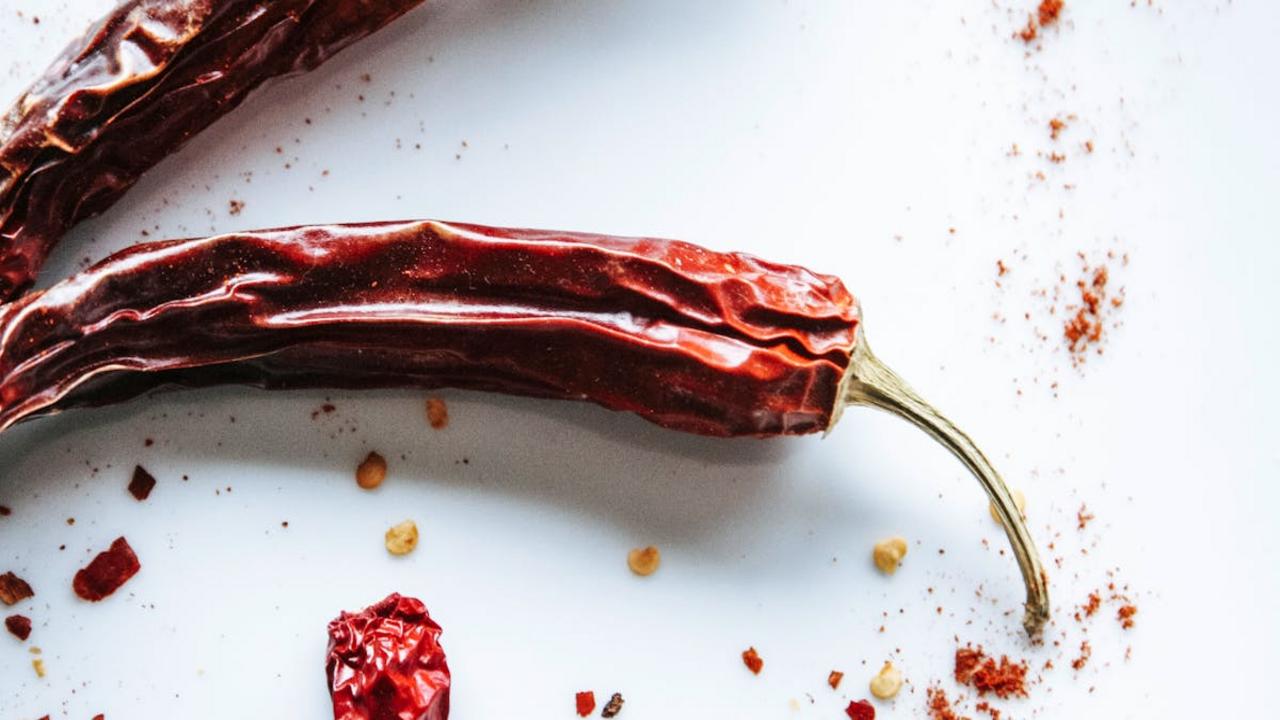
Stone grinding
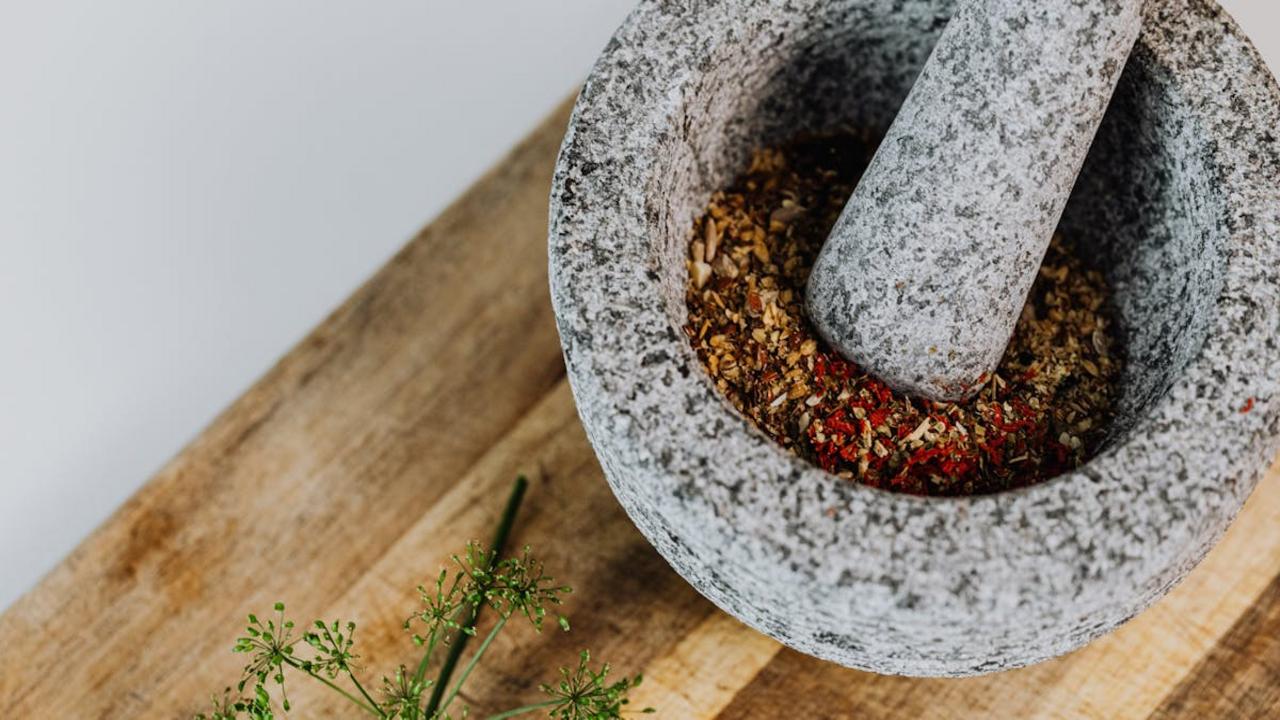
I’ve discovered that stone grinding creates incredibly rich flavors and textures you just can’t get from regular electric grinders. Traditional stone grinders, like the Mexican molcajete or Indian sil batta, break down ingredients through a slow, mindful process that releases natural oils and compounds. This old-world method makes your spices, grains, and seeds more digestible while keeping their nutrients intact. My homemade curry powder tastes so much better since I started using a granite mortar and pestle – the freshly ground spices have deeper, more complex notes.
The best part about stone grinding? You control the texture completely! Want coarse cornmeal for polenta? A few gentle turns. Need superfine flour for delicate pastries? Keep grinding until you reach that powdery consistency. I find something deeply satisfying about this hands-on connection to my ingredients. Plus, the tools themselves are beautiful – my stone grinder has become both a functional tool and a cherished kitchen decoration. The smooth stone surface develops its own character over time, carrying the history of countless meals within its subtle marks and grooves.
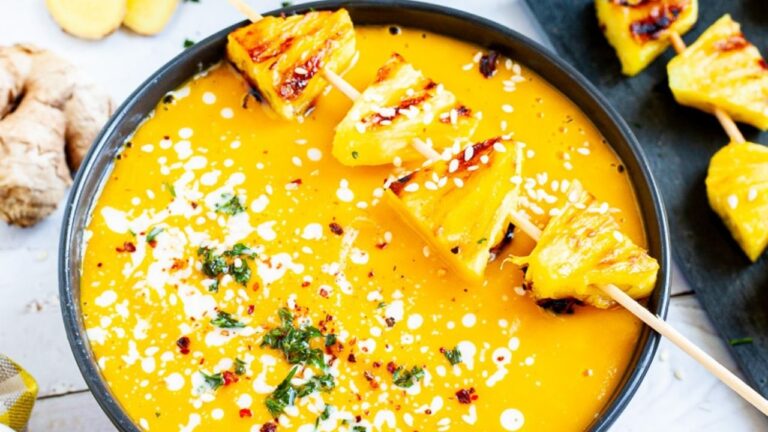
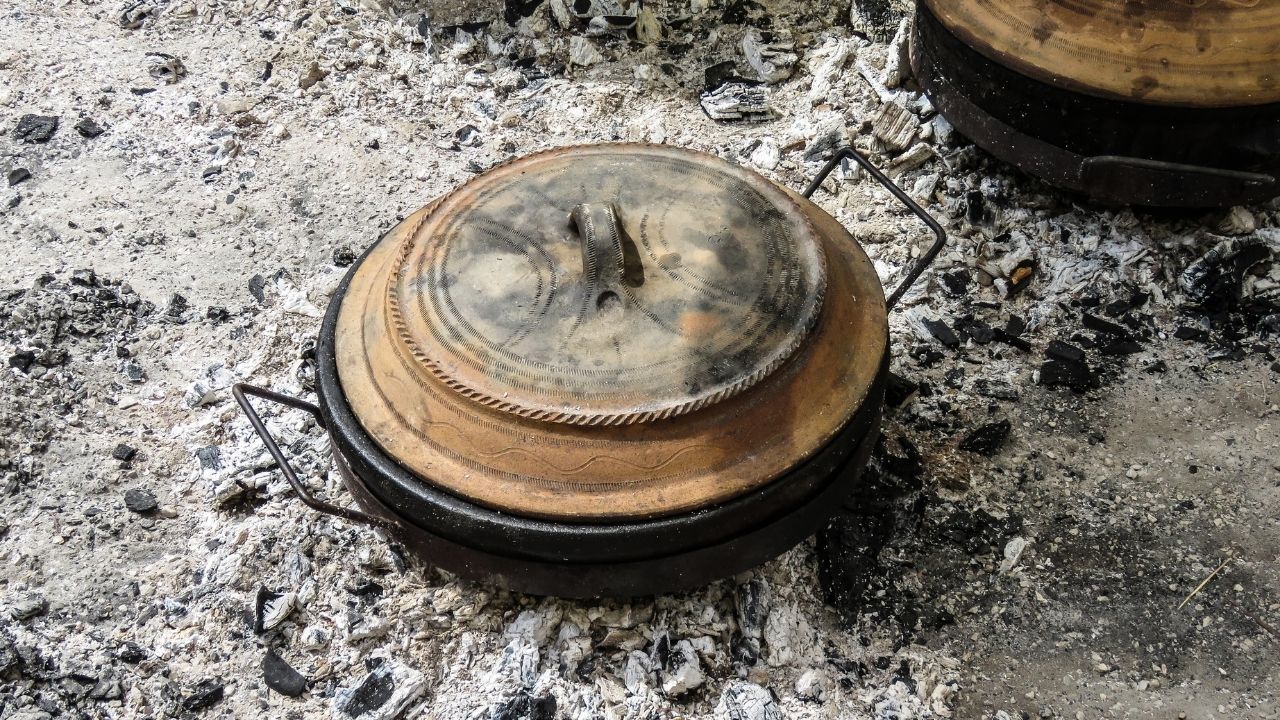
Clay pot cooking
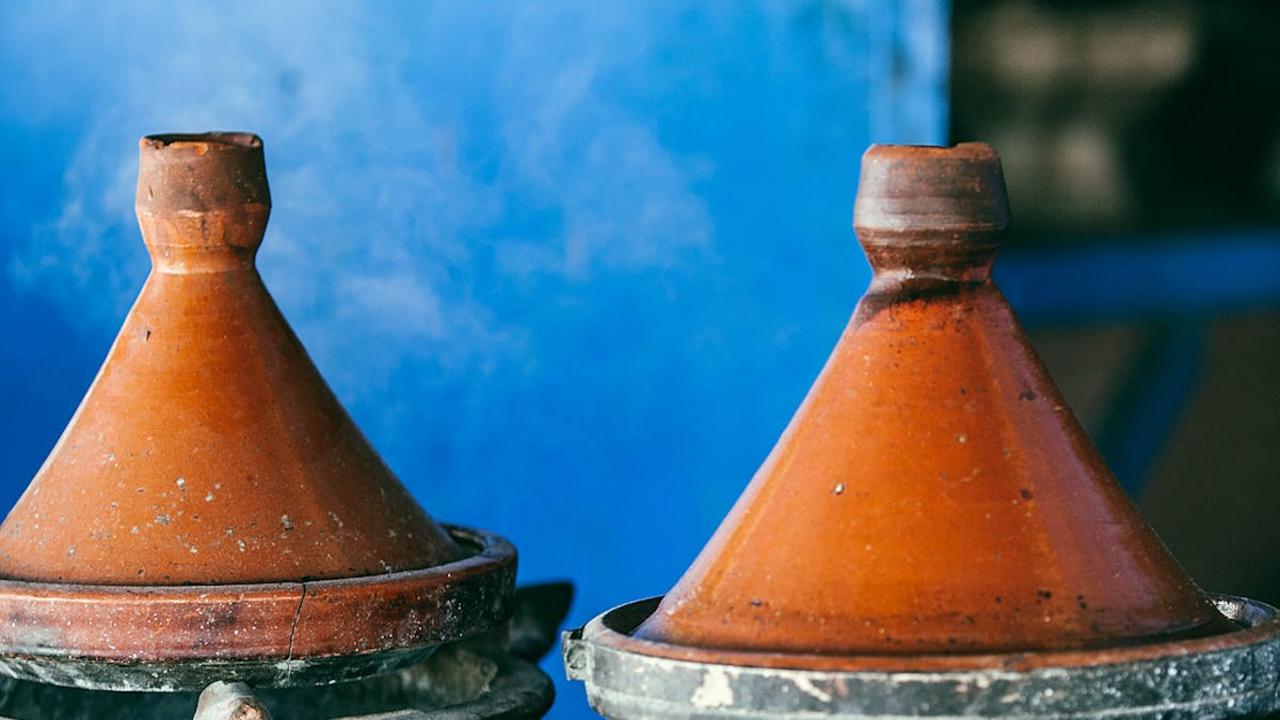
I’m so thrilled to see clay pot cooking making its way back into modern kitchens. This ancient technique creates the most tender, flavorful dishes by slowly building heat through porous clay walls. The natural moisture-locking properties mean your meats stay incredibly juicy while vegetables develop deep, concentrated flavors. Plus, the alkaline clay actually adds trace minerals to your food during cooking – a natural way to boost nutrition that our ancestors knew about all along.
My favorite part about clay pot cooking? You won’t need any extra oils or fats to keep food moist. The pot does all the work by circulating steam throughout cooking. I’ve found my Chinese-style clay pots perfect for braising tough cuts of meat until they practically melt, and my Spanish cazuela brings out incredible depth in vegetable stews. The only rule: always start with a cold pot and heat gradually to prevent cracking. Once you master this gentle cooking method, you’ll understand why generations of cooks worldwide have trusted clay pots for their most treasured recipes.
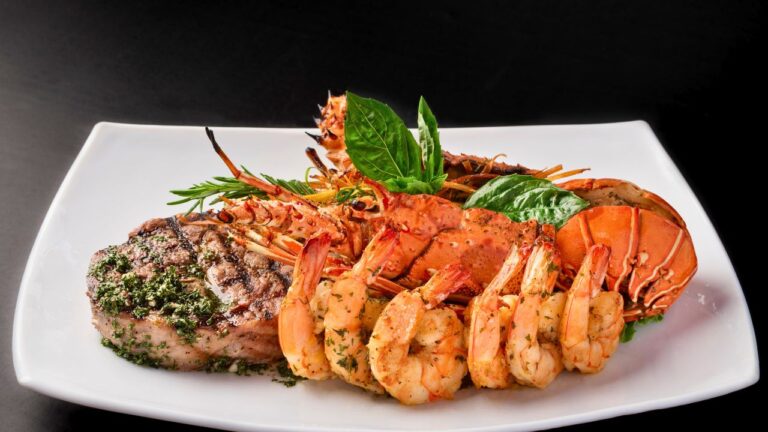
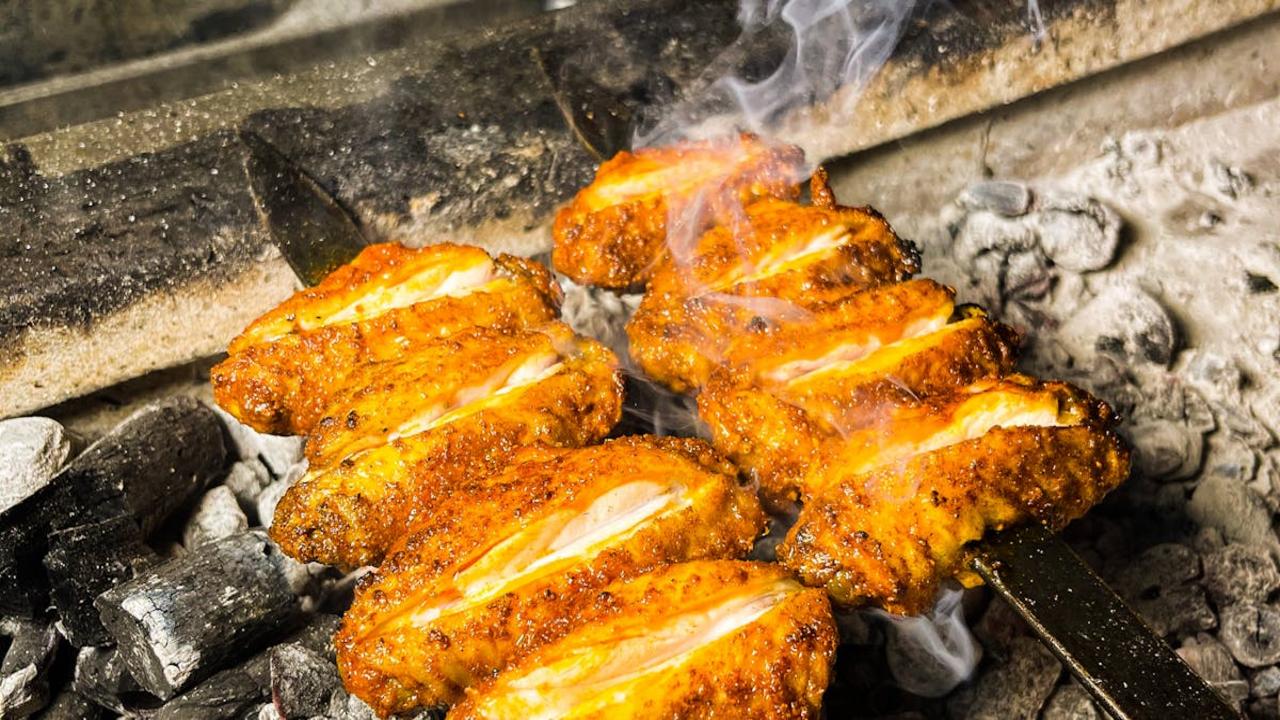
Smoking foods

I love seeing more home cooks rediscover smoking as a preservation and flavor-building technique. You don’t need fancy equipment to start – a simple stovetop smoker or even a makeshift aluminum foil packet with wood chips can transform everyday ingredients into deeply flavorful dishes. My favorite woods include applewood for poultry and fish, hickory for red meats, and maple for vegetables. The key is maintaining a low, steady temperature around 200°F while the smoke infuses your food with complex, savory notes.
The beauty of smoking lies in its versatility beyond the traditional barbecue staples. I regularly smoke tomatoes for rich sauces, garlic heads for spreadable cloves, and even butter for an instant upgrade to any dish. Cold smoking at temperatures below 90°F opens up possibilities for cheese, salt, and spices too. Start with quick-smoking projects like fish or chicken breasts, which only need 1-2 hours. Once you’re comfortable controlling the smoke and temperature, try longer projects like brisket or pork shoulder that develop incredibly tender textures over 8-12 hours.
Earthen pit cooking
I love how earthen pit cooking makes a comeback in modern outdoor gatherings! This ancient method involves digging a deep hole, lining it with stones, building a fire to heat them, then wrapping meat and vegetables in banana leaves or burlap before burying them to cook slowly. The natural insulation from the earth creates an environment where food steams and roasts simultaneously, producing incredibly tender and flavorful results that you just can’t replicate in a regular oven.
My recent experiments with pit cooking have taught me so much about temperature control and timing. The key lies in the preparation – you need to start the fire early, usually 4-5 hours before cooking, to get those rocks properly heated. I’ve found that layering different ingredients strategically makes a huge difference: root vegetables go at the bottom where it’s hottest, while more delicate items stay towards the top. The smokiness from the wood fire combined with the natural minerals from the earth gives your food an amazing depth of flavor that will make your outdoor feast truly memorable.
Wood fire cooking
I’ve noticed more home cooks bringing back the primal warmth of wood fire cooking, returning to how our ancestors prepared food for generations. The intense heat and aromatic smoke create flavors you simply can’t replicate on a standard stovetop or grill. From pizza to roasted vegetables, the high temperatures sear ingredients quickly while keeping them tender inside. The subtle smokiness adds depth that transforms even basic ingredients into something extraordinary.
Your backyard can become an incredible cooking space with just a few fire-safe bricks and some hardwood. Oak, maple, and fruit woods each bring their own distinct notes to dishes. I recommend starting with simple flatbreads or corn on the cob to get comfortable with heat management. Once you master the basics, you’ll find yourself wanting to cook everything over flames – from whole fish to hearty stews in cast iron pots. The connection to traditional cooking methods makes each meal feel more meaningful and the flavors will keep you coming back for more.
Fermentation
I’ve watched fermentation transform simple ingredients into the most flavorful foods right in my kitchen. You’ll find this ancient preservation method creating gut-healthy dishes across many cultures – from Korean kimchi to German sauerkraut to Indian dosas. The magical process happens when good bacteria break down natural sugars, creating that distinctive tangy flavor while boosting nutrients and developing beneficial probiotics. Through my own fermenting adventures, I’ve discovered how a basic cabbage becomes a complex, layered kraut after just a few weeks of sitting in salt brine.
Starting your fermentation practice doesn’t need fancy equipment – just clean jars, fresh ingredients, and salt. I recommend beginning with small batches of vegetables like carrots or radishes. Watch them daily as they bubble and change, developing deeper flavors and that signature acidic kick. The best part? Each batch brings its own character based on ingredients, temperature, and time. My latest obsession involves fermenting hot peppers into hot sauce – the depth of flavor beats anything from the store. Plus, knowing I’m making food that supports my gut health while reducing food waste makes every fermentation project extra rewarding.