10 Genius Freezing Hacks to Keep Food Fresher Longer and Save Money
Ever stared into your freezer wondering why your once-fresh foods now taste like cardboard? I’ve been there too! After years of trial and error in my kitchen, I’ve discovered that proper freezing isn’t just about tossing food into the coldest part of your home. It’s a simple science that saves money and reduces waste while keeping flavors intact.
Your freezer should work for you, not against you. With these ten practical freezing techniques, you’ll transform this underappreciated appliance into your budget’s best friend. From setting the right temperature to smart packaging choices, these methods have helped me cut my grocery bills while maintaining food quality.
Think of these hacks as your freezer foundation – they’re not complicated or fancy, just straightforward ways to make your food last longer. I’ve tested each one in my own kitchen, adjusting until I found what truly works for everyday home cooking without special equipment or excessive effort.
Food Safety Guidelines
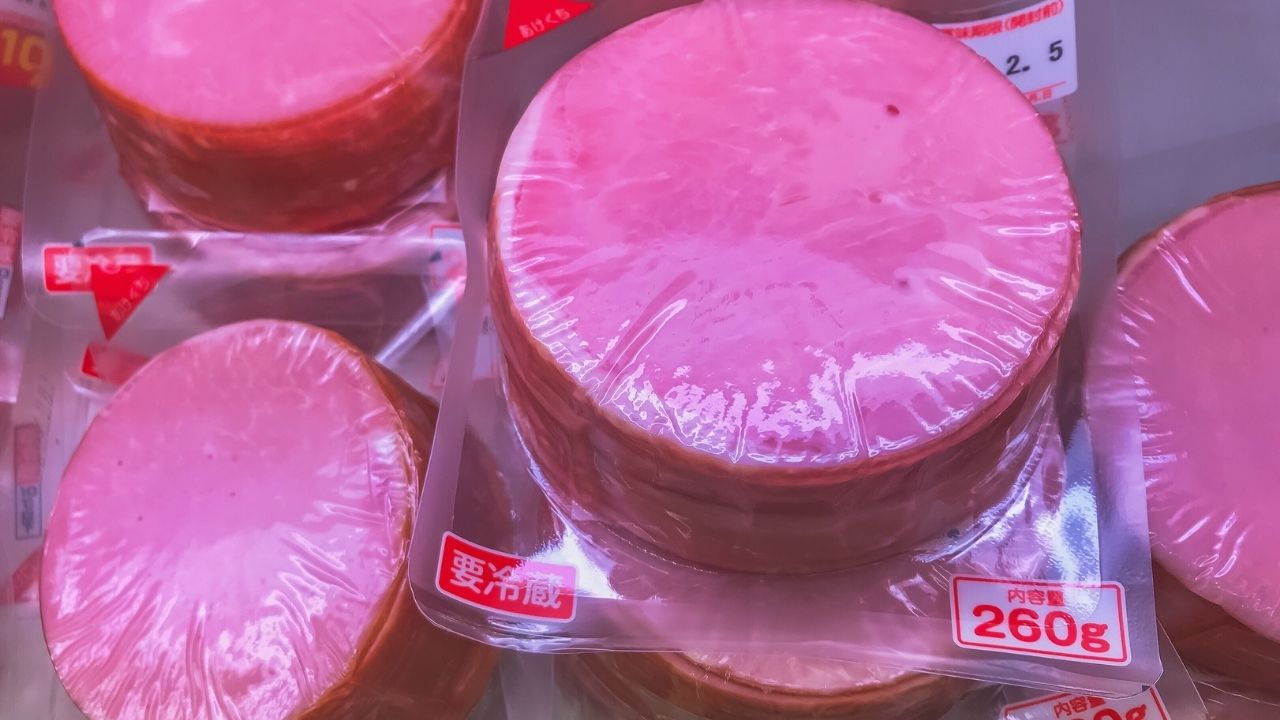
While the freezer works wonders for preserving food, you still need to follow proper safety practices to keep your family healthy. Always cool hot foods completely before freezing—placing hot items directly in your freezer raises the internal temperature, potentially thawing nearby foods and creating bacterial growth opportunities. Label everything with contents and dates so you know exactly how long items have been stored (meats typically last 3-4 months, while most vegetables stay good for 8-12 months).
Your freezer should maintain a consistent temperature of 0°F (-18°C) or below—get an inexpensive freezer thermometer to monitor this. When thawing foods, never leave them on the counter at room temperature; instead, thaw in the refrigerator, under cold running water, or in the microwave if you’ll cook immediately afterward. Remember that refreezing thawed food decreases quality and increases food safety risks, so only thaw what you plan to use. These simple guidelines will help you maximize your freezer’s benefits while keeping your food safe to eat.
Thawing Methods
Proper thawing techniques make all the difference between preserving food quality and wasting your precious freezer stash. My go-to method is overnight refrigerator thawing – simply transfer frozen items from freezer to fridge 24 hours before cooking. This gentle method maintains food safety while preserving texture and nutrients. For quicker results, try the cold water method by submerging sealed food in a bowl of cold water, changing the water every 30 minutes. Small items thaw in about an hour while larger packages might need several hours.
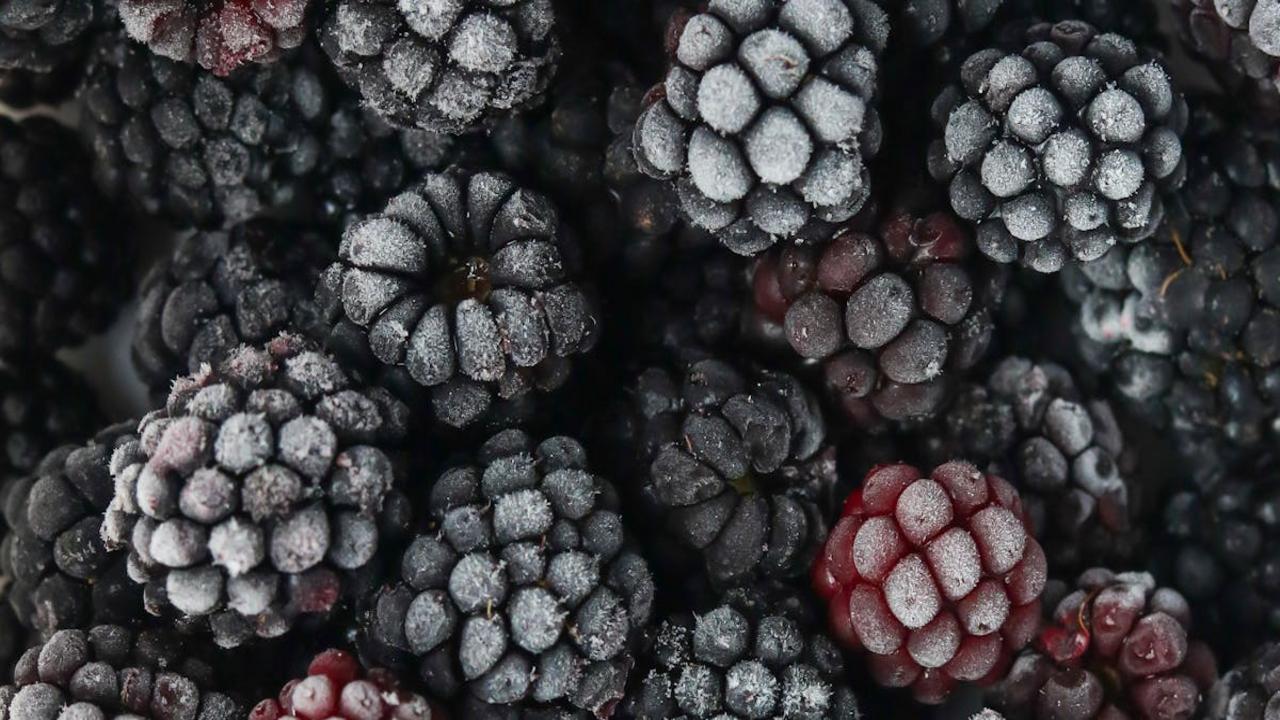
Microwave thawing works in emergencies but often partially cooks food edges while the center remains frozen. If you use this method, cook the food immediately afterward. One game-changing tip I’ve learned: thaw meat on a metal baking sheet. The metal conducts cold away from the food, speeding up thawing time by up to 30%. For delicate items like berries or herbs, simply use them frozen in smoothies, sauces, or soups—no thawing required! Remember that food safety matters most—never thaw perishables on the counter at room temperature as this invites bacterial growth in the outer layers while the center remains frozen.
Preventing Freezer Burn
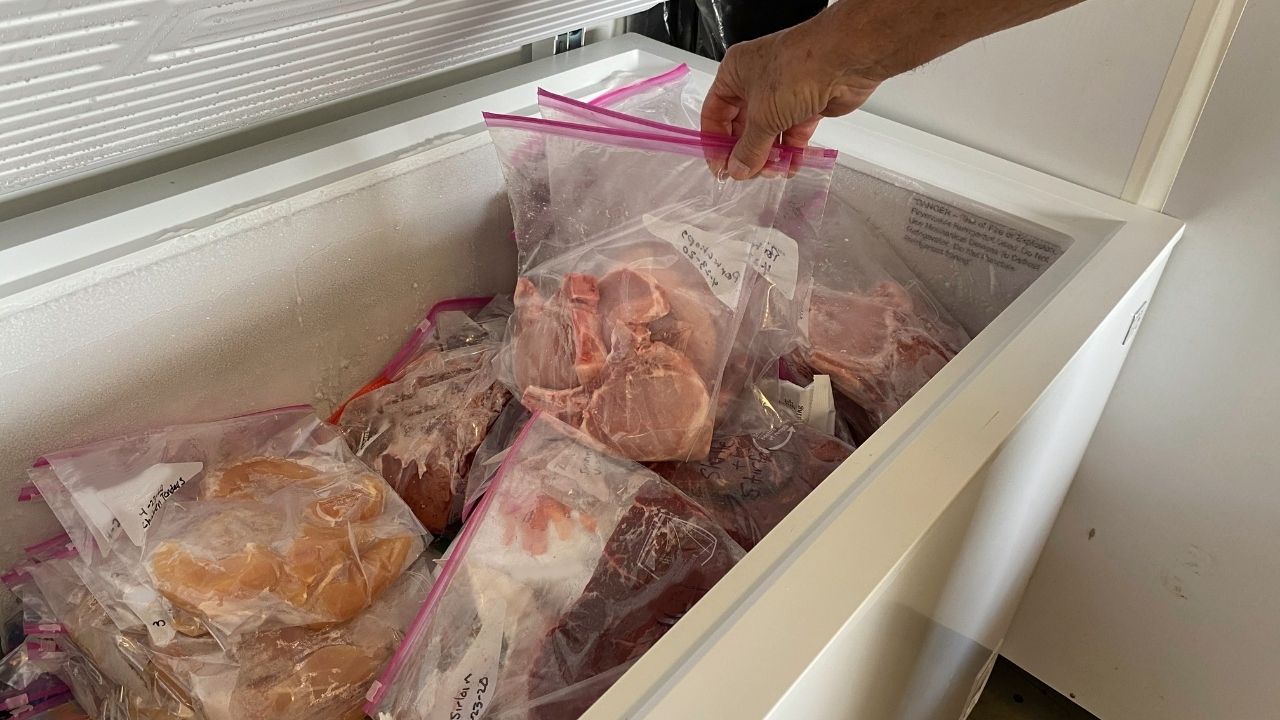
Nothing ruins your meal prep efforts faster than discovering your frozen food covered with those frosty crystals that make everything taste like cardboard. The main enemy? Air contact. You can fight freezer burn by wrapping food tightly in freezer-specific paper before placing it in containers or bags. For an extra protection layer, double-wrap particularly vulnerable items like meat and fish. I always press out every last bubble of air from freezer bags before sealing them—this simple step makes a dramatic difference in food quality months later.
Temperature fluctuations also contribute to freezer burn, so keep your freezer consistently cold (0°F/-18°C or below). Avoid opening the door frequently, and organize your freezer strategically—place newer items toward the back where temperatures remain more stable. For foods you’ll store longer than a month, consider vacuum sealing if you have the equipment. My family noticed the difference immediately when I started implementing these techniques—our frozen berries stayed vibrant, meat remained juicy, and we stopped throwing away freezer-damaged food, saving us hundreds of dollars yearly.
Smart Storage Organization
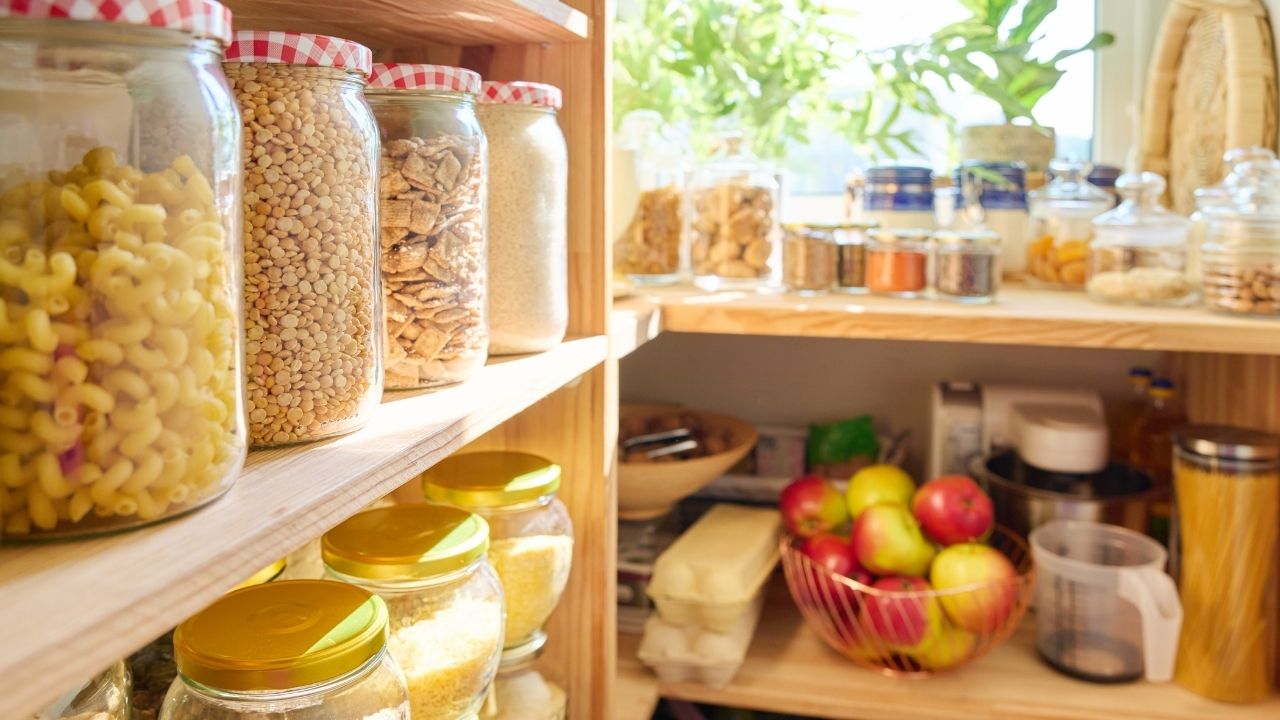
Your freezer organization can make or break your food-saving efforts! I’ve discovered that using clear, stackable containers transforms a chaotic freezer into an organized system where nothing gets lost or forgotten. Label everything with contents and date (a simple marker works, or use a label maker if you’re fancy like me). Group similar items together – dedicate sections for proteins, vegetables, prepared meals, and baked goods so you can quickly find what you need without letting cold air escape.
Another game-changing practice is creating a freezer inventory list. Keep it on your phone or post it on your freezer door to track what’s inside and when it needs to be used. I rotate items by placing newer foods in the back and older items up front, ensuring nothing gets buried for months. Pro tip: freeze items flat first (like soups in zipper bags), then stand them up like books once solid – this clever arrangement maximizes your space while making everything visible at a glance. Your well-organized freezer will save you money and dramatically reduce food waste!
Removing Air from Containers

Air is freezer burn’s best friend, but you can outsmart it with a few simple techniques! For containers with lids, fill them nearly to the top but leave just enough room for expansion. Then press down on the center of the lid while sealing the edges—this pushes excess air out before locking. For plastic bags, I close them almost completely, then insert a straw into the small opening and suck out the remaining air before quickly sealing. This DIY vacuum-sealing method works amazingly well for everything from berries to cooked grains.
You don’t need fancy equipment to achieve near-vacuum conditions. For zippered freezer bags, submerge the filled bag (keeping the zipper above water) into a bowl of water—the water pressure naturally forces air out before you seal it. This technique has saved countless meals from freezer burn in my kitchen! For rigid containers that aren’t quite full, place a piece of plastic wrap directly on the food’s surface before putting the lid on. The direct contact creates a barrier that prevents air pockets from forming ice crystals on your beautiful homemade soups, sauces, or stews.
Blanching Vegetables
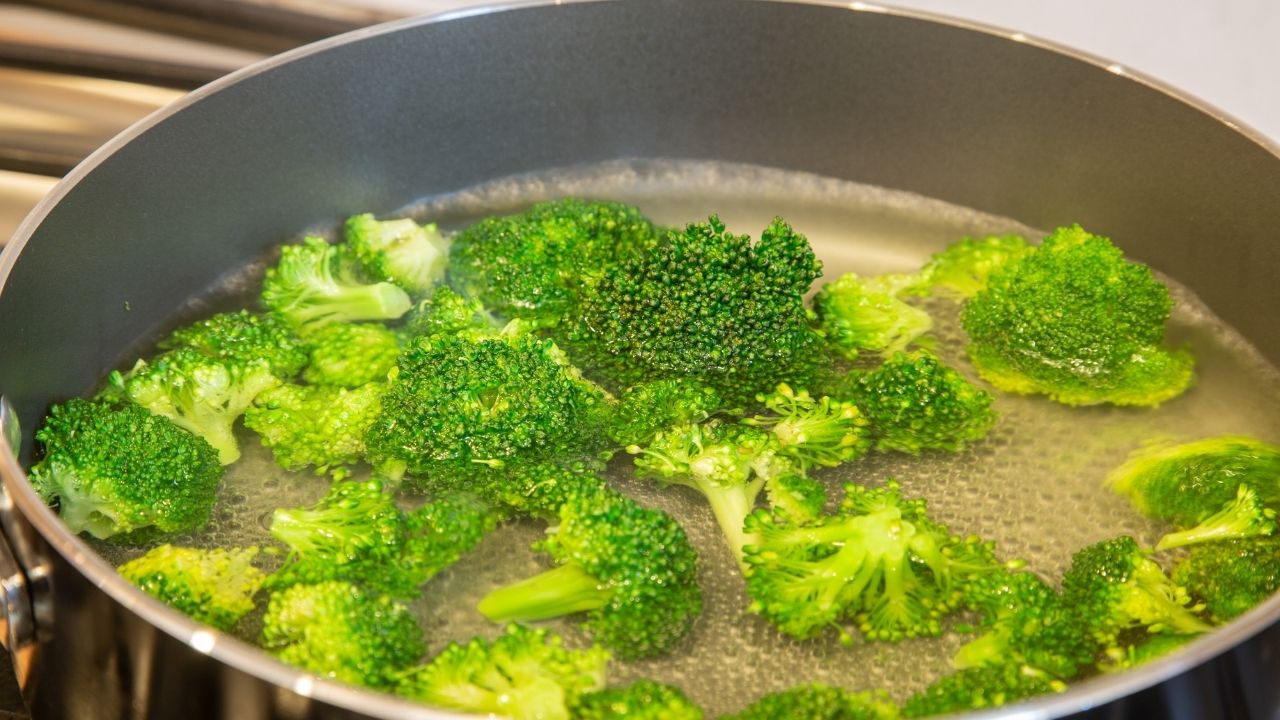
Have you ever frozen fresh vegetables only to find them mushy or discolored later? Blanching is your secret weapon against this! I quickly dip my veggies in boiling water for 1-3 minutes (depending on the vegetable), then immediately transfer them to an ice bath. This quick process stops enzyme activity that causes deterioration while preserving that vibrant color, texture, and nutritional value. It’s particularly important for green beans, broccoli, cauliflower, and leafy greens – they’ll freeze beautifully for months.
You’ll notice a world of difference in your frozen produce when you take this extra step. Blanched vegetables maintain their crisp texture and bright colors, making your winter meals taste like summer. I organize my blanching sessions when vegetables are in season and inexpensive. Just label your freezer bags with the date and vegetable type, and you’ll always have pre-prepped vegetables ready for quick stir-fries, soups, or side dishes. Your future self will thank you during busy weeknights when dinner prep becomes a breeze!
Labeling and Dating System
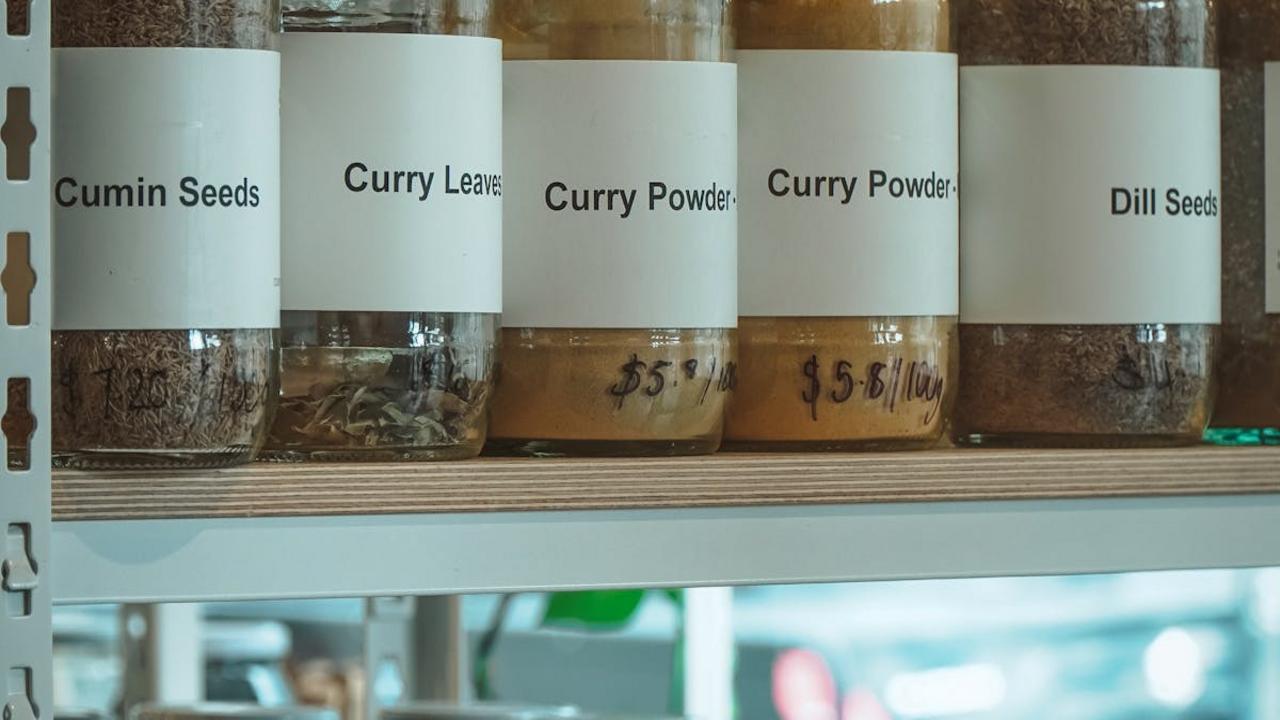
I can’t tell you how many “mystery meat” packages I’ve found lurking in the back of my freezer! That’s why I now swear by a simple labeling and dating system for everything I freeze. Grab some masking tape and a permanent marker, then write the contents and freeze date on each container or bag before it goes into the freezer. For meal prep containers, I include both the dish name and key ingredients in case anyone in my family has dietary restrictions or preferences.
Take this organization up a notch by color-coding your labels. I use blue tape for proteins, green for vegetables, and yellow for prepared meals. This visual system helps you grab items quickly without digging through everything. You’ll save money by using older items first and prevent food waste from forgotten freezer contents. Trust me—once you start consistently labeling, you’ll wonder how you ever managed your freezer without this simple hack!
Portioning Food Before Freezing
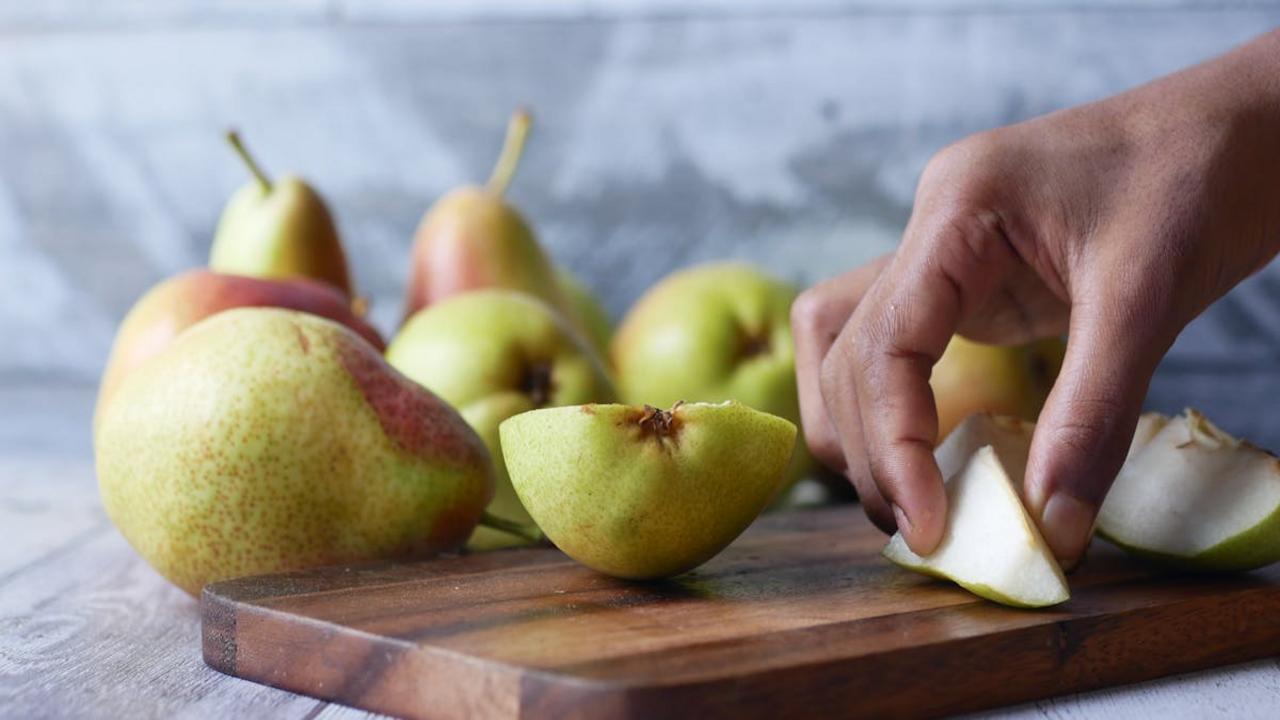
Here’s a simple trick that’ll transform your freezer game—portioning food before it goes into the freezer! I can’t count how many times I’ve frozen a big batch of soup or stew only to need just a small amount later. Dividing your meals into individual or family-sized portions before freezing means you’ll thaw exactly what you need, nothing more. Use freezer-safe containers, silicone muffin tins for small portions like pesto or tomato paste, or ice cube trays for minced herbs and fruit purees. You’ll waste less food and save money by not having to throw away what you couldn’t finish after thawing.
This approach also speeds up your thawing time dramatically! Instead of waiting hours for a large container to defrost, smaller portions thaw quickly and evenly. I like to portion ground meat into 1/2 pound packages since that’s what most of my recipes call for. For batch-cooked beans, I freeze them in 1-cup portions—perfect for adding to quick weeknight meals. Label everything with the date and contents using masking tape or a permanent marker. Your future self will thank you when dinner prep becomes so much simpler, and your grocery budget stretches further because you’re actually using everything you freeze!
Airtight Packaging Materials
You’ll get significantly better results from your freezer when you use truly airtight packaging materials. I’ve found that high-quality freezer bags with proper seals, vacuum-sealed bags, silicone storage containers with locking lids, and aluminum foil (doubled up and tightly wrapped) create the best barriers against freezer burn. The key is minimizing air exposure – that’s what causes those ice crystals and degradation of flavor and texture. For liquids like soups and sauces, leave about an inch of headspace in containers since they’ll expand when frozen.
I recommend labeling everything clearly with contents and date – you’ll thank yourself later! For items you freeze regularly, consider investing in reusable silicone freezer bags or glass containers with locking lids. Though they cost more upfront, you’ll save money over time and create less waste. My personal hack: portion foods before freezing (individual chicken breasts, meal-sized soup portions, etc.), so you only thaw what you need. This approach not only preserves food quality but helps you avoid throwing away half-used packages that get refrozen improperly.
Proper Temperature Settings and Control
Your freezer’s temperature is the single most critical factor that determines how well your food preserves. I keep mine at 0°F (-18°C) or slightly below—this sweet spot completely halts bacterial growth while maintaining food quality. Invest in a freezer thermometer if yours doesn’t display temperature readings. Temperature fluctuations are your frozen food’s worst enemy, causing those annoying ice crystals that lead to freezer burn and texture changes.
Check your freezer seals regularly to prevent cold air from escaping. A simple test: close a dollar bill in the door—if it slides out easily, your seal needs replacing. Don’t overstuff your freezer! Proper air circulation maintains consistent temperatures throughout. If you experience frequent power outages, consider grouping foods together in the freezer—they’ll insulate each other and stay frozen longer. Remember that a full (but not overcrowded) freezer runs more efficiently than an empty one, saving you money on electricity bills while keeping everything perfectly preserved.