10 Game-Changing Freezing Tips to Maximize Your Food’s Shelf Life
Your freezer holds incredible power to reduce food waste and save money, but only if you know the right techniques. Through years of testing in my kitchen, I’ve discovered that proper freezing methods can keep food fresh for months while maintaining its taste and nutrients. From fresh herbs to homemade soups, the right approach makes all the difference.
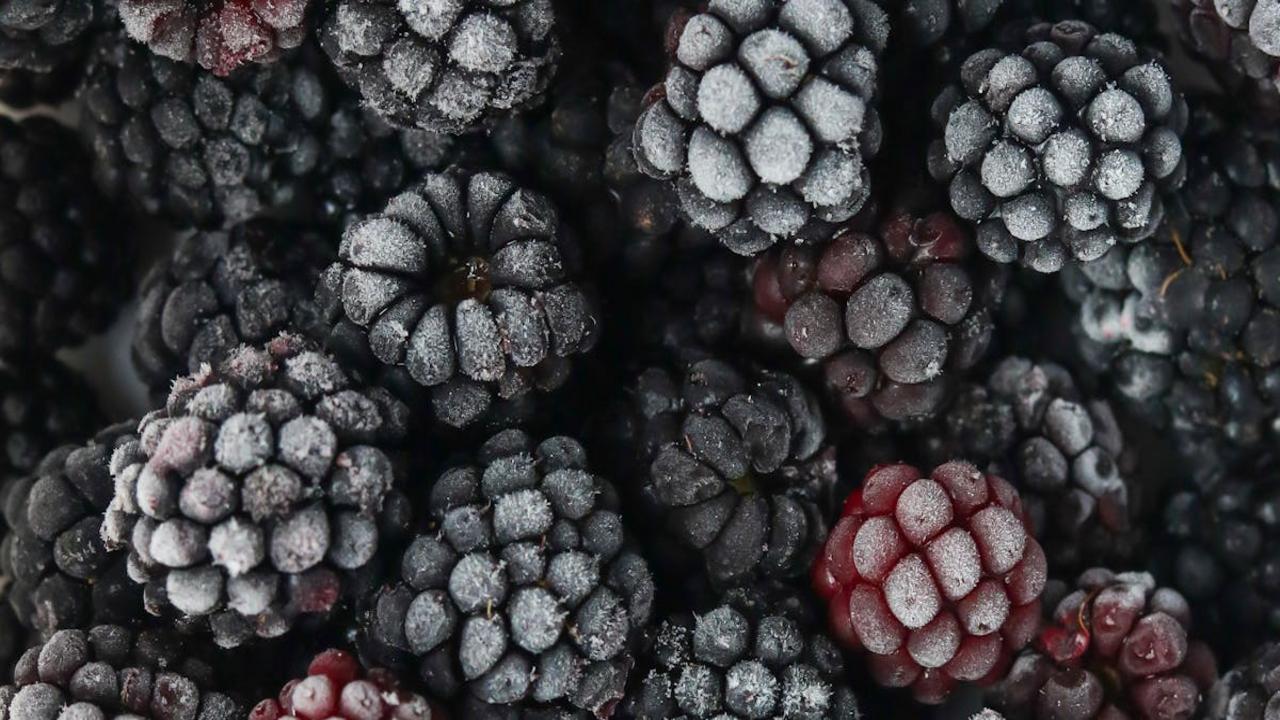
I’ve learned these freezing secrets through countless experiments and mistakes – like that time I ruined a whole batch of summer berries by not packaging them correctly. Now I follow specific steps that keep my frozen foods tasting just-picked fresh, whether I’m storing this week’s farmers market haul or prepping meals ahead.
These 10 practical freezing tips will transform how you preserve food. Each technique builds on simple principles that work for any ingredient or dish. Ready to make your freezer work smarter? These methods will help you waste less food while keeping flavors bright and textures perfect.
Food Safety Guidelines

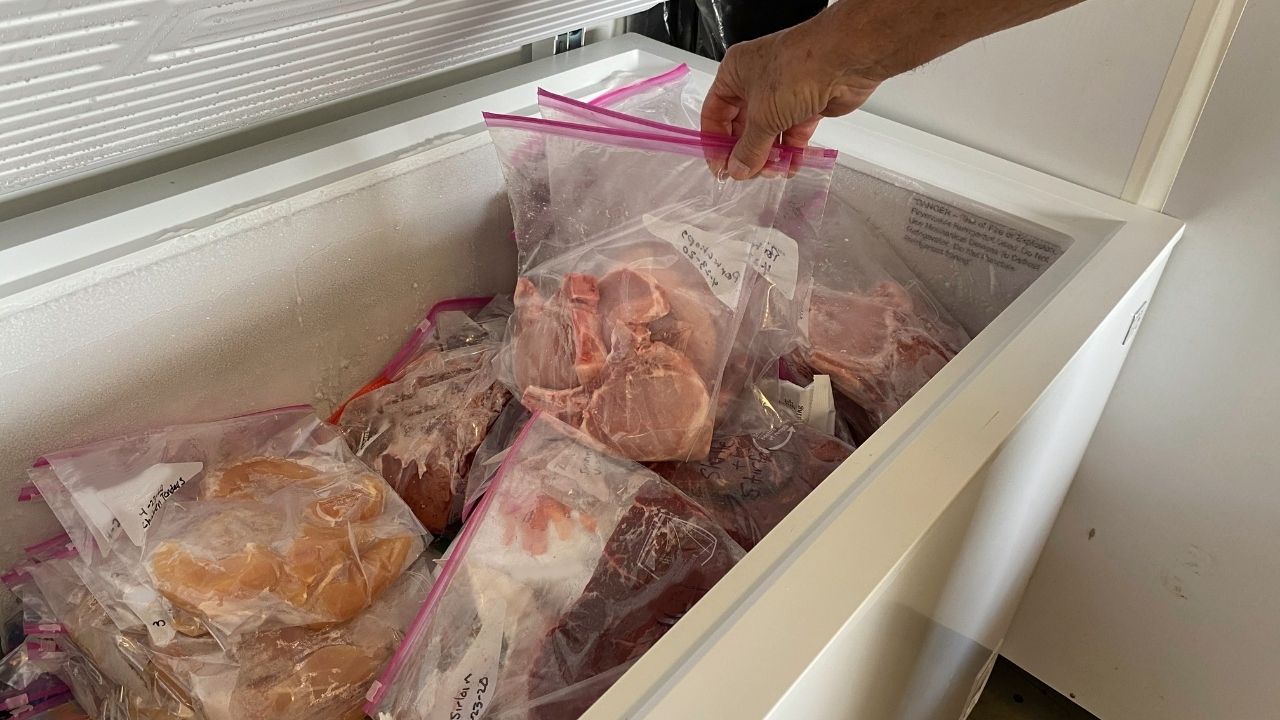
I want you to make food safety your top priority when freezing ingredients and meals. Always wash your hands thoroughly before handling food and clean all your prep surfaces, utensils, and containers with hot, soapy water. Keep raw meats separate from other foods during preparation and storage to prevent cross-contamination. Your freezer temperature should stay at 0°F (-18°C) or below – get a freezer thermometer to monitor this consistently. Label everything with the date and contents so you’ll know what’s safe to eat.
Follow the “first in, first out” rule by rotating older frozen items to the front of your freezer and using them before newer ones. Never refreeze thawed raw meat or poultry, though you can safely refreeze previously frozen cooked meat. If you spot freezer burn or ice crystals on food, it’s still safe to eat but the quality and taste may suffer. Always thaw frozen food in the refrigerator, never on the counter at room temperature where bacteria can multiply quickly. Throw out anything that looks or smells suspicious – your health isn’t worth the risk.
Thawing Methods
I always recommend three safe ways to thaw your frozen foods – in the refrigerator, cold water bath, or microwave. The fridge method takes longer but keeps your food at a consistent safe temperature – plan ahead and move frozen items to your fridge 24-48 hours before you need them. For faster thawing, submerge sealed food in cold water, changing the water every 30 minutes. The microwave works in a pinch but can partially cook edges, so use the defrost setting and rotate/flip food frequently.
Each method has specific food safety considerations to keep in mind. Never thaw food on the counter at room temperature, which allows dangerous bacteria to multiply. Once thawed in the fridge, ground meat stays good for 1-2 days while whole meats last 3-5 days. Foods thawed in cold water or the microwave should be cooked right away. I label everything with contents and date before freezing, then use a “first in, first out” system to rotate through items systematically. Your freezer can keep food fresh for months, but proper thawing makes the difference between safe, high-quality meals and potential food safety risks.
Preventing Freezer Burn
I know how frustrating it can be to find ice crystals covering your frozen foods – that dreaded freezer burn that ruins both texture and flavor. Through years of trial and error in my kitchen, I’ve found that the key lies in minimizing air exposure. You’ll want to wrap food tightly in plastic wrap or aluminum foil first, then place it in heavy-duty freezer bags. Push out as much air as possible before sealing – I like to use a straw to suck out the remaining air for an extra-tight seal. This double-wrapping method creates a strong barrier against moisture loss.
Temperature fluctuations also contribute to freezer burn, so keep your freezer at a steady 0°F (-18°C). Place new items in the back where temperatures stay more constant and avoid opening the door frequently. Label everything with contents and dates, so you can quickly grab what you need. I organize similar items together in clear bins, which helps limit door-open time. Remember to check your freezer door seals yearly – if they’re loose or cracked, cold air leaks out and warm, moist air sneaks in, creating perfect conditions for freezer burn. These simple steps will keep your frozen foods fresh and flavorful for months.
Smart Storage Organization
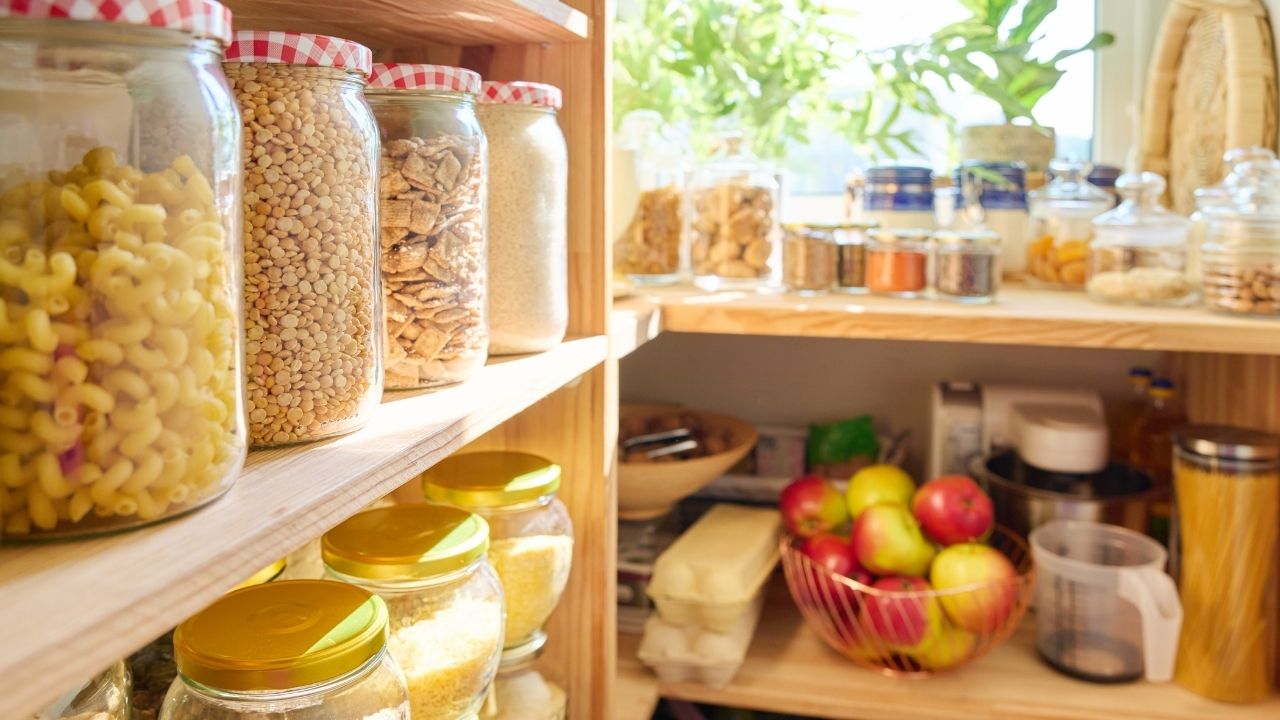
Your freezer needs a solid organization system to keep track of everything and prevent food waste. I recommend using clear, stackable containers to group similar items together – like having dedicated bins for meats, vegetables, prepared meals, and baked goods. Label each container with contents and dates using a waterproof marker or freezer tape. This simple setup will save you time searching and help you rotate through items before they get freezer burn.
Create a freezer inventory list on your phone or a magnetic notepad on the fridge to track what goes in and out. Place newer items toward the back and older ones in front so you’ll use them first. Divide your freezer into zones – raw ingredients on one shelf, ready-to-eat items on another, and frequently accessed foods near the front for quick grabbing. This methodical approach keeps your frozen foods organized and accessible while maintaining optimal freshness. A well-organized freezer means less food waste and more money saved.
Removing Air from Containers

Air acts like your food’s worst enemy in the freezer, causing those dreaded freezer burns and weird taste changes. I’ll let you in on my go-to tricks for getting rid of that pesky air before freezing. For plastic containers, fill them almost to the top but leave a small gap since liquids expand when frozen. Press down gently on the lid while sealing to push out extra air. With zip-top bags, close them almost completely, then insert a straw into the corner and suck out the remaining air before quickly sealing – think of it as a DIY vacuum sealer!
For more delicate items like berries or cut vegetables, I recommend the water displacement method. Place your food in a zip-top bag, then slowly lower it into a bowl of water while keeping the opening above water level. The water pressure naturally forces out the air – it’s like magic! Just seal the bag when you reach the top. Your frozen foods will stay fresh longer and maintain their original flavors without those unpleasant ice crystals. This simple step makes a huge difference in food quality months down the line.
Blanching Vegetables
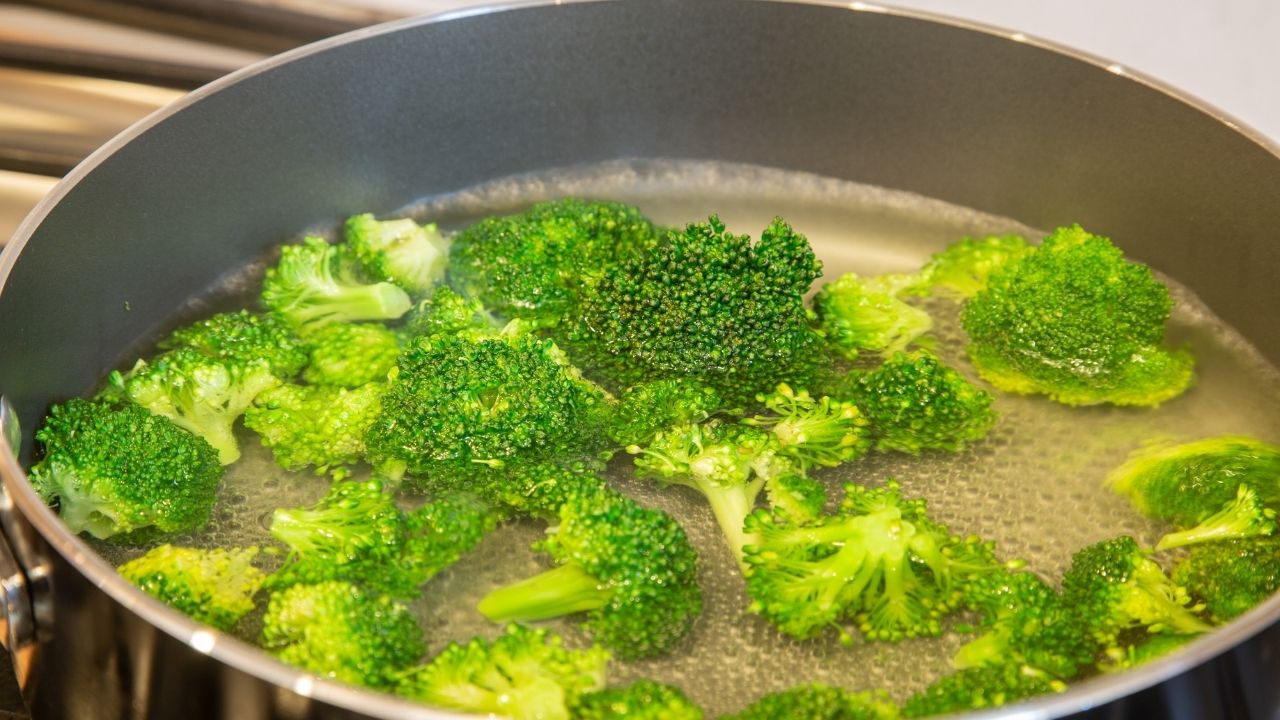
I swear by blanching vegetables before freezing them – it’s a total must if you want to keep that gorgeous color and crisp texture intact! Think of blanching as giving your veggies a quick hot bath followed by an ice-cold plunge. This process stops enzyme activity that would otherwise break down your vegetables during freezing. I’ve learned through many kitchen experiments that most vegetables need just 2-4 minutes in boiling water before the ice bath. Green beans, broccoli, cauliflower, and carrots respond particularly well to this method.
Here’s my foolproof blanching method: Bring a large pot of water to a rolling boil, drop in your prepped vegetables, and start your timer immediately. While they’re boiling, prepare a large bowl of ice water. Once the veggies reach that perfect bright color, quickly drain and transfer them to the ice bath. Let them cool completely – about the same time they spent in the hot water. Then dry them thoroughly before freezing. This simple step will give you vegetables that taste fresh and maintain their nutritional value for up to 12 months in the freezer. Trust me, you’ll notice the difference!
Labeling and Dating System
You’ll save yourself from endless freezer confusion by implementing a simple but effective labeling system for your frozen foods. I recommend using permanent markers and freezer-safe labels or masking tape to mark each container with the item name, date frozen, and quantity. This quick habit will prevent you from playing the “mystery food” guessing game months later. My go-to method includes noting any special instructions or seasonings I’ve added – this helps me remember exactly how to use each item when I’m ready to cook.
Make your labeling system work harder by organizing foods by categories and dates. Keep a freezer inventory list on your phone or posted nearby to track what you have and when you need to use it. Before freezing new items, write the “best by” date and expected storage time – for example, “Ground beef – frozen 1/15/24 – use within 4 months.” This systematic approach means you’ll waste less food and always know what treasures await in your freezer. I’ve found this method particularly helpful when meal planning, as I can quickly scan my inventory and build menus around what needs to be used first.
Portioning Food Before Freezing
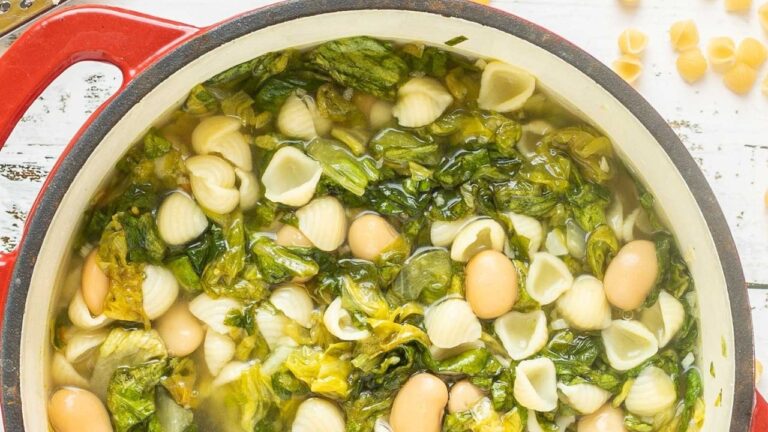
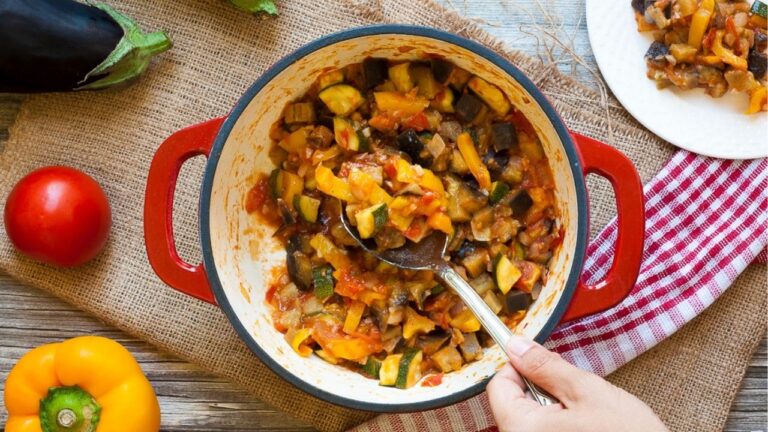
I always portion my food before freezing – it’s a simple move that will save you so much time and reduce waste. Instead of freezing that whole pot of chili or entire batch of soup, divide it into individual or family-sized servings first. This way, you’ll only thaw what you need rather than defrosting a giant block of food that might go bad before you can eat it all. I recommend using freezer-safe containers or bags marked with the date and portion size.
For raw meats and poultry, I separate them into meal-sized portions before freezing. If you buy bulk chicken breasts or ground beef, take a few minutes to divide them up based on how much your family typically eats in one meal. Lay individual portions flat in freezer bags and press out excess air before sealing – this creates thin packages that stack neatly and thaw quickly. Your future self will thank you for taking these extra steps now, making weeknight dinner prep much smoother.
Airtight Packaging Materials
You’ll want to get the best airtight packaging materials to keep your frozen foods fresh and free from freezer burn. I’ve found that high-quality freezer bags with double-seal closures work wonders for smaller items like berries, chopped vegetables, and portioned meats. For bigger batches, I recommend investing in heavy-duty plastic containers with snap-on lids or vacuum-sealing systems that remove all the air before storing. Make sure to squeeze out as much air as possible from bags before sealing – this simple step makes a huge difference in preserving quality.
A quick tip I learned from my grandmother: wrap items like meat, fish, or baked goods in plastic wrap or aluminum foil before placing them in freezer bags. This double-layer method adds extra protection against moisture and freezer burn. Clear, rigid containers help me stay organized and quickly identify what’s inside without opening packages. I label everything with the contents and date using freezer tape and a permanent marker – trust me, you won’t remember what that mystery package is three months from now! These small investments in quality packaging will save you money by keeping food fresh longer.
Proper Temperature Settings and Control
Your freezer needs to maintain a consistent temperature of 0°F (-18°C) or below to keep your food safe and prevent freezer burn. I recommend buying an inexpensive freezer thermometer to monitor the temperature daily – this small investment will protect hundreds of dollars worth of frozen food. If you notice temperature fluctuations, check your freezer door seal by closing it on a dollar bill. If you can easily pull the bill out, you need to replace the seal to prevent cold air from escaping.
Keep your freezer at least 2/3 full for maximum efficiency, but avoid overcrowding which restricts air circulation. The empty spaces between frozen items allow cold air to flow freely and maintain an even temperature throughout. If your freezer runs partially empty, fill milk jugs with water and freeze them – they’ll help maintain consistent temperatures and serve as backup water in emergencies. Remember to defrost manual-defrost freezers when frost buildup reaches 1/4 inch to maintain proper temperature control and energy efficiency.