10 Fridge and Pantry Hacks That Prevent Food Waste
Your fridge and pantry hold the key to reducing food waste and saving money. I’ve learned through years of cooking that small changes in how you store and track ingredients make a huge difference. These 10 practical tips will transform how you manage food at home.
From simple organization systems to clever preservation methods, each hack helps you get the most value from your groceries. My favorite part? You’ll spend less time wondering what’s hiding in the back of your fridge and more time actually cooking and enjoying your food.
After implementing these strategies in my own kitchen, I’ve cut my food waste by over 50% and discovered creative ways to use ingredients I would have previously tossed. Ready to make your kitchen more efficient and eco-friendly? These proven methods will help you start today.
First In First Out System

You know that moment when you reach into your fridge and find moldy produce hiding in the back? I’ve been there too many times! That’s why I stick to the First In First Out (FIFO) system in both my fridge and pantry. Think of it like a supermarket shelf – newer items go to the back while older items stay up front. Every time I unpack groceries, I move the existing items forward and place fresh purchases behind them. This simple habit makes sure I use up food before it goes bad and keeps my storage spaces tidy.
Make this system work by labeling containers with purchase dates and checking expiration dates during your grocery unpack routine. In my fridge, I keep clear bins so I can spot what needs eating first. For pantry items like grains, nuts, and canned goods, I write the date right on the package with a marker. You’ll save money by reducing waste, and you’ll always know exactly what you have on hand. Plus, your food storage spaces stay neat since you’re regularly moving and checking items instead of letting them gather dust in corners.
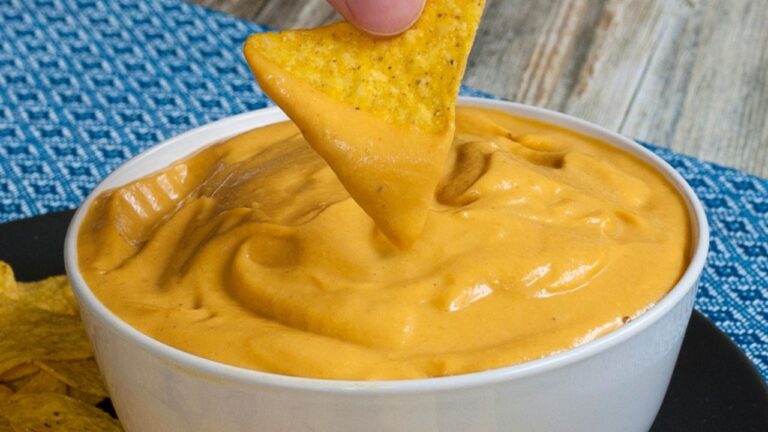
Proper Food Storage Containers
I swear by good-quality food storage containers to keep ingredients fresh and visible. Skip those mismatched takeout containers and invest in clear, airtight options that stack neatly. I recommend glass containers with snap-locking lids for anything from prepped vegetables to leftover curries. The clear sides let you spot what’s inside instantly, while the tight seal keeps air out and freshness in. Plus, glass won’t absorb odors or stains like plastic does, making these containers perfect for storing aromatic spices and sauces.
Your container collection should include various sizes – I keep tiny ones for minced garlic and ginger, medium squares for chopped vegetables, and large rectangular ones for batch-cooked meals and marinades. Label each container with the contents and date using washable markers or tape. This simple system helps track what needs using first and prevents forgotten food from going bad at the back of your fridge. Square and rectangular shapes maximize space better than round ones, letting you fit more into your fridge while keeping everything organized and accessible.
Weekly Meal Planning
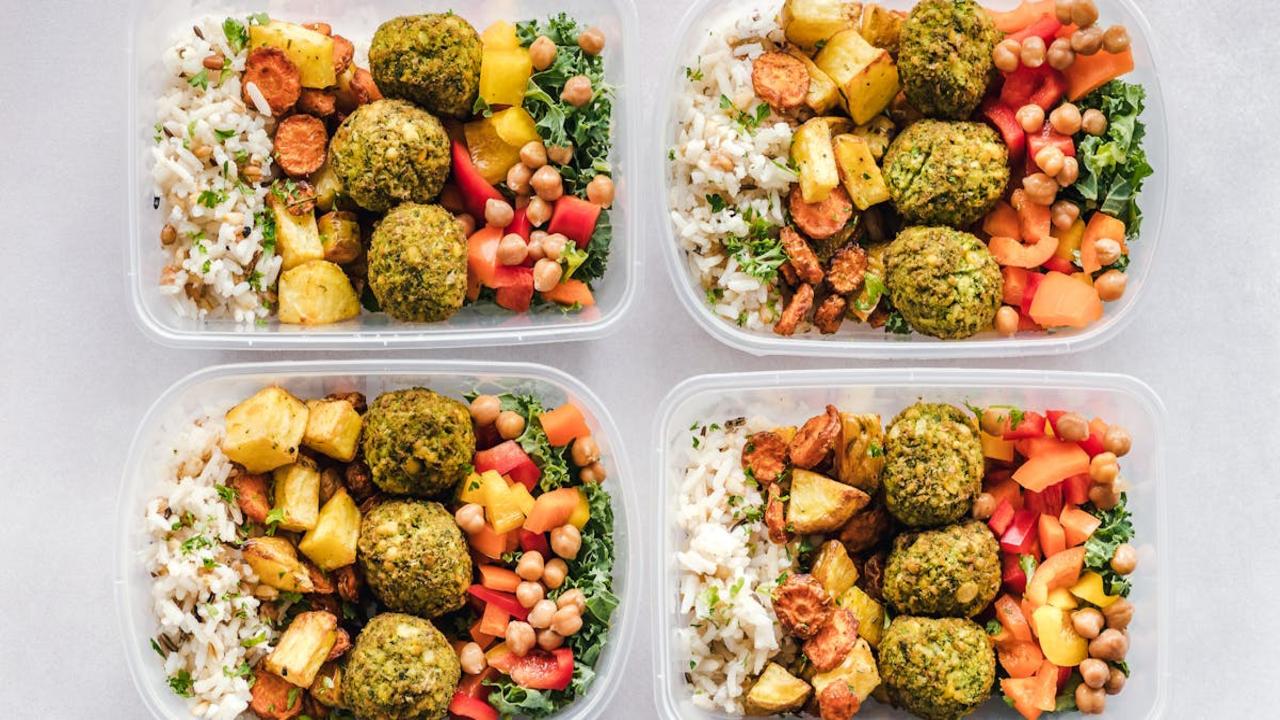
Your fridge will thank you when you start planning your meals ahead! I map out my menu for the entire week, considering what ingredients I already have and what I need to buy. This simple habit prevents me from buying random items that might go bad before I use them. By checking your schedule and deciding what to cook each day, you’ll make smarter shopping decisions and avoid those last-minute takeout orders that leave your fresh produce forgotten in the crisper drawer.
Keep your meal plan flexible – I group ingredients that work in multiple dishes together. For example, if I buy fresh herbs for Monday’s pasta, I’ll plan Thursday’s rice bowl to use them too. Write your plan on a whiteboard or in your phone, and take photos of your fridge before shopping to avoid duplicate purchases. Remember to factor in leftovers and prep time – if you know Wednesday will be busy, plan a quick meal or cook extra on Tuesday. This organized approach keeps your food moving through your kitchen instead of into the trash.
Freezer Inventory List

You know that moment when you dig through your freezer and find mystery containers from who-knows-when? I’ve been there too many times! That’s why I keep a magnetic whiteboard right on my freezer door with a detailed list of everything inside. I write down what I freeze, the date, and quantity – like “4 portions homemade marinara sauce – Oct 15” or “2 cups shredded chicken – Nov 1.” This simple system helps me track what needs to be used first and prevents food from getting lost in the depths of the freezer.
My tip: Divide your whiteboard into sections based on how long items can stay frozen – 1 month, 3 months, and 6 months. Every Sunday, I check the list and plan meals around ingredients nearing their “best by” date. I also keep a running tally of freezer staples like butter, bread, and meat, so I know exactly what to buy at the store. This method has saved me money and reduced my food waste significantly. Plus, the satisfaction of maintaining an organized freezer makes cooking so much more enjoyable!
Refrigerator Organization Zones
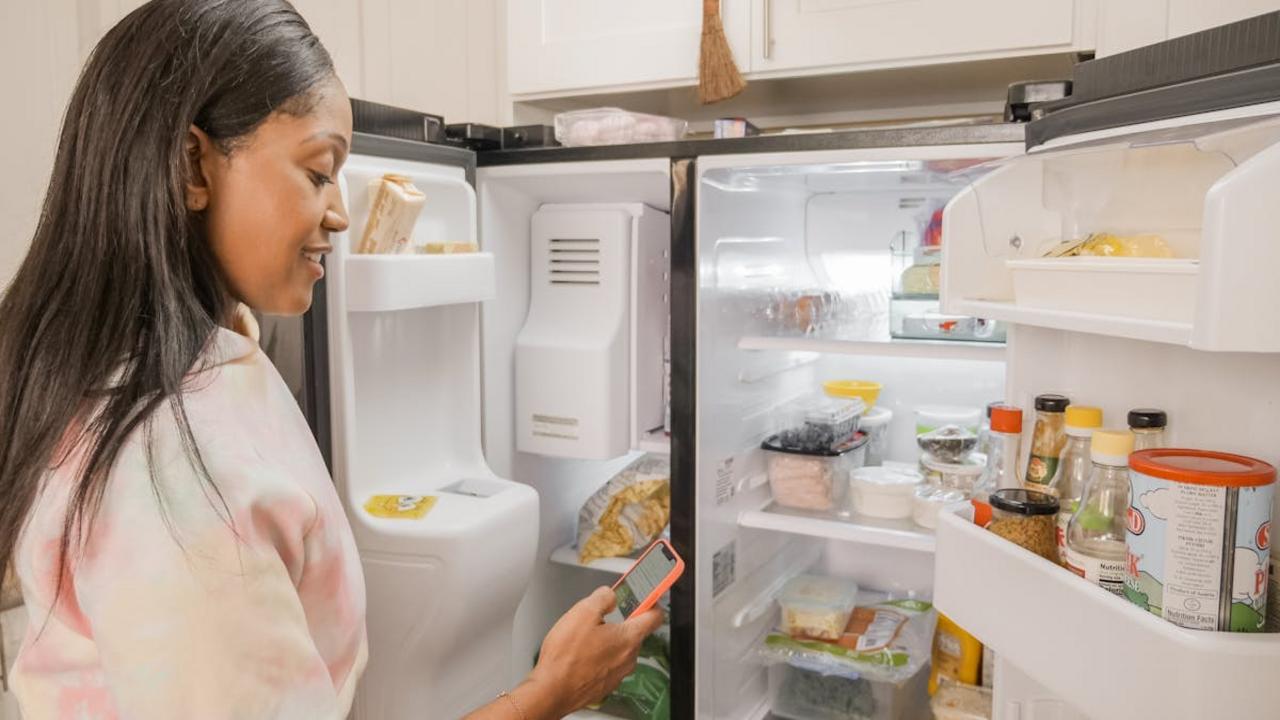
I’ve transformed my fridge into distinct zones to prevent food waste and make cooking easier. Think of your fridge like a mini grocery store – dairy goes in one spot, produce in another, and proteins in their own section. Keep fruits and vegetables in clear bins at eye level so you’ll see (and eat!) them before they go bad. Put meats and fish in the bottom drawer where it’s coldest. The door shelves work best for condiments since they get exposed to warmer air each time you open the fridge.
Your zones should match how you cook and eat. If you make lots of smoothies, group your berries, yogurt and greens together. Love sandwiches? Keep your deli meats, cheeses and spreads in one spot. Label each zone clearly and stick to your system – you’ll spend less time searching for ingredients and more time actually cooking them. The key is choosing zones that make sense for your habits. After a few weeks of consistent organization, reaching for items becomes automatic and you’ll notice far less food going to waste.
Vacuum Sealing Leftovers
I’m obsessed with my vacuum sealer – it’s become my secret weapon in preventing food waste and keeping ingredients fresh longer. Your vacuum sealer will pull out all the air that causes food to spoil, creating an airtight seal that can extend shelf life by weeks or even months. You can vacuum seal everything from raw meats and vegetables to leftovers and pantry staples like nuts and grains. The sealed bags take up minimal space in your fridge or freezer while protecting food from freezer burn.
Here’s a pro tip: freeze items like berries or cooked rice in a single layer on a baking sheet first, then vacuum seal them once frozen. This prevents the vacuum from crushing delicate foods and makes it easier to grab just what you need later. I also recommend writing the contents and date on each bag before sealing. For meal prep, portion out ingredients or complete meals into individual vacuum bags – you’ll have grab-and-go options ready while keeping everything optimally fresh. Your vacuum sealer will quickly pay for itself by reducing spoilage and making bulk buying more practical.
Smart Produce Storage

I’ve discovered that storing fruits and vegetables properly can extend their life by up to two weeks. Keep bananas, apples, and pears away from other produce since they release ethylene gas that speeds up ripening. Place leafy greens in airtight containers lined with paper towels to absorb excess moisture. Store herbs like cilantro and parsley upright in jars with water, just like flowers. For berries, don’t wash them until you’re ready to eat – moisture makes them spoil faster. Keep mushrooms in paper bags rather than plastic to prevent them from getting slimy.
Your crisper drawers should work strategically too. Set one drawer to high humidity for moisture-loving vegetables like lettuce, spinach, and broccoli. Use the low humidity drawer for fruits and vegetables that need to breathe, like apples, pears, and stone fruits. Remember to clean your crisper drawers monthly with a vinegar solution to prevent mold growth. Keep onions and potatoes in separate cool, dark places since onions can make potatoes sprout faster. A mesh bag or basket in a dark cabinet works perfectly for both.
Pickling and Preserving
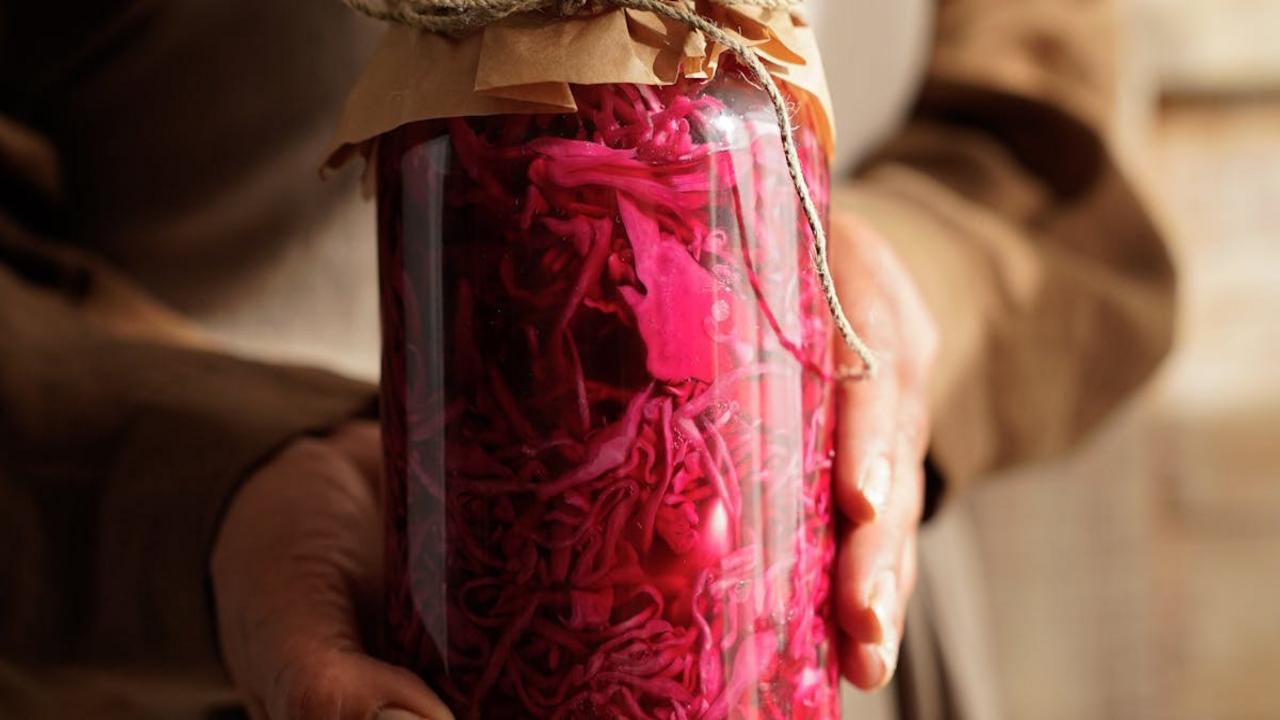
Your grandmother probably knew this trick – pickling fresh vegetables helps them last much longer while adding bright, tangy flavors to your meals. I pickle everything from carrots and radishes to cabbage and cauliflower. The basic process needs just vinegar, water, salt, and your choice of spices. Fill clean jars with fresh veggies, pour the brine mixture over them, and store them in your fridge. Quick-pickled vegetables stay good for weeks, giving you plenty of time to enjoy them in sandwiches, grain bowls, or straight from the jar.
Beyond pickling, you can preserve fruits and vegetables through fermentation, which creates beneficial probiotics while extending shelf life. Start with simple sauerkraut by massaging shredded cabbage with salt until it releases liquid, then pack it tightly in jars. The natural fermentation process takes about a week at room temperature. You can also try making kimchi with napa cabbage and Korean red pepper flakes, or preserved lemons with just salt and time. These preservation methods transform ordinary produce into flavorful ingredients while reducing waste in your kitchen.
Repurposing Food Scraps
I absolutely refuse to toss out food scraps in my kitchen – they hold so much potential! Your vegetable ends and peels make incredible homemade stock. Just collect carrot tops, onion skins, celery leaves, mushroom stems, and herb stems in a freezer bag. Once full, simmer them in water with bay leaves and peppercorns for 45 minutes. Strain and freeze the rich broth in ice cube trays for easy portioning. Citrus peels dried and ground become zesty seasonings, while apple cores and peels transform into sweet homemade vinegar.
Your bread ends and stale pieces can become crispy croutons, breadcrumbs, or thickeners for soups. Grind cauliflower and broccoli stems into “rice” for stir-fries. Regrow green onions and lettuce by placing the root ends in water. Pickle watermelon rinds for tangy condiments. Even coffee grounds work wonders as natural fertilizer or body scrubs. The key lies in viewing these supposed “scraps” as ingredients with untapped potential. Your wallet and the environment will thank you for making the most of every food item that enters your kitchen.
Digital Expiration Date Tracking
I’ve completely transformed how I manage my kitchen using digital expiration date tracking apps. These simple tools help me scan barcodes or input expiry dates manually, then send timely reminders before food goes bad. My favorite app even syncs between my phone and my partner’s, so we both know exactly what needs eating first. This digital system has cut our household food waste by nearly 75% – no more forgotten yogurts hiding at the back of the fridge or mystery leftovers turning into science experiments!
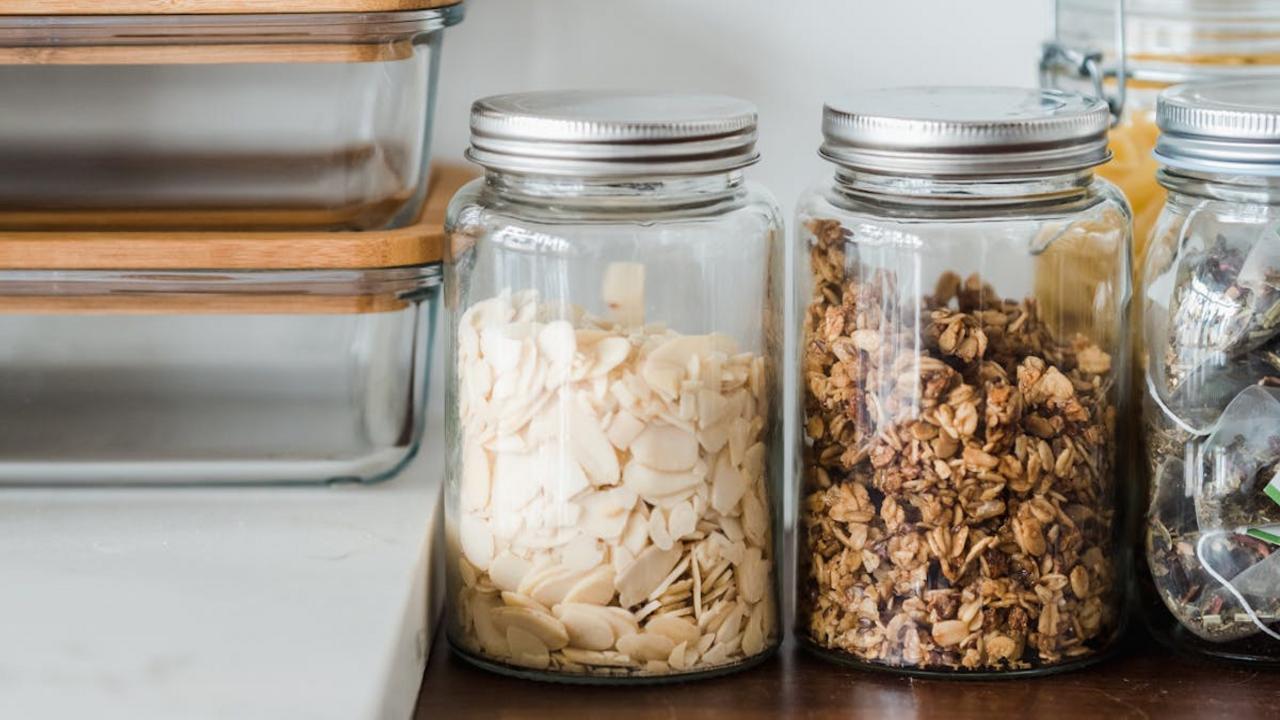
You’ll find these apps extra helpful for items with longer shelf lives that often get overlooked, like condiments, spices, or baking ingredients. I tag everything with virtual labels right when I unpack my groceries – it takes just minutes but saves both money and food. The apps also suggest recipes based on what needs using up first, which sparks creativity in the kitchen. My top tip: create different digital zones matching your actual fridge and pantry layout, making it super quick to check what’s where and what needs eating soon.